In this post, you’ll learn to how to make planner stickers with Cricut along with the best Cricut setting for stickers paper. Also included are free Crciut ready planner sticker templates that you can use to create your own planner stickers with Cricut.
FTC DISCLOSURE – This post contains affiliate links and I received compensation for this post.
I got my FIRST EVER PLANNER! Yay! Believe it or not, this is my FIRST time using a hard-bound planner because all these years I had been planning digitally as I was always on the move hopping from one country to another. For those of you who are wondering, here are some details. I did my Bachelor’s in Malaysia while my parents resided in Saudi Arabia so, during the summers, I’d always fly back to Saudi Arabia to stay with them. Because of all these movements, carrying a hard-bound planner with me was nearly impossible so I stuck to planning everything digitally as I dreamt of beautiful hard-bound planners.
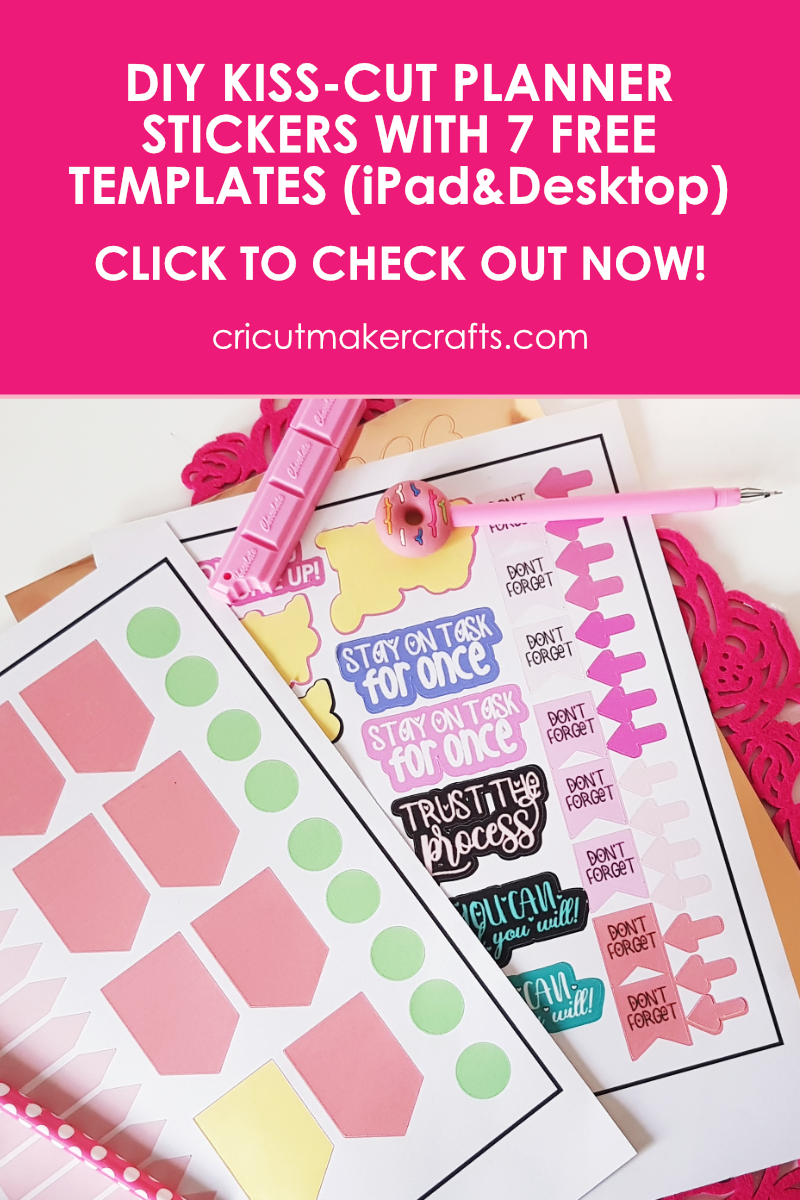
Now that I’m all settled in, I made the plunge to get my first ever physical planner. Nothing schmancy like Erin Condren but good enough to do the job.
The only problem with this planner was the lack of motivational stickers to push me forward every day. So I decided to create my own stickers with my magical Cricut Maker and share it with you all. But that’s not it, I wanted to help you create and design your own gorgeous planner stickers matching your planner theme. And that’s how the free Cricut ready planner sticker templates were born. You can grab these from the FREE SVG library. I’ve included the instructions on how to access the library in the “How to Make Planner Stickers with Cricut” video below.
AFFILIATE DISCLOSURE: Cricut Maker Crafts is a participant in the Amazon Services LLC Associates Program, an affiliate advertising program designed to provide a means for sites to earn advertising fees by advertising and linking to Amazon.com.
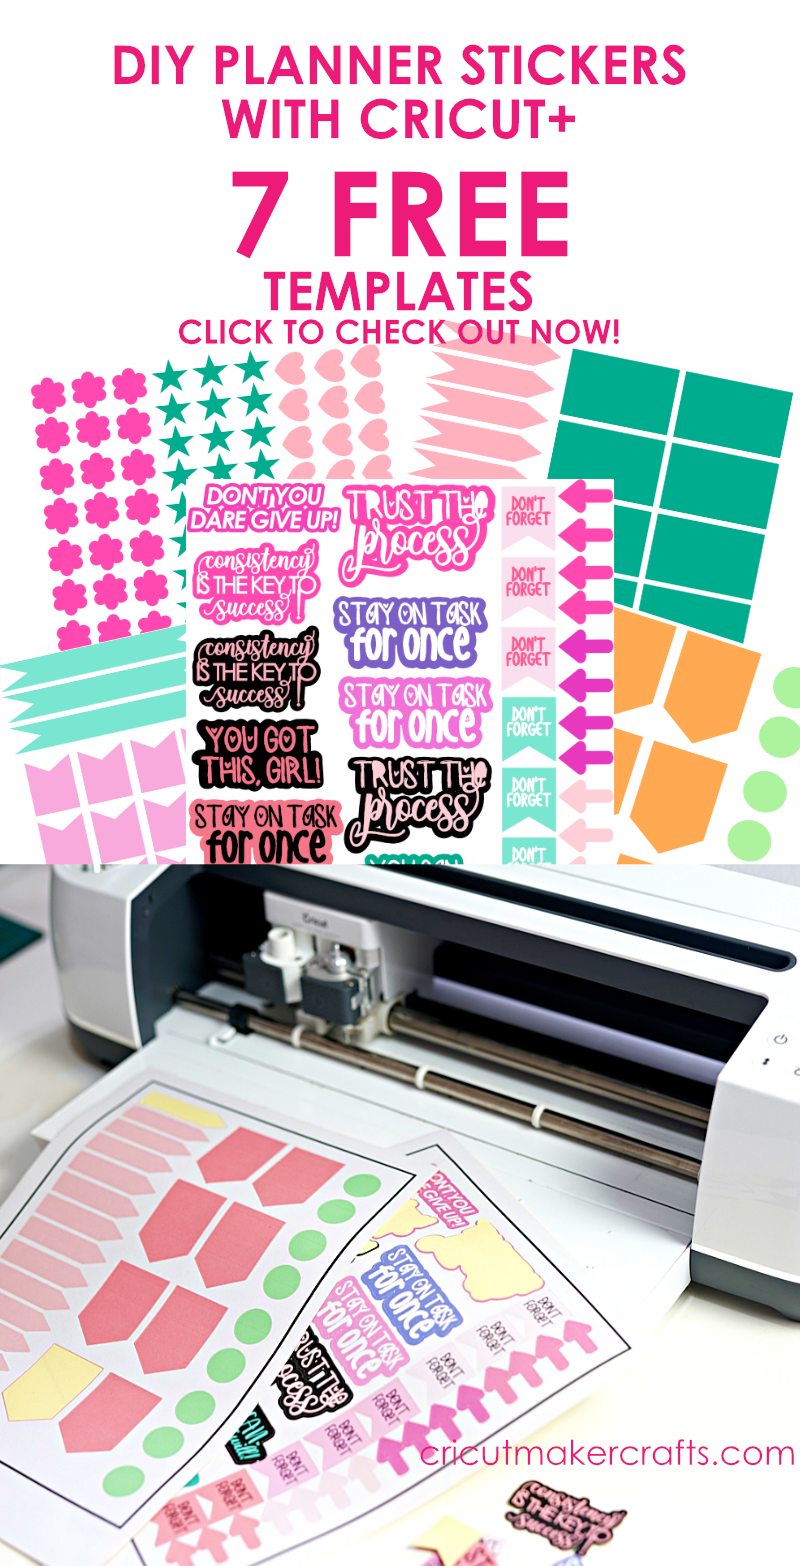
Supplies needed for DIY planner stickers
- Cricut Maker/Cricut Explore
- Light Grip Cutting Mat
- Essential Tools Set
- Printer (This is the printer that I use for my projects. It’s a photo printer and I’ve noticed it uses a LOT of ink so I JUST use it for printing colored images, and would not recommend it for the daily printing.)
- Silhouette sticker paper or Cricut sticker paper (I recommend using these brands for making your own stickers with Cricut because their paper quality is pretty good. For this tutorial, I used the Silhouette sticker paper and some unbranded sticker papers. The quality of the unbranded papers of pretty bad as the paper was quite thin and I had to be extrememly careful to prevent it from ripping off.)
- Free Cricut ready planner sticker templates (Avaialble for the VIPs. Become a VIP member by entering your name and address below.)
What is the Cricut Maker?
Cricut Maker is the machine of the future. It’s designed to cut several types of stuff but specifically fabric anyway you want it. It has brought a revolutionary change to crafting as a hobby.
Earlier this luxury of cutting stuff by machines was only available to the industries, but with the invention of the epic the Cricut Maker any crafter like me and you can take advantage of this luxury and get all our materials cut within few minutes instead of hours (at least that’s how long it takes me). All you gotta do is choose an SVG file from the Cricut library, load your fabric on the mat and click the button on the machine. Ta-da!
Cricut Maker will do all the cutting FOR YOU so you have more time creating gorgeous projects instead of cutting.
How to Make Planner Stickers with Cricut
Now that you know what supplies are needed to create planner stickers with Cricut, it’s time to learn how to make planner stickers with Cricut. We’re going to use the “print&cut” feature of Cricut to make these planner stickers. If you’re new to Cricut, you might want to check out my step-by-step guide on how to print & cut with Cricut here. I cover the basics along with the most frequently asked questions to help you master print and cut. Click here to read the post: Print and Cut Basics for Beginners + FAQs
I have divided this planner sticker tutorial into four parts. Two methods for Design Space for desktop and the other two for the Design Space iPad app. Both of these will show you how to make kiss-cut stickers, using the free planner stickers SVG as well as the best Cricut setting for sticker papers.
Two ways to make stickers with Cricut
- Easy method using the FREE templates provided in the VIP library. You can access these free templates by signing up for the VIP library using the form below.
- Advanced method where I show you how to create your own template in Design Space using different shapes and tools.
Video Tutorial How to Make Kiss-cut Stickers
How to Make Kiss-cut Stickers with Cricut
If you’d like to make kiss-cut stickers with Cricut instead of die-cut, then read the tips below.
What is the meaning of kiss-cut?
Kiss-cut refers to the process of making stickers where the stickers stay intact on the sticker sheets, unlike die-cut where the stickers are cut around the border and are available individually (not on a sheet).
For planner stickers, it’s best to go for kiss-cut so the stickers stay on the sheet and you can stick the sheet inside your planner.
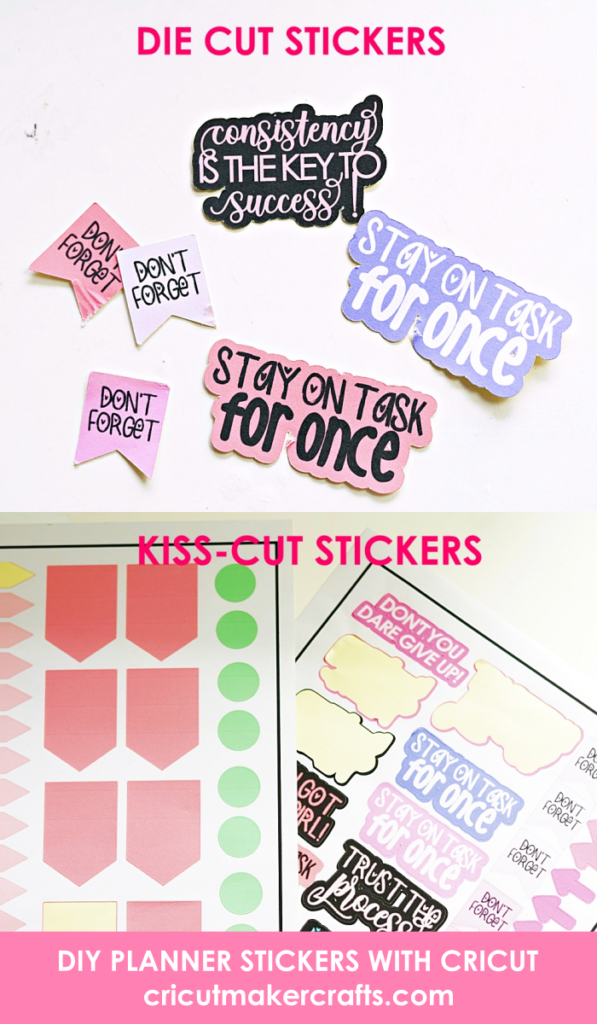
Best Settings for Kiss-Cut Stickers
After trying out three different settings, I found out the best settings to use to get kiss-cut stickers is “vinyl”. From the materials settings, click on vinyl and then set the pressure to “less”. This will ensure the stickers are cut so that the backing remains intact and you get a full sheet of stickers.
More Helpful Cricut Posts
With that, we have reached the end of this tutorial where I showed you how you can turn a picture into an SVG cut file in Inkscape, in Cricut Design Space as well as using a free stencil maker website.
Before you go, check out these amazing Cricut posts!
- 9+ AMAZING Craft Paper Storage Ideas
- 9 Must-Have Everyday Objects for Cricut Owners
- Unique Blank Gift Ideas for Her





[…] How to make planner stickers with Cricut […]