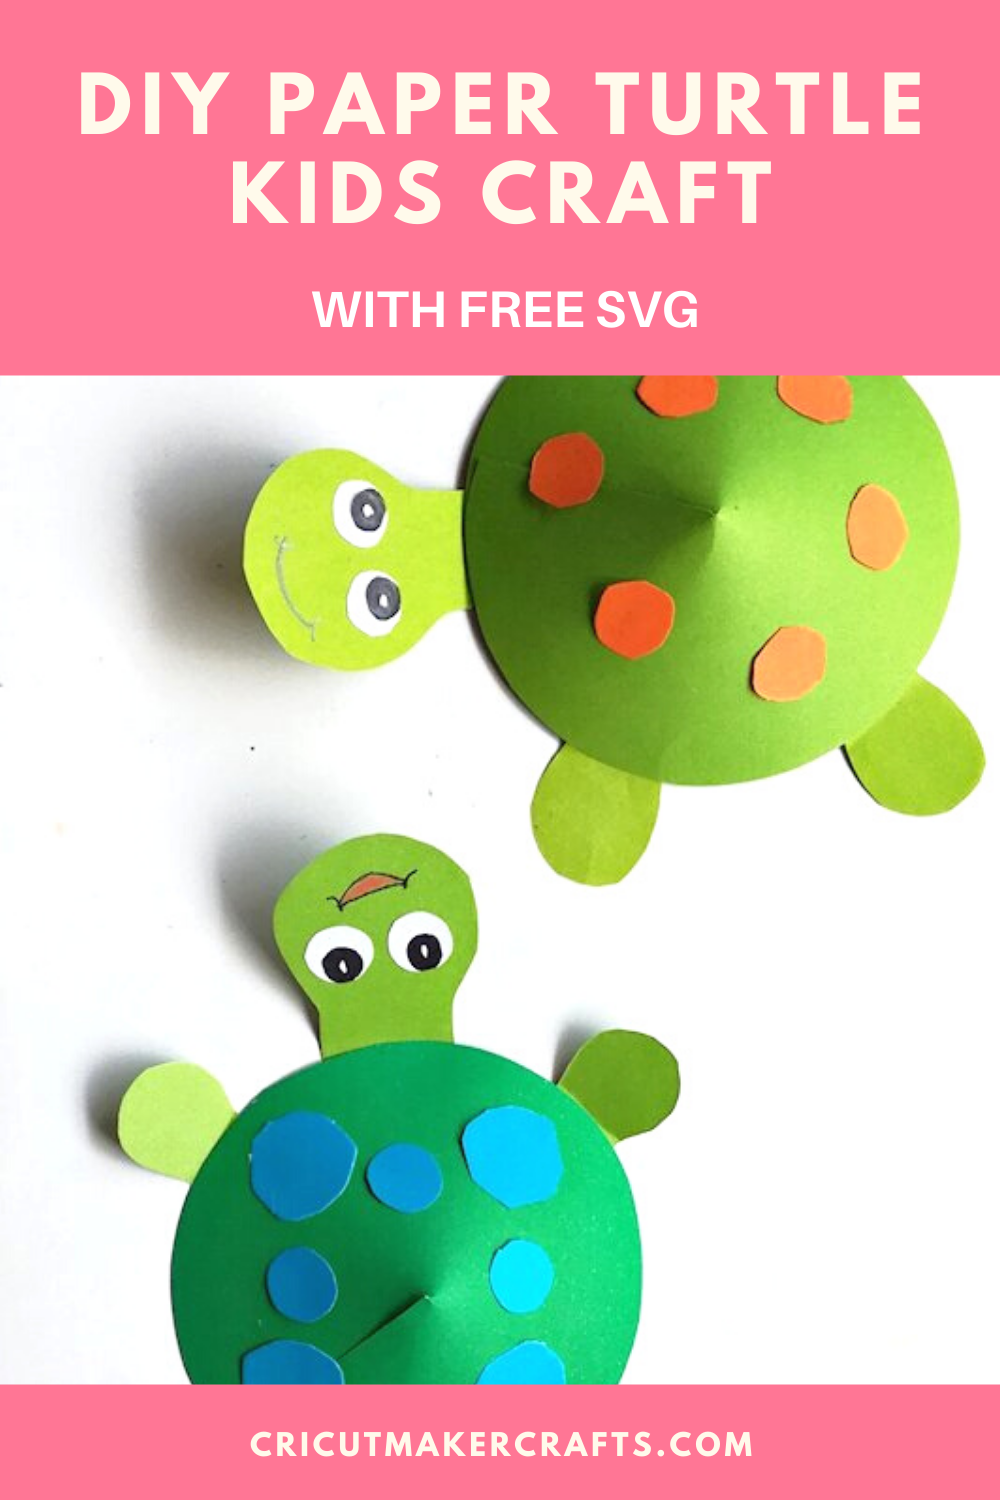
In this post, I’m sharing a super-cute Cricut kids craft using paper, something you already have at home so you won’t need to head out to buy new supplies. This kids’ papercraft is a great way to keep the kids busy at home.
- Cricut Maker/Cricut Explore
- Light Grip Cutting Mat
- Essential Tools Set
- Scotch Tacky Glue
- Heavyweight cardstock
- FREE SVG for Cricut Kids’ Craft Paper Turtle [available for the VIPs. Become a VIP member of Cut N Make Crafts by entering your name and address below]
How to Make Paper Turtle with Cricut
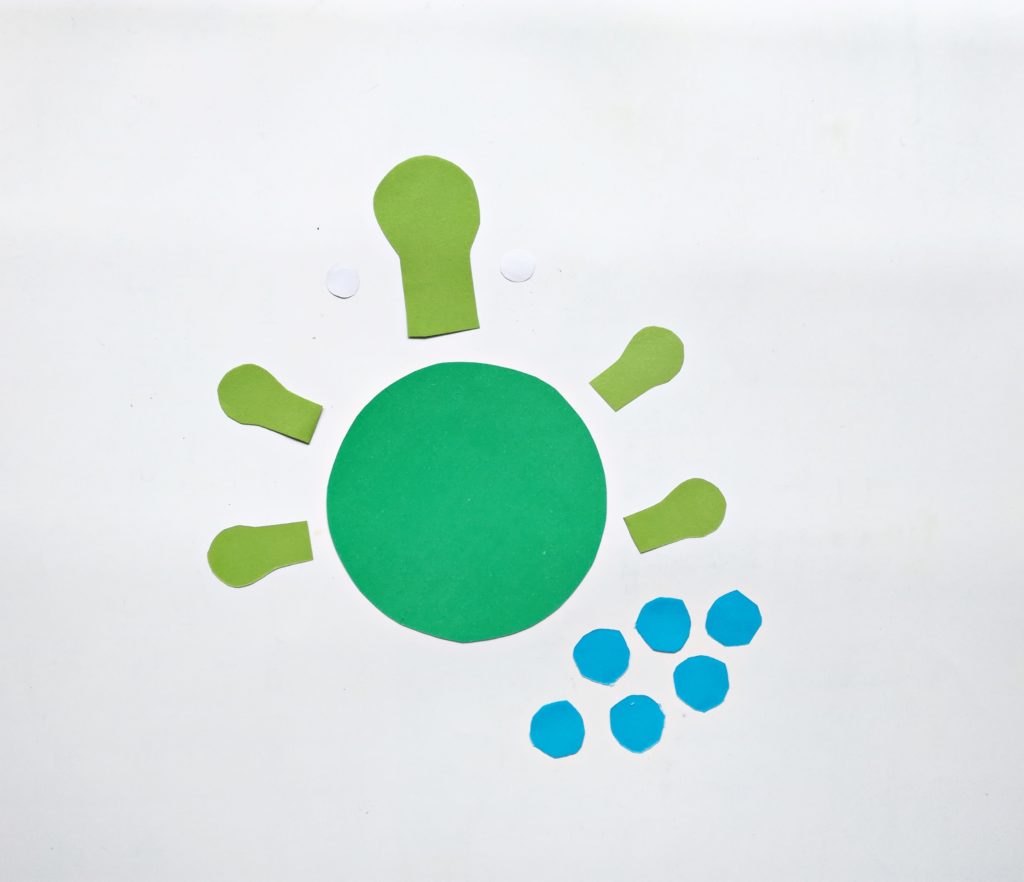
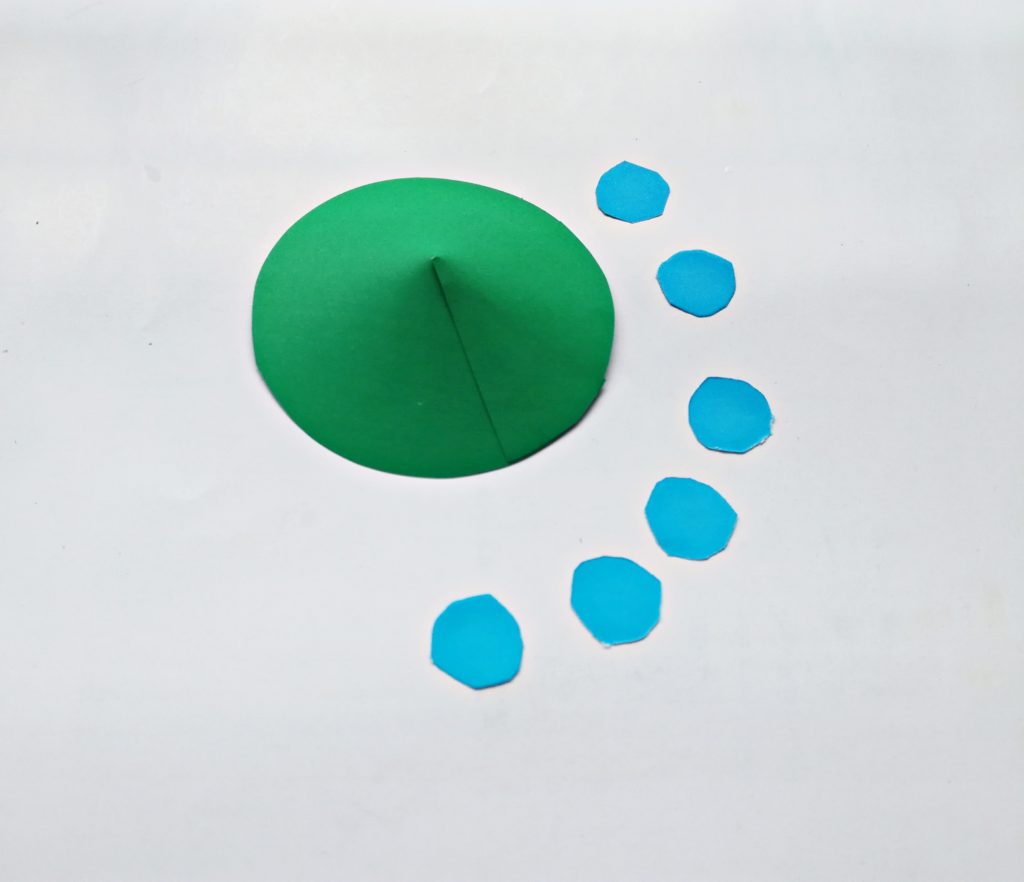
Step 1: Cut out the paper turtle pieces
- Sign up for the VIP list by entering your name and email in the box given above.
- Once you’ve entered your name and email address, you will receive a welcome email from me – Jav at Cut N Make Crafts.
- Inside the email, you’ll find the link to download the FREE SVG cut file for the Paper Turtle.
- Download the zipped FREE SVG cut file from the VIP library.
- Unzip the file and extract the Paper Turtle SVG from the file.
- Upload the SVG on Design Space by clicking on upload.
- Resize the file to your desired size.
- Click on Make it to cut everything out.
- Select “heavyweight” cardstock from the materials and cut everything out.
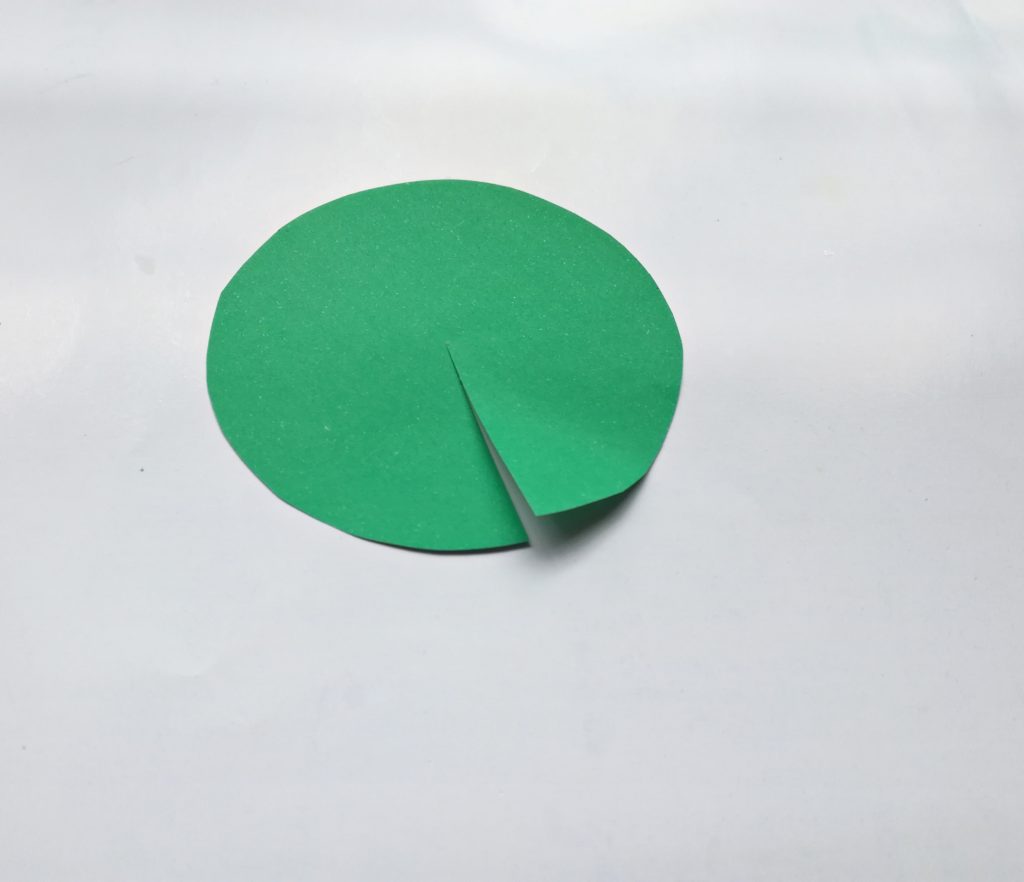
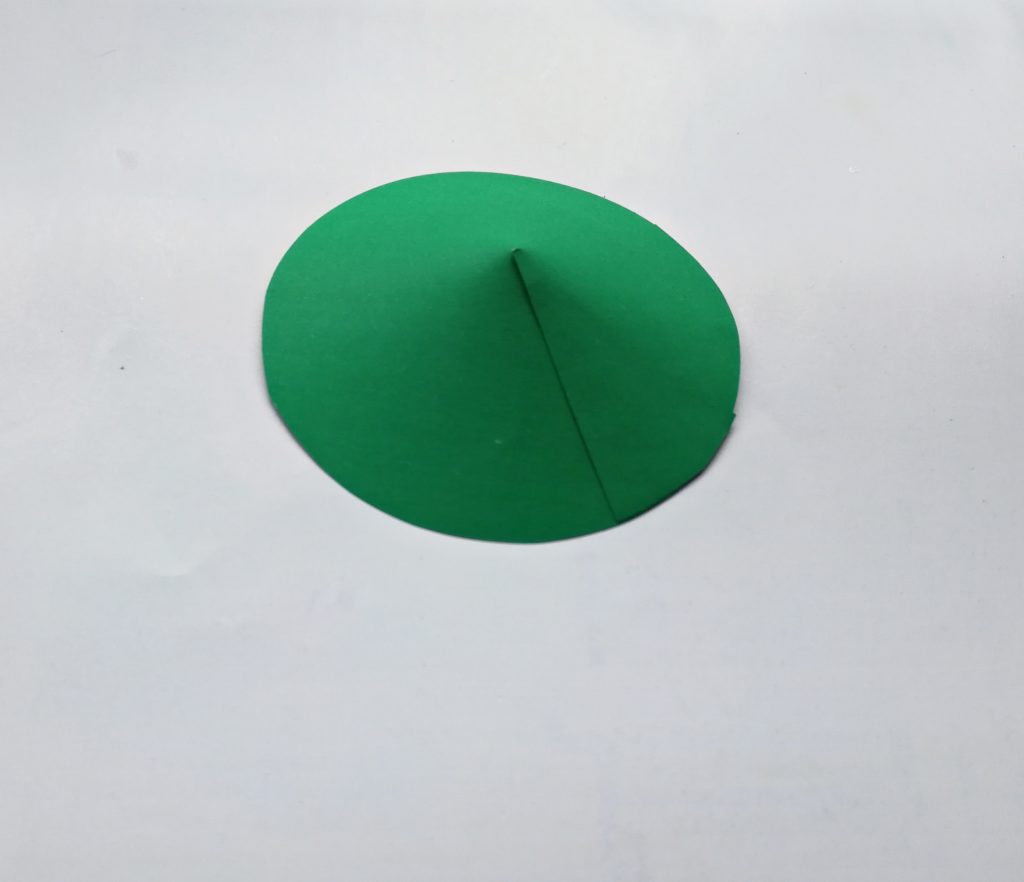
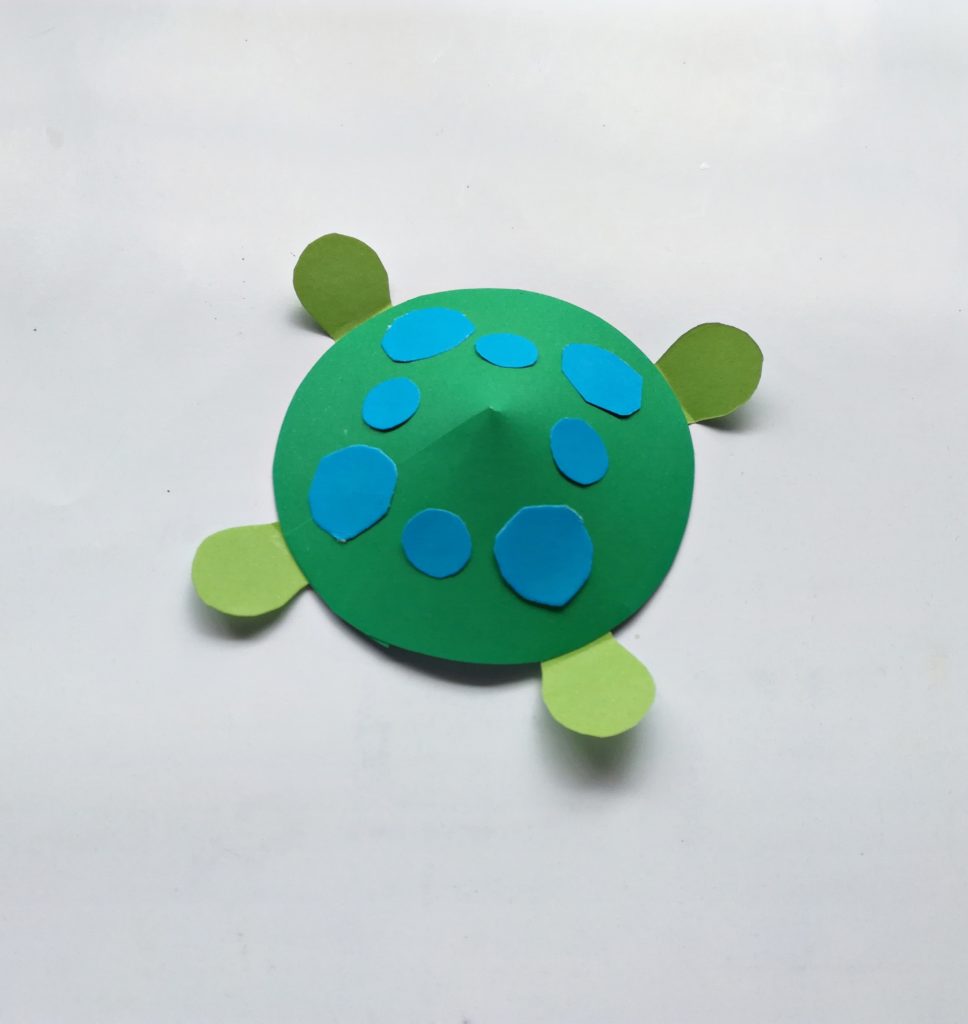
Step 2: Assemble the turtle
- Overlap both side of the cut with each other by 3 to 4 centimetres and glue it there.
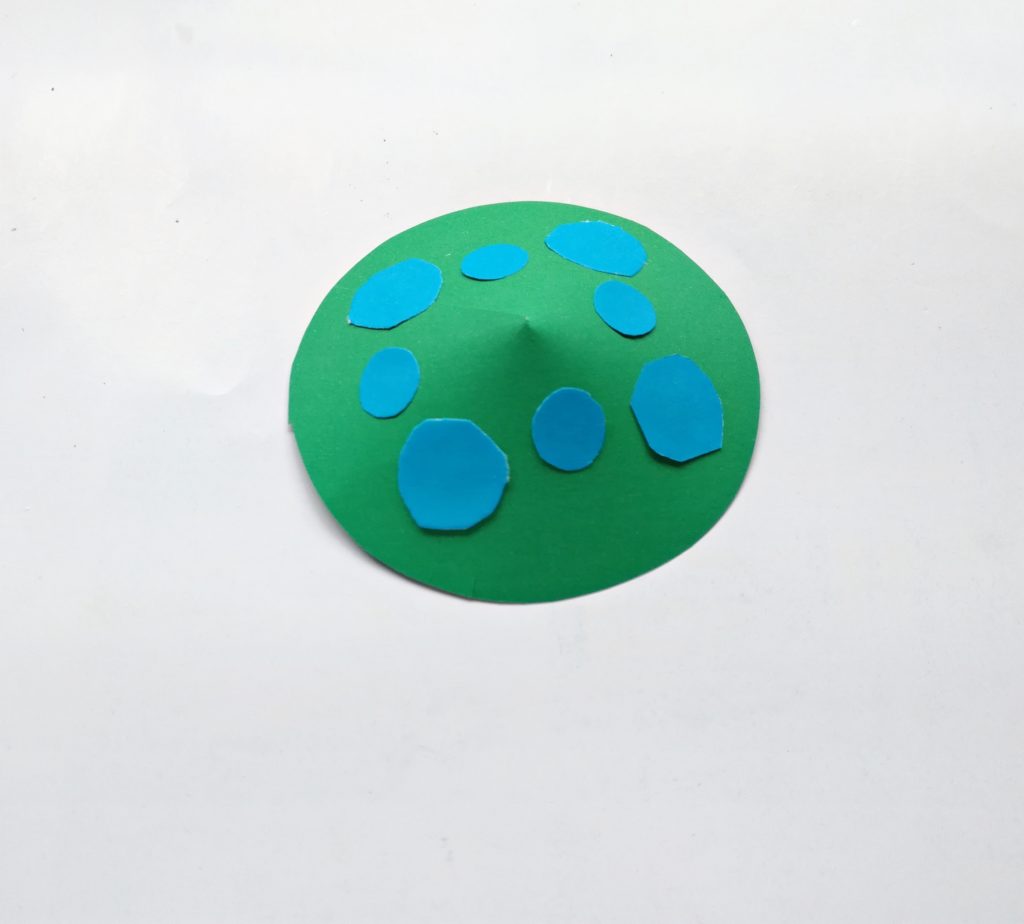
- Glue the circular tiny pieces to decorate the turtles shell.
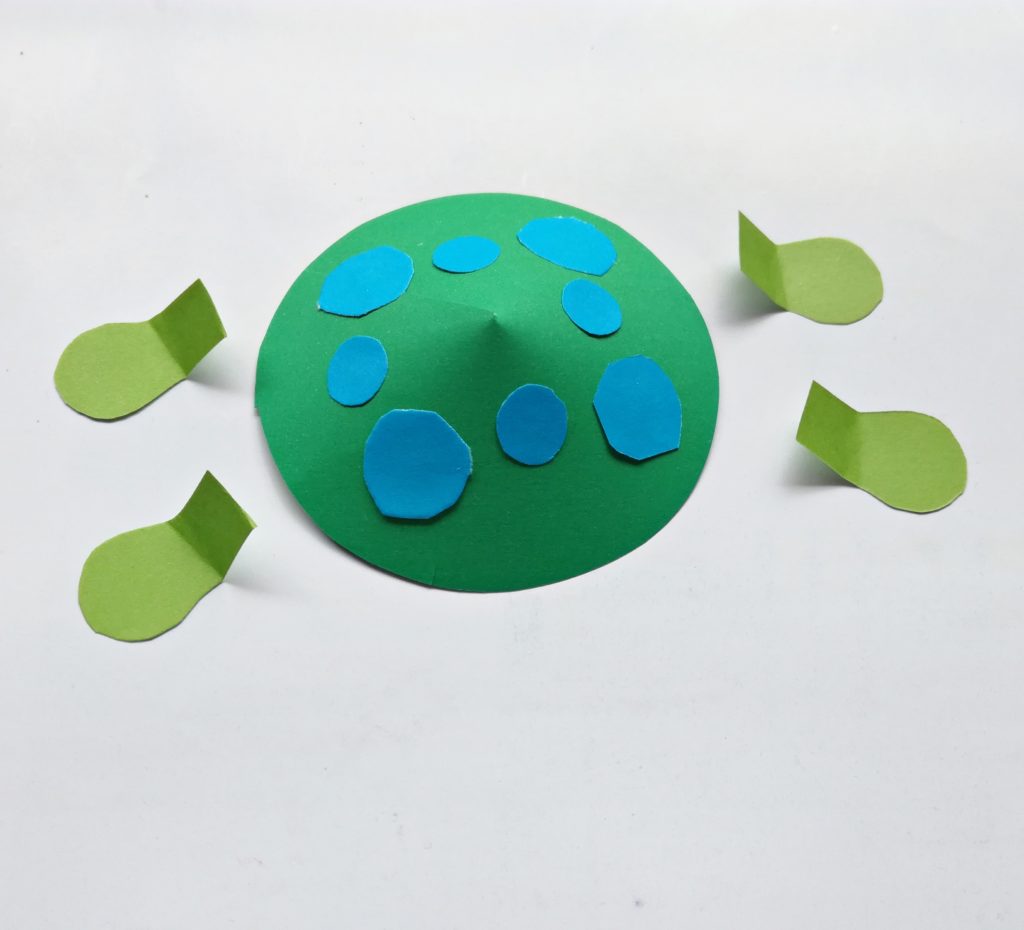
- Bend the feet of the turtle slightly in half.
- Glue the four legs on four sides of the circle.
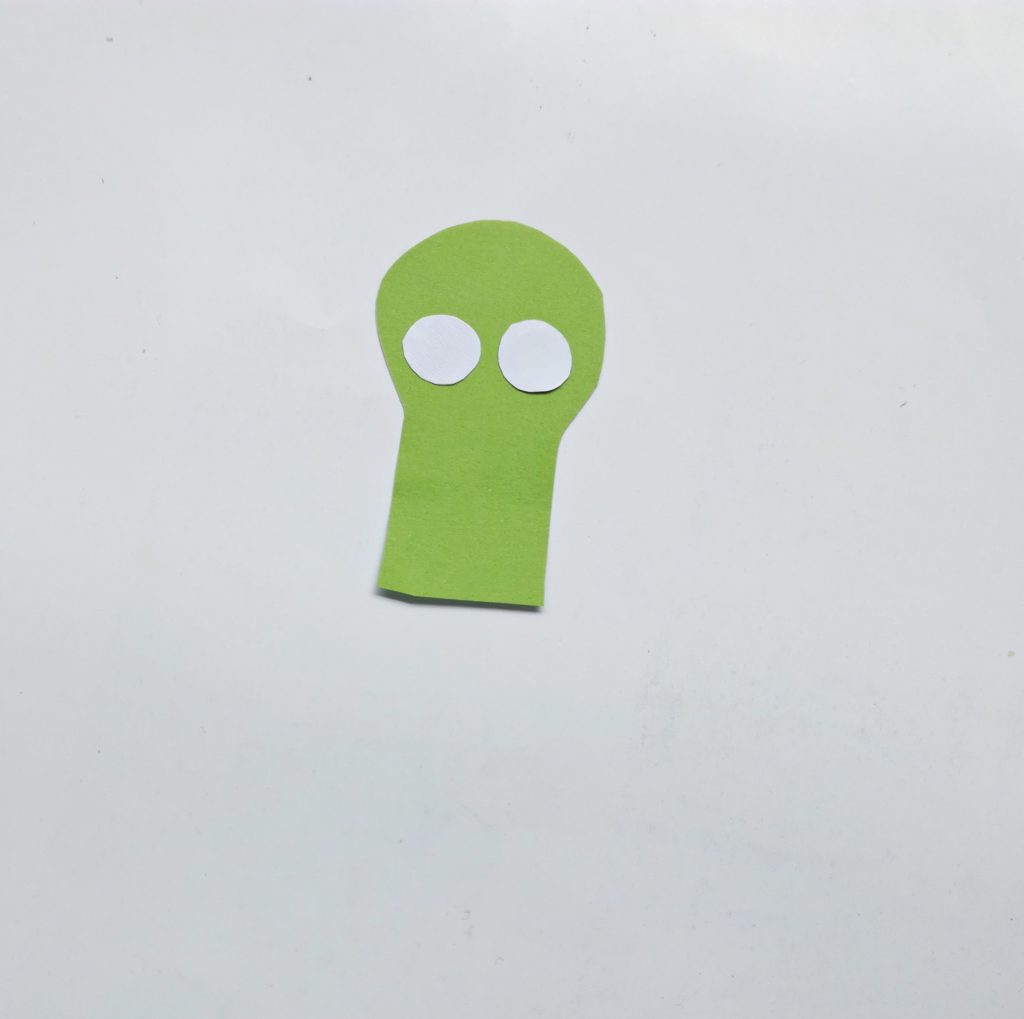
- Glue the smaller circles on the turtle’s head to make the eyes.
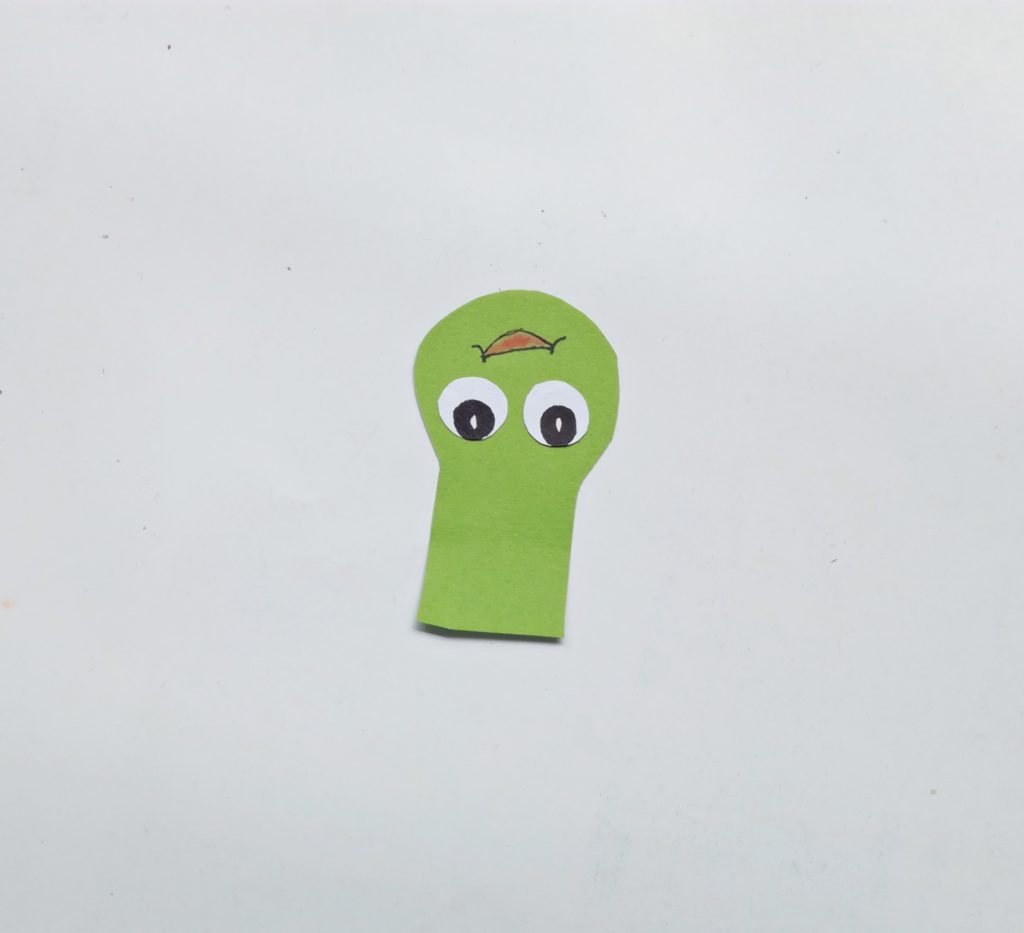
- Use a black marker pen to draw the eyes and use a pink pen to draw the face.
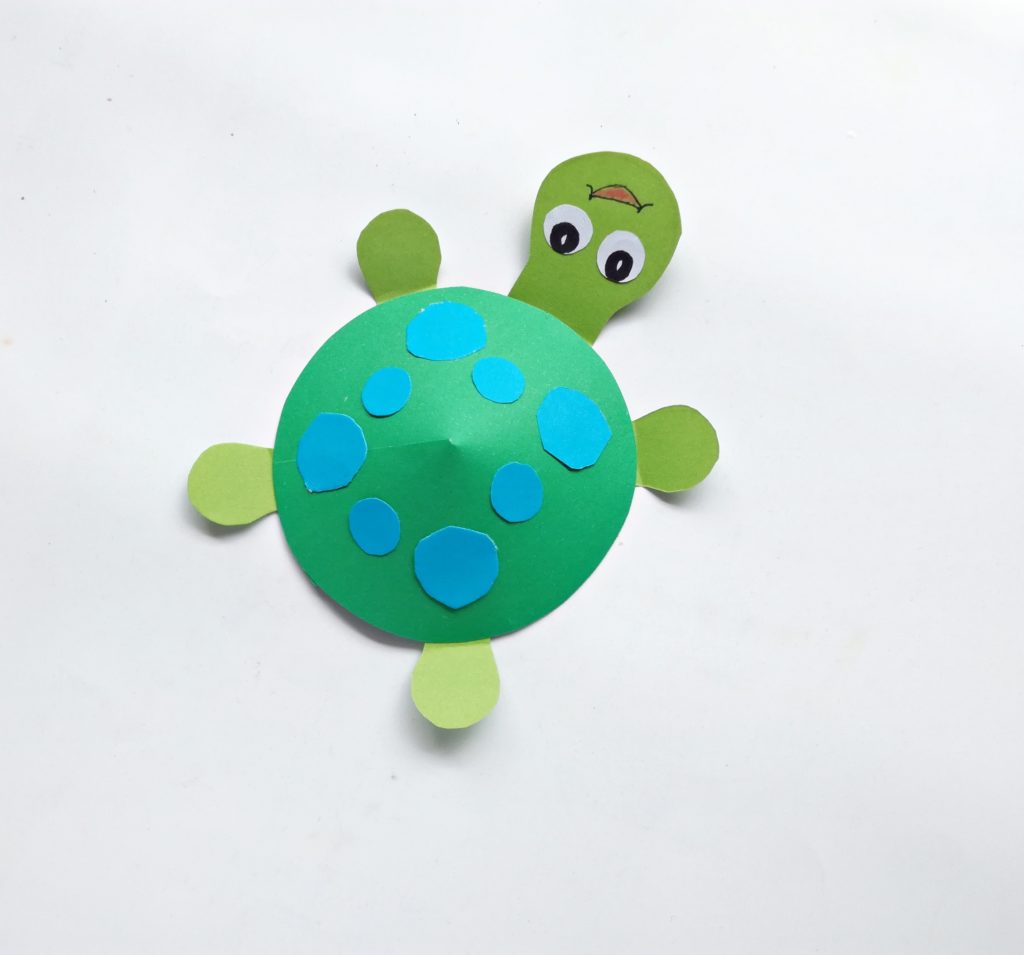
- Then glue the head of the turtle to the shell. And there you go…. It’s done!
Loved making the Paper Turtle with Cricut? Save it for later!
Also, check out these free crafts for kids to do at home.
- Cute DIY Felt Pencil Toppers [FREE SVG]
- Paper Plate Fox Cricut Craft for Kids [FREE SVG]
- Cute DIY Felt Cloud Wall Hanging [FREE SVG]

![Cute Felt Frog Craft [Template+SVG Free]](https://cutnmakecrafts.com/wp-content/uploads/2020/06/felt-frog-craft-template-and-svg-by-cricut-maker-crafts-100x150.png "Cute Felt Frog Craft [Template+SVG Free]")