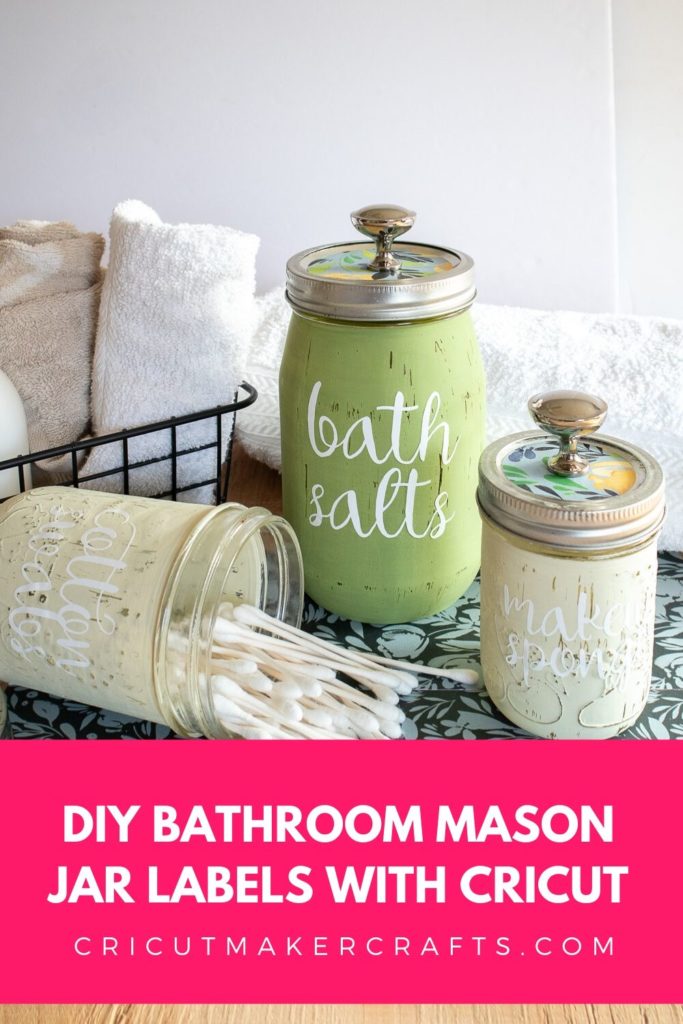
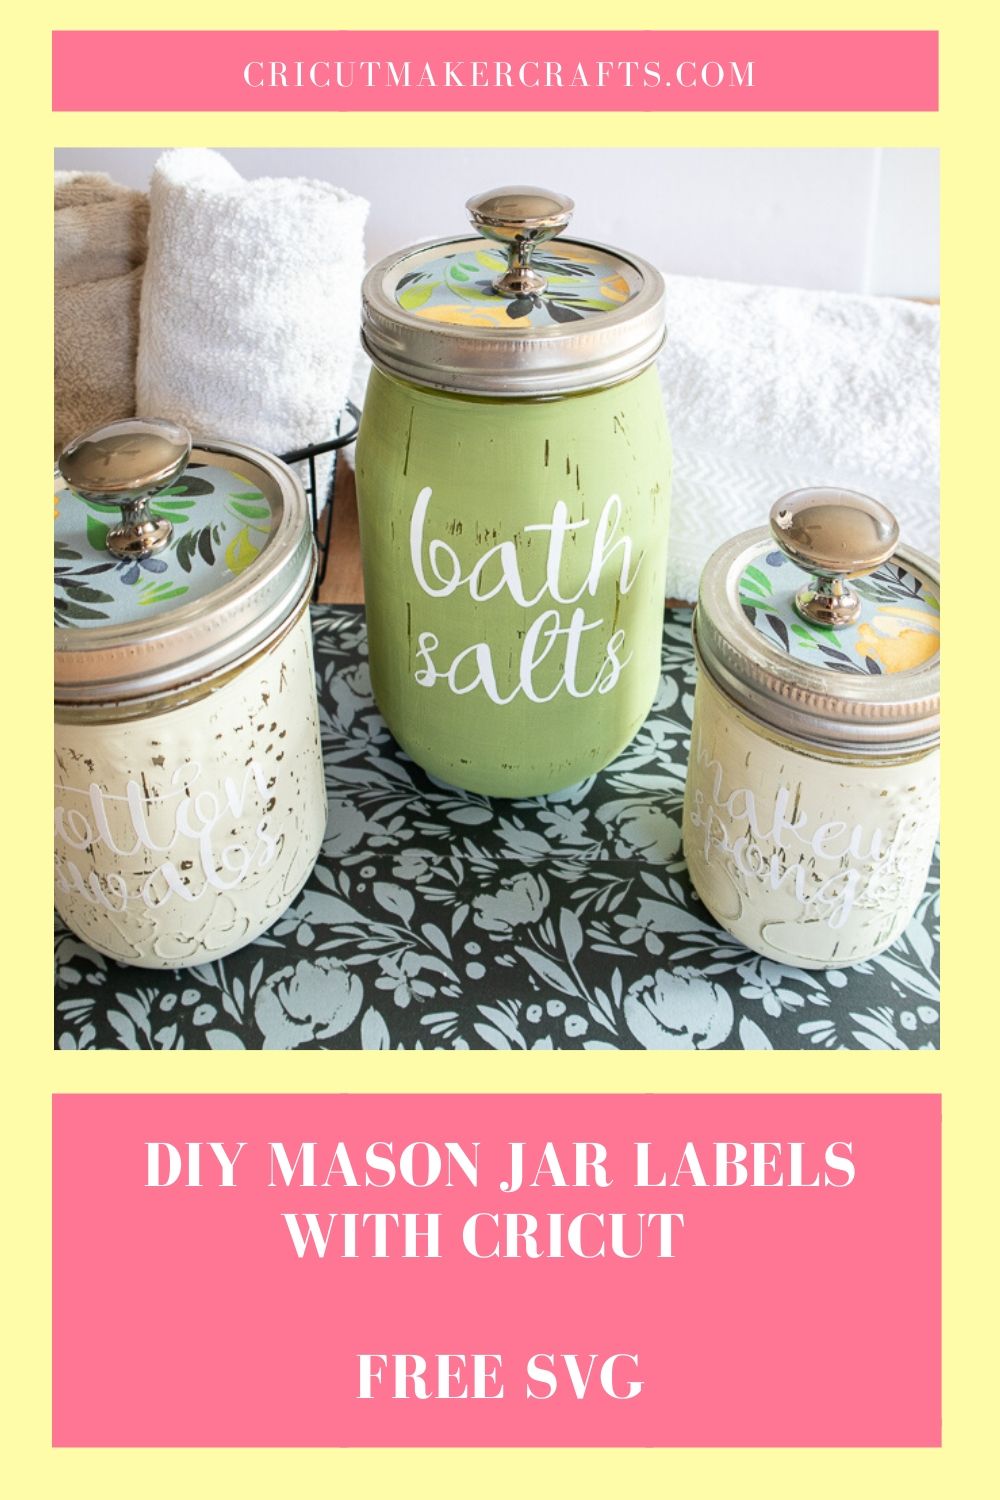
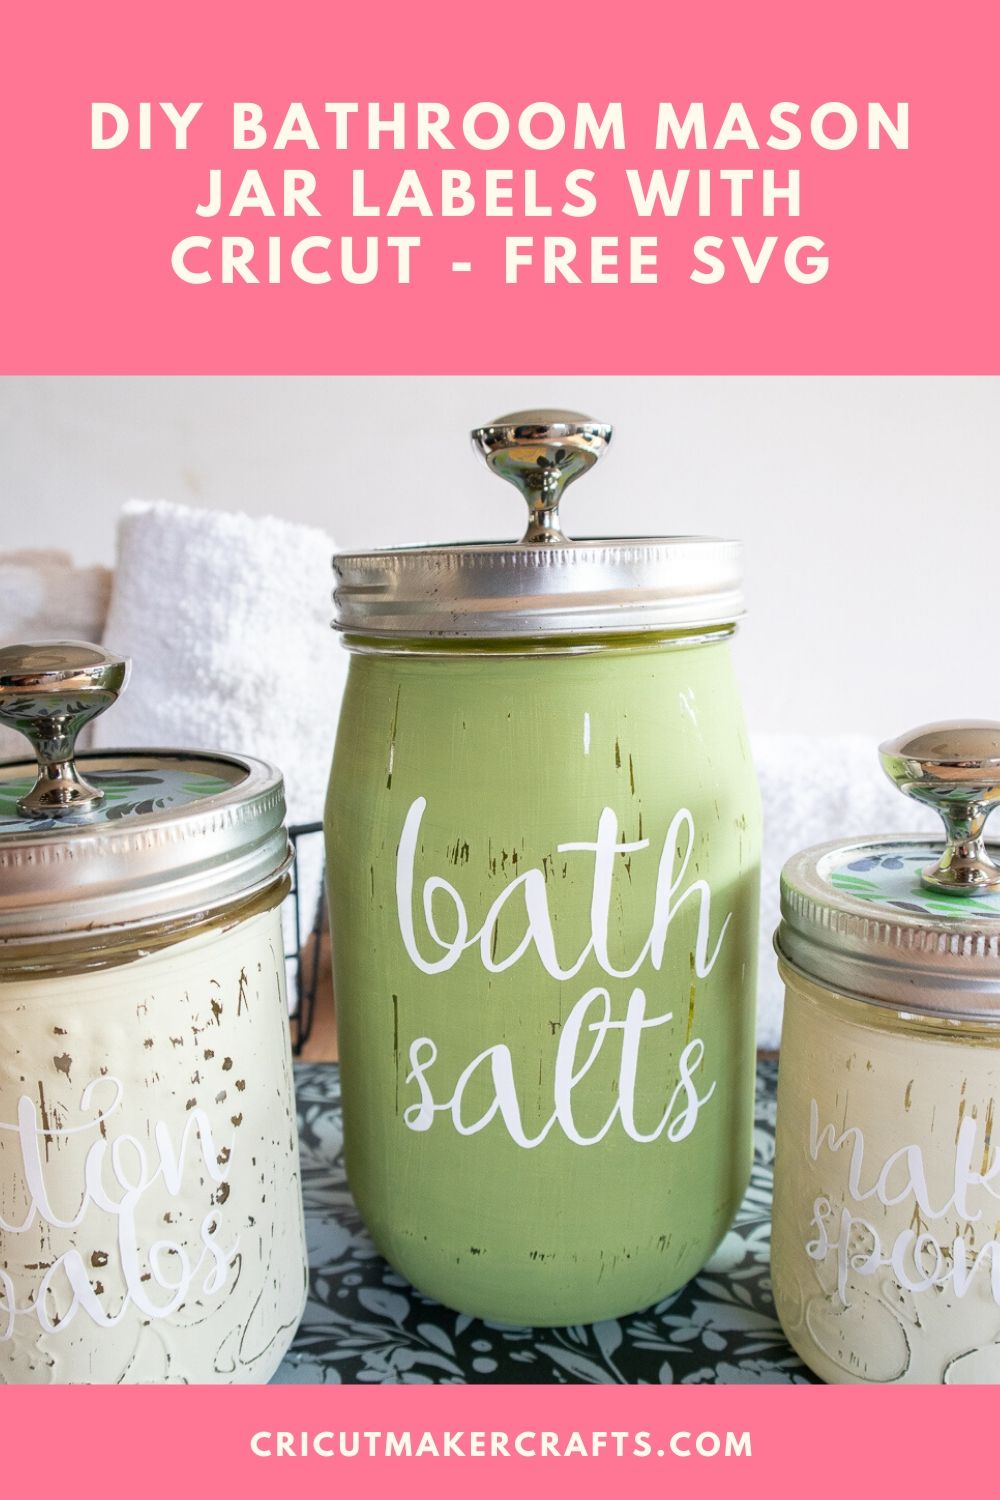
Learn to make cut labels for mason jars in this Cricut Mason Jar Labels DIY project complete with chalky paint. This is FUN mason jar Cricut project to up-cycle mason jars and give them a fresh new look.
Hello Cricut buddies! Welcome to Cut N Make Crafts. If you love up-cycled projects, this is a tutorial you’d definitely want to try because in this post we’re covering all the steps for painting and adding gorgeous labels to mason jars to create wonderful bathroom storage.
I mainly use jars to store spices because we use a TON of spices in all our food and those mini ones get used up real quick, so I mostly buy the spices in bulk like 5 kg at a time and store them in the jars. I’m currently in the process of labeling all the jars because even though I can easily tell the difference between each of the spices, my husband can’t, so I HAVE label ALL the jars. Thankfully, I have my Cricut to do the job or else I’d have to use a label maker like Amy Santiago from Brooklyn 99. [Anyone watches that series? It’s one of my fav!]
Okay enough talk, let’s get down to some work and create these gorgeous mason jar labels with Cricut!
AFFILIATE DISCLOSURE: Cut N Make Crafts is a participant in the Amazon Services LLC Associates Program, an affiliate advertising program designed to provide a means for sites to earn advertising fees by advertising and linking to Amazon.com.
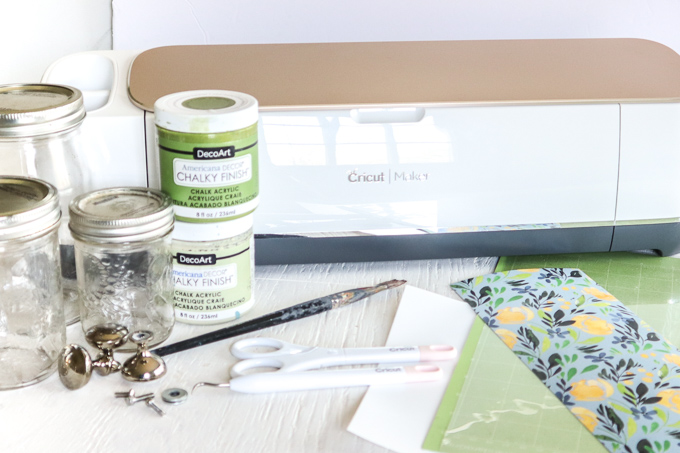
Supplies Needed for Cricut Mason Jar Labels DIY
- -Bathroom Canister SVG File [Available for FREE for the VIPs, become a VIP by signing up for the email list below]
- –Cricut Maker (or Cricut Joy) with Fine Point Blade
- –Standard grip mat
- -Cricut Premium Vinyl, Removable (White) or Permanent in color of your choice
- -Cricut Adhesive-Backed Deluxe Paper, Natalie Maran in the Grove
- -Cricut Transfer Tape
- –Mason Jars with lids, 8oz and 16oz
- -Scissors
- -Weeder tool
- –Americana Chalky Finish in Refreshing and New Life
- -Fine Grit Sandpaper, 200 grit
- -Paintbrush
- -Hot glue gun with clear glue sticks
- –Decorative knobs with screws and suitable sized washers
- -Drill and drill bit
SIGN UP FOR THE VIP LIST BELOW AND GET THE FREE SVG
Pre-Prep Instructions
- Gather supplies.
- Thoroughly wash jars with soap and hot water and let them dry completely before using.
Preparing the Mason Jars
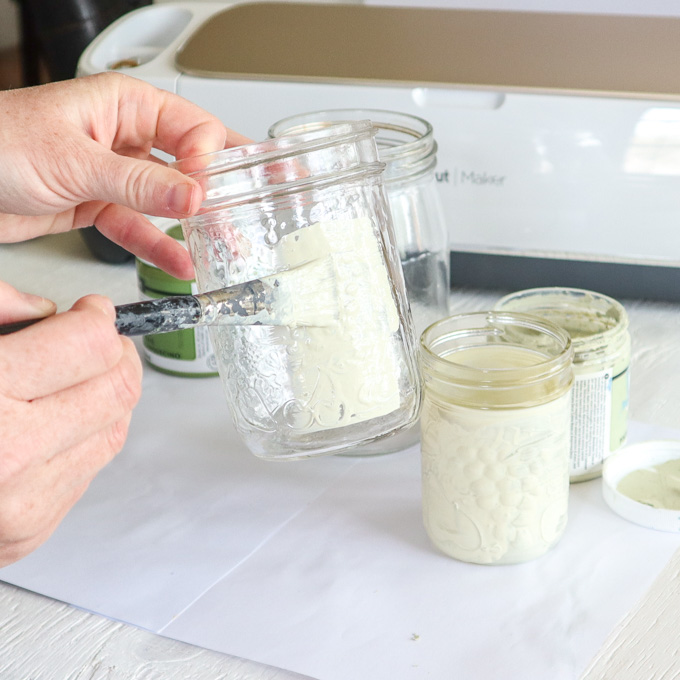
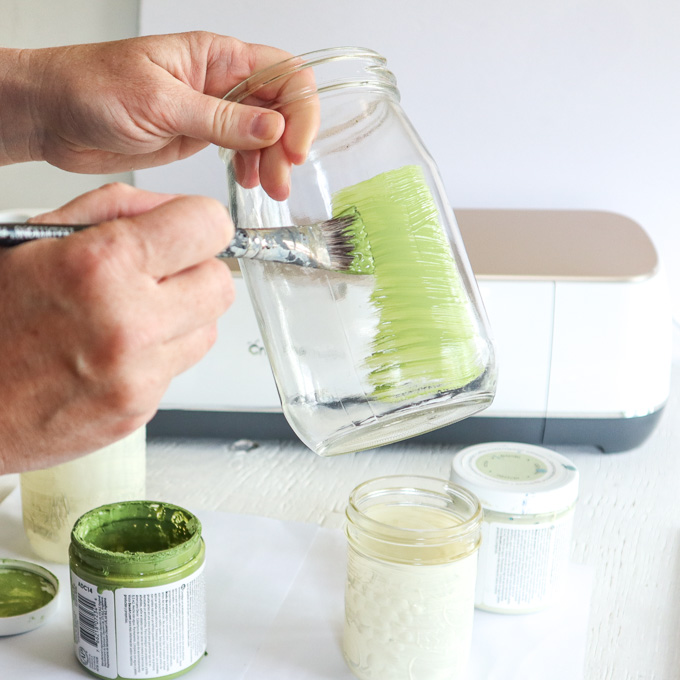
- Apply a thin coat of chalky finish paint to each of the mason jars leaving the neck of the jars unpainted. Put aside to dry fully and repeat with additional coverage as needed.
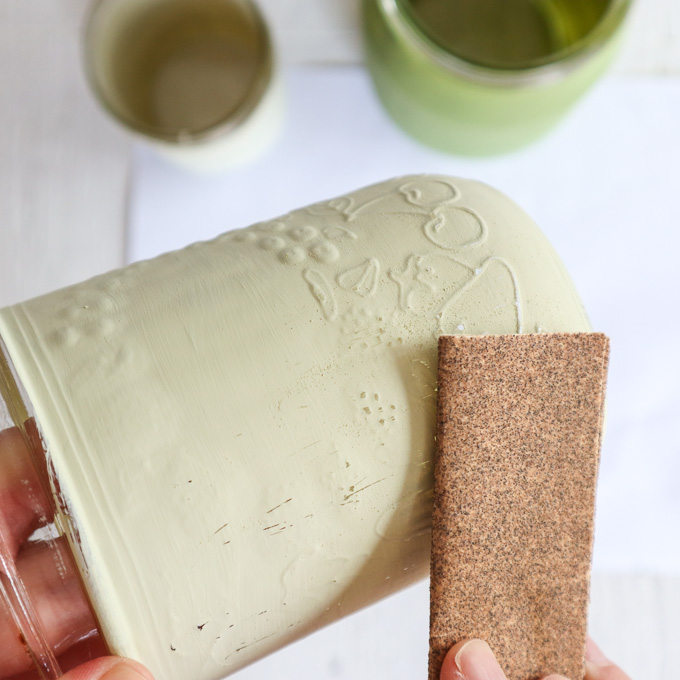
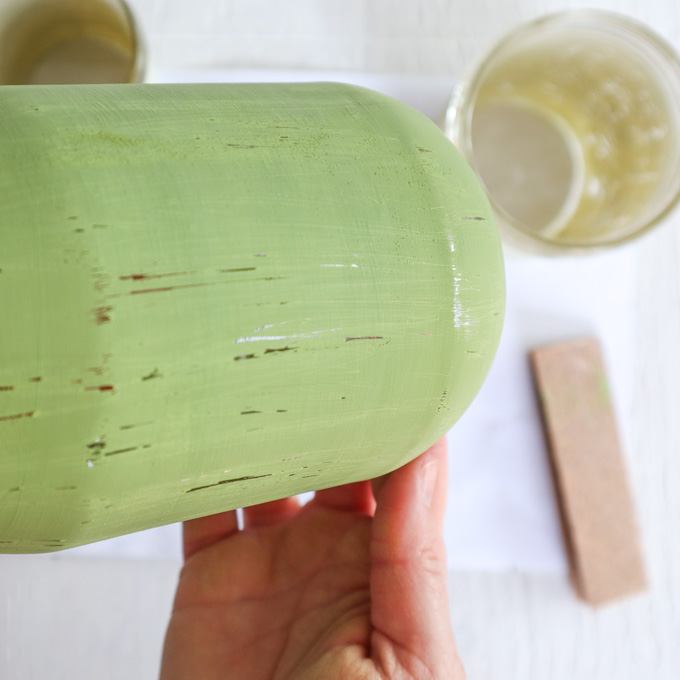
Once dry, distress the chalky paint using a piece of soft grit sandpaper to gently sand the surface of the mason jars moving your hand around the jar in one direction.
Uploading the SVG Pattern
- Upload the Bathroom Canister SVG File into Design Space.
- Click Ungroup.
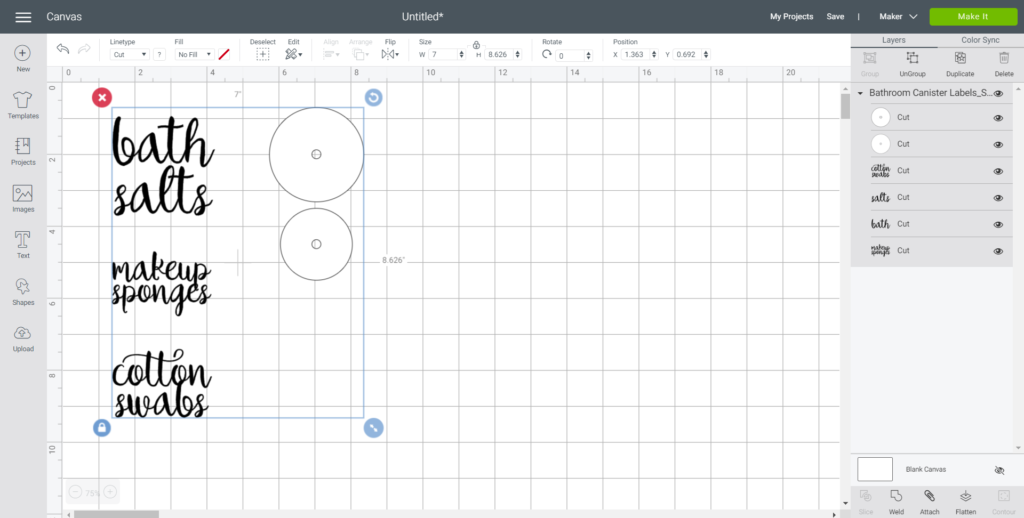
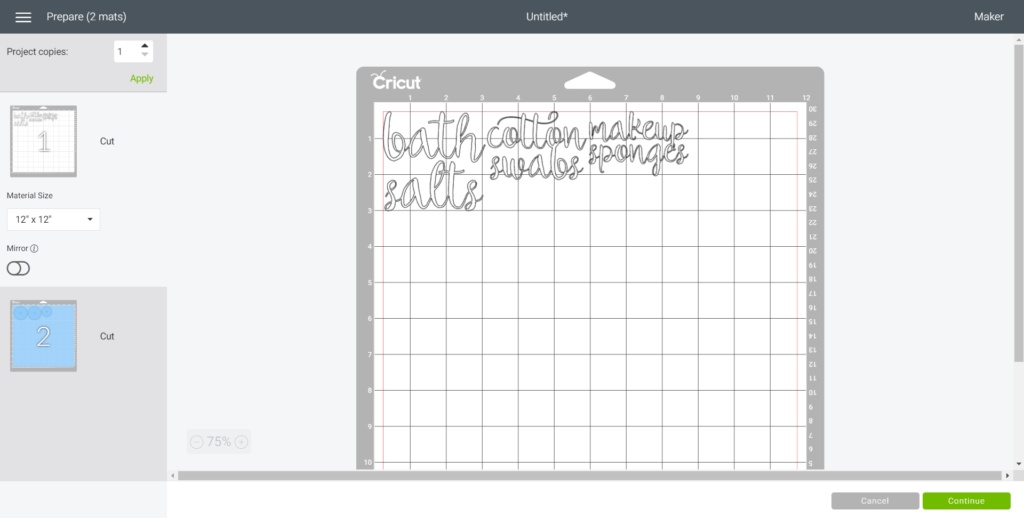
Click and drag over the “bath salts” phrase and with the image highlighted, click on the Weld button.
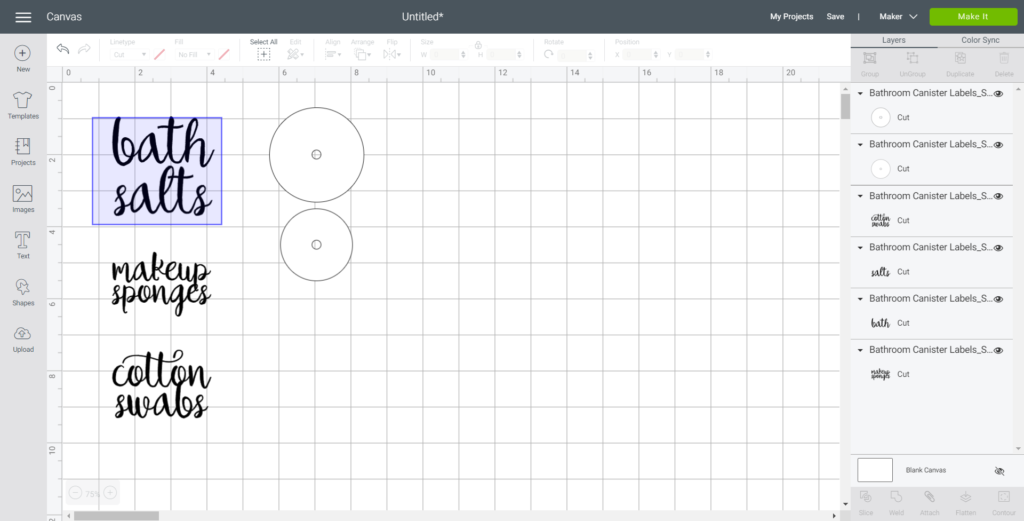
Adjust phrase sizes to fit mason jars accordingly. The “bath salts” phrase is sized to 2.75” high on the Design Space canvas to fit a 16 oz jar. The “cotton swabs” phrase sized to 2.75” wide and the “makeup sponges” phrase sized to 2.75” wide.
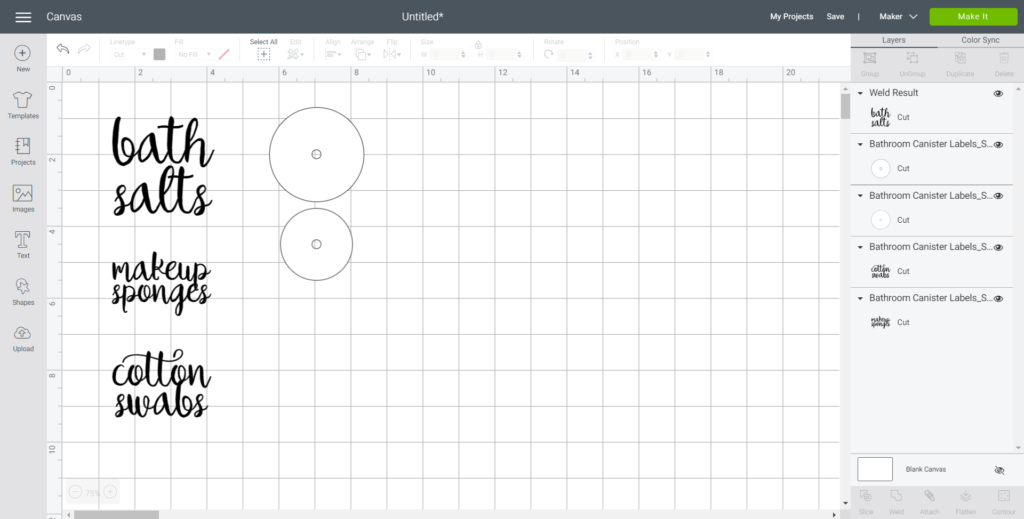
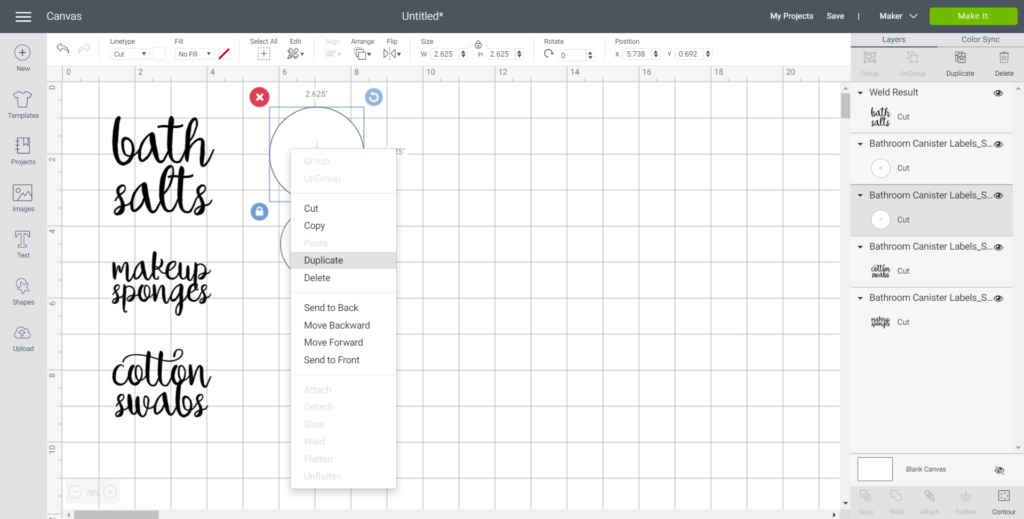
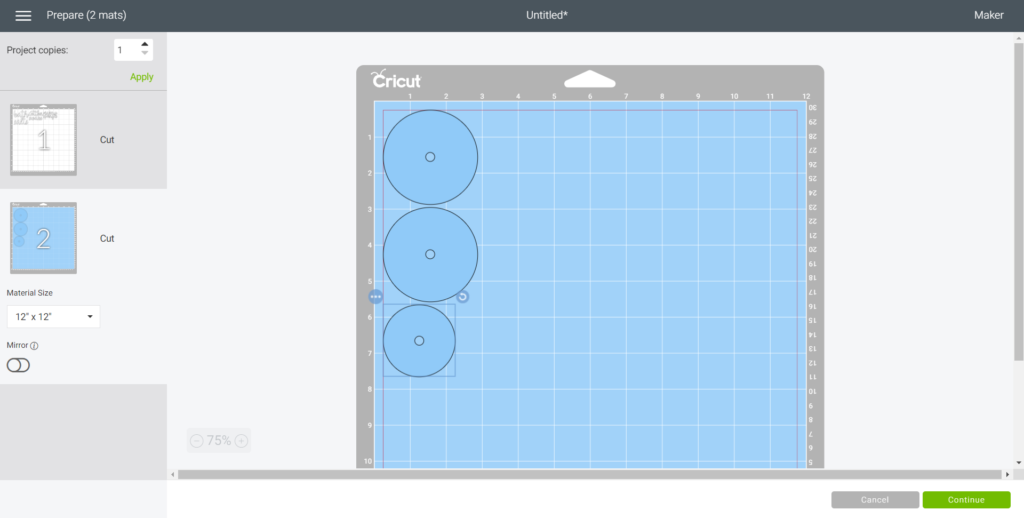
The circle shapes are for cutting the adhesive backed card stock for the mason jar lid toppers. Measure the size of your lids to ensure these templates will fit. Duplicate or adjust the circle shapes as needed to fit your lids.
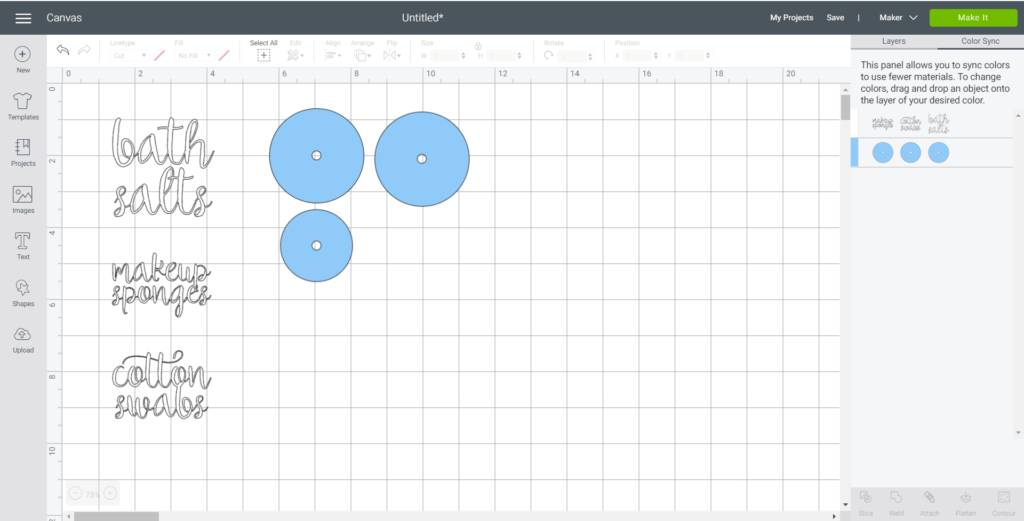
Color sync the images if needed to match the materials color.
Cutting
- Select “Make It” in Design Space.
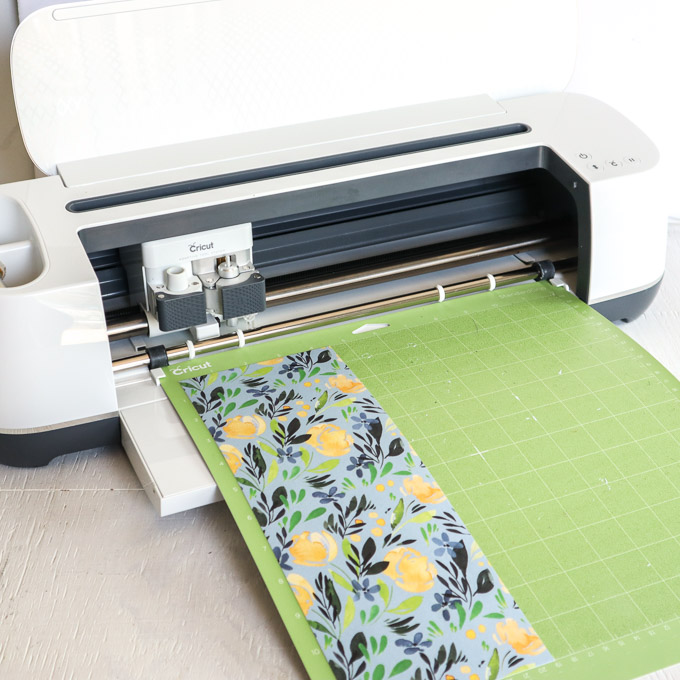
- For cutting phrases, set the material type to Premium Vinyl.
- Follow prompts for loading the mat into the Cricut Maker or Cricut Joy and cutting the Premium Vinyl. When prompted, unload the mat from the cutting machine.
- Remove the Premium Vinyl from the mat.
- For cutting the lid toppers, set the material type to Card-stock with adhesive backing.
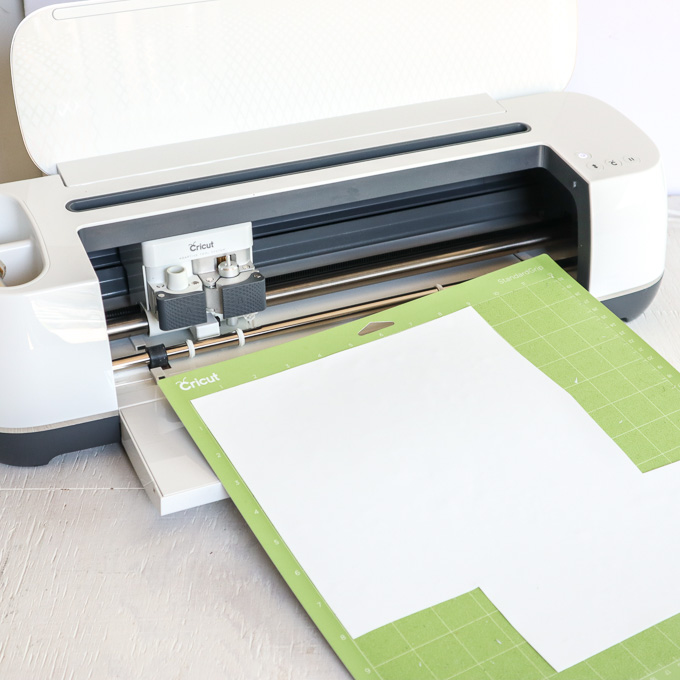
- Follow prompts for loading the mat into the Cricut Maker or Cricut Joy and cutting the toppers. When prompted, unload the mat from the cutting machine.
- Remove the adhesive backed card stock from the mat.
How to Assemble the Jars
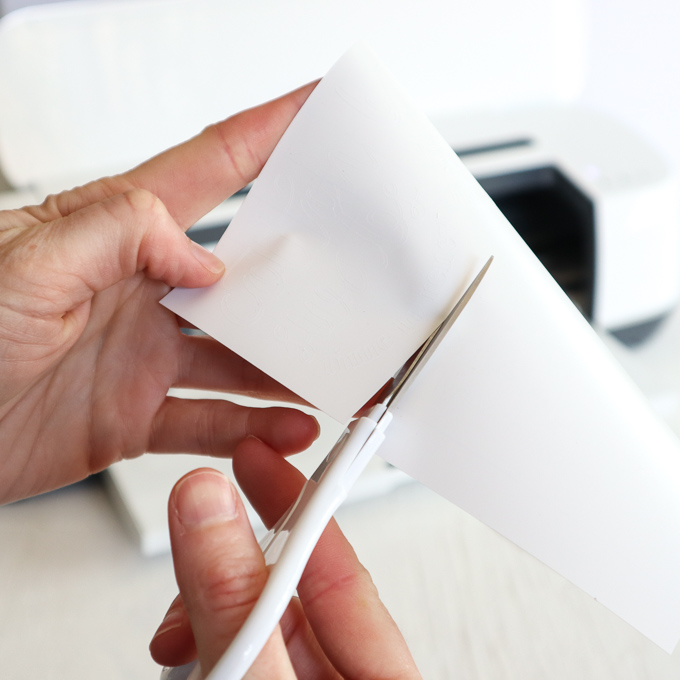
- Cut around each image with a pair of scissors.
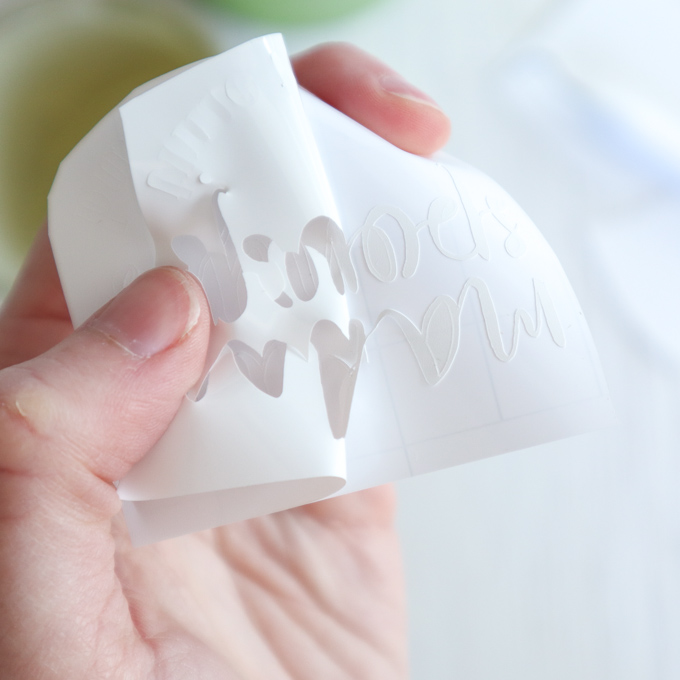
- Using the weeding tool, peel away the excess vinyl around the cut images and discard.
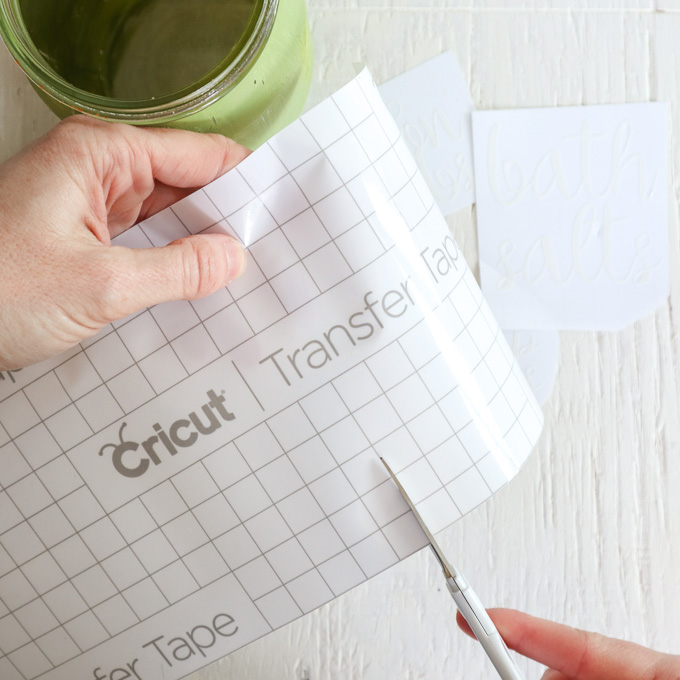
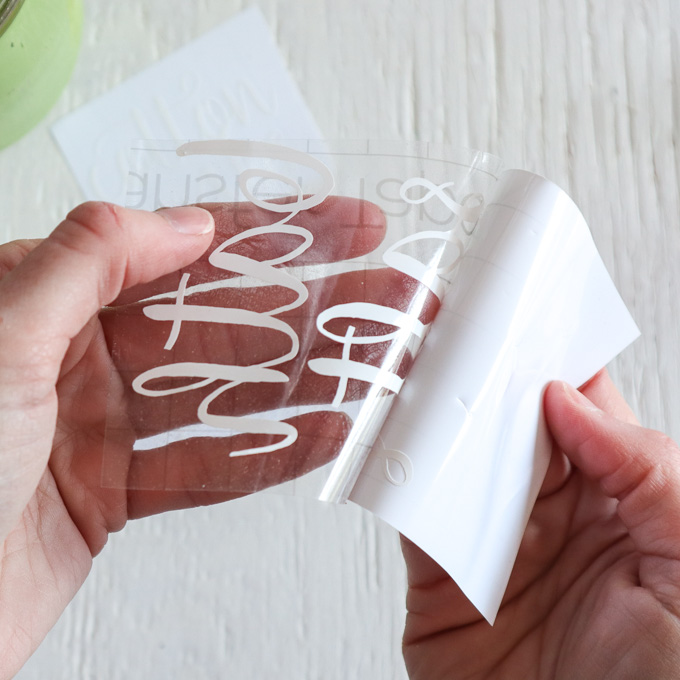
- Cut a piece of transfer tape a bit larger than the size of the image.
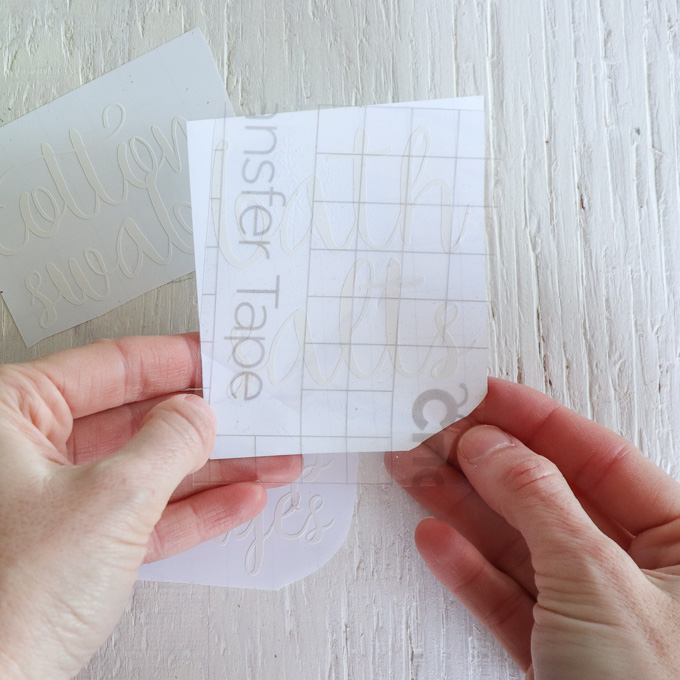
- Peel away the transfer tape backing and place the transfer tape overtop of the cut image. Gently rub the vinyl to help it stick to the transfer tape.
- Peel away the vinyl backing, leaving just the image adhered to the transfer tape.
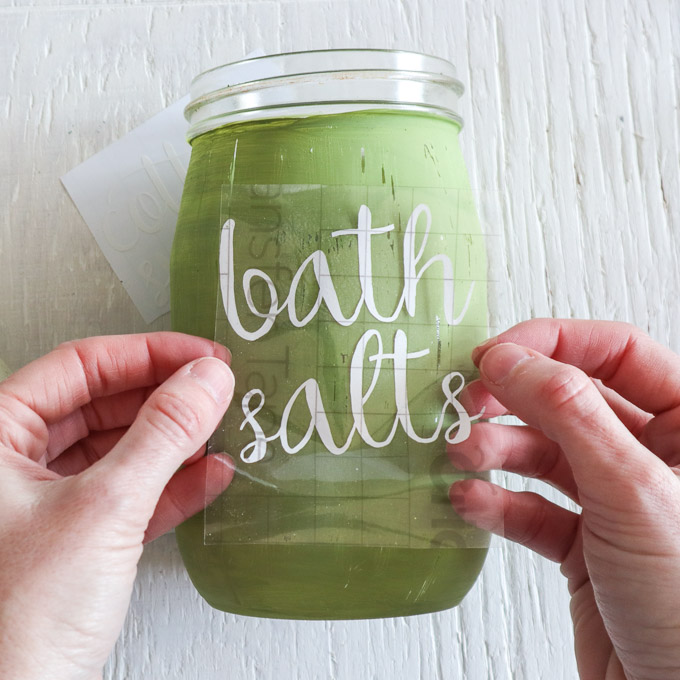
- Position the phrase with the transfer tape on to the smooth side of a jar and press in place.
- Press the vinyl phrase down with your fingers to help it to stick to the painted glass jar.
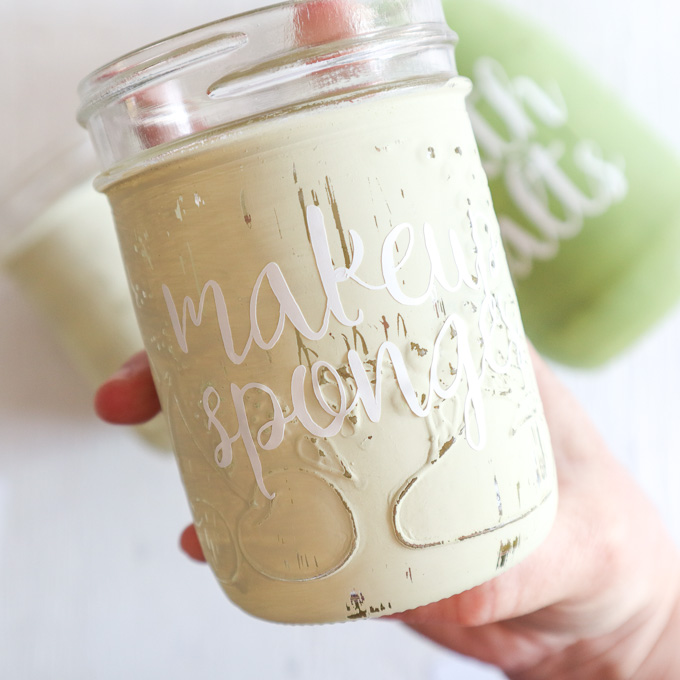
- Slowly and carefully remove the transfer tape leaving the vinyl image on the jar.
- Repeat for the other mason jars and phrases.
How to Assemble the Jar Lids
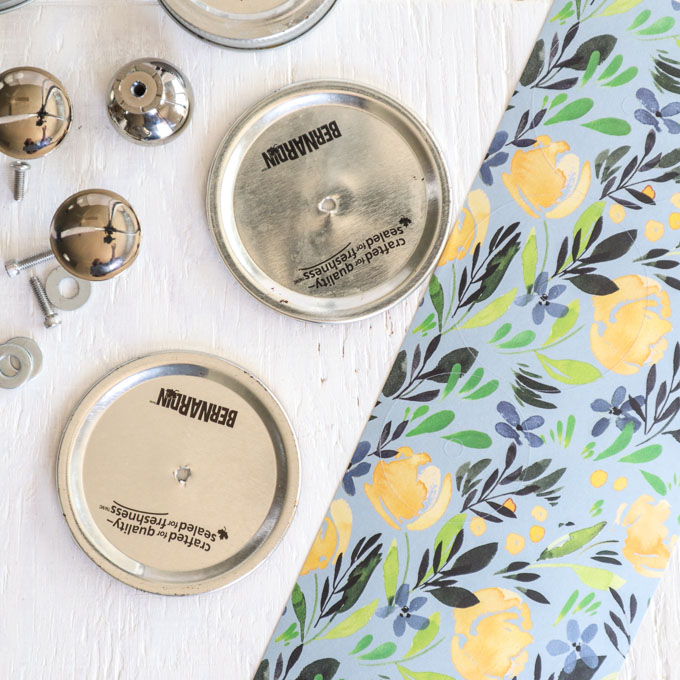
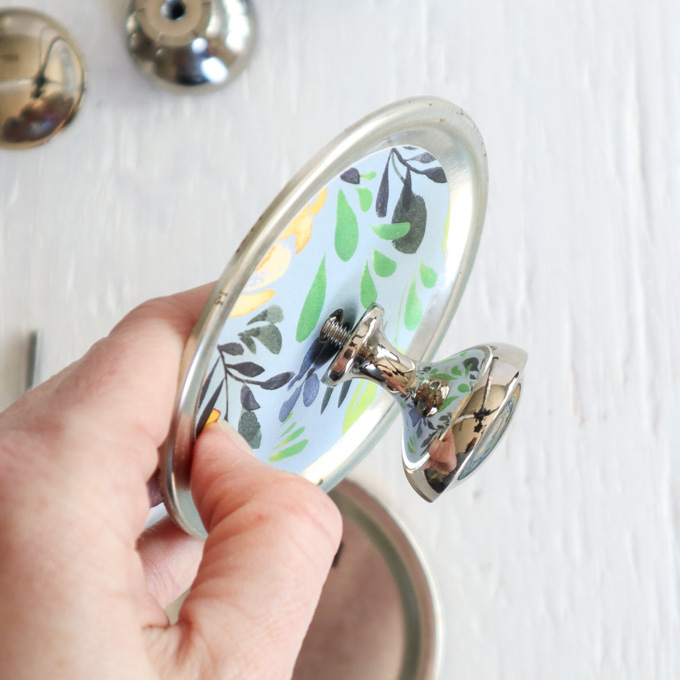
- Drill one hole the same size at the screw size for the knob through the center of the mason jar lid. Take extra care when handling sharp metal edges.
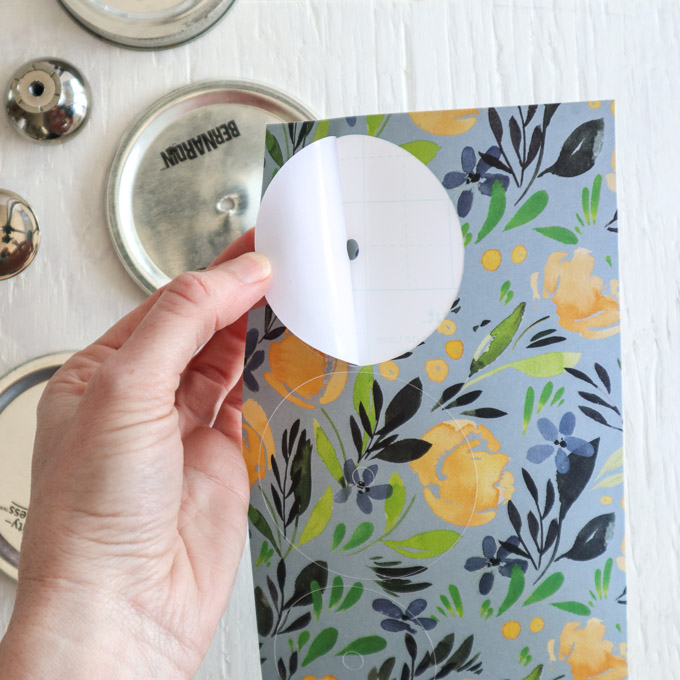
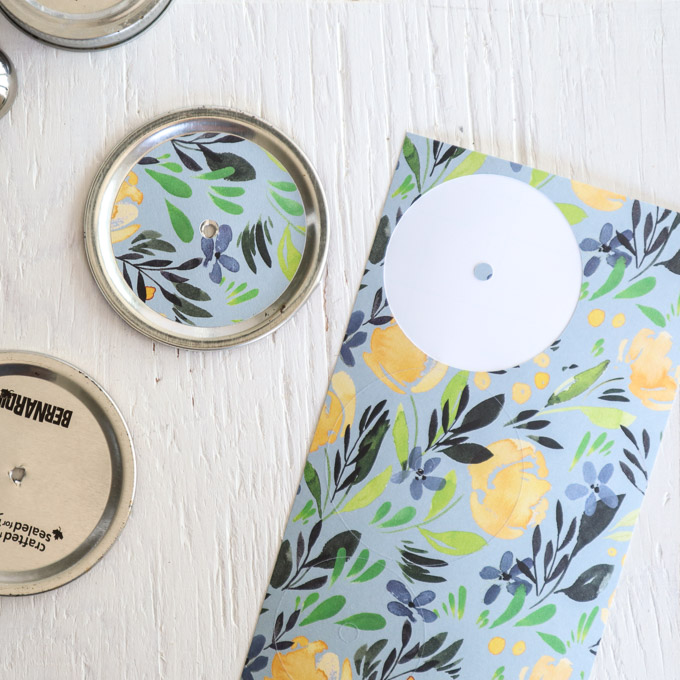
- Peel off one of the cardstock circles from the backing and place over top of the mason jar lid.
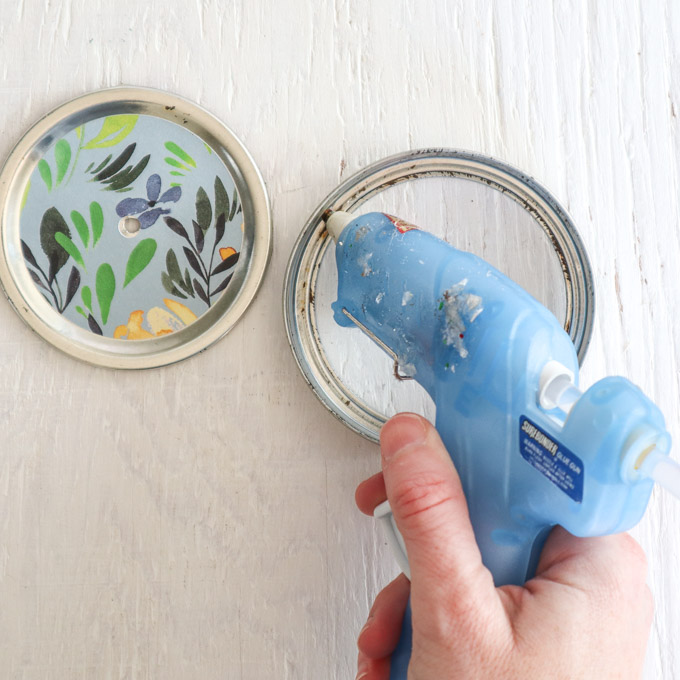
- If the lid is in two parts, glue them together using a hot glue gun with clear glue sticks.
- Screw the decorative knob onto the mason jar lid.
- Repeat with the remaining lids.
- To finish, fill the containers with your bathroom essentials.

![Cute DIY Felt Pencil Toppers [FREE SVG] Cute DIY Felt Pencil Toppers [FREE SVG]](https://cutnmakecrafts.com/wp-content/uploads/2020/06/DIY-PENCIL-TOPPERS-WITH-FREE-SVG-AND-TEMPLATE-1-100x150.jpg)
![DIY Welcome Tile with Cricut [FREE SVG] DIY Welcome Tile with Cricut [FREE SVG]](https://cutnmakecrafts.com/wp-content/uploads/2020/06/Cricut-welcome-tile-DIY-by-Cricut-Maker-Crafts-1-100x150.jpg)
![Cute DIY Felt Cloud Wall Hanging [FREE SVG] Cute DIY Felt Cloud Wall Hanging [FREE SVG]](https://cutnmakecrafts.com/wp-content/uploads/2020/05/diy-felt-cloud-wall-hanging-tutorial-100x150.png)


