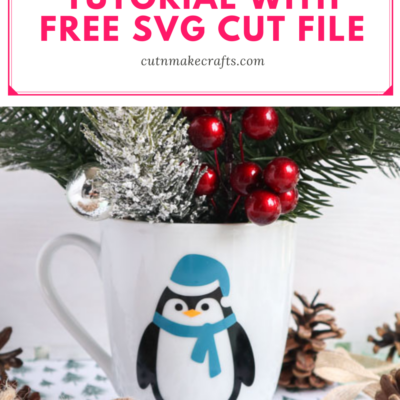
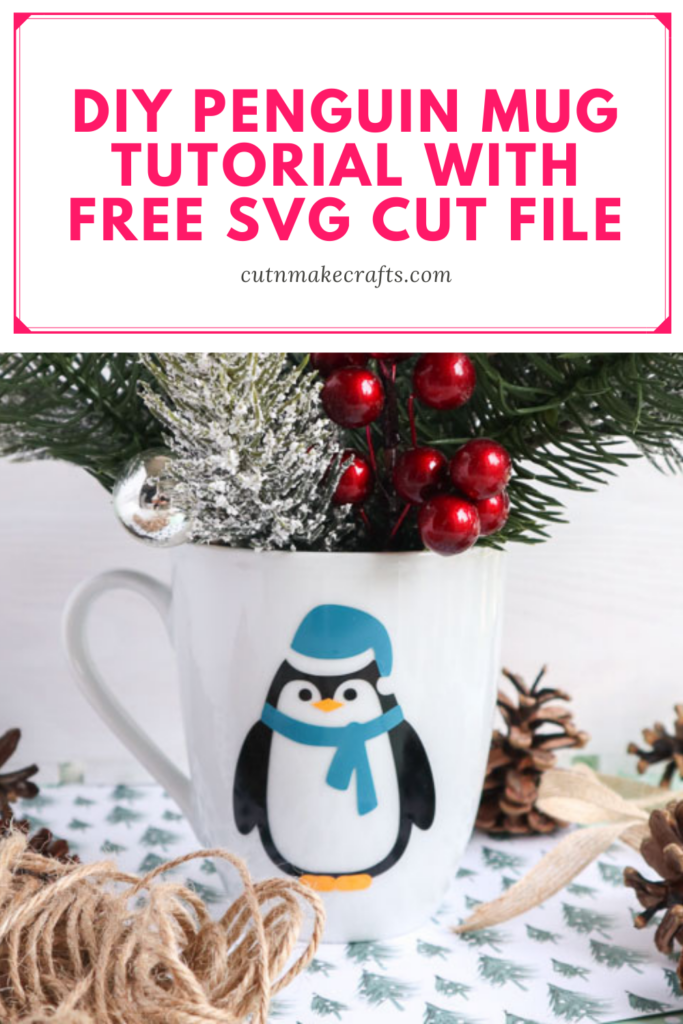
In this post, I’m sharing how to make cute custom penguin mug decor with Cricut and vinyl. This is a very easy beginner Cricut craft that you can make with supplies at your home.

DISCLAIMER: Cut N Make Crafts is a participant in the Amazon Services LLC Associates Program, an affiliate advertising program designed to provide a means for sites to earn advertising fees by advertising and linking to Amazon.com.
DIY Penguin Vinyl Mug
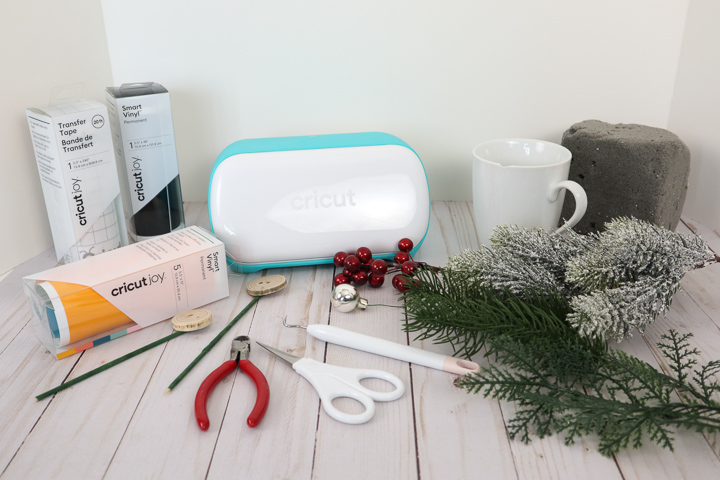
Supplies Needed to Make Vinyl Mug
For this project you will need the following supplies:
-
- Cricut Maker/Cricut Explore
- Light Grip Cutting Mat
- Essential Tools Set
- Adhesive Vinyl (I used Oracal 651 and Cricut Premium Vinyl) If you’re not sure what type of vinyl to use, check out my post Different Types of Vinyl and How to Use Them
- Cricut Transfer Tape
- Ceramic Mug (in a color of your choosing)
- Free penguin SVG cut file (you can grab this by signing up for the VIP list below).
DIY Penguin Mug Craft
Instructions
- Gather supplies. Thoroughly wash mug with soap and hot water and let dry completely before using.
Preparing the Images:
- Open Cricut Design Space.
- Click on the “+” sign to start a new project, opening up a blank canvas.
- Click on the “Upload” button from the toolbar and browse your downloaded files to insert the Penguin SVG file.
- The image will appear on the canvas.
- Click on all the same colored pieces and select “Attach” to secure pieces together for cutting.
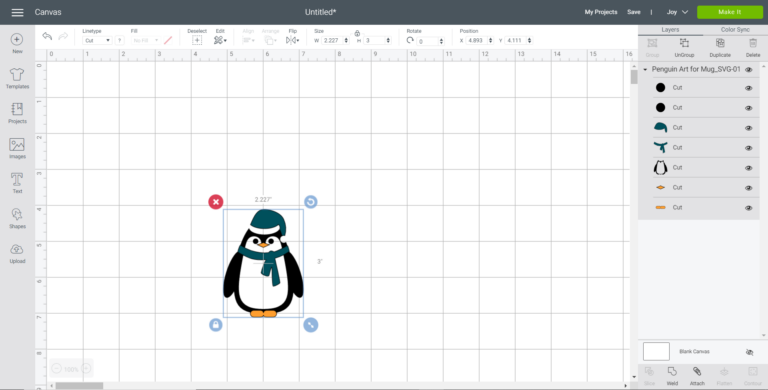
- Maintain the size at 3” high or adjust to fit your mug. To adjust the size, highlight the image and click on the size box in the top toolbar. Change the measurement to suit your mug size accordingly.
- Change the image color if desired to match with the material color.
Cutting the Permanent Smart Vinyl:
- Select “Make It” in the upper right corner to proceed with cutting.
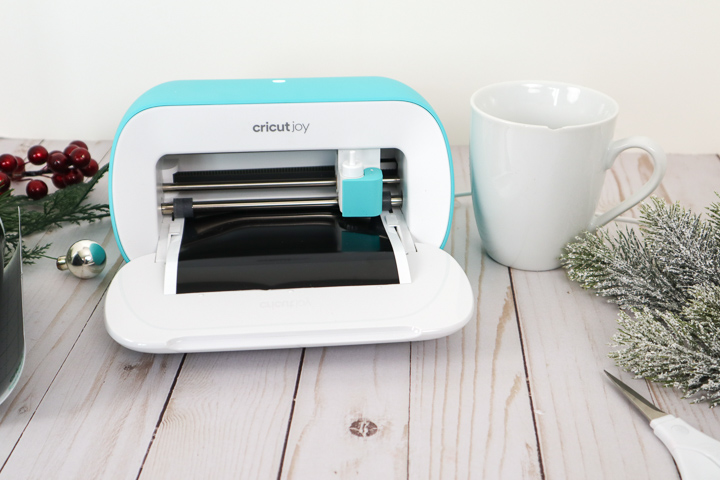
- If using Cricut Joy Smart Vinyl, choose “no mat” for cutting.
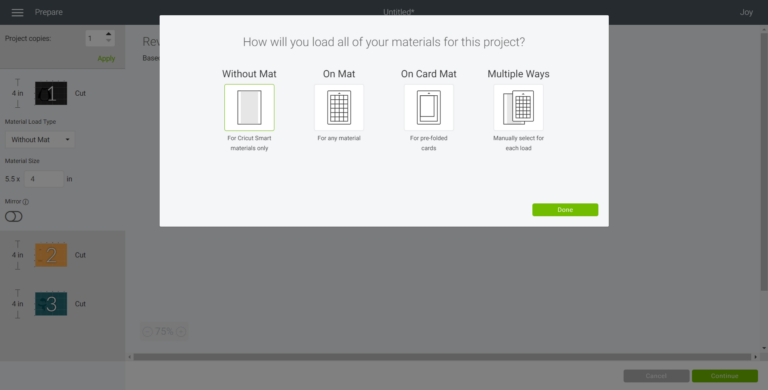
- Note the size of the Smart Vinyl needed and cut the length of the vinyl accordingly.
- Choose the Smart Vinyl, Permanent from the list of options in the drop-down menu.
- Following the instructions prompted on the screen, cut out the vinyl in all of the colors needed.
How to Assemble the Mug
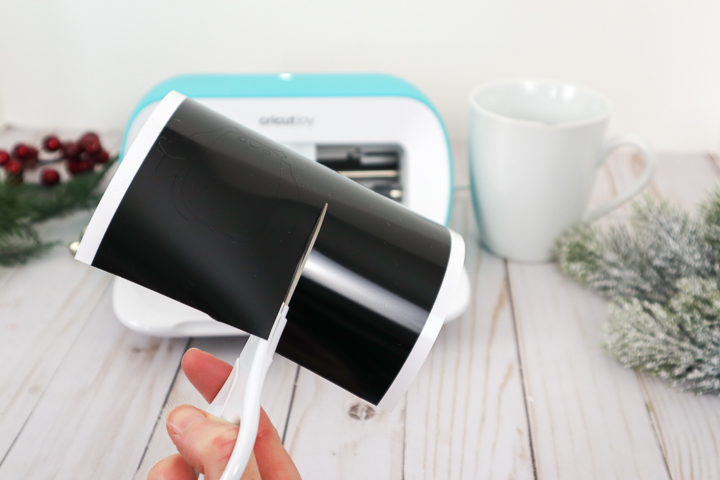
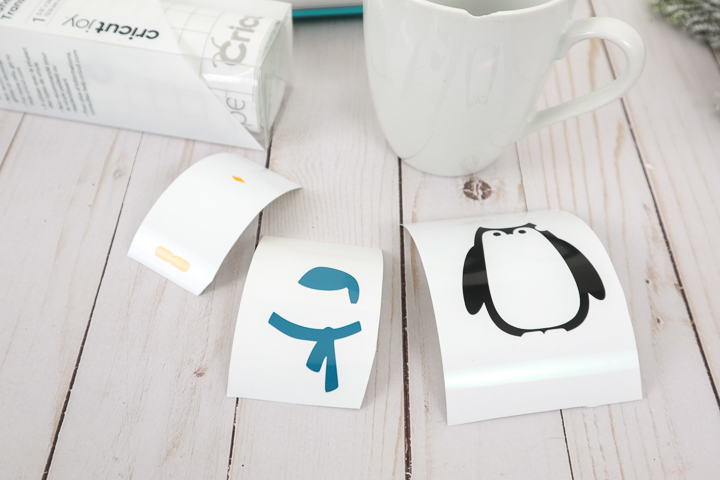
- For each color, cut around the whole image with a pair of scissors.
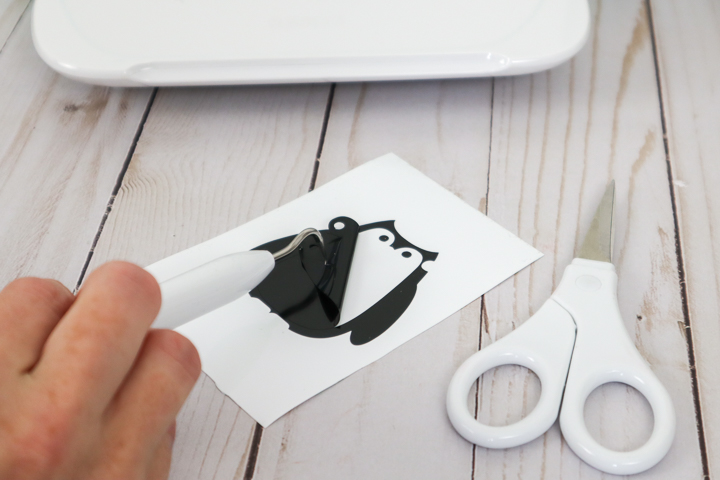
- Using the weeding tool, peel away the excess vinyl around the cut images and discard.
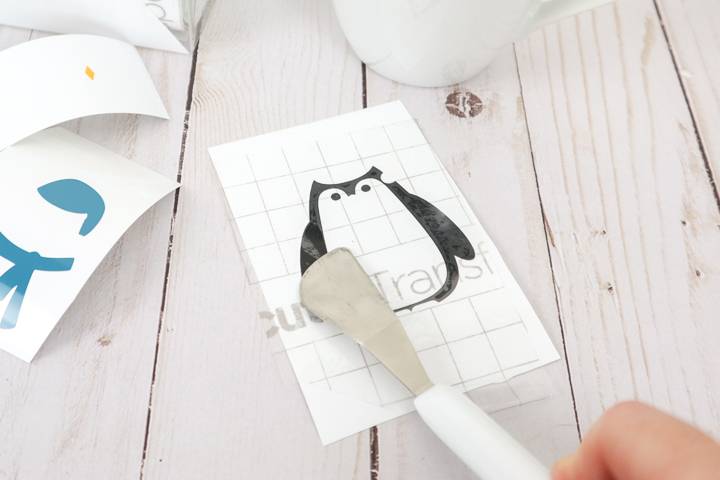
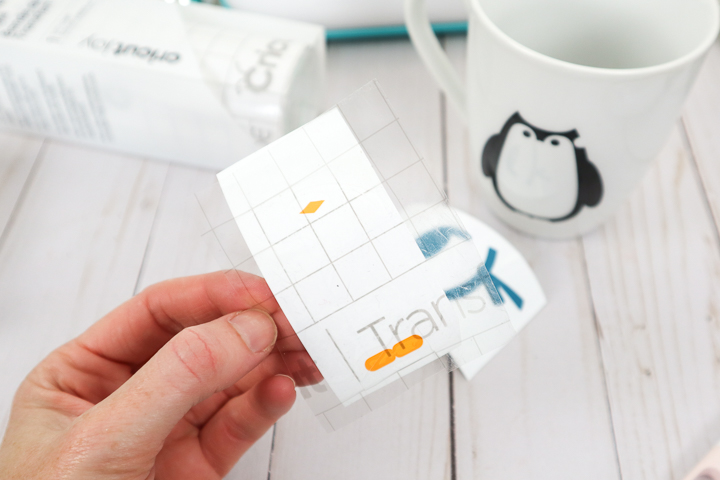
- Starting with the penguin body, cut a piece of transfer tape a bit larger in size.
- Peel away the transfer tape backing and place the transfer tape over top of the cut image. Gently rub the vinyl to help it stick to the transfer tape.
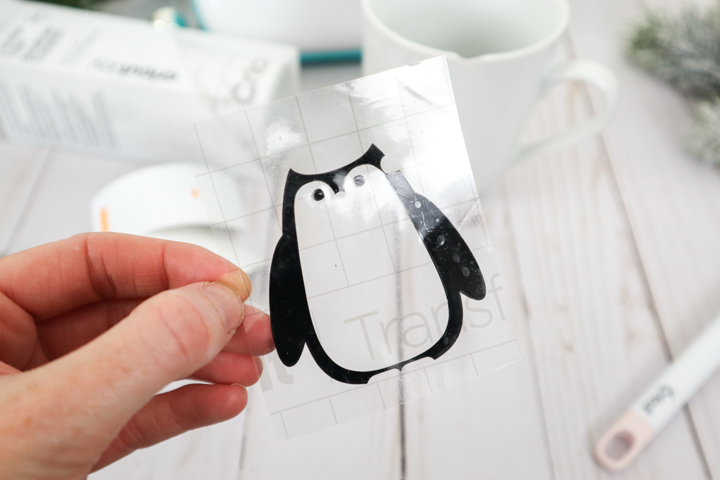
- Peel away the vinyl backing, leaving just the penguin body and eyes adhered to the transfer tape.
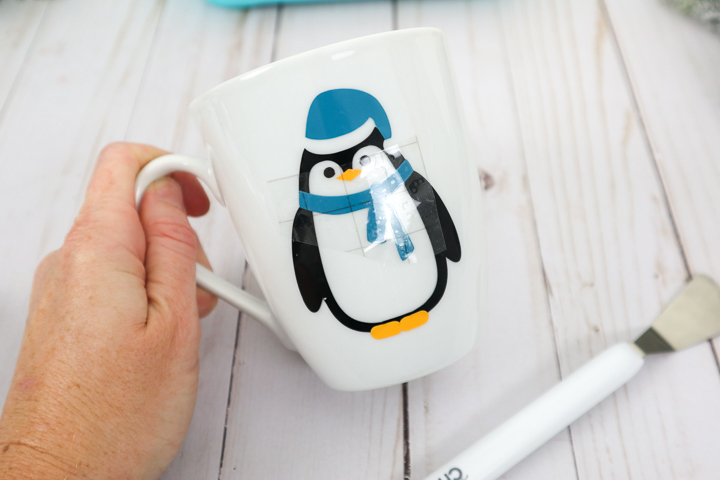
- Carefully consider the placement before applying as the permanent vinyl can’t be removed if placed incorrectly. Position the image with the transfer tape on to the smooth side of the mug and press in place.
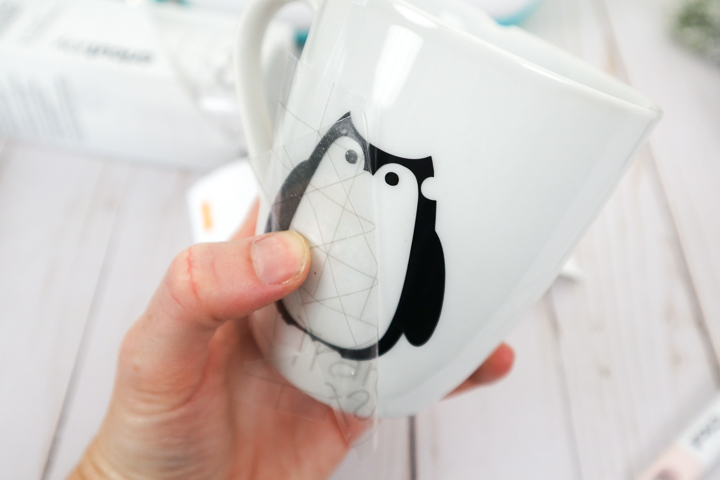
- Tip – if mug is not a flat surface, cut into the transfer tape (but not vinyl) with scissors to help it shape around the mug.
- Press the image down with your fingers to help it to stick to the mug.
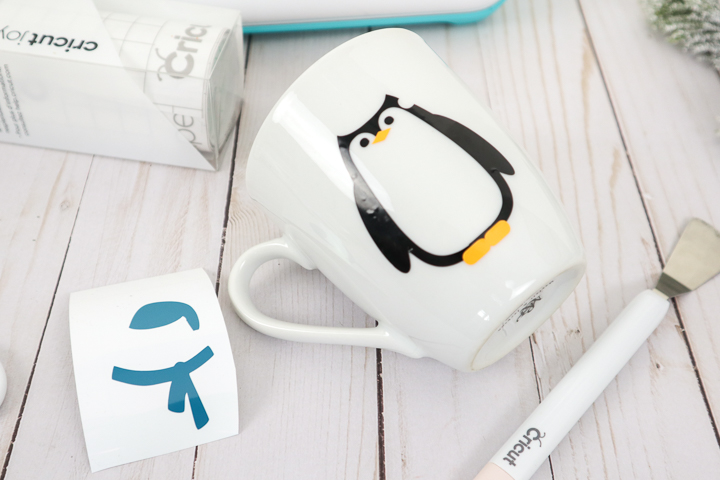
- Slowly remove the transfer tape leaving the vinyl image on the mug.
- Repeat for the other pieces (nose and feet; hat and scarf).
- Insert floral foam inside the mug.
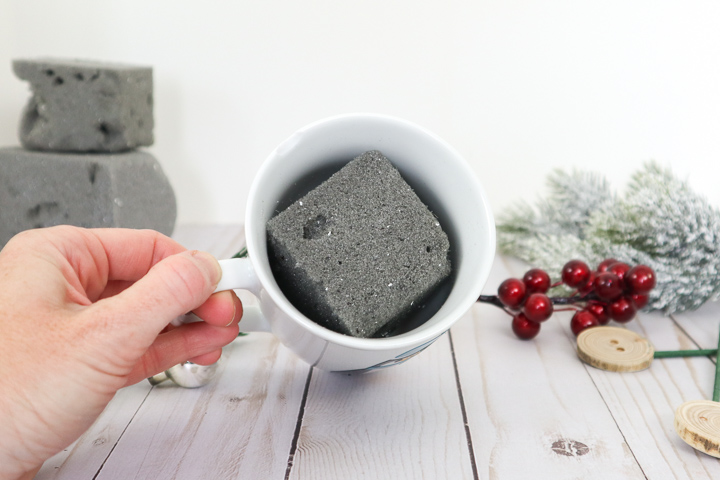
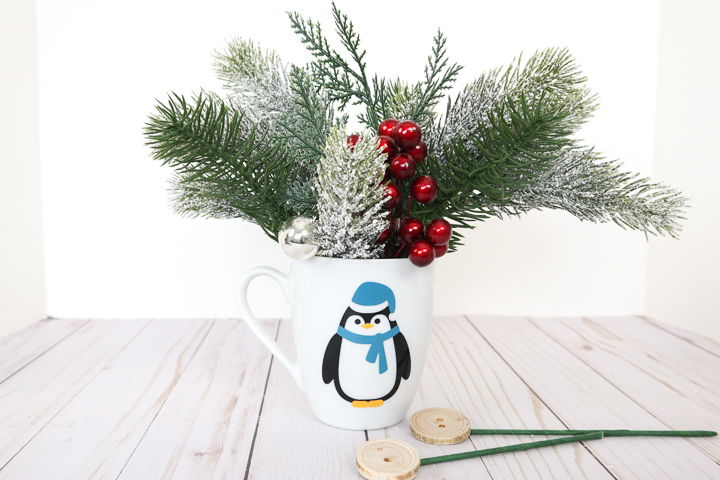
- Insert the faux greens into the foam starting with the longest piece in the center.
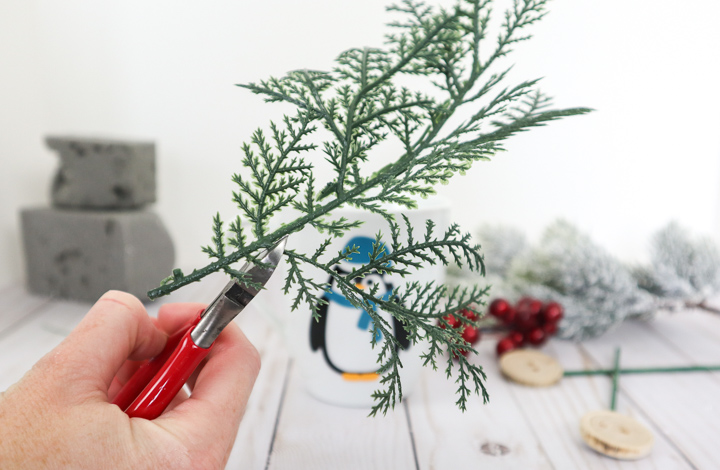
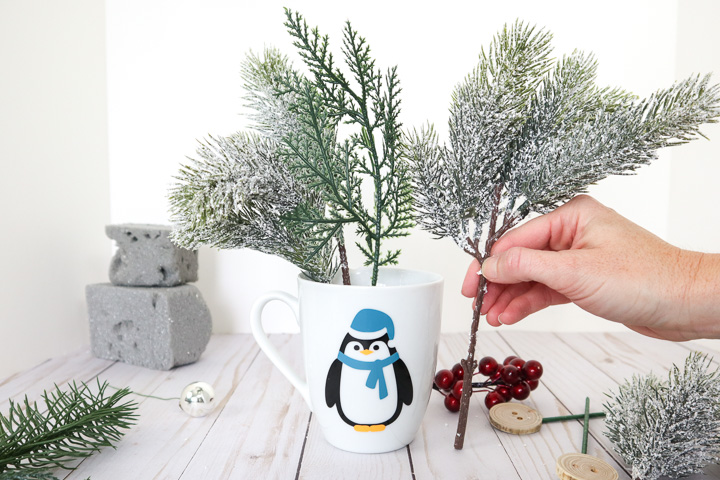
- Working outwards, fill in with more greens and other decorative accessories until full.
How to Seal Vinyl
If you’re using vinyl for utensils or for outdoors like a car, it’s best to seal the vinyl to make it long-lasting. Sealing will prevent the vinyl from shrinking and peeling off when it comes in contact with water.
There are three different types of sealants that you can use to protect your projects. The type of sealant that you use to seal your vinyl project depends on the type of project. To read more about sealing vinyl, check out my post How to Layer Vinyl in Cricut Design Space. At the end of this post, I share the details on using the right type of sealant to seal vinyl mugs.
That’s it for this post!
Be sure to save this post for later by clicking the save button.
More Helpful Cricut Posts
With that, we have reached the end of this post. Please share this tutorial on how to apply layered vinyl with your Cricut buddies. Also, check out these helpful Cricut posts.
- Different Types of Vinyl and How to Use Them
- 11+ UNIQUE Craft Vinyl Storage Ideas
- 5 Epic Reasons to Create Your Own SVGs
![Cute DIY Felt Cloud Wall Hanging [FREE SVG]](https://cutnmakecrafts.com/wp-content/uploads/2020/05/diy-felt-cloud-wall-hanging-tutorial-100x150.png "Cute DIY Felt Cloud Wall Hanging [FREE SVG]")