In this post, I’m sharing 5 beginner tips for iron-on transfers to help you create long-lasting iron-on projects. These Siser and Cricut Iron-on tips are perfect if you’re just starting out with heat transfer vinyl.

Every day I receive a ton of questions from crafters about iron-on/HTV.
“My glitter iron-on/HTV is not sticking. What should I do?”
“How do I prevent vinyl from coming off after washing?”
“My iron-on/HTV shrunk after washing. How do I fix this?”
You see, these problems arise from some very crucial mistakes made DURING the application of Iron-on/HTV.
Mistake 1: not following the recommended application and washing instructions
There are around 10+ different types of iron-on/HTV available in the market. There’s Everyday Iron-On, Foil, Metallic, Glitter, Mosaic, etc. Each of these iron-on/HTV requires different application settings for the projects to last. Some require the garment to be prewashed, while some don’t. Some require the garment to be flipped and pressed while others don’t. Therefore, to ensure your projects turn out perfect and withstand the multiple washes it’s extremely IMPORTANT to follow the manufacturer’s application and washing instructions.
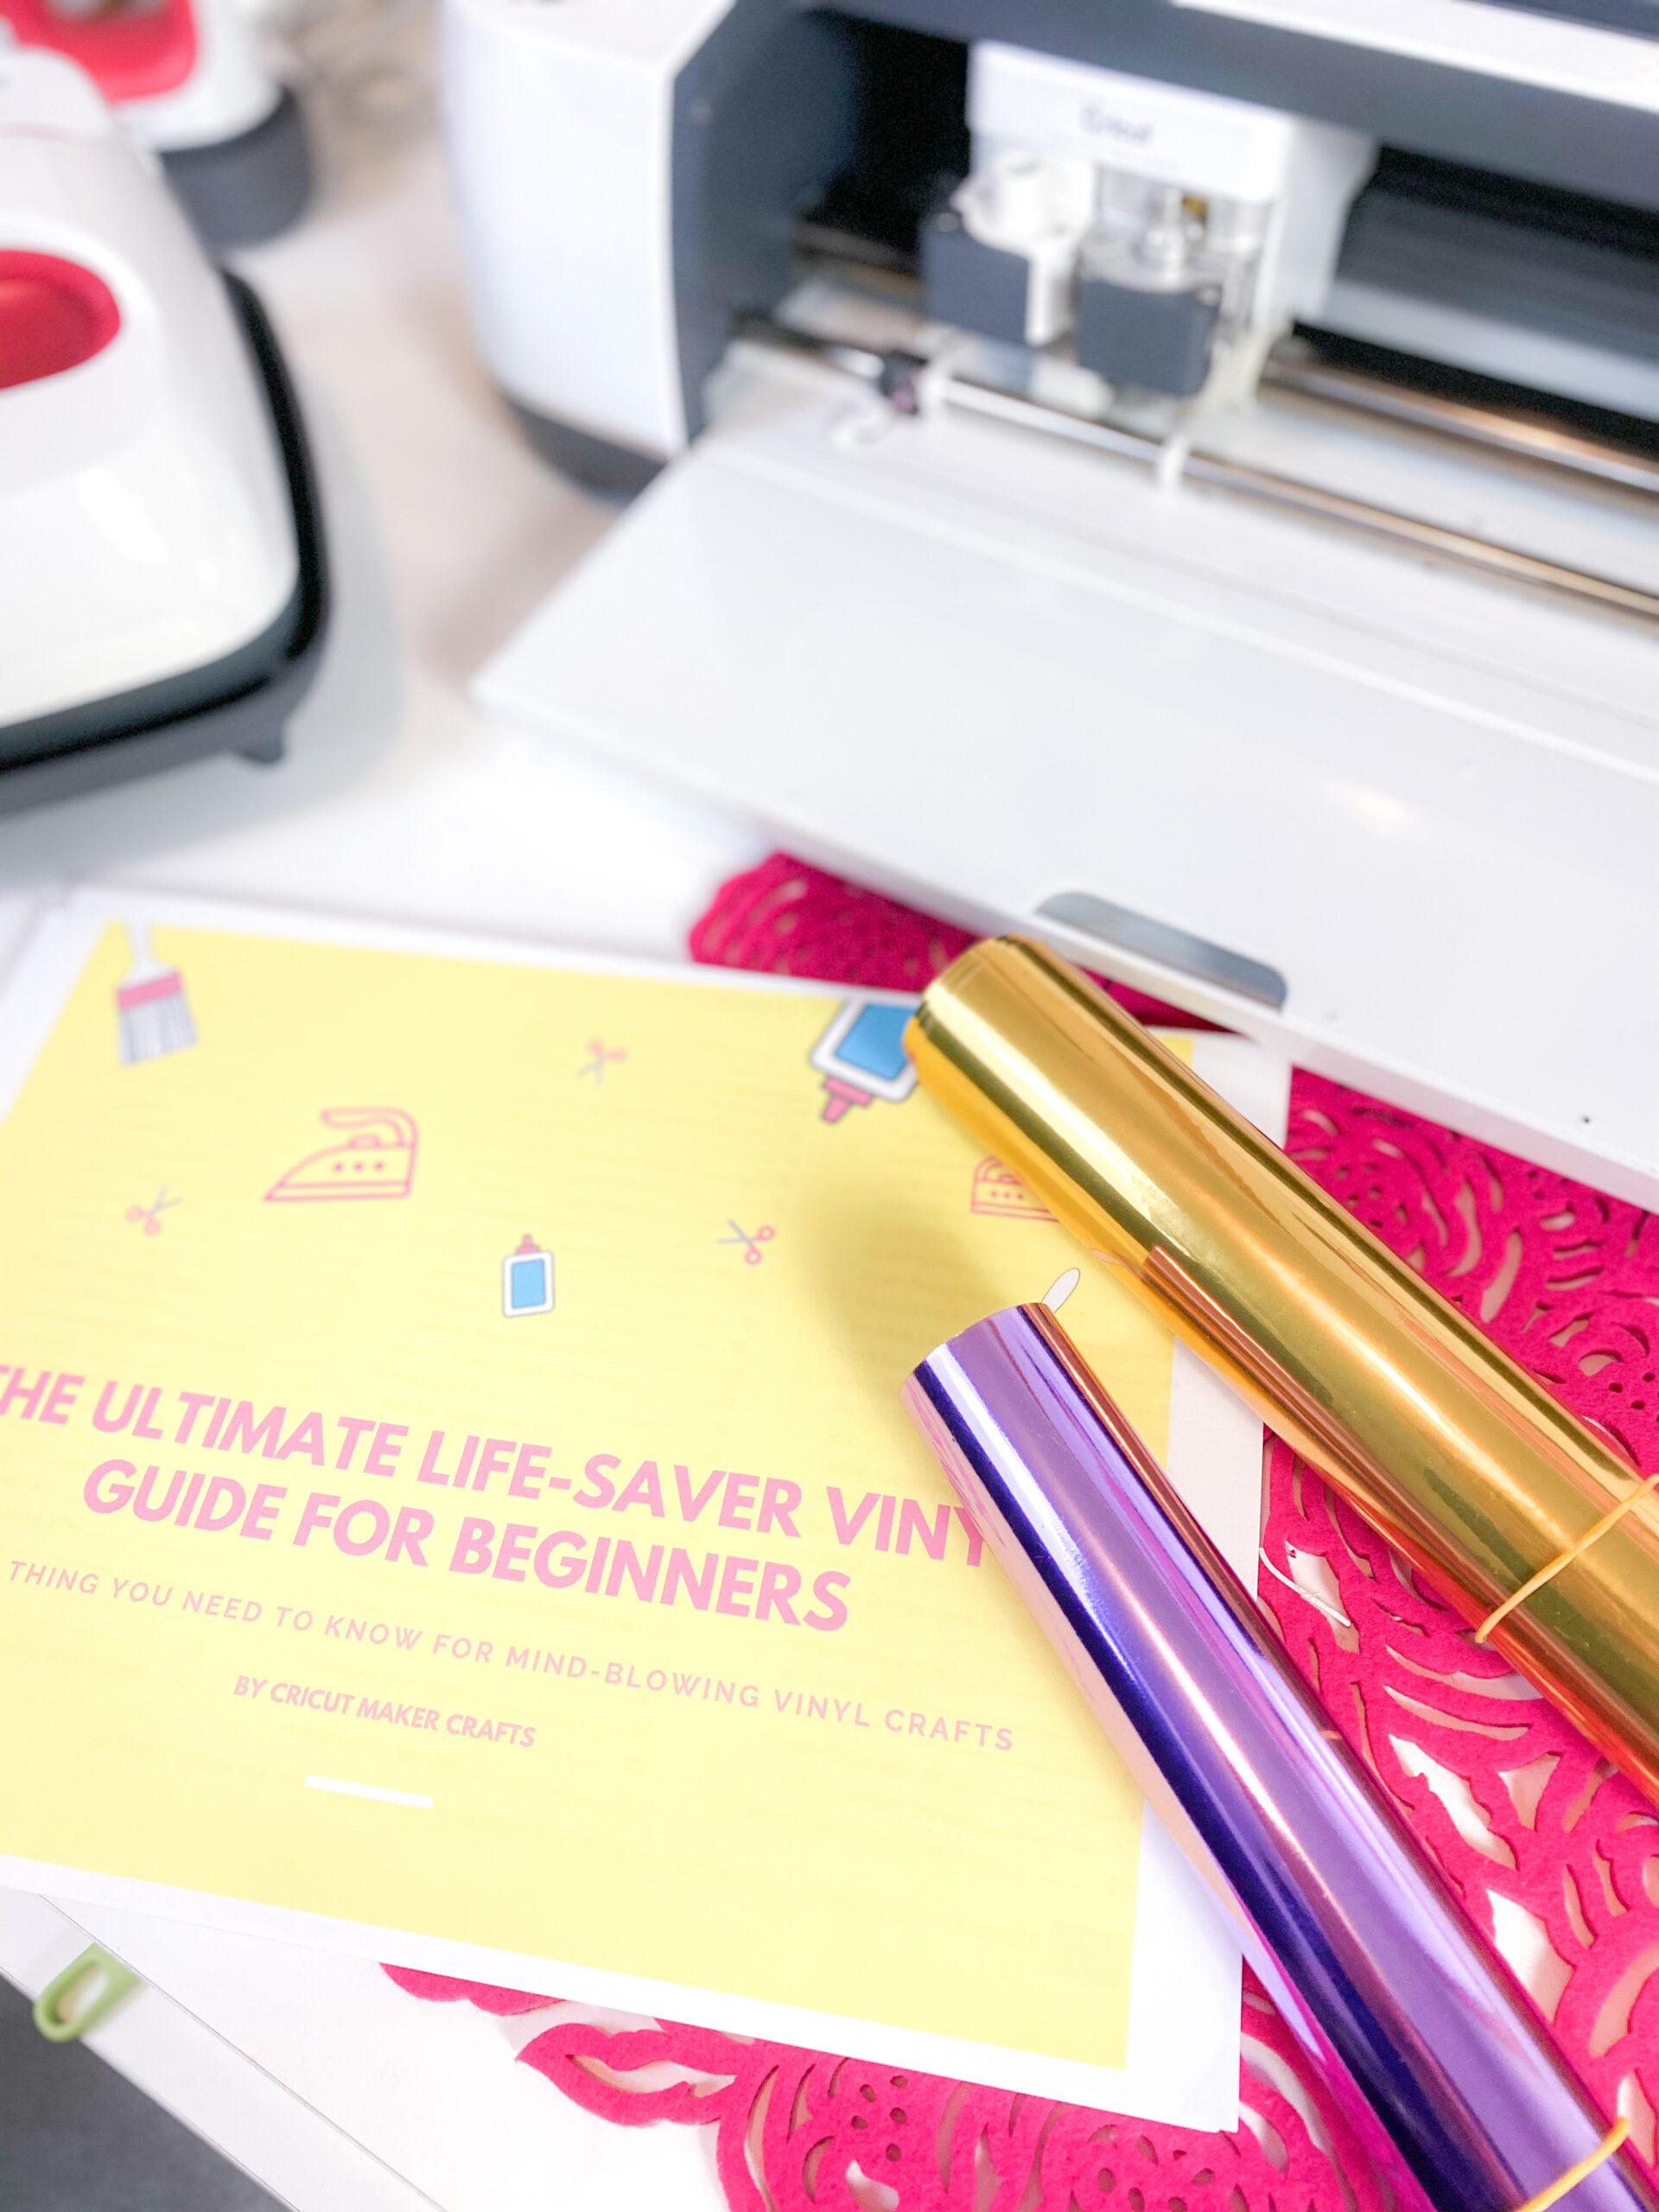
It can be pretty difficult to keep track of all the different instructions therefore I created this amazing extremely detailed vinyl guide to keep by your side while you’re working with iron-on/HTV or any other type of vinyl.
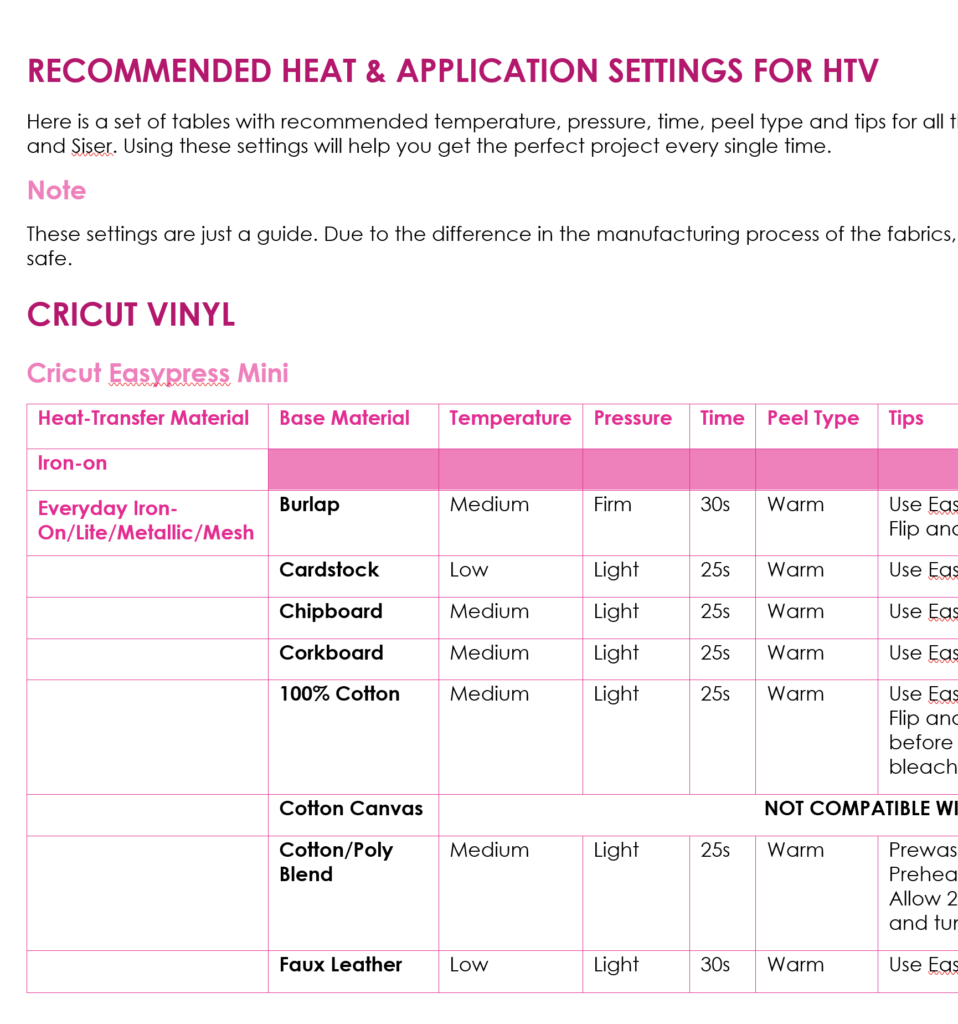
In my Ultimate Life-Saver Vinyl Guide for Beginners, I’ve listed down the ideal application and washing instructions for two of the most popular brands; Cricut and Siser so you can quickly flip through the guide before starting the project to get an idea about what’s recommended by the manufacturer for the best results. This guide will save you time and sanity while working on vinyl projects.
CLICK HERE TO GET THE ULTIMATE LIFE-SAVER VINYL GUIDE FOR BEGINNERS NOW!

Mistake 2: not using the correct temperature
Temperature is one of THE MOST crucial things when it comes to working with iron-on/HTV. If you use a temperature lesser than what’s recommended, the iron-on/HTV will not stick. If you use a higher temperature than what’s recommended, the iron-on/HTV will melt and shrink.
The way around this is to keep a table of ideal temperature as recommended by the manufacturer for each of the vinyl that you use.
The good news is, I’ve already done the hard work for you! In the Ultimate Vinyl Guide for Beginners, I’ve listed down the ideal temperature needed for EVERY single vinyl by two of the best companies; Cricut and Siser.
These temperature settings are recommended by the manufacturers themselves. This has helped me SO much when I’m working on my iron-on/HTV projects. It literally takes me a minute to get my iron-on/HTV to stick with this guide by my side.
CLICK HERE TO GET THE ULTIMATE LIFE-SAVER VINYL GUIDE FOR BEGINNERS NOW!

Mistake 3: not using the correct pressure
An ideal pressure also makes a LOT of difference in the project. It varies depending on the type of fabric. Some fabrics like Cotton Canvas require very firm pressure while others require minimal pressure. If the correct pressure is not used, the chances of the iron-on/HTV falling off after a wash increases. So, to avoid this, always use the correct pressure as recommended by the manufacturer.
Mistake 4: not following the recommended peeling instructions
Did you know each iron-on/HTV has a different peeling instruction? Some iron-on/HTV can be peeled warm, which is right after the application whereas some need to be peeled once they are cooled. The Cricut Foil Iron-on for instance is cool-peel. If you try to peel it off right after application while it’s still warm, it will not stick and will get deformed. It might seem like you haven’t applied the correct temperature or pressure and you might up adding double temperature and pressure ruining the adhesive backing of the vinyl.
The way around this is to follow the manufacturer’s peeling instructions for every single iron-on/HTV you’re using.
Mistake 5: layering the wrong type of HTV
Layering! Ah! Where should I even begin? Working with iron-on layers takes things to a whole new level. There’s a complete science involved when it comes to layering. Some of the most important rules to follow are:
- Never use the Cricut or Siser Glitter HTV as the base layer when layering. This is because the surface of the glitter is rough which prevents the vinyl from sticking on top of it. Even if you do manage to stick the vinyl on top of the glitter iron-on, it will not last long and will easily fall off after one or two washes. There is ONE brand that I know of which makes smooth glitter iron-on and that’s HeatTransferSource. If you use their Glitter HTV, you’ll be able to layer it.
- Secondly, according to Cricut, Holographic, and Holographic Sparkle Iron-on, once applied, have a stick-resistant surface. Iron-on applied on top of Holographic and Holographic Sparkle Iron-On will not stick.
- You can only layer the Cricut Everyday Iron-On up to 4 layers. This is to avoid the iron-on/HTV for bulking up which increases the chances of the iron-on/HTV to fall off. When applying iron-on/HTV we should use as fewer layers as possible because the goal is to make the iron-on/HTV flow with the fabric so the fabric sits well on the body when worn.
Mastering iron-on/HTV can take a few tries. But don’t worry with the Ultimate Life-Saver Vinyl Guide for Beginners you can gain confidence in vinyl application instantly because this guide includes EVERY SINGLE THING you need to know about working with ALL sorts of vinyl.
This guide will eliminate ALL the confusion you have about vinyl and you can refer to it whenever you’re working on an iron-on project to quickly check the ideal application settings as recommended by the manufacturer.
Create stunning iron-on/HTV projects without losing your sanity!
CLICK HERE TO GET THE ULTIMATE LIFE-SAVER VINYL GUIDE FOR BEGINNERS NOW!

Learn to use Iron-on/HTV
If you’re new to iron-on/HTV projects, do check out my blog post: How to use heat transfer vinyl for Cricut with an hour-long video on how to use iron-on/HTV to create your very first custom T-shirt project.
Also, check out: Different Types of Vinyl and How to Use Them


