In this post, you’ll learn how to use Heat Transfer Vinyl for Cricut along with my secret tips on how to achieve perfect results with Iron-On vinyl. I’ll also be answering questions like what Cricut vinyl to use on shirts, which side of Iron-On vinyl goes down, Cricut Iron-On heat press settings and how to apply heat transfer vinyl with iron.
Hey, friend! Welcome to my blog, Cut N Make Crafts (not affiliated with Official Cricut).
This post marks the 5-day Vinyl series that I’m currently hosting on my blog. During these five days, we’ll talk about EVERYTHING related to working with vinyl. We’ll be covering some very important stuff about working with adhesive vinyl as well as the Heat Transfer Vinyl or HTV. Things like how to apply the vinyl to wood, or how to apply the vinyl to curved surfaces, best settings for iron-on, etc. Let’s dive right in!
In today’s post, we’re diving deep into all things iron-on aka HTV aka heat transfer vinyl. I’ll be covering literally EVERYTHING you need to know about creating your very FIRST iron-on project.
We’ll be covering
- what iron-on vinyl really is
- the tools needed for working with iron-on
- two of my favorite HTV brands
- how to cut iron-on vinyl the RIGHT WAY
- how to weed iron-on vinyl
- how to make sure your iron-on design is straight
- how to ensure your design doesn’t come off after washing
- how to use Cricut heat press
- how to apply heat transfer vinyl with iron
- how to make vinyl shirts with Cricut
- plus I’ll be sharing my super-secret tips for creating THE PERFECT iron-on project every single time.
- Lastly, you can also get this super cool FREE SVG from my VIP library that I created especially for this project.
AFFILIATE DISCLOSURE: Cut N Make Crafts is a participant in the Amazon Services LLC Associates Program, an affiliate advertising program designed to provide a means for sites to earn advertising fees by advertising and linking to Amazon.com.
How to Use Heat Transfer Vinyl for Cricut – Video Tutorial
What is Iron-On/Heat Transfer Vinyl (HTV)
Iron-on vinyl or HTV or heat transfer vinyl is a special vinyl that only sticks to the surface when the heat is applied, unlike the adhesive vinyl. This is the vinyl MAINLY used to make custom tees and socks at home with a magical cutting machine like the Cricut. If applied correctly, HTV can last forever through hundreds of washes.
HTV comes in many different varieties.
- There’s Cricut Everyday – this is the basic everyday Iron-On by Cricut which comes in many different colors and is the easiest to work with.
- Cricut Foil – this Iron-On has a foil and shiny finish and is probably my MOST favorite Iron-On to work with.
- Cricut Holographic
- Cricut SportFlex – this special Iron-On is designed for stretchy fabrics like used to make leggings
Each of these different types of vinyl has different uses and different setting requirements for application. If you’d like a written handy document to remember everything about all these different types of vinyl, do check out my brand new vinyl guide “The Ultimate Life-Saver Vinyl Guide for Beginners”. It has literally EVERYTHING you need to know about working with vinyl and will give you tips on weeding and working with small letters.
How to Differentiate Between Iron-On and Adhesive Vinyl
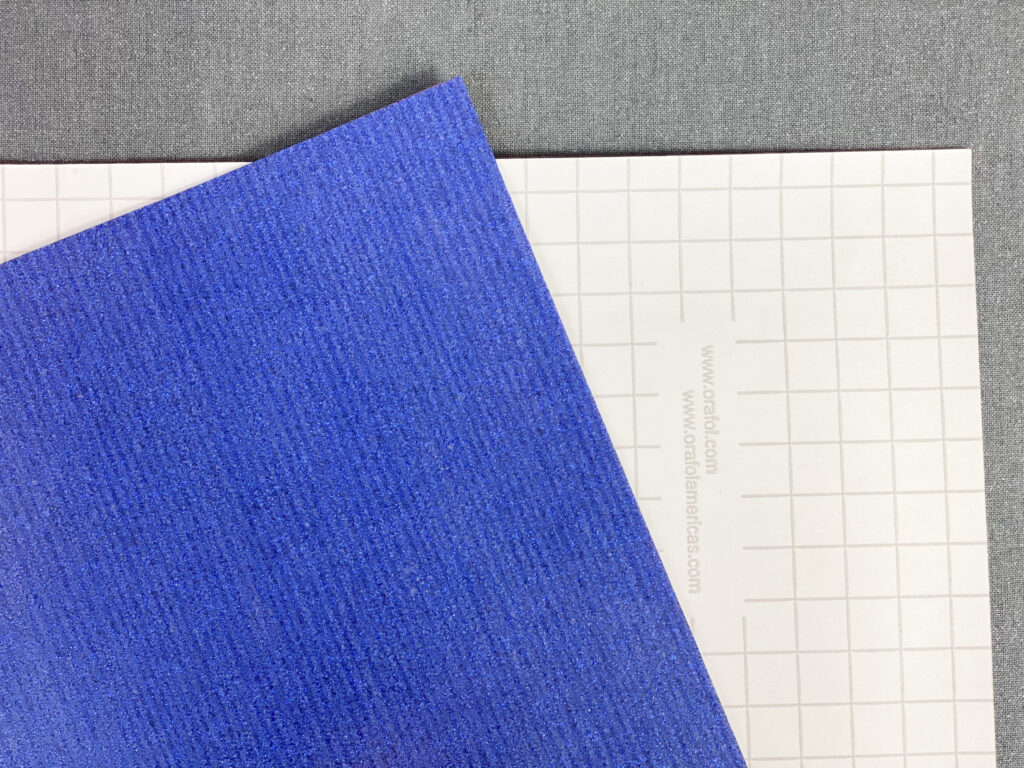
The adhesive vinyl has a paper-like backing whereas, the iron-on vinyl has transparent backing. Some adhesive vinyl will have grid lines on them like this one by Cricut. It also has this label which says it’s a removable adhesive vinyl.
The Tools Needed for Working with Iron-On Vinyl
As mentioned earlier, you need a heat source for applying the iron-on vinyl.
There a couple of different heating options available.
You can either use
- a heat press,
- the Cricut EasyPress,
- or the EasyPress mini
- or home iron.
But definitely not a crafting iron.
You’ll also need a towel or the EasyPress mat for working with this vinyl.
Another extremely important stuff is the parchment paper or the Iron-On Protective sheet or the Teflon sheet. This acts as a protection, prevents your vinyl from sticking to your iron, it also prevents the fabric from overheating, and lastly, this helps in preventing those pesky carrier sheet marks as well.
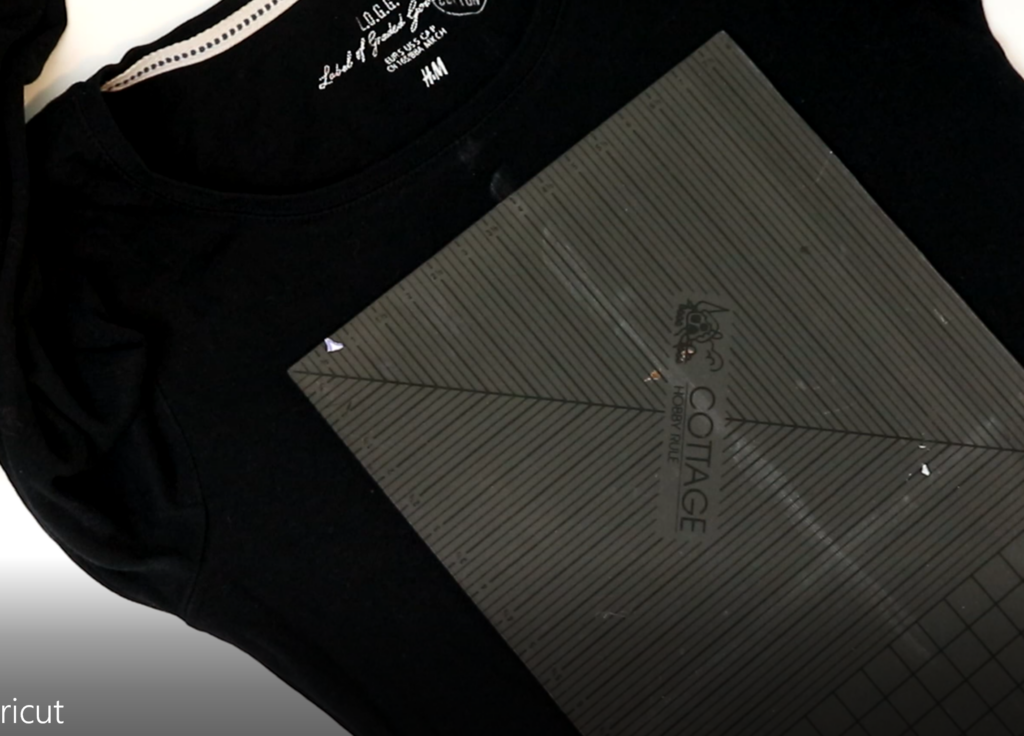
I also use a quilter’s scale for marking the points for the placement of the designs with the help of chalk or a disappearing marker like this one.
And lastly, the most important thing when working with any type of vinyl is the hook weeder tool for weeding the vinyl. You can also use a tweezer for this purpose.
And if you’re wondering what blade to use, all vinyl is cut using the fine point blade. I keep a separate blade JUST for vinyl as the paper makes the blade dull.
Oh, one more thing that’s extremely important is the lint roller to get rid of all the lint on the fabric.
Here’s a summary of all the supplies needed for working with heat transfer vinyl (HTV)/Iron-on.
Supplies Needed for Working with Heat Transfer Vinyl
- a heat press/the Cricut EasyPress/EasyPress mini/home iron.
- Kraft paper/parchment paper/Teflon sheet
- T-square/quilter’s square
- Chalk/disappearing marker
- Weeder tool
- Fine point blade
- Lint roller
- Cricut mat
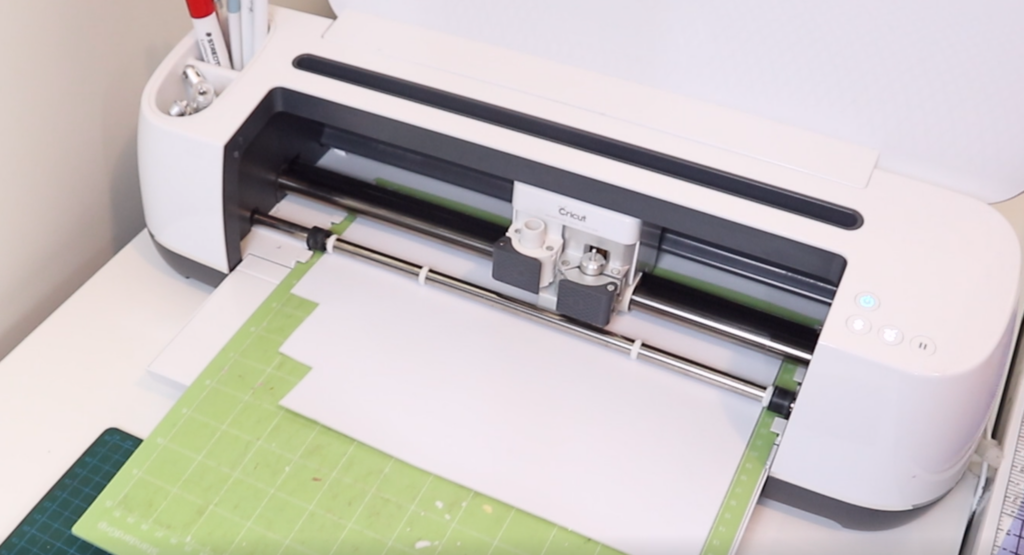
How to Cut Heat Transfer Vinyl/Iron-On Vinyl
Before you can start cutting your Iron-On design, you first need to create and prepare your design in Design Space.
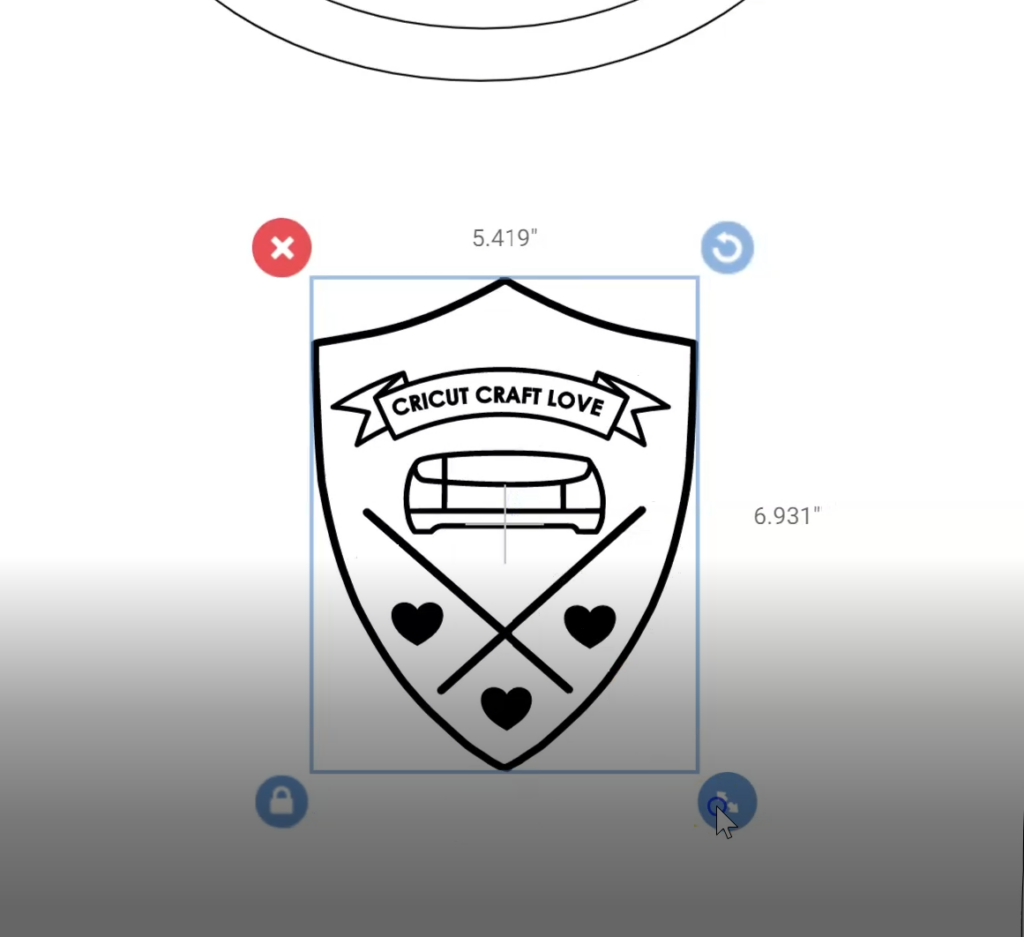
I’ll be using a text-based graphic and this coat of arms graphic for this project. If you’d like to grab this coat of arms graphic, you can sign up for the VIP library below.
Okay so once you’re ready with your decal, open up design space. Click on new project and you’ll end up on the canvas.
Let’s first create a simple text-based decal.
I’m just gonna write my old blog name, Cricut Maker Crafts by Jav. Heads up, my blog is NOT affiliated with the Official Cricut, I just named it after I purchased my Cricut Maker.
Okay, now the biggest question here is: what should be the size of this decal.
There are two different ways to find this out.
To find out the correct size of the decal to use, you can either refer to this handy dandy vinyl guide that I created where I’ve listed down the ideal decal sizes for all the different materials out there. So I’m working with a small-sized top and it says here the decal size should be 9”x9”.
Another way to figure out the size is by using the templates provided in the Cricut Design Space. A lot of people don’t know about this so pay close attention.
Now, one thing to keep in mind is, these templates are only available for the Desktop version of Design Space. You won’t find them on the iPad or the iPhone. In that case, you can just refer to the vinyl guide.
Alright, so I’m gonna select the hoodie from here and I’ll be placing the decal at the backside of the hoodie.
Now, let’s resize this decal. You can also play around by placing the decal on different parts of the hoodie, like here on the sleeve.
Okay, time for tip no.2. Always add a weeding box around your decals for two reasons.
- It helps in weeding
- It helps in the correct placement of the decal
I’ll show you what these mean when we’re on the weeding and application steps.
Tip no. 3: always attach the weeding box to your text so that it gets cut together.
Now let’s add the decal here. I’ll be using this decal on the tee so let’s look for the tee template from the templates library. Let’s place the decal inside and adjust the size.
One cool thing I wanted to show here is if you don’t like this text inside the decal, you can always change it by first ungrouping this whole image. Then, click on the text option to add your text, and lastly, add a little curve to your text using the curve option and you’ll have a custom decal. Now let me place this text back on the banner. Once you’re happy with the placement, don’t forget to select all and attach it.
Once again, add a weeding box around this as well. Select all and click attach.
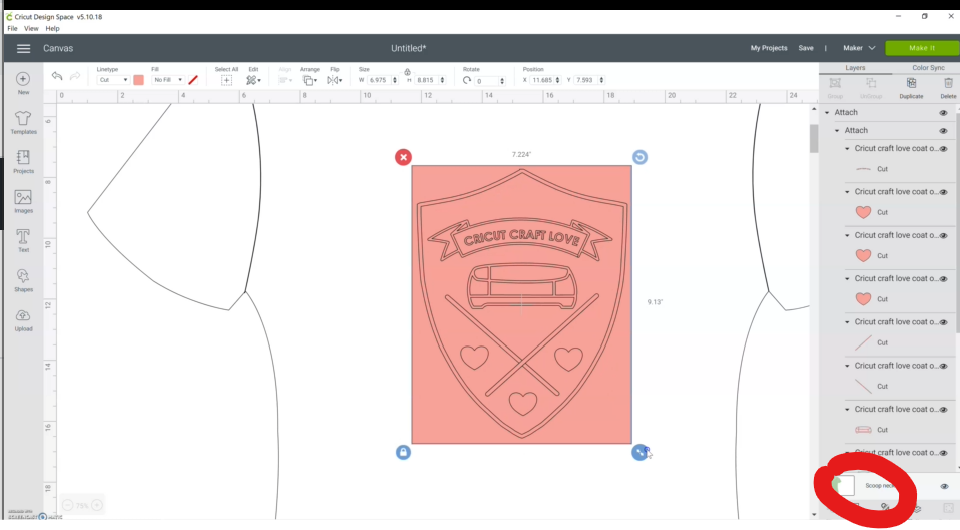
And once you’re on the mat, this is what you should have, weeding box behind the text instead of two separate mats. And over here don’t forget the MOST IMPORTANT thing which is mirroring the image. This is EXTREMELY important when working with HTV because HTV is cut out with the carrier sheet facing down.
Now let’s select our material. I’m gonna cut this decal from the Cricut foil iron-on so I’m gonna select that from the list here. And as you can see the moment you select iron-on, a reminder message pops up telling you to mirror your designs. Alright now let’s get this thing cut.
To cut out the heat transfer vinyl, place it shiny side down. That is the RIGHT SIDE DOWN. We do this because we want to cut the backing and not the carrier sheet which is on the shiny side.
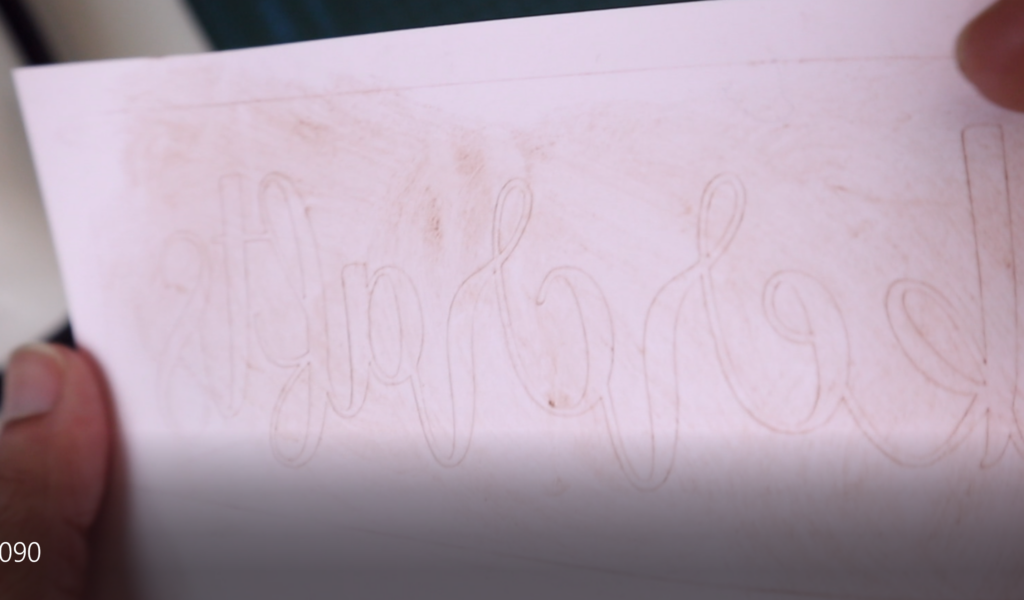
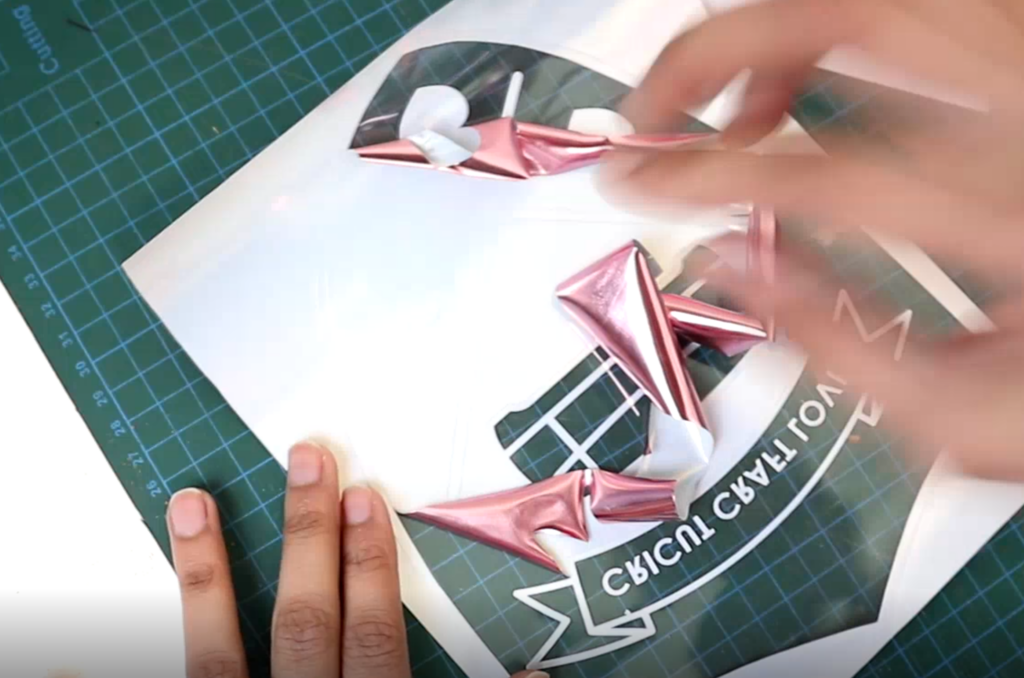
How to Weed HTV Glitter Vinyl and How to Weed Iron-on Foil
Alright, now it’s time to move to the weeding step. Now as you might have noticed, it’s nearly impossible to see the cut lines right now. So the secret around this is to sprinkle some cocoa or chocolate powder at the back of the vinyl. And as you can see after sprinkling the cocoa the lines have become much more prominent and easier to weed.
Both the HTV glitter vinyl and Iron-on foil are weeded from the backside. Watch the video to get a better look at how I weeded the HTV glitter vinyl and Iron-on foil that I used for this tutorial.
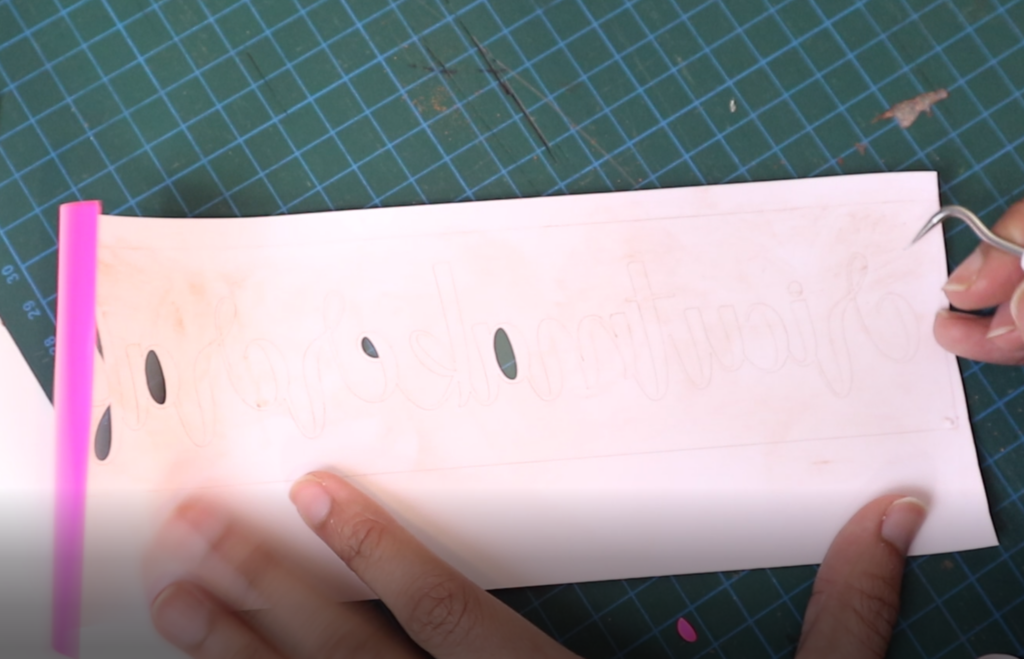
Always start weeding the cavities first. This will save you from getting sticky fingers by touching the carrier sheets every now and then. Always remove the largest part of the vinyl at the end. Pull the vinyl from the corners towards the center.
How to Use Cricut Heat Press
Once your vinyl is weeded, it’s time to apply it to your fabric.
Before the application, it’s best to mark the placement with the help of a scale or the T-square.
Next, switch on the power button of the Cricut heat press.
Press the temperature button. Use the “+” and “-” symbols to set the correct temperature as recommended by the manufacturer. Press on the clock button and use the plus and minus symbols to set the timer.
Wait for the Cricut heat press to warm up. You shall hear a beep sound once the EasyPress is ready.
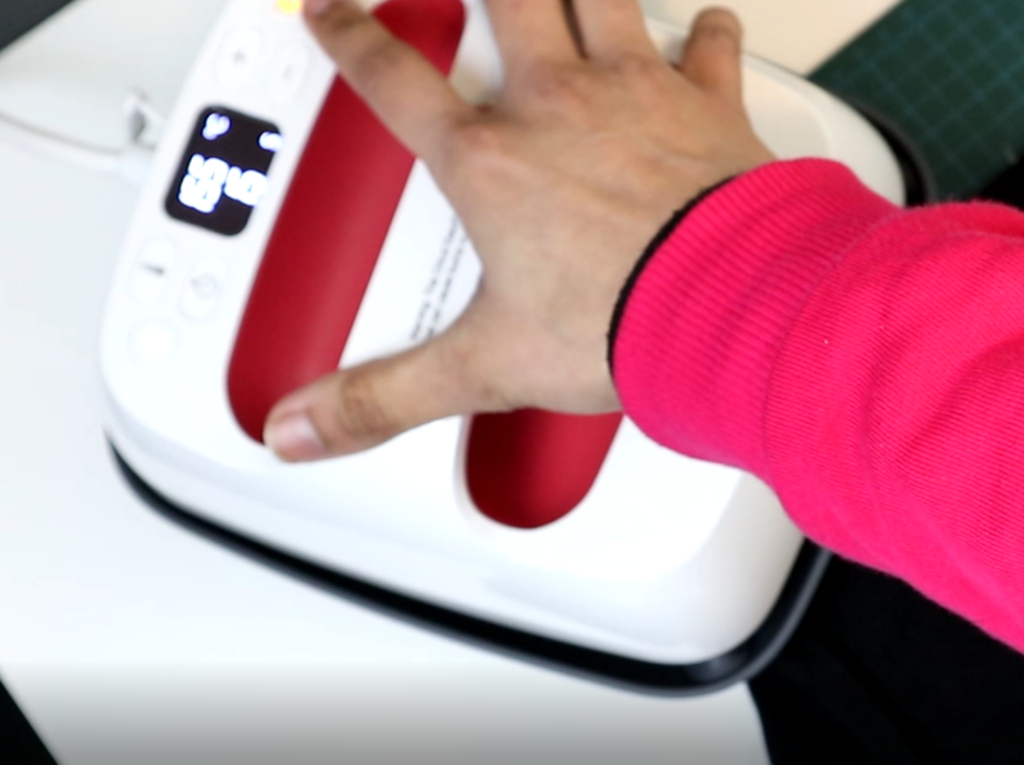
Once the Cricut heat press is ready, place it on top of the fabric. Make sure you’re using a parchment paper underneath. Press the “C” button to start the timer. Remove the heat press once you hear the beep sound.
That’s it!
How to Make Vinyl Shirts with Cricut
To make vinyl shirts with Cricut, follow these steps:
- Create a decal design in Design Space. You can also use an SVG purchased from Etsy as your decal. First, upload the SVG on Design Space.
- Next, resize your decal to fit on your shirt. You can use the T-shirt templates provided in Cricut Design Space to figure out the perfect size of your decal.
- Once you’re happy with the size of your decal, add a weeding box around it using the Square shape.
- Next, select both the weeding box and the decal and “attach” them together so they stay together when you move to the mat.
- Next, make sure you mirror your design because heat transfer vinyl is cut from the back. It’s placed RIGHT SIDE DOWN.
- Select the material you’re planning to work with from the drop-down menu.
- Place your vinyl right side down onto the mat.
- Load and cut out the vinyl.
- Weed the vinyl starting from the cavities first. Weed the largest area at the end. Weeding should be done from the wrong side.
- Once the vinyl is weeded, it’s time to apply it onto the tee.
- To apply the vinyl on the tee, first, use a T-square or a Quilter’s Square and a removable pen to add placement marks for the decal. This will ensure your decal is straight on placement.
- Next, if you’re using the EasyPress, set the correct time and temperature required for the vinyl you’re using. If using a home iron, turn the dial between linen and cotton.
- Preheat the t-shirt for 5 seconds. Next, add a crease mark by folding the tee in a half. Fold the decal in half as well and match the center creases. Place the decal onto the garment followed by the parchment paper. Place your EasyPress/iron on top and press for 15 seconds or as directed by the manufacturer.
- Once the time is up, lift the heat source and peel off the liner. Your custom tee is now ready!
Can You Use Adhesive Vinyl on Shirts
If you’re wondering if you can use adhesive vinyl on shirts then the answer is NO. You CANNOT use adhesive vinyl on shirts because it’s meant for hard surfaces. Secondly, the fibers on shirts (or any other fabrics) will not allow the vinyl to stick to the fabric permanently. Therefore, for soft materials like fabrics, you can ONLY use iron-on vinyl or heat transfer vinyl that will bind to the fabric with the application of heat. This will ensure the vinyl sticks to the surface even after washing and will not peel off after a certain time like the adhesive vinyl. Adhesive vinyl is only meant to be applied on hard surfaces. To read more about the difference between the adhesive and iron-on vinyl check out my post: Different Types of Vinyl and How to Use Them.
Best Heat Transfer Vinyl/Iron-On Vinyl Brands
To get the best, long-lasting iron-on results it’s important to use high-quality vinyl from a good brand. So far, I’ve worked with a couple of different vinyl brands and my most favorite of all is the Siser HTV. That’s because I’ve noticed it’s lighter than Cricut iron-on and it’s a warm peel. If you’re a business, definitely go for the Siser HTV instead of the Cricut iron-on as it will save you a ton of time as you won’t have to wait for the vinyl to cool off before peeling.
Master Iron-on Vinyl with My E-book!
The End
With that, we have reached the end of the post where I shared with you how to use heat transfer vinyl for Cricut along with answers to some of the most common questions about working with heat transfer vinyl/Iron-On vinyl.
If you’re new to the world of Cricut, make sure you sign up for the Beginner’s Cricut Course here.
Also, check out
9 Must-Have Everyday Objects for Cricut Owners
Different Types of Vinyl and How to Use Them


[…] you’re new to iron-on/HTV projects, do check out my blog post: How to use heat transfer vinyl for Cricut with an hour-long video on how to use iron-on/HTV to create your very first custom T-shirt […]