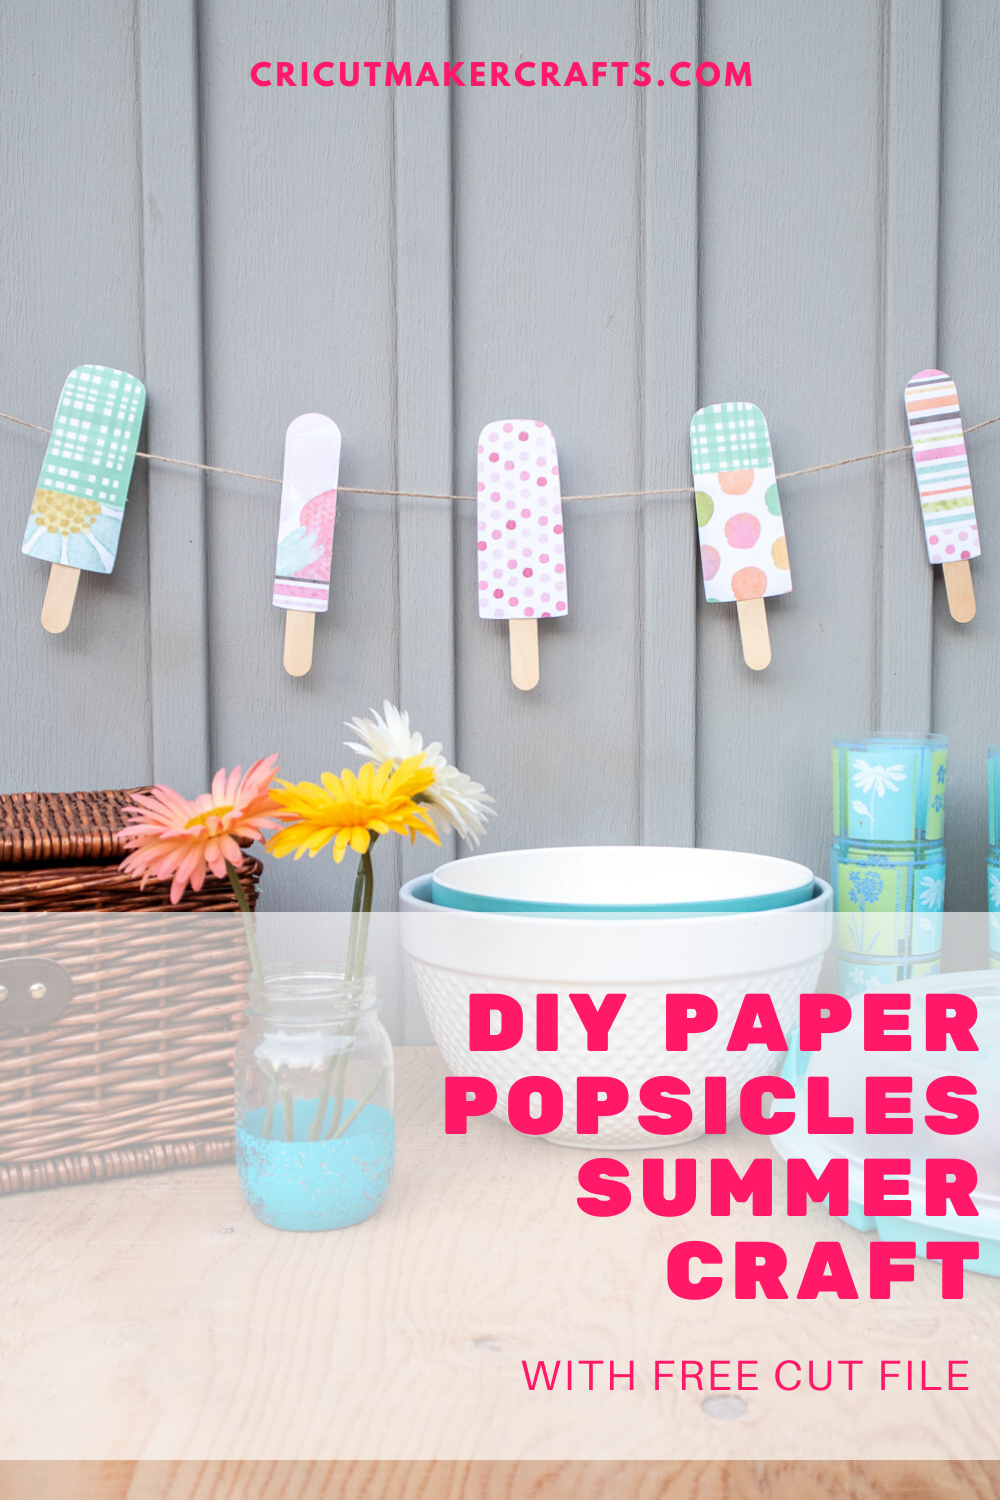
In this post, I’m sharing a super-cute Paper Popsicle Craft Garland with a free SVG cut file. This Cricut kids craft using paper is great to keep the kids busy during summer and it also makes a great home and party decor. The best thing about this paper popsicle craft is you don’t even need expensive craft supplies for it. All you need is a set of colorful papers and some popsicle sticks and you’re good to go. To learn to make this popsicle craft, check out the steps below. Don’t forget to grab the FREE SVG cut file by signing up for the VIP library.
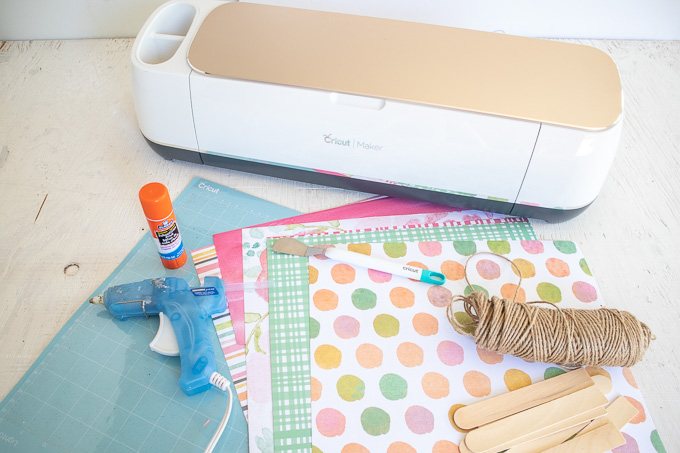
- Cricut Maker/Cricut Explore
- Light Grip Cutting Mat
- Essential Tools Set
- Glue stick
- Colorful Paper Pad
- Wooden Popsicle Sticks, Large
- Twine
- FREE SVG for Popsicle Paper Craft [available for the VIPs. Become a VIP member of Cut N Make Crafts by entering your name and address below]
How to Make Paper Popsicle Craft Garland
Step 1: Gather supplies
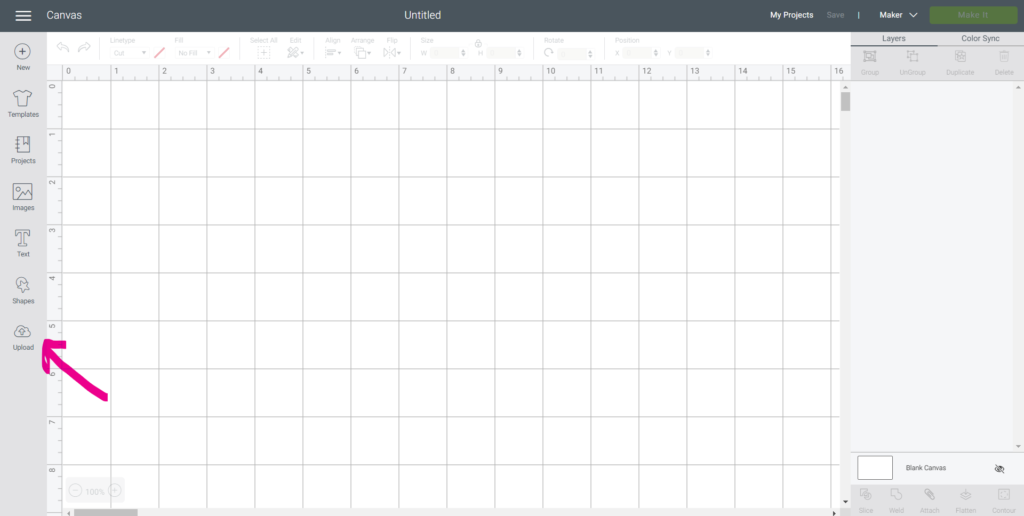
Step 2: Upload the paper popsicle craft SVG
- Sign up for the VIP list by entering your name and email in the box given above.
- Once you’ve entered your name and email address, you will receive a welcome email from me – Jav at Cut N Make Crafts.
- Inside the email, you’ll find the link to download the FREE SVG cut file for the Paper Turtle.
- Download the zipped FREE SVG cut file from the VIP library.
- Unzip the file and extract the Paper popsicle craft SVG from the file.
- Upload Popsicle SVG File into Design Space.
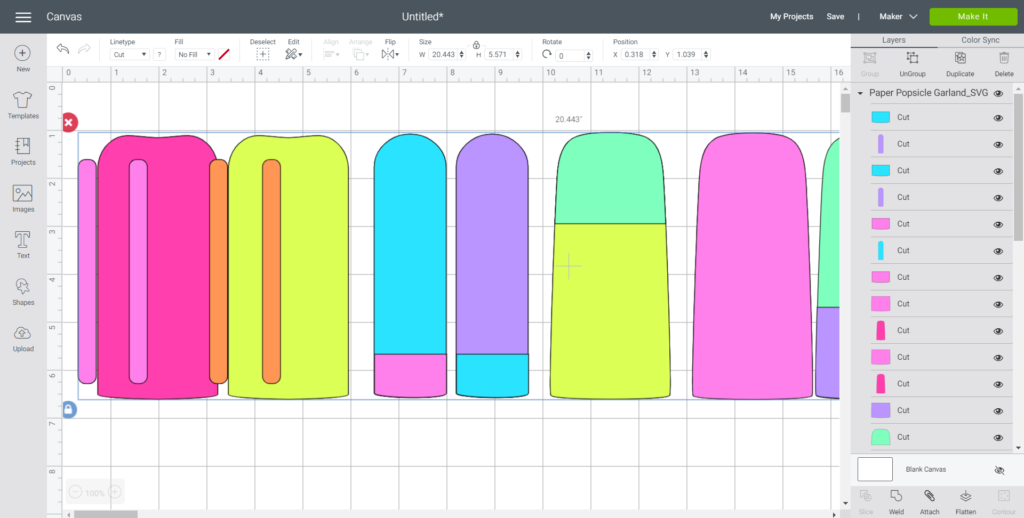
- Click Ungroup.
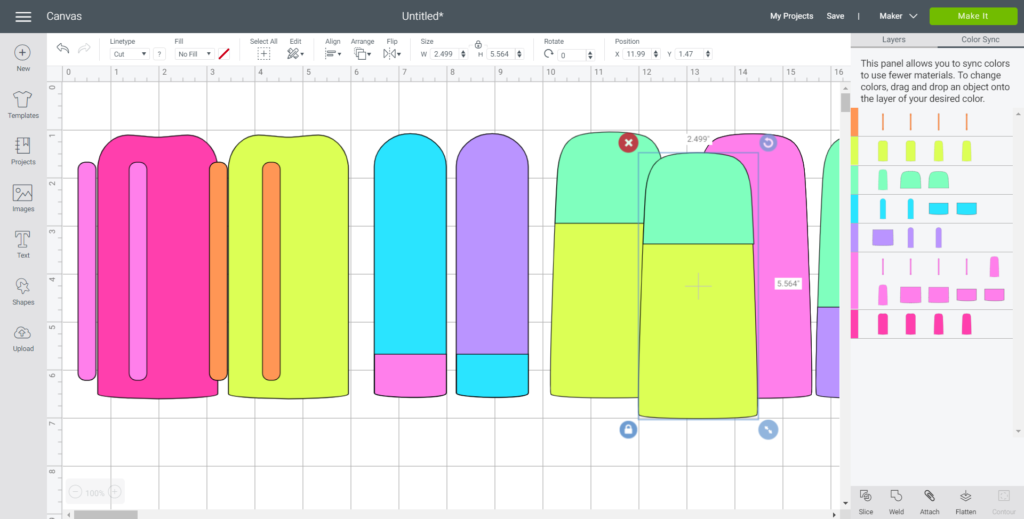
Step 3: Cut out the paper popsicle craft pieces
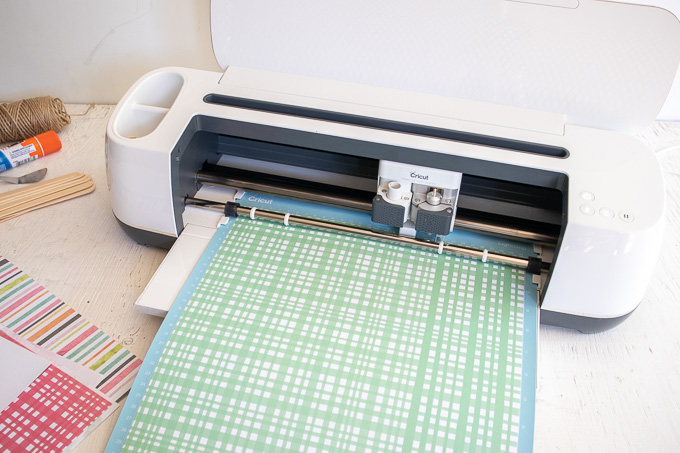
- Select “Make It” in Design Space.
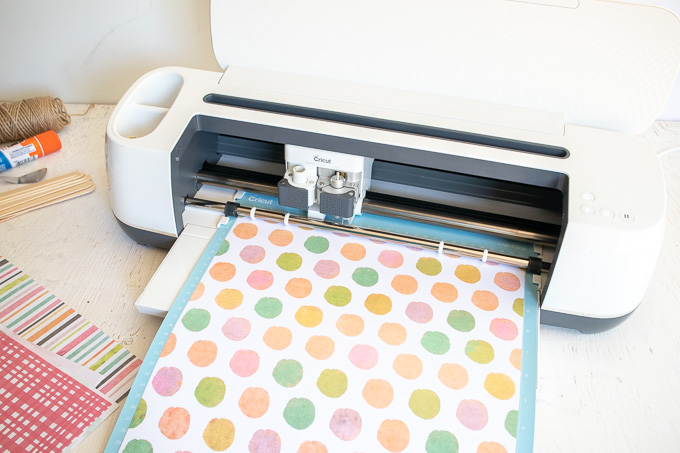
- Set material type to medium cardstock and adjust the default pressure to “more”.
- Place a sheet of decorative paper on the light grip mat.
- Follow prompts for loading the mat into the Cricut Maker and cutting the paper. When prompted, unload the mat from the cutting machine.
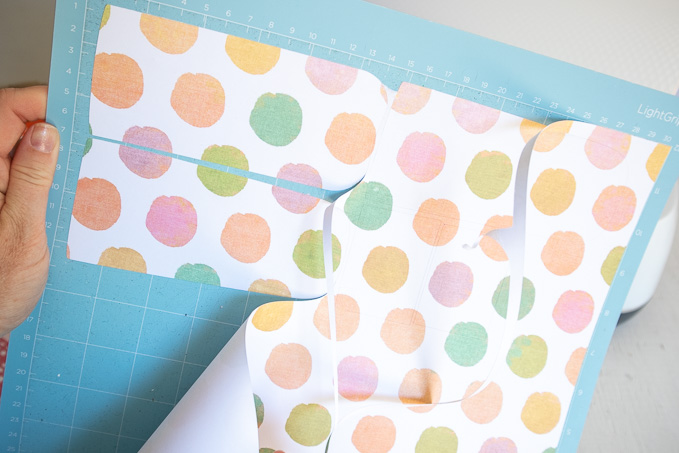
- Peel off the paper from the mat and put the cut popsicle pieces to one side for assembling later.
- Repeat for each different paper color until all pieces are cut.
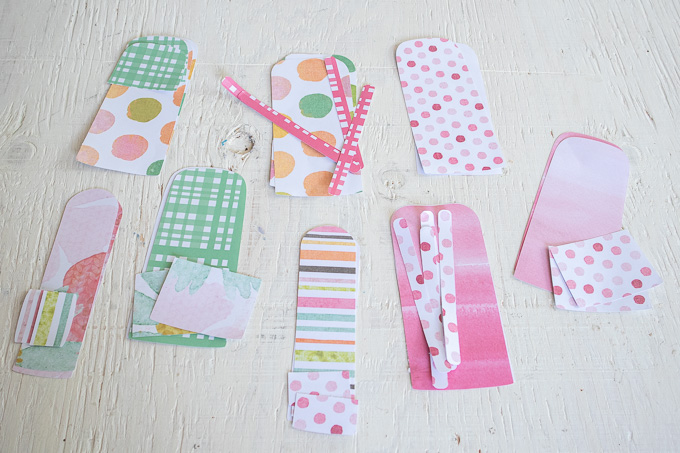
Step 4: Assemble the paper popsicle craft garland
- Each popsicle has two sides. Place all the pieces for each individual popsicle together on a flat surface to assemble.
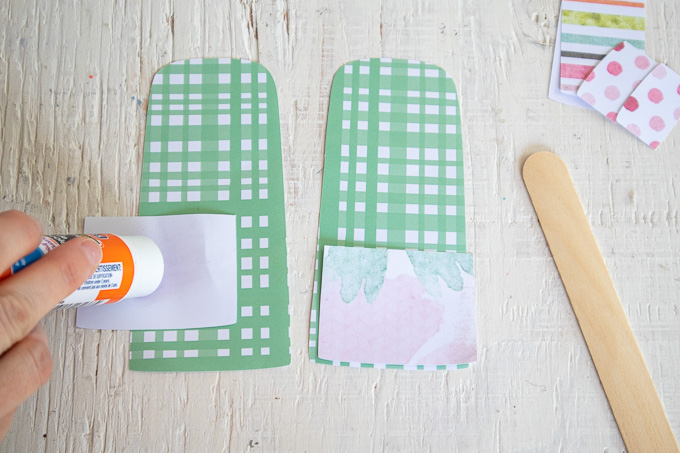
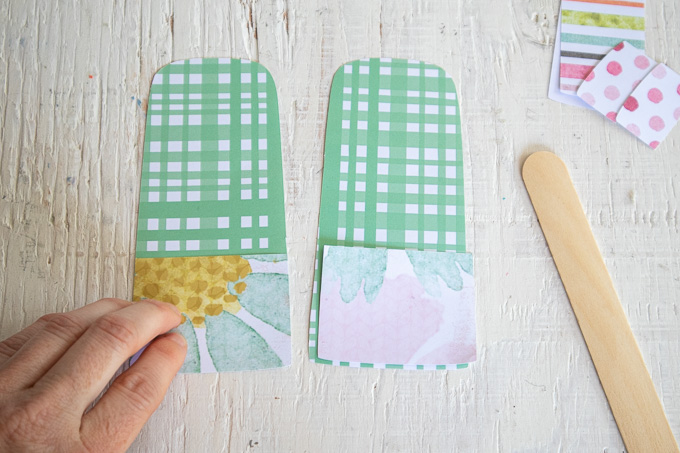
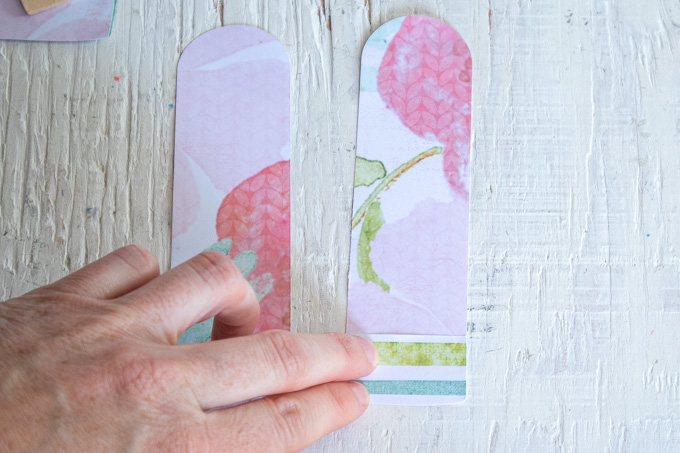
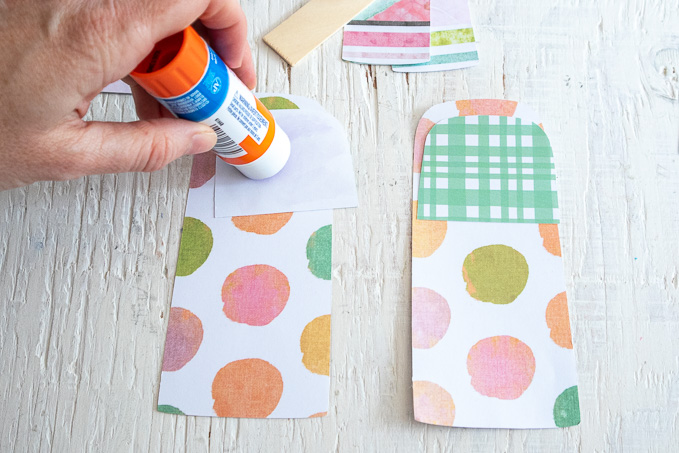
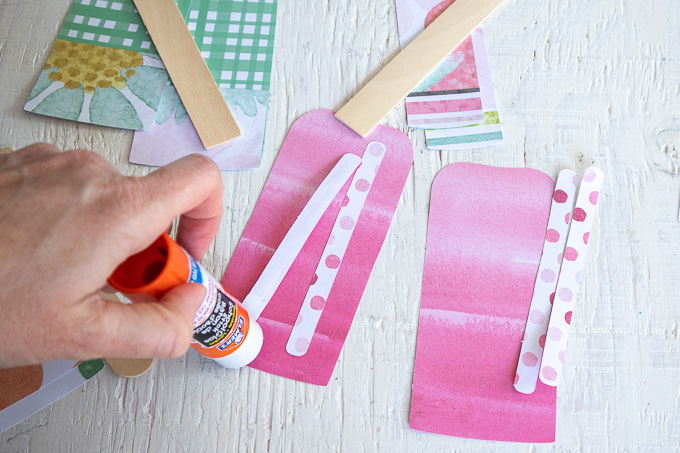
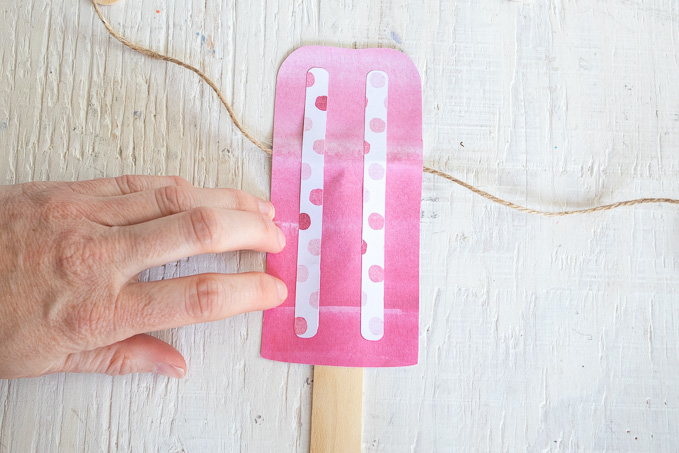
- Using a glue stick, apply glue to the back side of the smaller decorative cut pieces and press them on to the larger cut popsicle pieces as shown. Repeat for all popsicles.
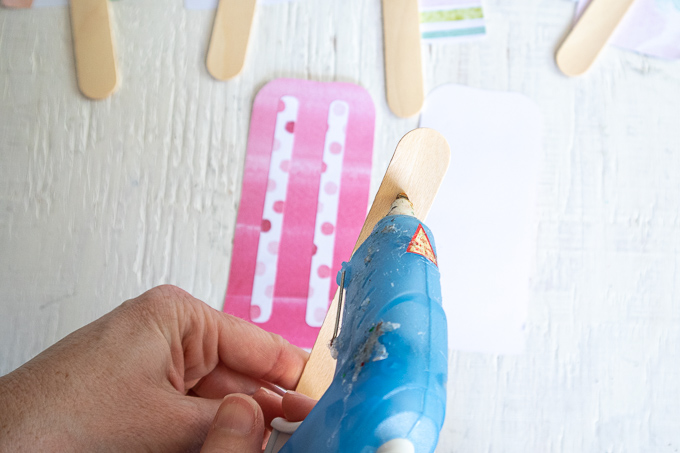
- Preheat the hot glue gun. Cut a piece of twine 60” long.
- Working one popsicle at a time, place both sides of the popsicle face down.
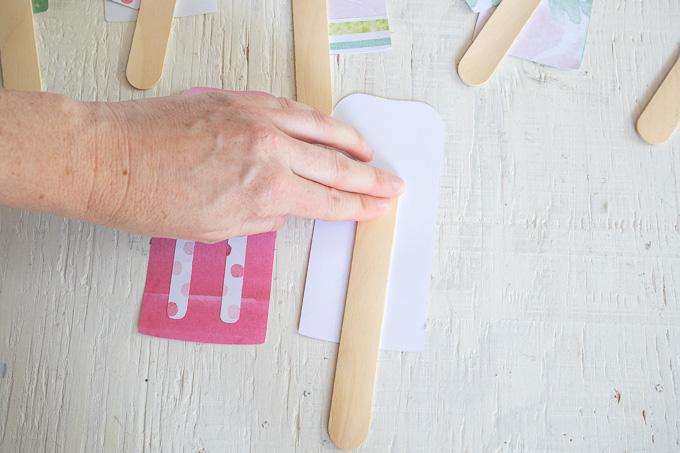
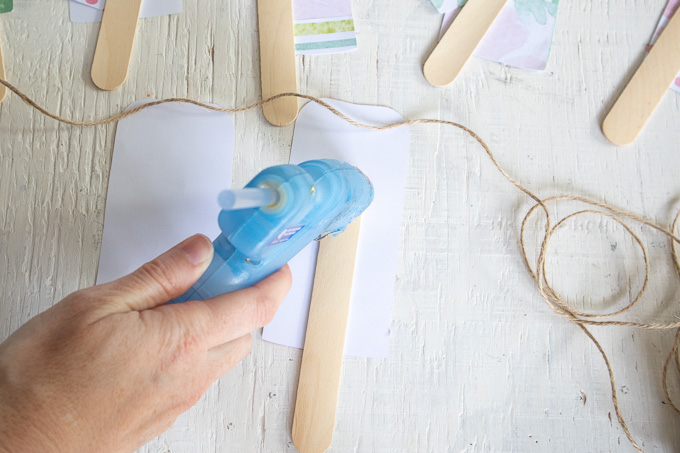
- Add hot glue to the upper half of one side of a wooden popsicle stick and press it down on to the wrong side of the paper popsicle.
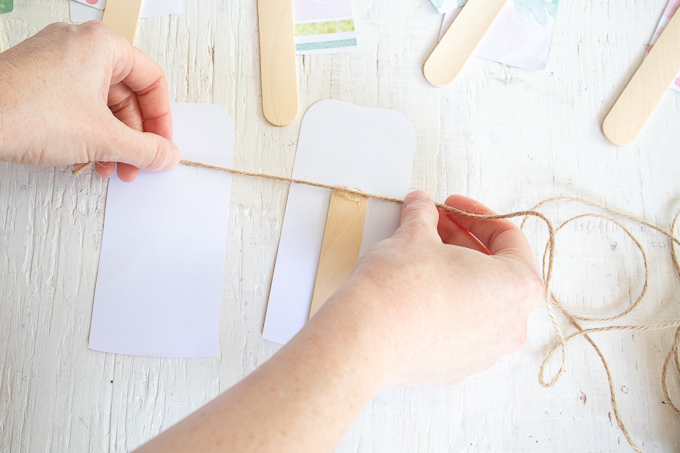
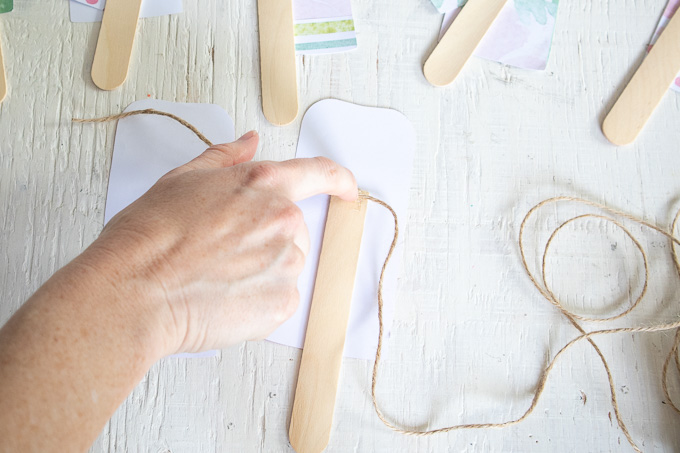
- Add a bead of glue at the top of the stick and carefully press the twine into the glue across the width of the paper popsicle leaving about 15” of twine on the starting end.
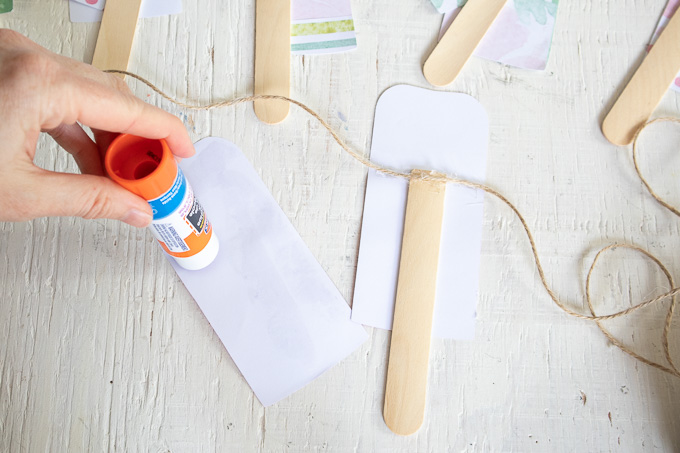
- Apply glue to the other side of the popsicle and press it on top with the wrong sides together, sandwiching the glued twine inside.
- Continue with the remaining popsicles keeping a 4” spacing between each paper popsicle until all popsicles are attached.
- When finished, hang to enjoy!
Loved making the Paper Popsicle Craft Garland with Cricut? Save it for later!
Also, check out these free crafts for kids to do at home.
- Cute DIY Felt Pencil Toppers [FREE SVG]
- Paper Plate Fox Cricut Craft for Kids [FREE SVG]
- Cute DIY Felt Cloud Wall Hanging [FREE SVG]

![Cute Felt Frog Craft [Template+SVG Free] Cute Felt Frog Craft [Template+SVG Free]](https://cutnmakecrafts.com/wp-content/uploads/2020/06/felt-frog-craft-template-and-svg-by-cricut-maker-crafts-100x150.png)


