In this post, you’ll learn how to use the Cricut “print then cut” feature using Cricut Maker or Cricut Explore. Also, included are “print then cut” troubleshooting questions and what printer works best for this job.
Hey, Cricut buddy! Welcome to my blog, Cut N Make Crafts.
Last night my husband and I stumbled upon this movie based on TWO true stories revolving around blogging and cooking. The name of the movie is Julie and Julia and it was created back in 2002. I think those were the early days of blogging. It was so fascinating to watch and compare how blogging has changed in all those years.
We haven’t watched the complete movie yet as we fell asleep half way through the movie. LOL! Adult life.
Also, I think I’ve finally found my genre of art and I’m overjoyed and madly obsessed now! I’ll tell you more about it in my next post.
Onto today’s post, where I’m sharing EVERYTHING about the Cricut “print then cut” feature. I’ll also be answering ALL of your questions that you asked me on Instagram at the bottom of this post. To get to the questions right away, you can click on the heading in the menu given below.
What is “Print and Cut” and How Does it Work?
The Cricut “print and cut” feature is a combination of two different technologies and uses a printer to print images out which can then be cut using your Cricut.
This means you absolutely NEED TO HAVE A PRINTER to print things out because your Cricut cannot print.
Cricut is NOT a printer. It’s designed for drawing (using a pen), cutting, engraving, and scoring. This is why you need to have a printer to use the “print then cut” feature.
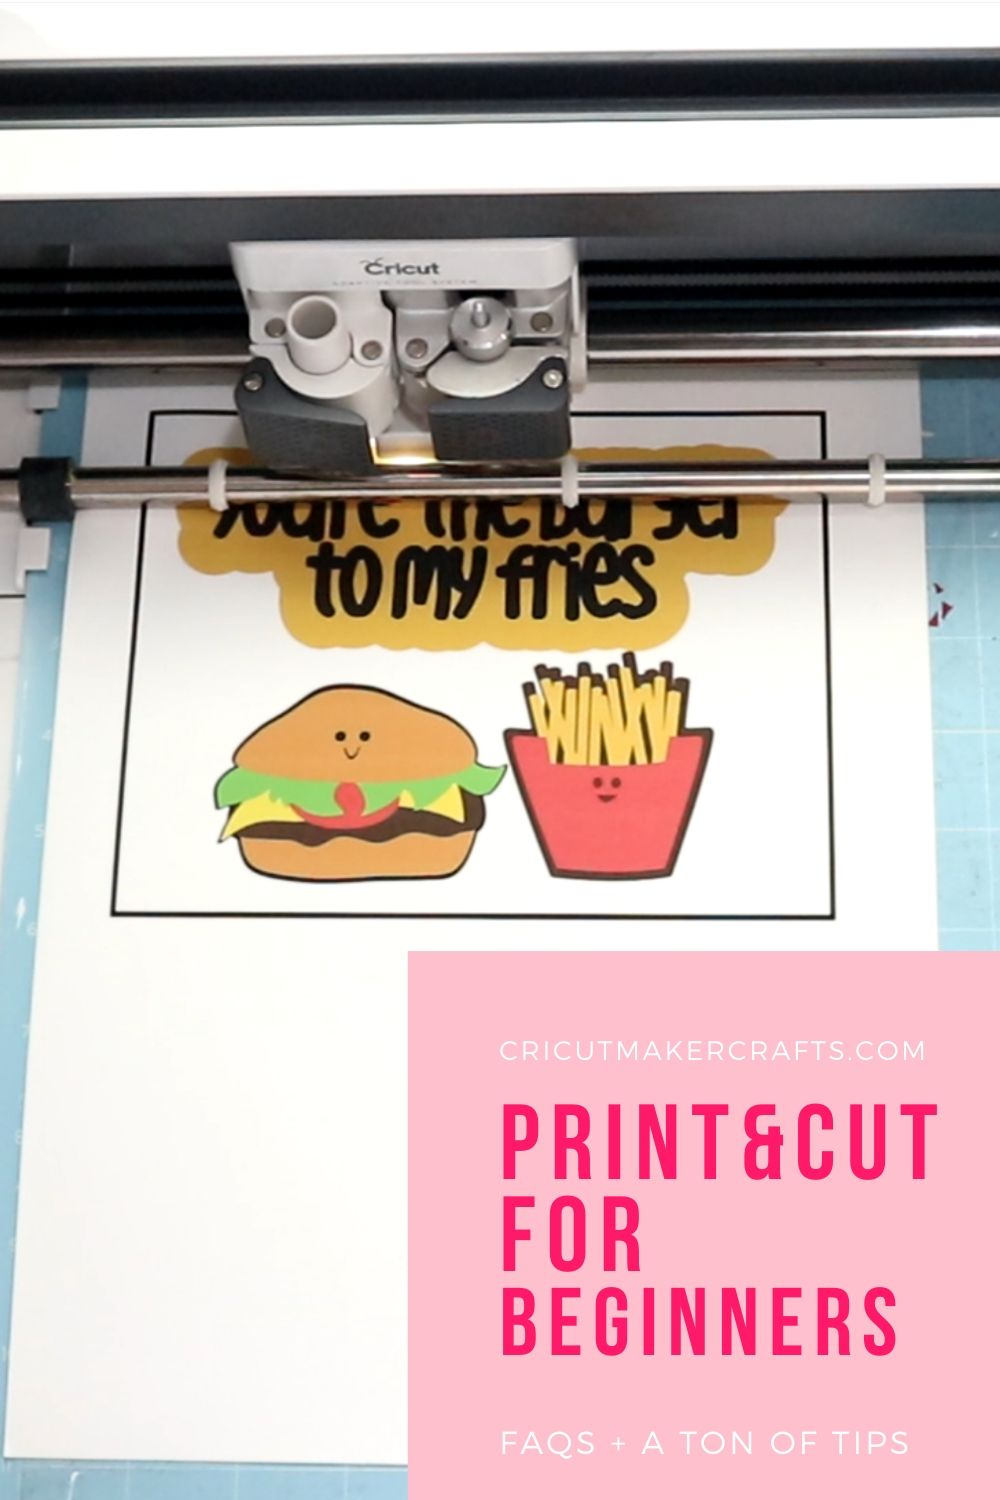
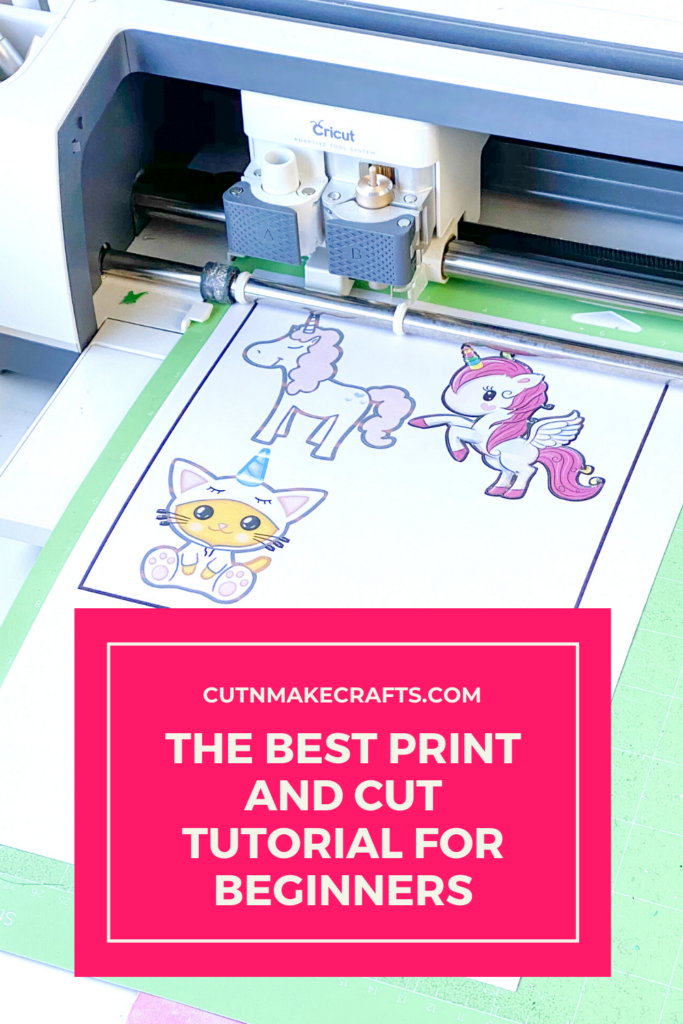
This is how the “print then cut” feature actually works.
- You add a colorful image to your canvas
- The image is then sent to the printer to print.
- The image is printed with a black border on a paper that you load in your printer.
- The paper with the image is then attached to the mat and loaded in the Cricut.
- Cricut then detects the borders using its censors.
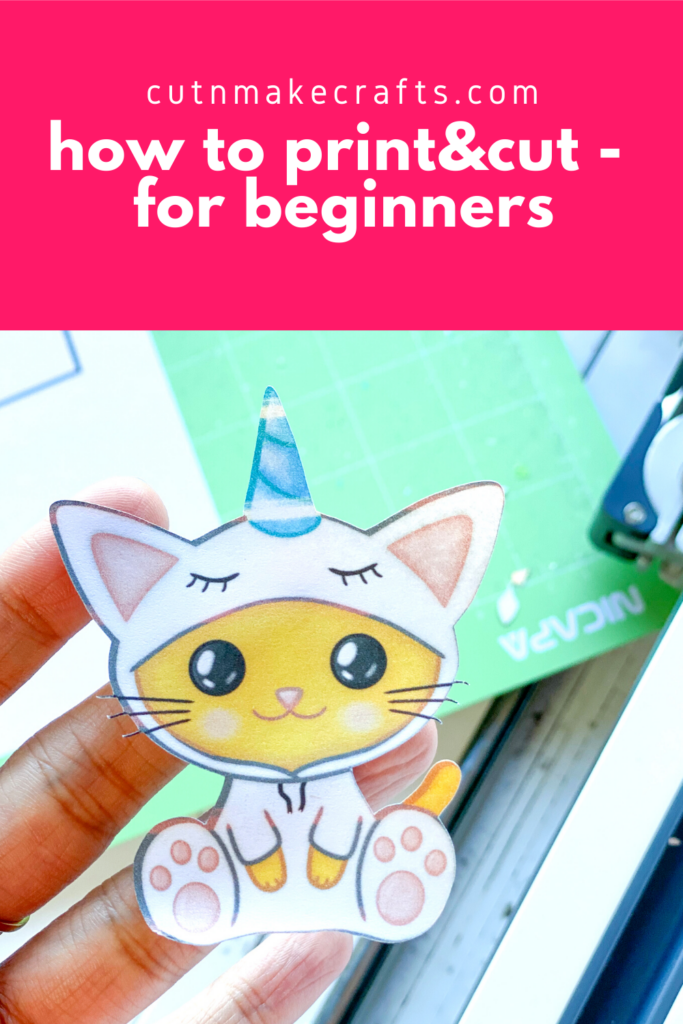
- Cricut uses its blades to cut out the image.
AFFILIATE DISCLOSURE: Cut N Make Crafts is a participant in the Amazon Services LLC Associates Program, an affiliate advertising program designed to provide a means for sites to earn advertising fees by advertising and linking to Amazon.com.
Best Printer to Use
The most common question asked on Instagram was “what printer to use” or “which printer is the best one for “print then cut” and here’s my answer.
Any printer that’s designed to print high-quality photos would be great for this feature. This is because the images that you’ll be printing will be colorful and to get the vibrant colors, it’s a must to use a good printer. The printing part is entirely dependent on your printer. It has nothing to do with the Cricut as the Cricut is just there to CUT.
I myself use HP Envy Photo 6220 and LOVE the results I get from it. It was recommended to me by the HP officials when I told them I was looking for something that could print vibrant images and photos.
Step-by-step Cricut “Print and Cut” Tutorial
Now that the basics are clear, let’s have a look at how to use your Cricut and your printer to perform the “print then cut” task. I’ve recorded a complete tutorial on how to do this in the video below.
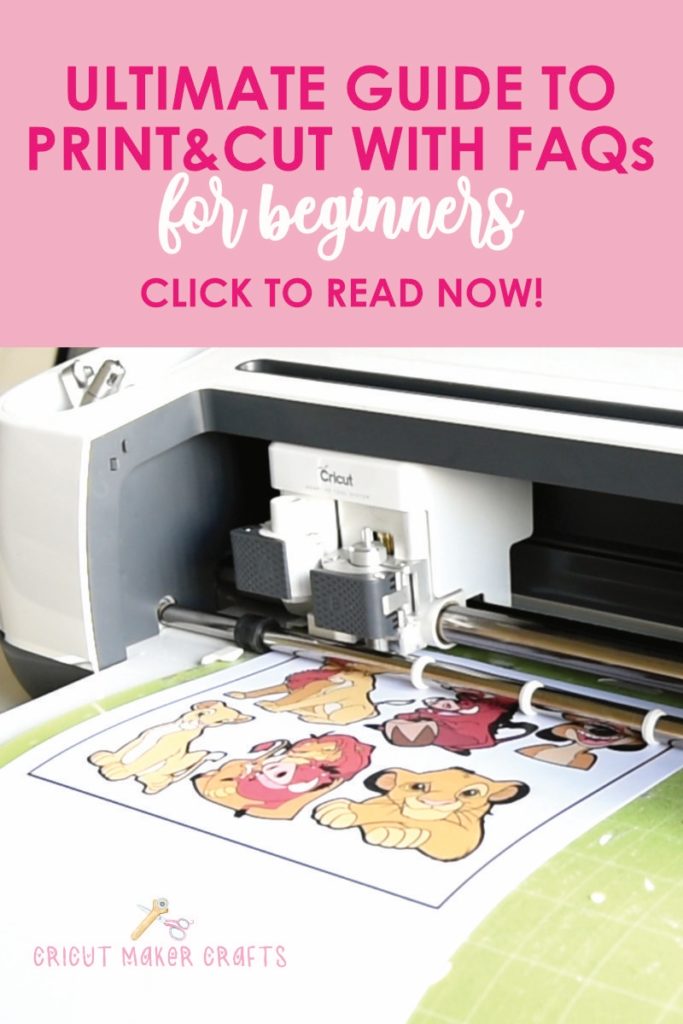
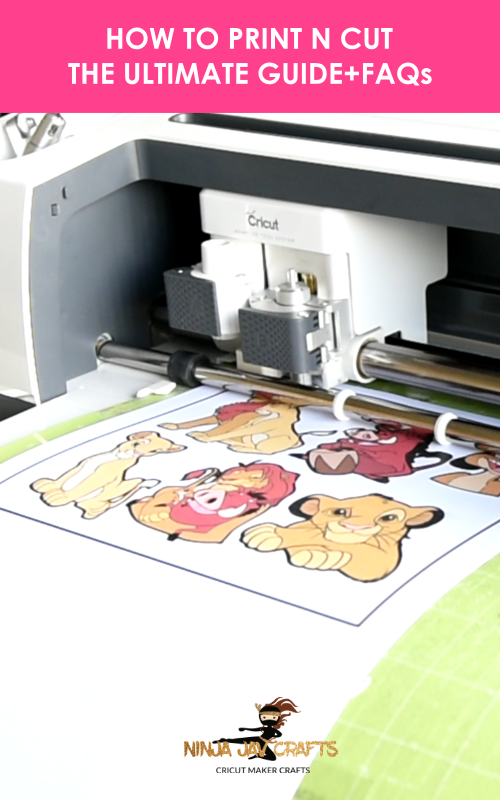
In the tutorial, I’ll show you how I cut out a set of images that I purchased from Etsy for a Lion King themed birthday banner.
Cricut Print then Cut Troubleshooting and FAQs
Can you print using JUST the Cricut?
No, printing with Cricut is not possible. You can, however, draw using your Cricut pens but you CANNOT print with Cricut. You would need a separate printer for that.
Can you use your Cricut without a printer?
Yes, you can, but you will not be able to use the “print then cut” feature.
What to do when you don’t have a printer?
If you don’t have a printer at home, you can actually save the file as PDF first and then take it to a copy shop to get it printed. To save the file as a PDF document, you need to select “save as PDF” from the dropdown menu.
Print quality (lines on image/dull colors)
If your image quality is poor, for example, if you’re seeing some lines on your image or your colors are too dull, it’s all because of your printer. Officejet printers mostly have these issues as they are designed to print black and white documents, therefore, their picture printing quality is extremely poor. In this case, I’d recommend investing in a photo printer as it is designed for high-quality image printing.
How to “print and cut” large images?
You can print and cut large images by dividing the large images into smaller pieces using the slice tool. You’d then have to glue the images together once you have printed it all out.
Will “print and cut” work on clear sticker paper?
Yes, it will work on clear sticker paper. I highly recommend trying it out first with the Cricut clear sticker paper.
Can you “print and cut” on photo paper?
Yes, you can print and cut photo paper but it can prove quite difficult as the surface of the photo paper is quite glossy and the light reflected from the surface will interfere with the censor’s light making it difficult for Cricut to detect the borderlines. This might not give great results.
What’s the best printable vinyl?
Inkjet Printable Vinyl is so far the best printable vinyl to use for hard surfaces like mugs and tumblers. CLICK HERE to check it out!
How to fill up the entire page?
Here’s a tutorial on how you can trick your Cricut to print and cut on an entire page.
Why is my image not detected after printing?
There can be several reasons behind your image not being detected during “print and cut” for example, there might be a problem with your machine’s sensor or maybe the sunlight might be interfering with the machine’s sensor. You can find all of these issues and their solutions listed on the Cricut website here under “Print and Cut” troubleshooting.
Can you “print and cut” images larger than 8×11”?
Yes, you can after slicing the images into smaller pieces.
Do you need to let the ink dry?
Yes, you MUST leave the printout for a couple of minutes to allow the ink to dry off or else it can smudge across the entire paper.
Do you have to line the paper perfectly on the mat?
Yes, you must place your paper on the mat JUST like it’s shown in the mat preview section.
What kind of paper to use?
You can use any copy paper or cardstock that works with your printer depending on the requirement of your project. I used 250 gsm A4 cardstock paper in this tutorial.
How do you print and cut HTV?
To print and cut HTV, you would need the printable vinyl like this one. Once printed and cut, you would then need to attach it to your fabric via heat transfer.
The End
With that, we have reached the end of the post where I shared with you all the information on using the “print then cut” feature. I also answered some of your most burning questions about “print and cut” so I hope you found this post helpful.
If you’re new to the world of Cricut, make sure you sign up for the Beginner’s Cricut Course here.
Also, check out 9 Must-Have Everyday Objects for Cricut Owners
Alright, now I’m off to take a little nap. I hope I get to sleep for atleast an hour because later I have to go for groceries. One good thing is, it’s a sunny day so it’s going to be a bit warm outside. Yippe! Mind you, I’m in Australia so June/July is winters for me.


[…] Print and Cut Basics for Beginners + FAQs […]