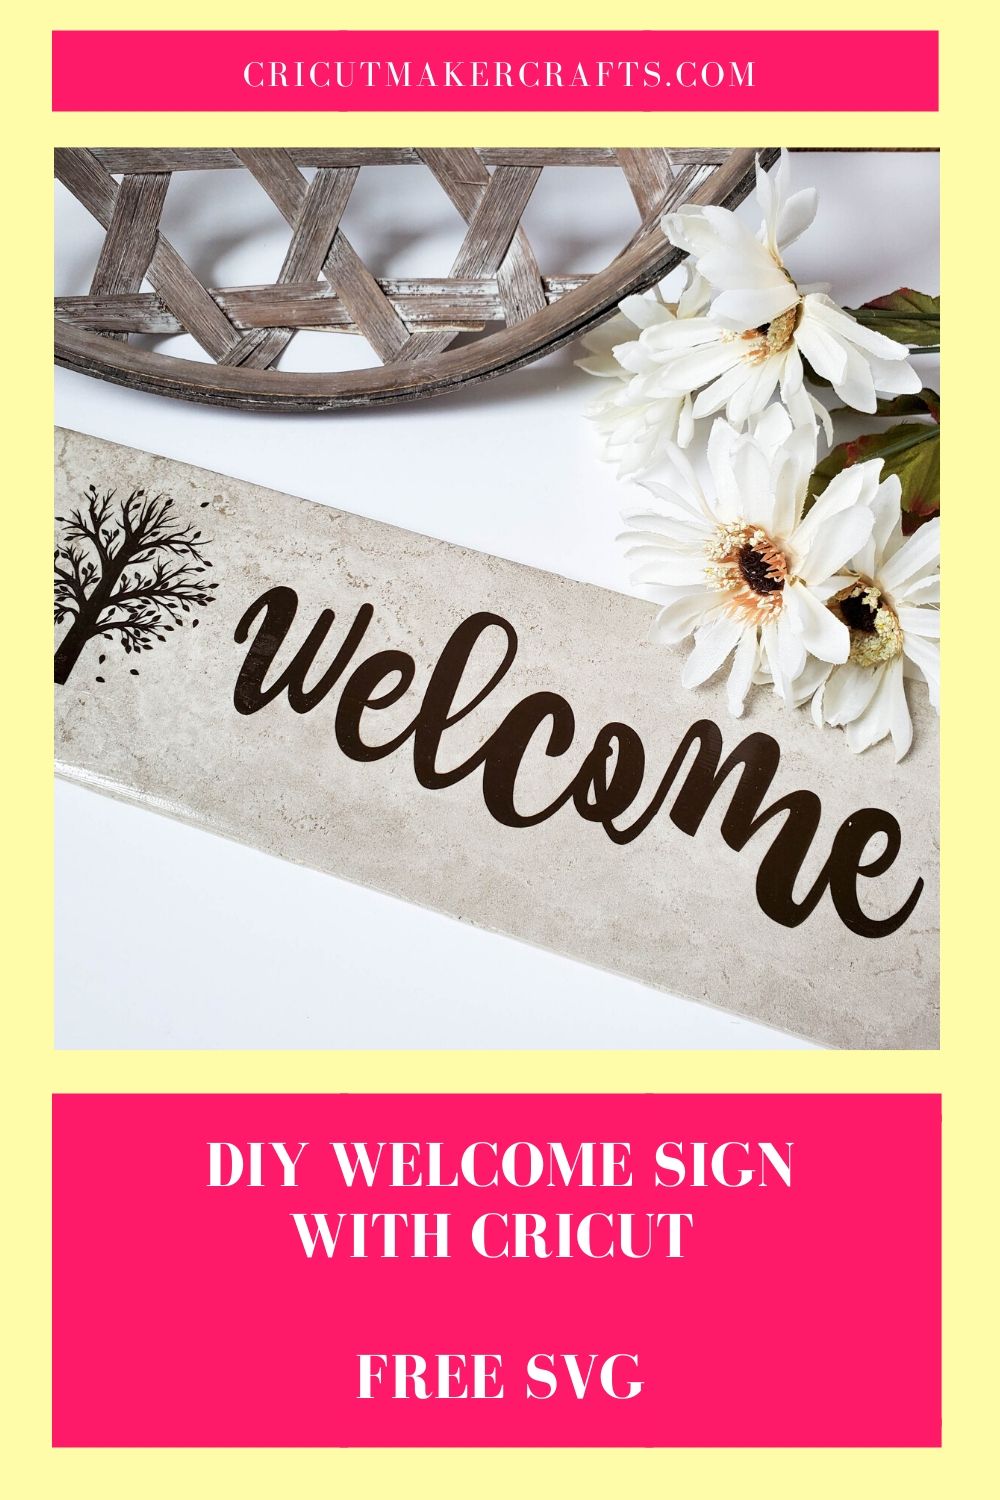
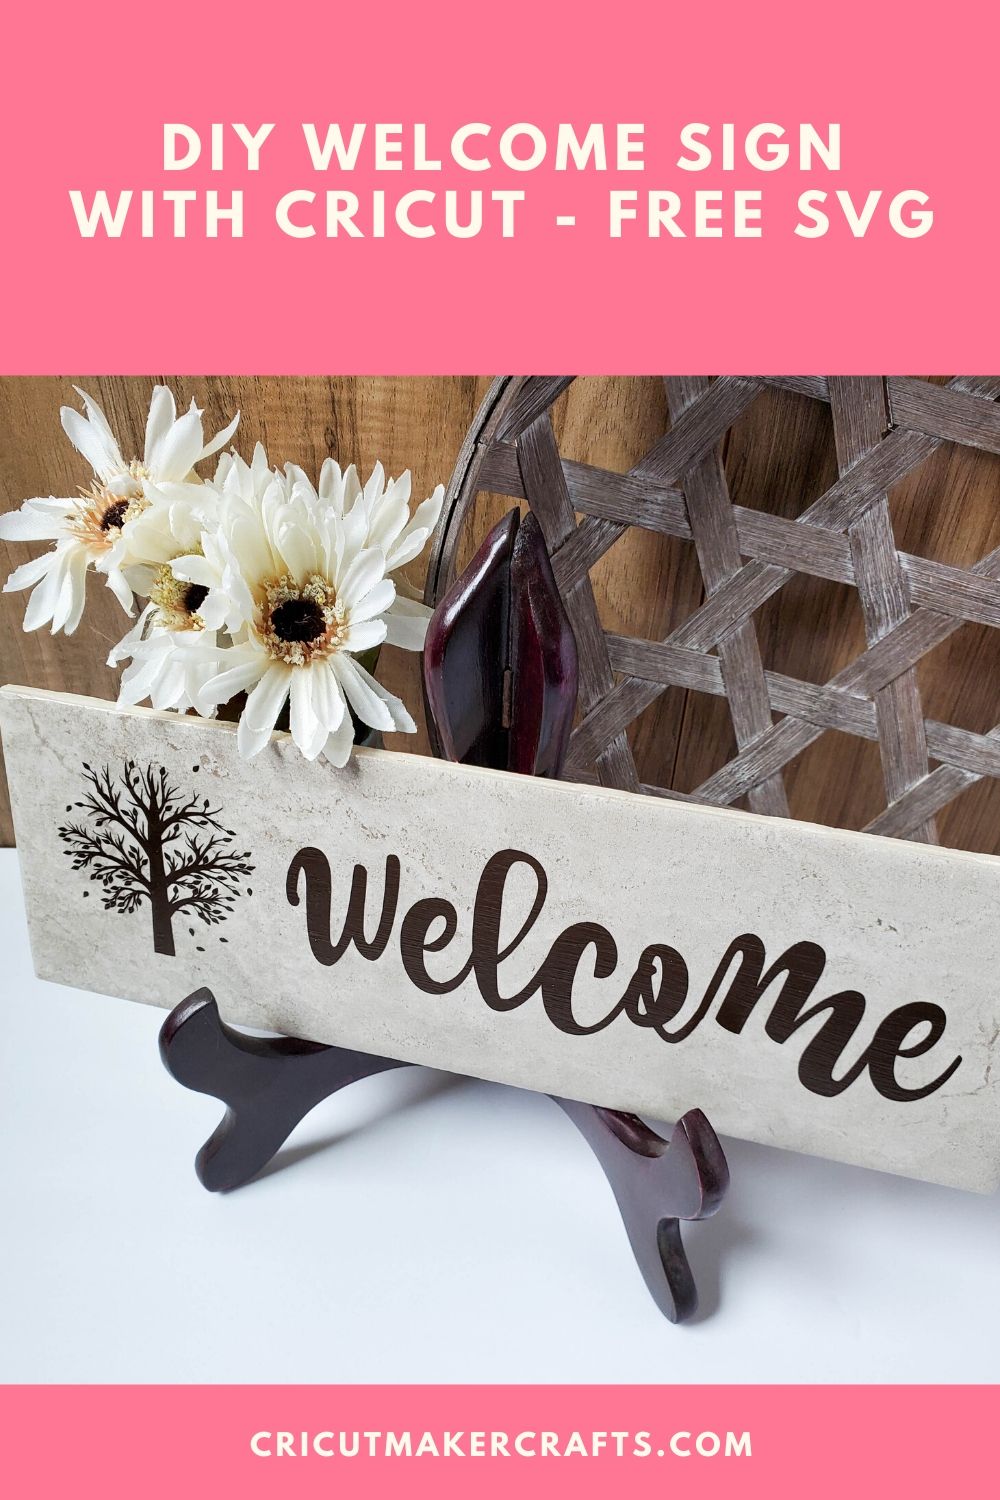
In this post, I’m sharing how to make a gorgeous “WELCOME” tile to place at the entrance of your home. This post also comes with a FREE SVG cut file that you can resize to create the sign in any size you like.
DISCLAIMER: Cut N Make Crafts is a participant in the Amazon Services LLC Associates Program, an affiliate advertising program designed to provide a means for sites to earn advertising fees by advertising and linking to Amazon.com.
DIY Welcome Tile with Cricut [FREE SVG]
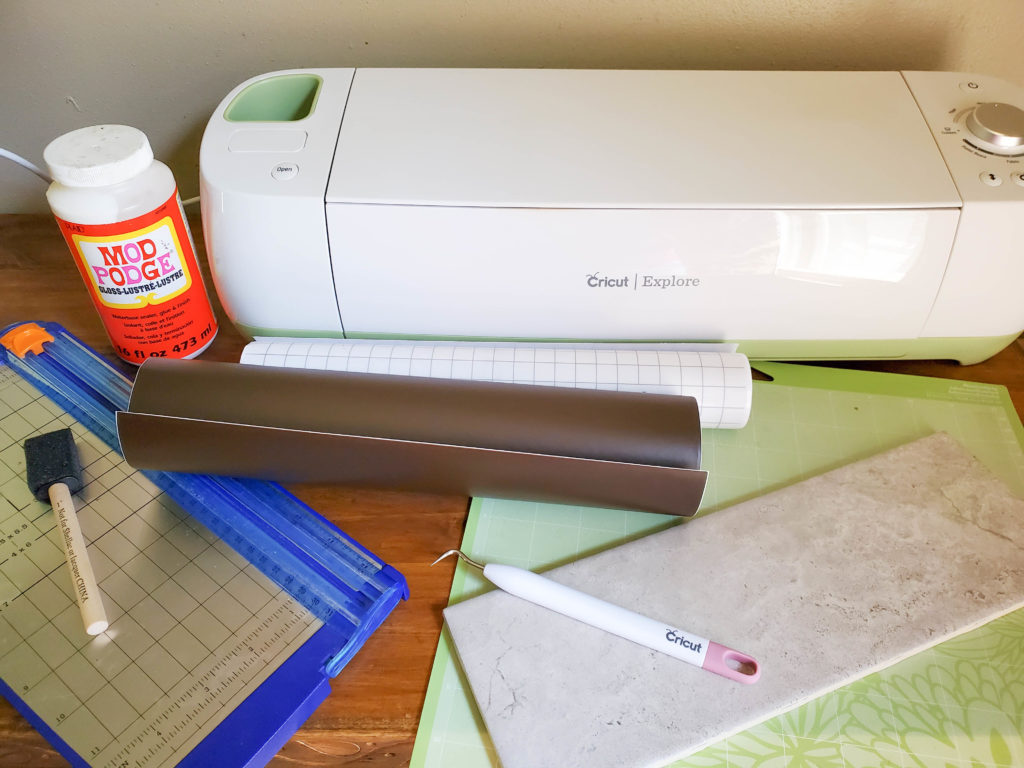
Supplies Needed to Make the Welcome Tile
For this project you will need the following supplies:
-
- Cricut Maker/Cricut Explore
- Light Grip Cutting Mat
- Essential Tools Set
- Adhesive Vinyl (I used Oracal 651 and Cricut Premium Vinyl) If you’re not sure what type of vinyl to use, check out my post Different Types of Vinyl and How to Use Them
- Cricut Transfer Tape
- Ceramic Tile (in a color of your choosing)
- Mod Podge
- Free SVG cut file (you can grab this by signing up for the VIP list below).
Instructions:
- Cut and apply vinyl to Cricut Standard Grip Mat.
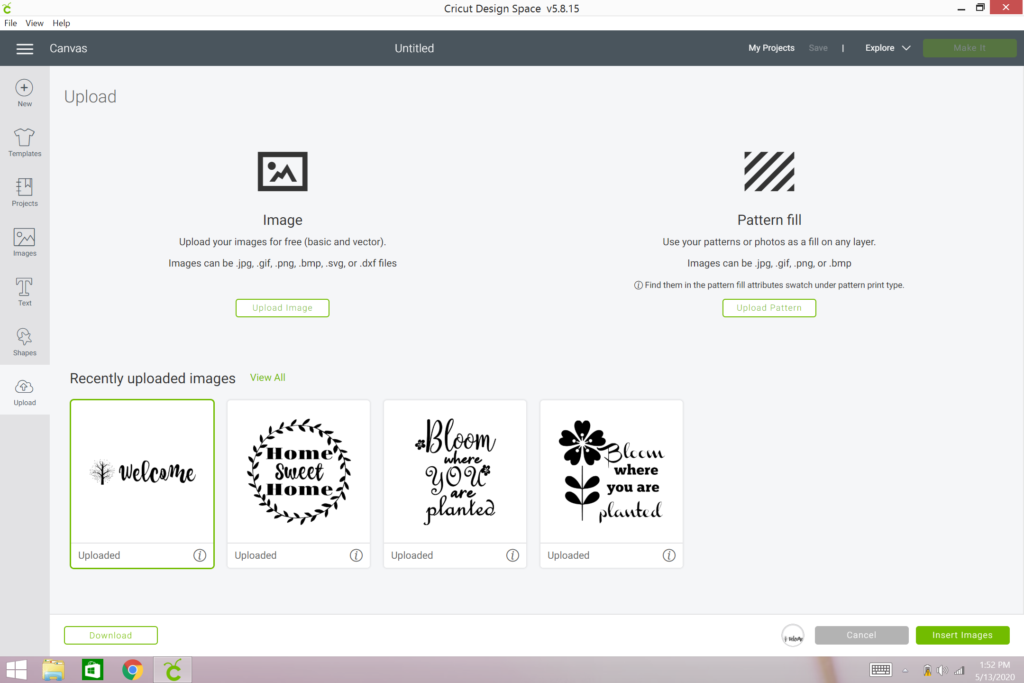
- Upload the Welcome SVG file into Design Space, then insert an image for a new project.
- Click and drag the image into the left corner, and resize to a height of about 2.75”.
- Click “Attach” to cut the file as a whole piece.
- Click “Make It” in Design Space, and set the material type on the machine to “Vinyl”.
- Follow prompts to load and cut.
- Unload when finished cutting.
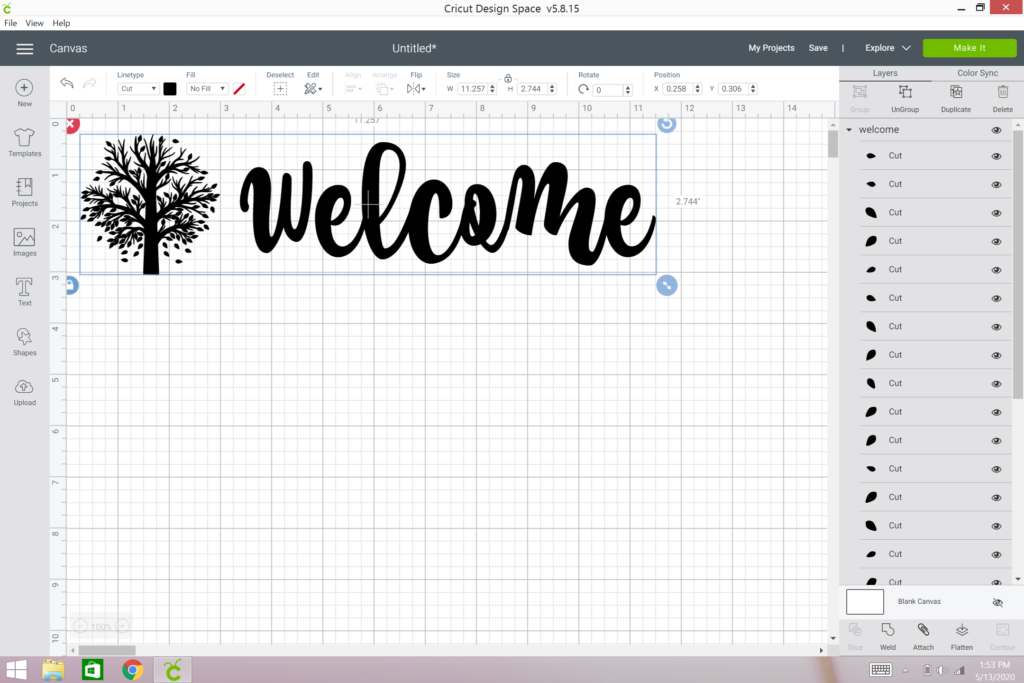
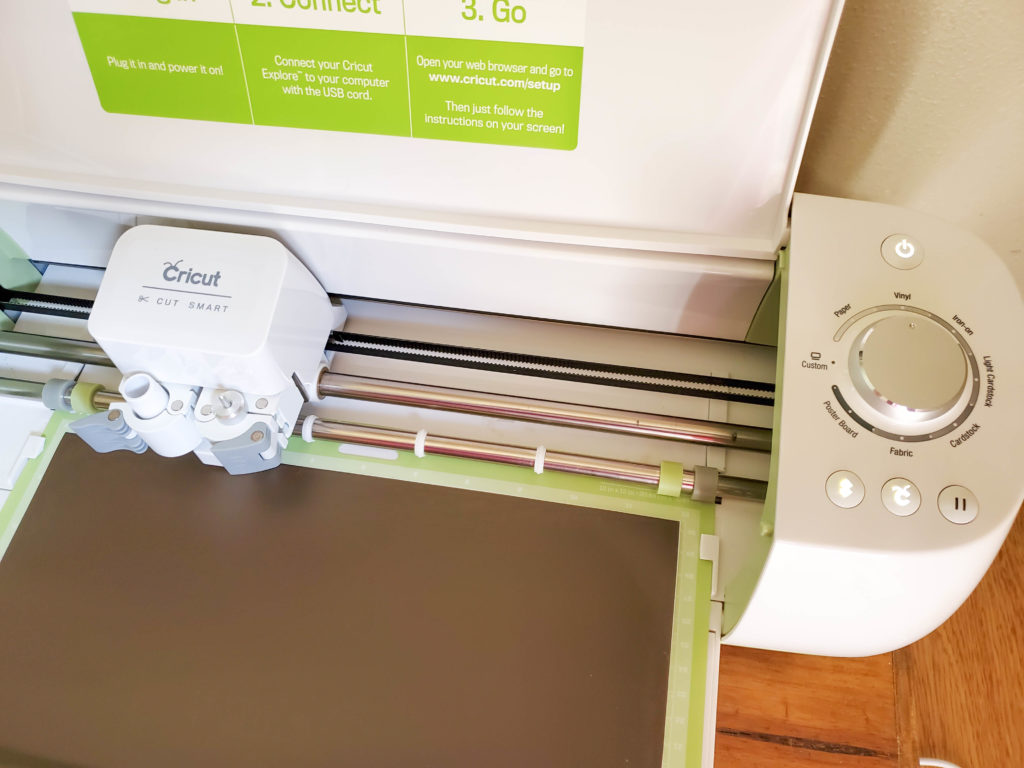
Directions for making the project:
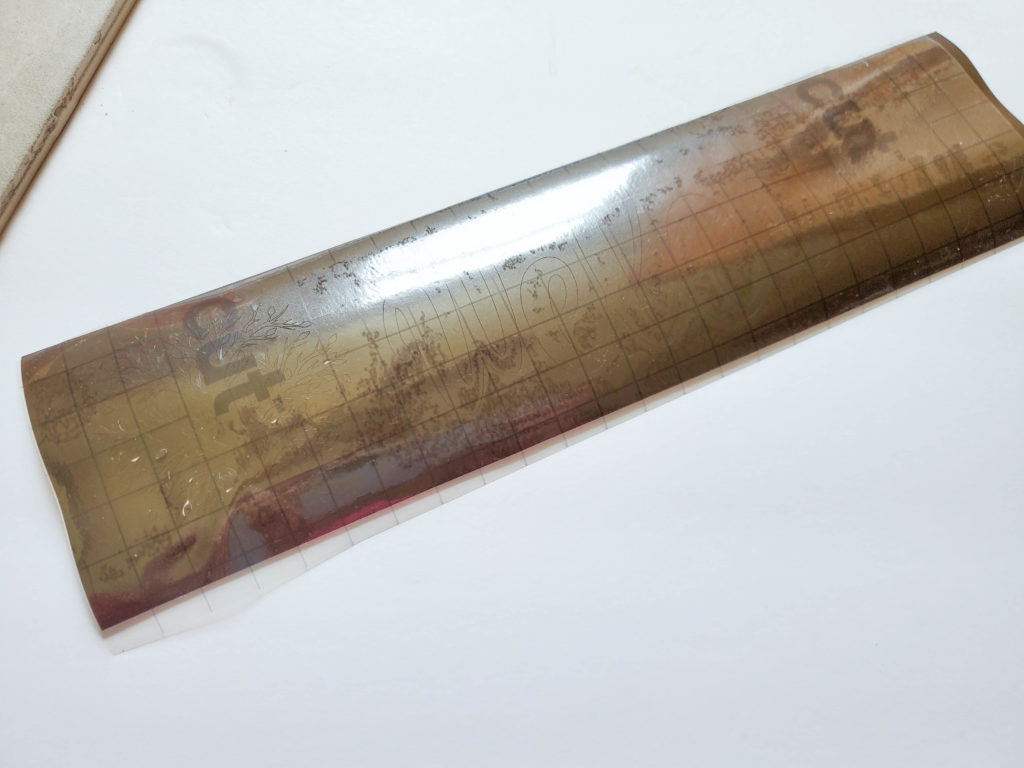
- Once the design is cut, if you need to trim excess vinyl, do so now.
- Cut transfer tape to size.
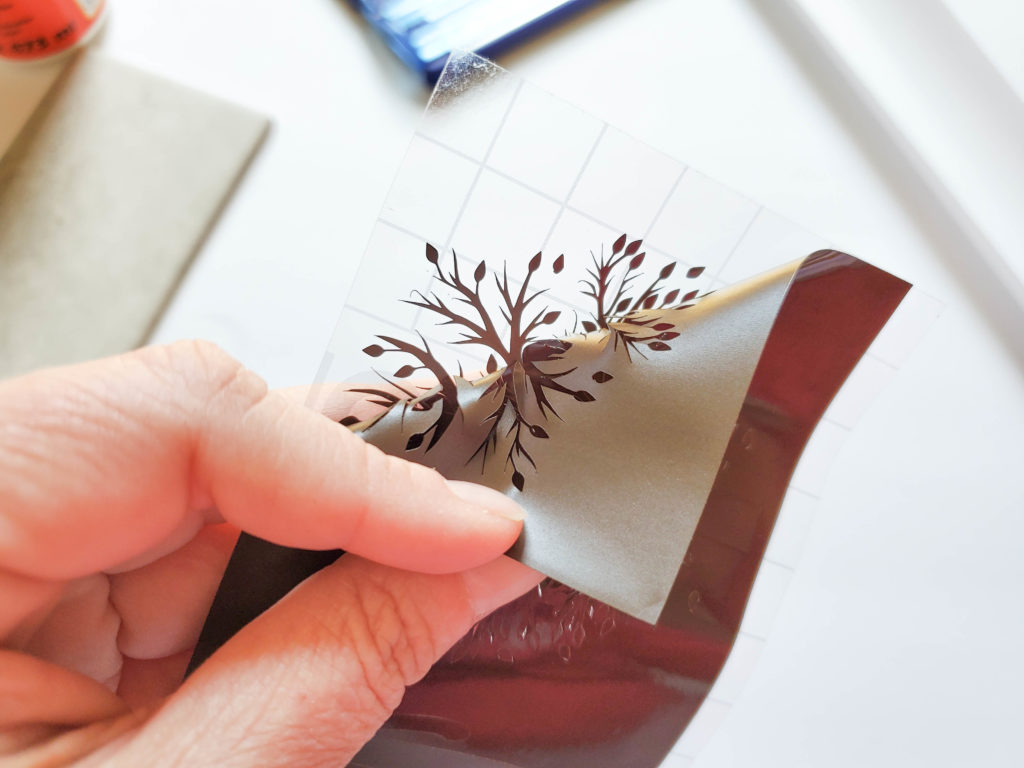
- Using the weeding tool, remove all excess vinyl from design.
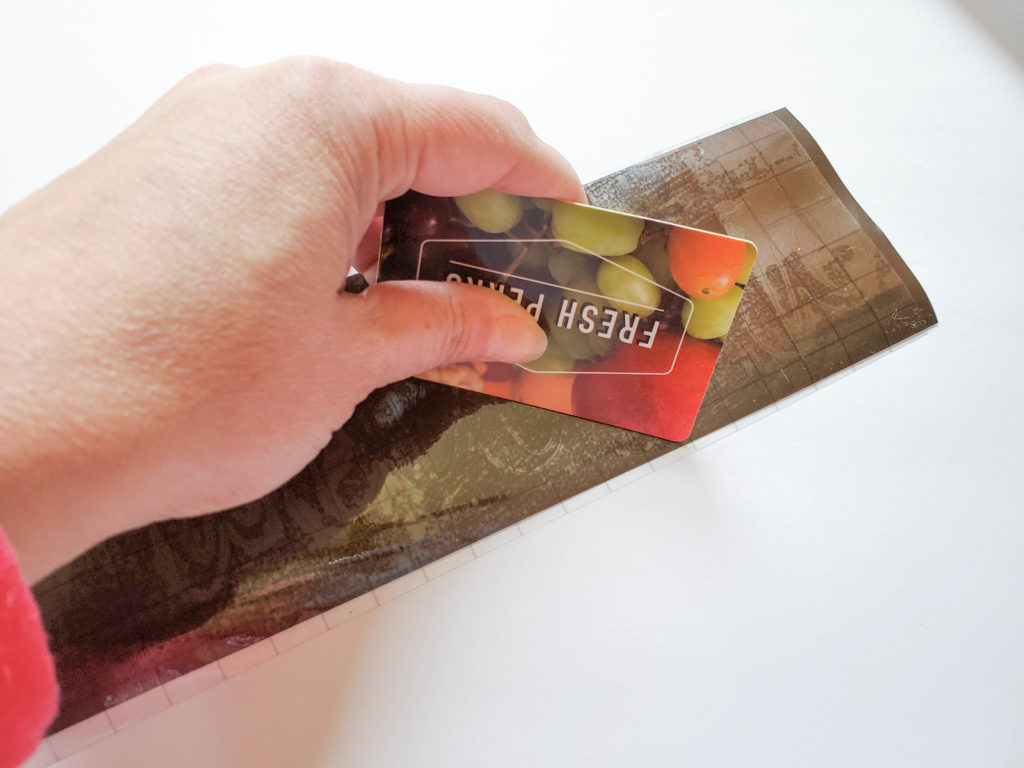
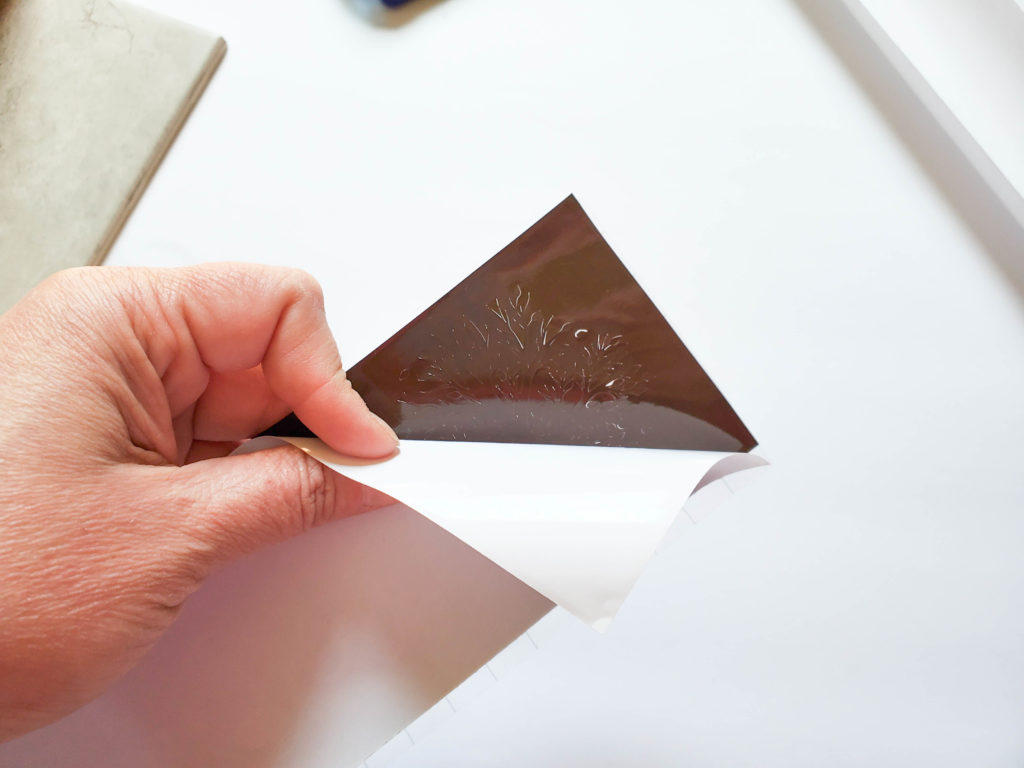
- Place transfer tape over design, and smooth with Cricut Spatula, or thick card.
- Center the design onto your tile, and adhere using the Cricut Spatula, or thick card.
- Using the foam brush, apply one layer or Mod Podge over your design. You can do a second coat, once the first coat is dry.
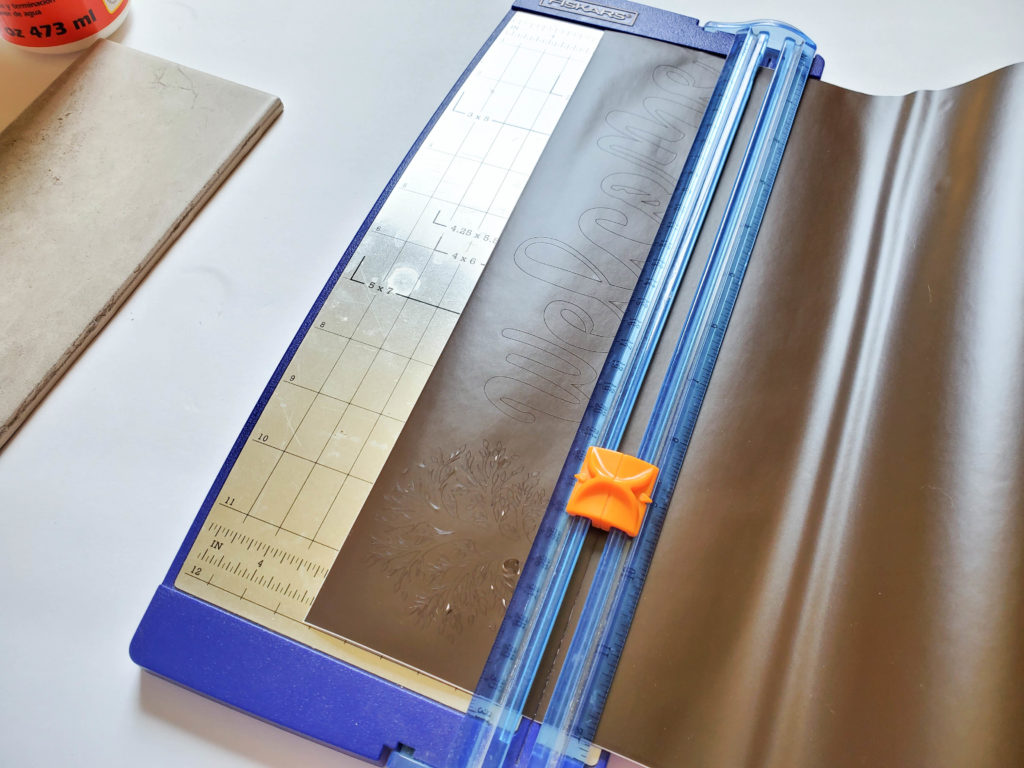
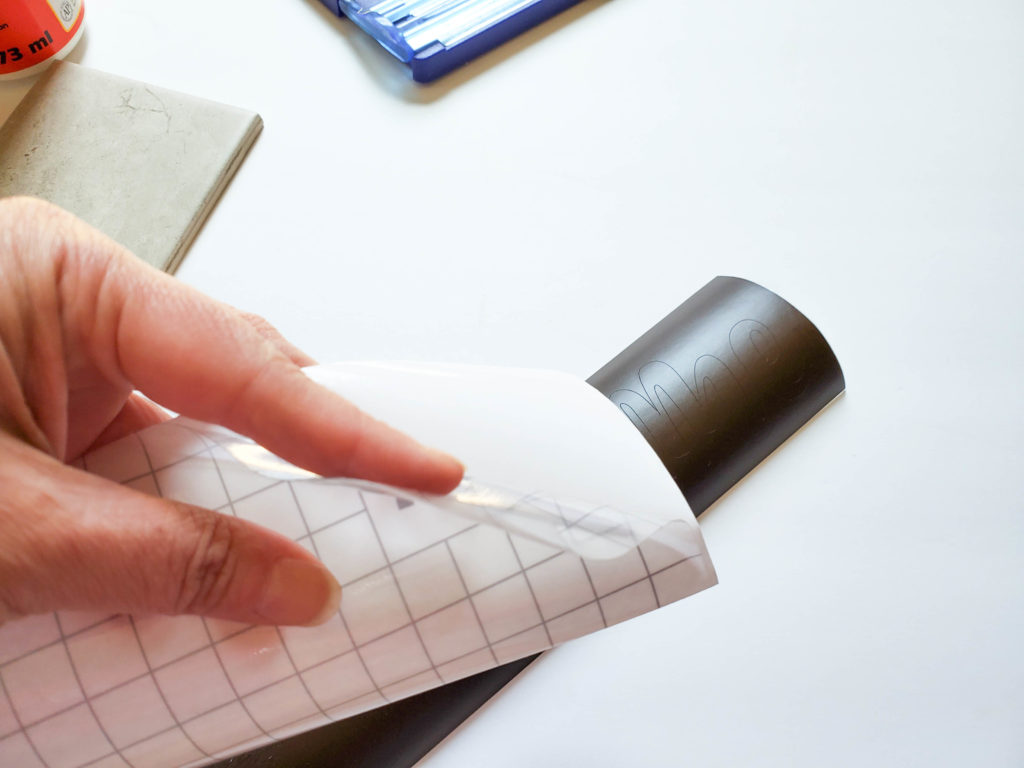
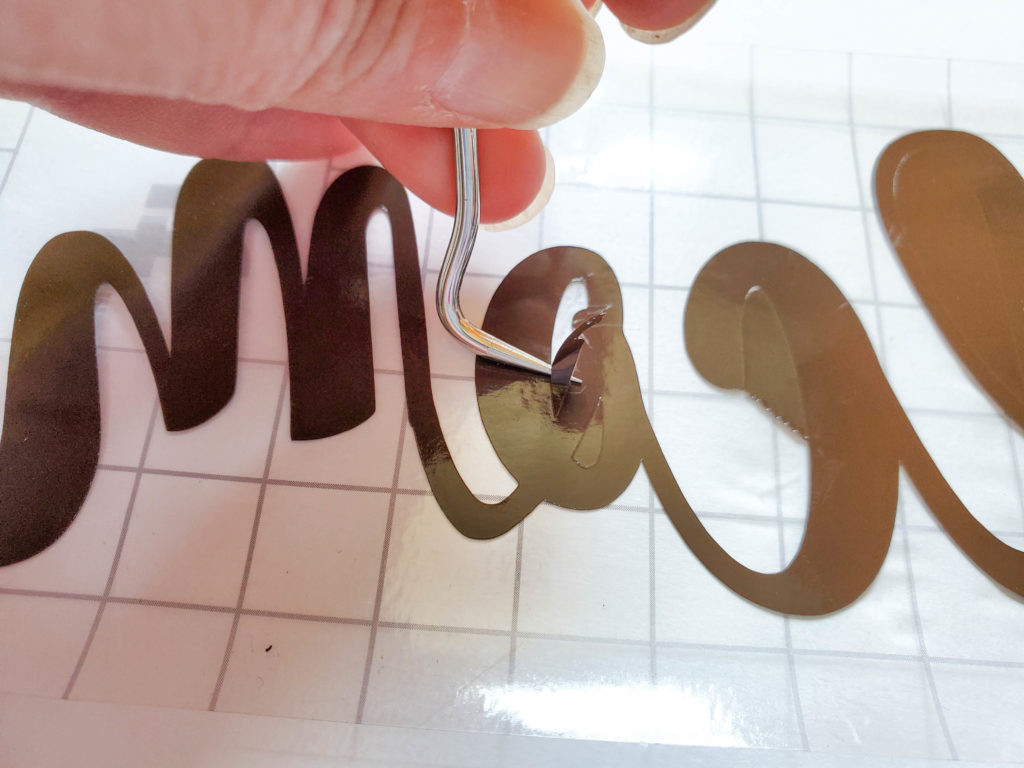
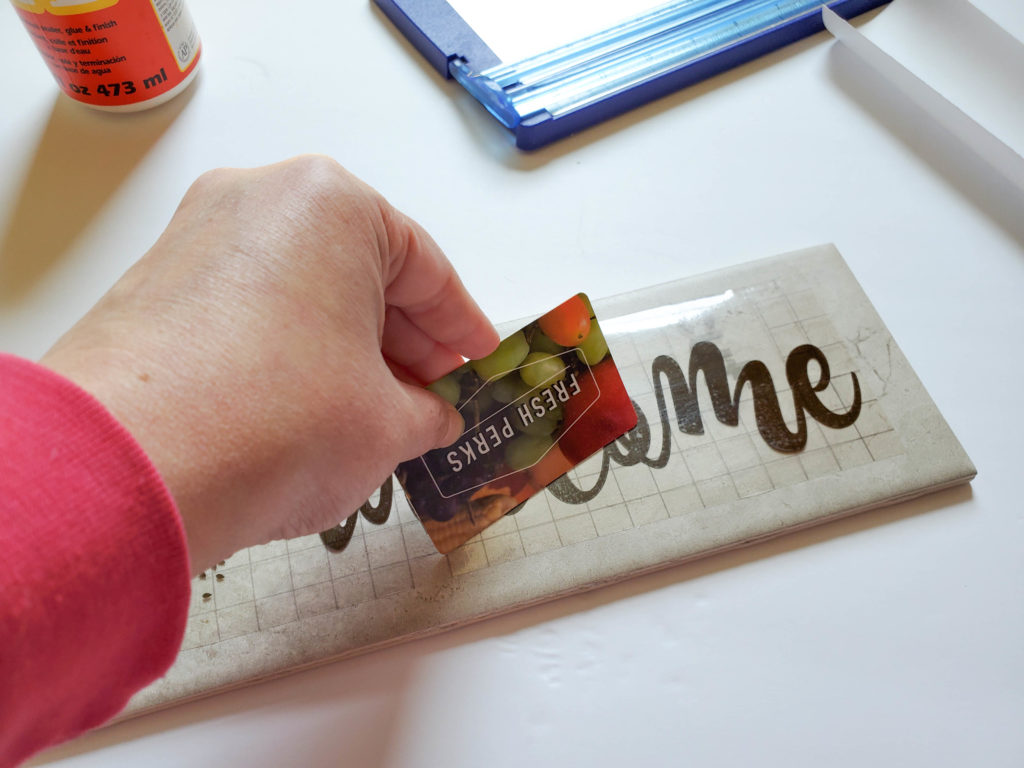
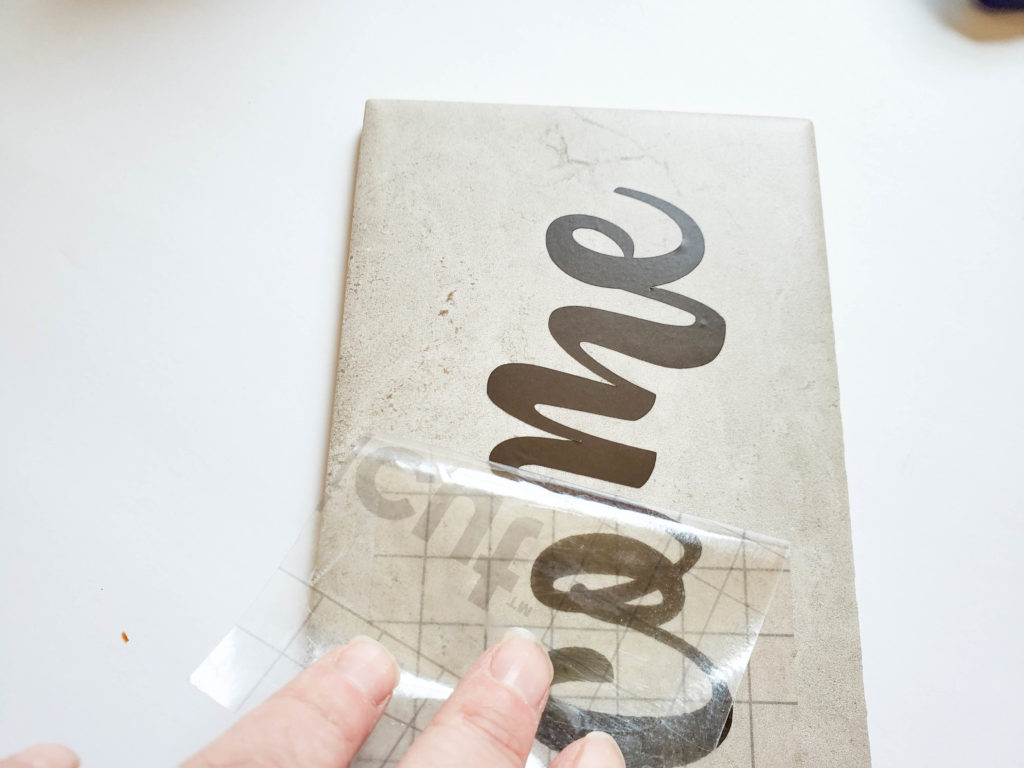
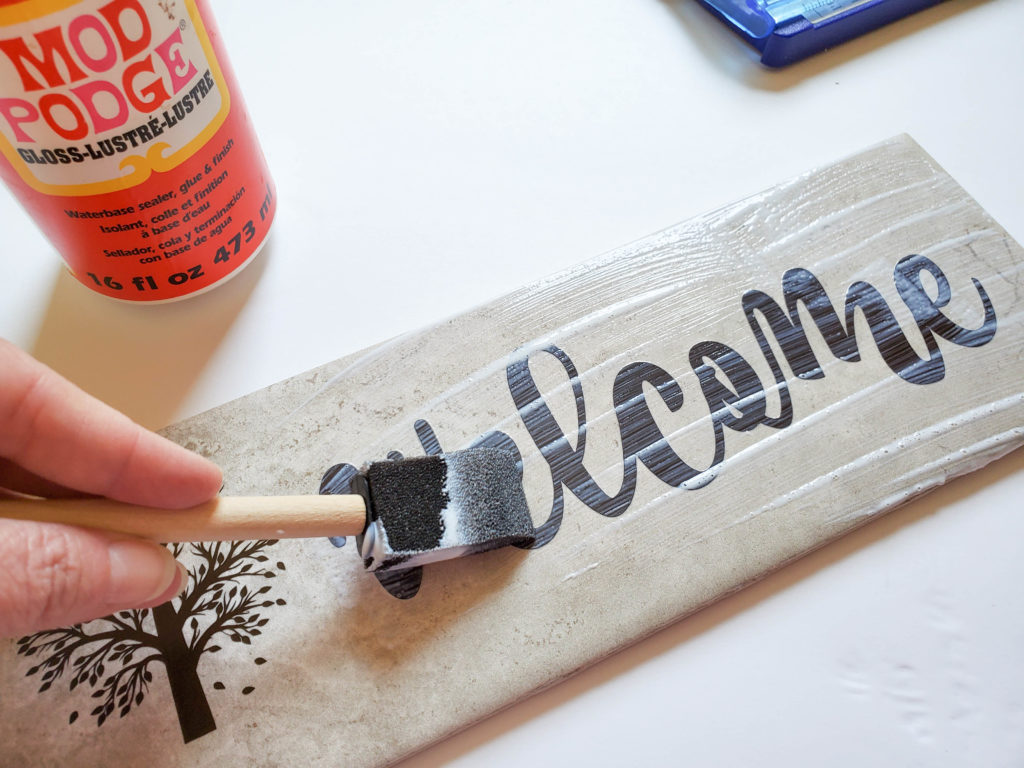
That’s it! Your Cricut home decor tile project is ready! You can always replace the “welcome” with any of your favorite quirky quotes. It’s totally upto you! Alright, that’s all for now. Don’t forget to save this project for later!
Don’t forget to save this image for later!
Be sure to save this post for later by clicking the save button.
More Helpful Cricut Posts
With that, we have reached the end of this post. Please share this tutorial on how to apply layered vinyl with your Cricut buddies. Also, check out these helpful Cricut posts.
- Different Types of Vinyl and How to Use Them
- 11+ UNIQUE Craft Vinyl Storage Ideas
- 5 Epic Reasons to Create Your Own SVGs

![DIY 3D Owl Mandala + 3D Layered SVG [FREE] DIY 3D Owl Mandala + 3D Layered SVG [FREE]](https://cutnmakecrafts.com/wp-content/uploads/2020/09/DIY-Layered-Owl-Mandala-free-3d-layered-svg-files-by-cut-n-make-crafts-1-100x150.png)
