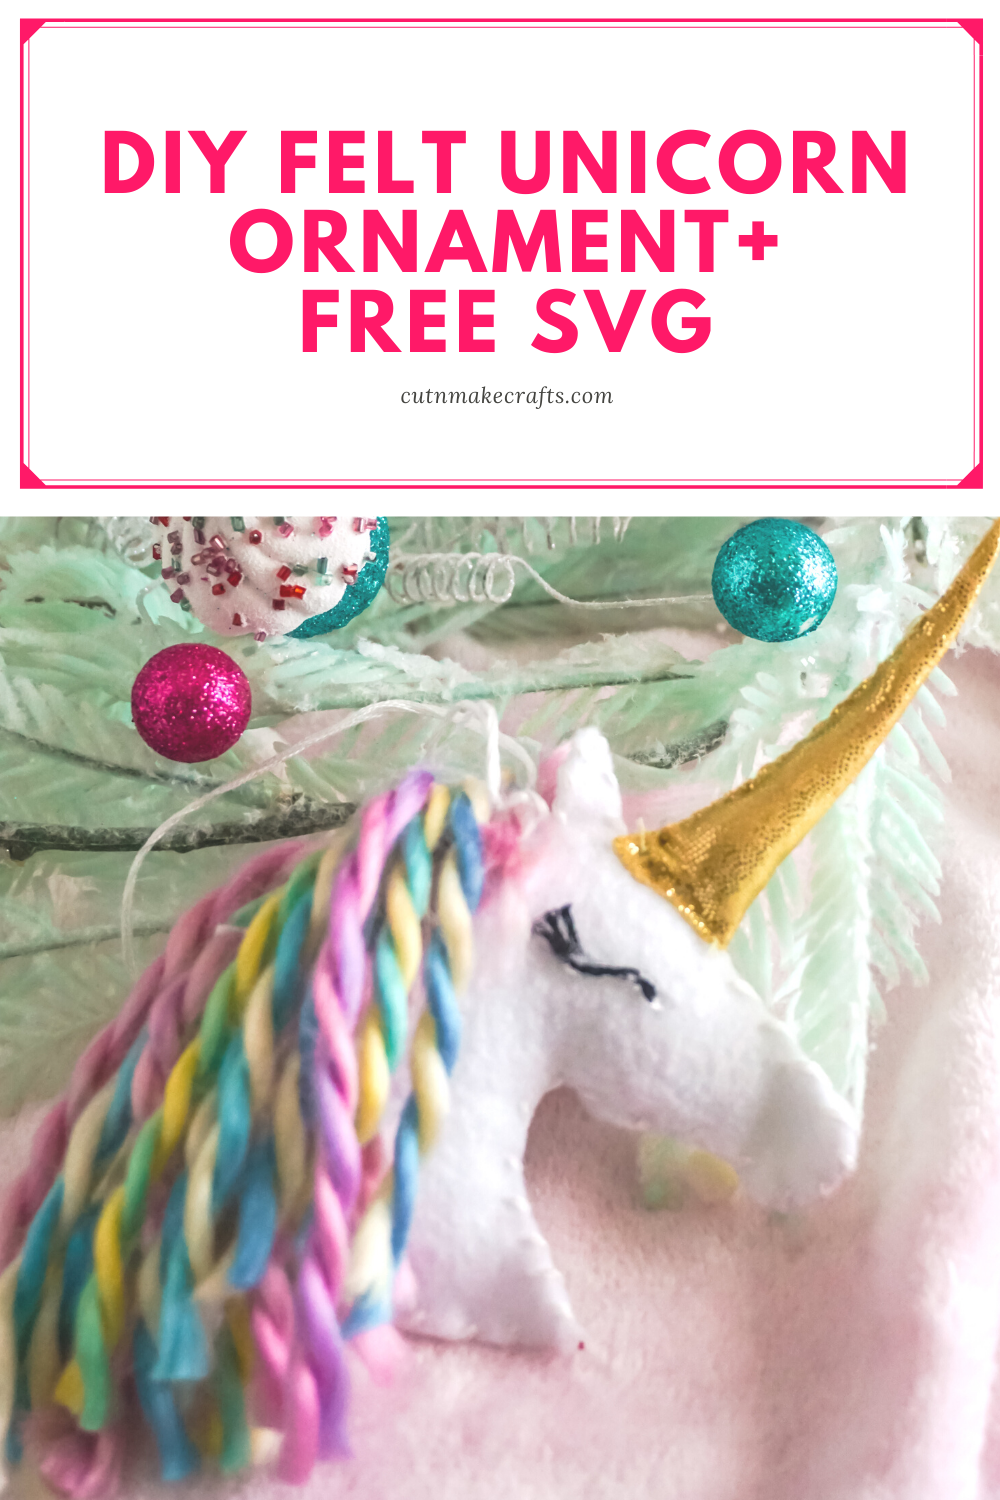
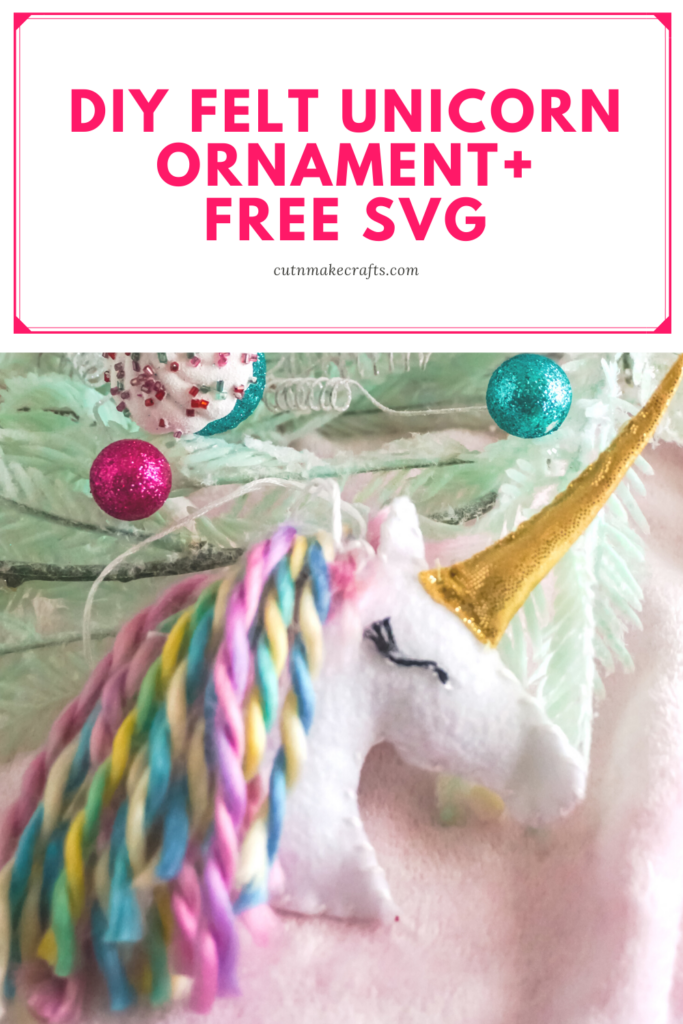
In this tutorial, you’ll learn how to make a super easy and quick felt unicorn ornament with the free unicorn ornament SVG cut file that you can cut on your Cricut machine. This is a super easy and quick unicorn ornament project that’s perfect to do with the kids. If you’re bored of the glass unicorn ornaments, you will love this felt unicorn ornament.
AFFILIATE DISCLOSURE: Cut N Make Crafts is a participant in the Amazon Services LLC Associates Program, an affiliate advertising program designed to provide a means for sites to earn advertising fees by advertising and linking to Amazon.com.
Hello, Cricut buddies! I’m Jav from Cut N Make Crafts (not affiliated with Cricut). Today I’m sharing a super adorable felt unicorn ornament tutorial with a FREE SVG and a template.
Tips for Cutting Felt Perfectly
If you’ve used felt previously, you know how difficult it is to get it off the sticky surface thanks to all the lint. It’s certainly not easy at all and can ruin the mats as well.
A quick hack to prevent your mats from getting covered in lint is to cover the mat with the contact paper. Keep the sticky side of the contact paper facing up so you can stick your felt on the sticky side. This will ensure all the lint sticks to the contact paper rather than the mat.
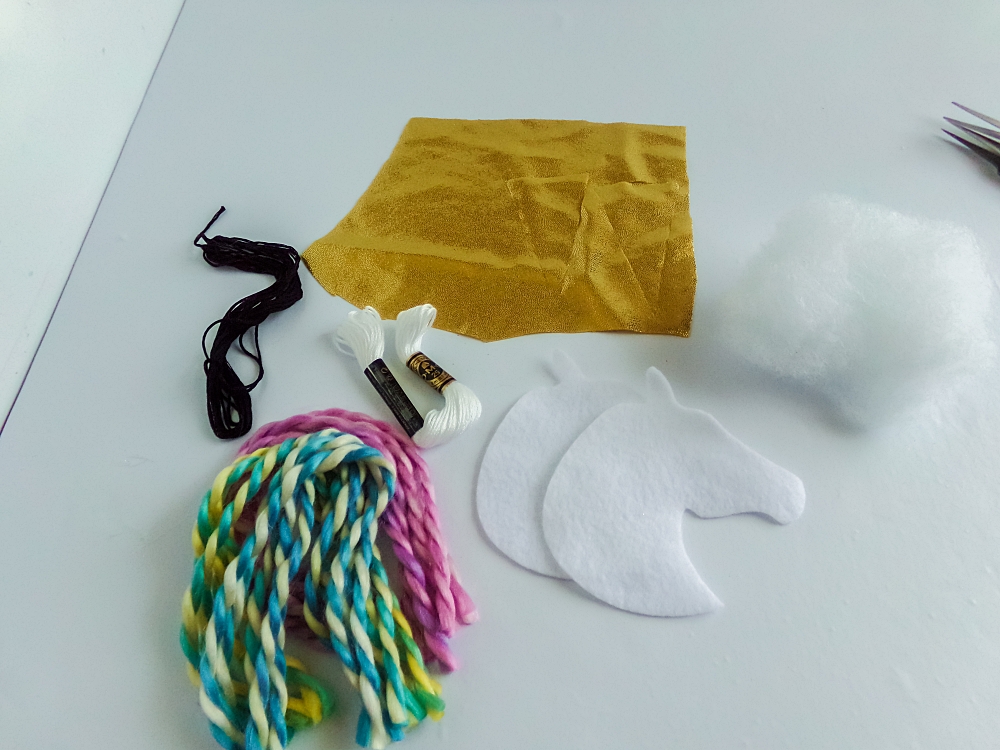
Okay now let’s have a look at all the supplies now.
Supplies Needed Unicorn Felt Ornament Tutorial
- –Felt sheets (preferably white and pink, but you can make your felt unicorn ornament in any color you like)
- –Cricut Rotary Blade /fine point blade [this depends on the type of felt you use. If you’re using acrylic felt, you’d need the rotary blade. If you’re using plain felt, you can cut it out using the fine point blade.]
- Felt glue
- Polyester batting to fill inside the Unicorn ornament plush to give it a 3D shape
- Small Amount of Black Yarn or Embroidery Thread
- Rainbow Colored Yarn
- Gold Lame Fabric Scraps
- Pencil or Chopstick
- Parchment Paper
- Embroidery Thread Needle
- FREE Unicorn Ornament SVG file (available for the VIPs, become a VIP member by entering your name and address below)
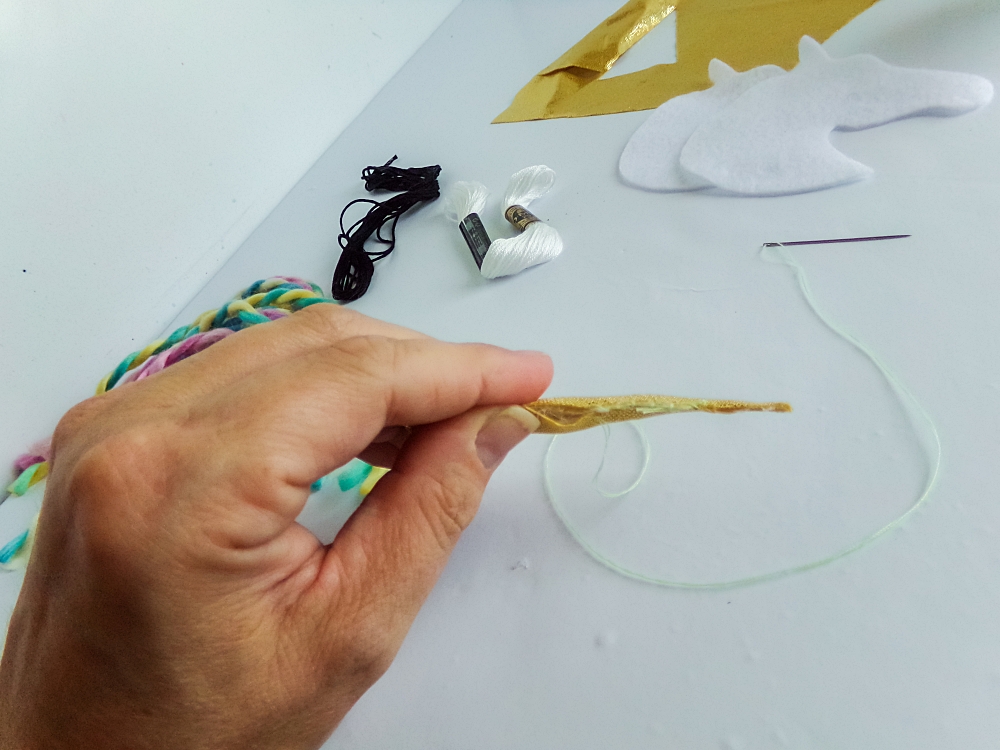
Gather the Supplies
The first step for this adorable unicorn ornament is to gather all the supplies. Once you have all the supplies in one place, crafting becomes much easier and fun as you don’t have to spend time running around in the middle of the craft to look for the supplies.
Preparing the Image:
- Sign up for the VIP list by entering your name and email in the box given above.
- Once you’ve entered your name and email address, you will receive a welcome email from me – Jav at Cut N Make Crafts.
- Inside the email, you’ll find the link to go to the FREE VIP library.
- Download the FREE Unicorn Felt Ornament SVG from the VIP library. The link for the VIP library is included in the thank you email that you should receive after signing up for the VIP list.
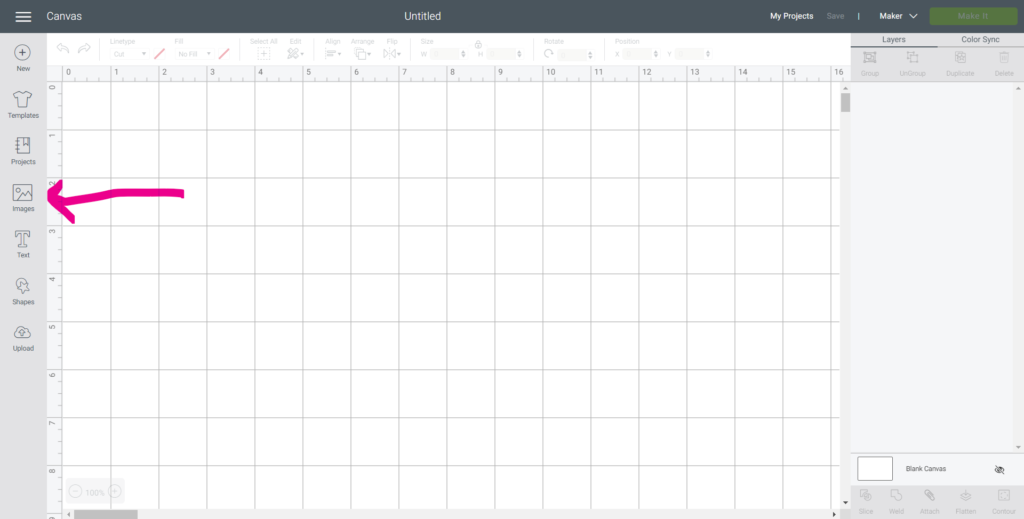
- Open Cricut Design Space.
- Click on the “+” sign to start a new project, opening up a blank canvas.
- Click on upload.
- Locate the file on your computer and upload it to Cricut Design Space.
- Insert the file on the canvas and click on “Make it”.
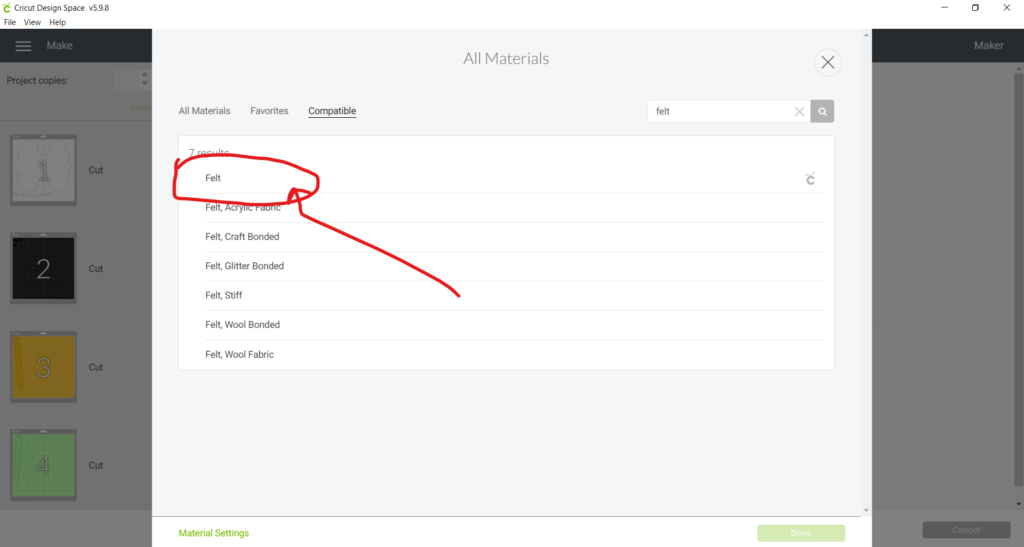
- Click on browse all materials.
- In the search box, type felt and select the type of felt you’re working with.
- Add the blade to your Cricut depending on the type of felt you’re using for this project. If you have the Cricut Maker you will be prompted to add the fine point blade or the rotary blade. If you’re using the Explore Air 2, you can use the fine point blade to cut out felt.
- Place contact paper sticky side up on your mat.
- Place felt sheets on the contact paper one at a time.
- Load the mat and cut out the felt pieces.
Assembling Unicorn Ornament
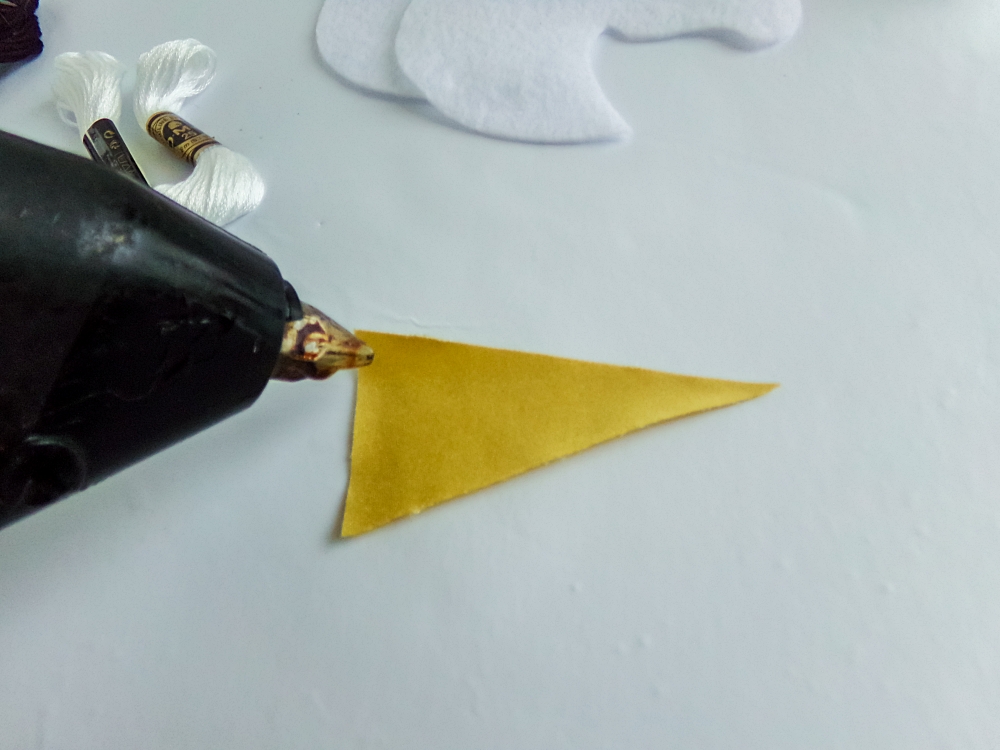
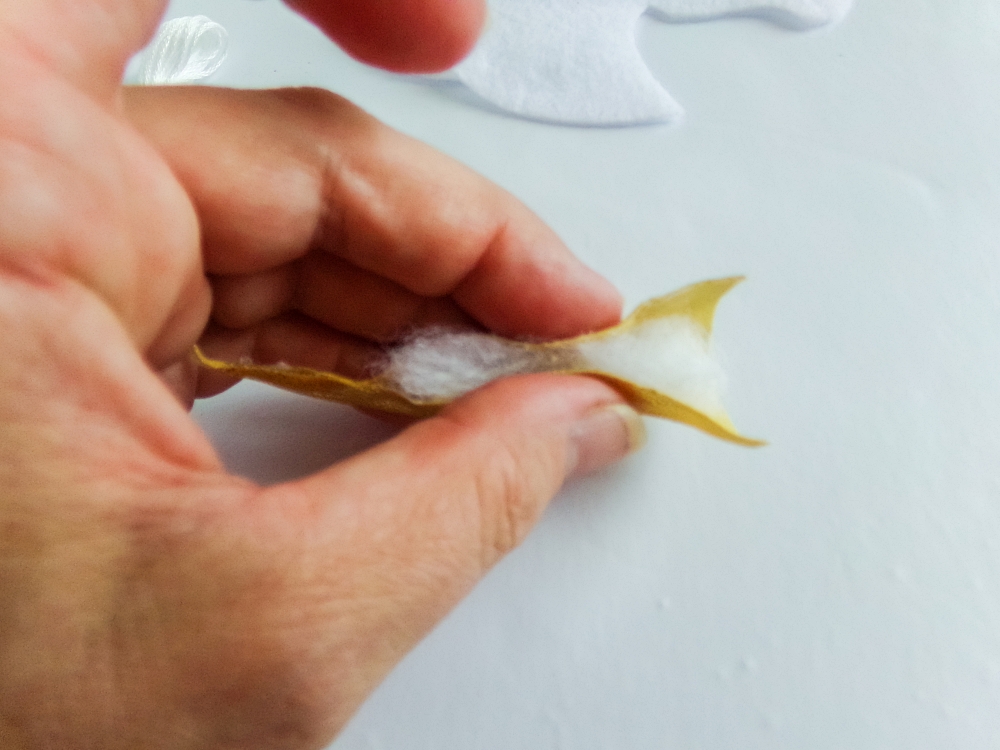
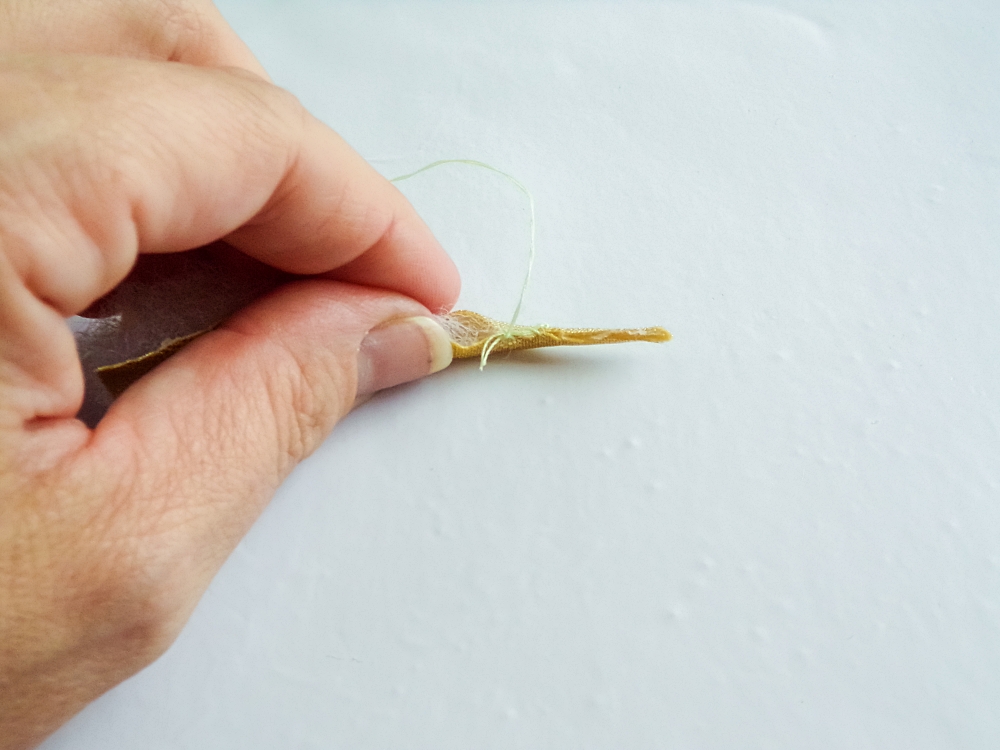
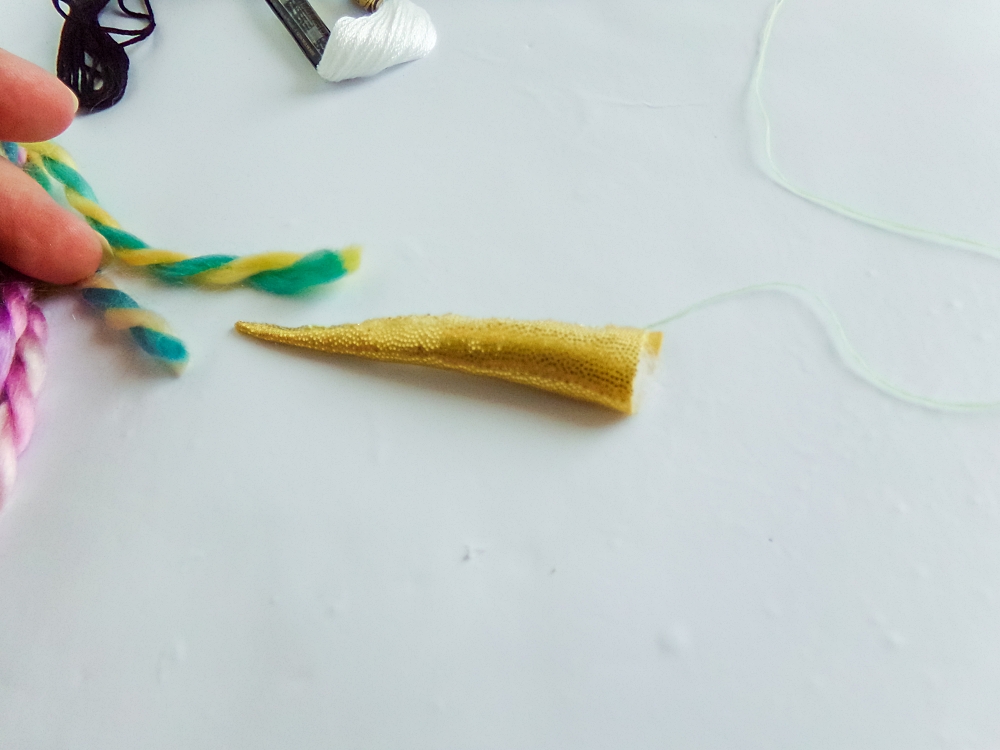
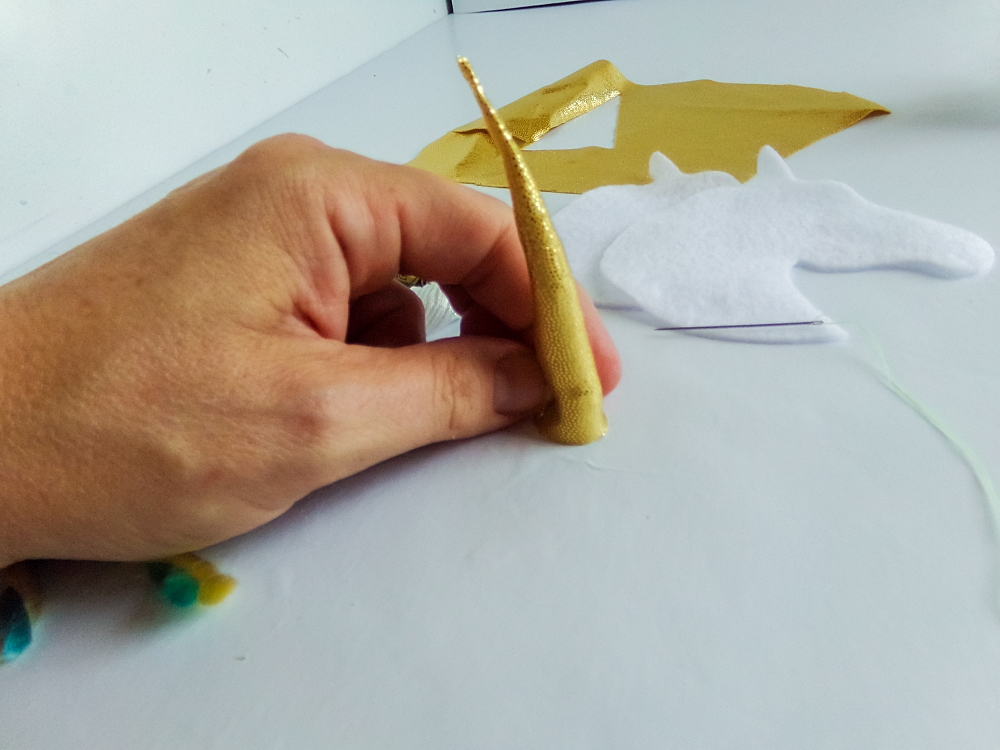
- Start by making the unicorn horn. Place a small amount of polyfill in the center of the unicorn horn shape on the wrong side of the fabric. Wrap the horn shape around the polyfill and, using the hot glue or with a whip-stitch, create a seam along the join line of the horn.

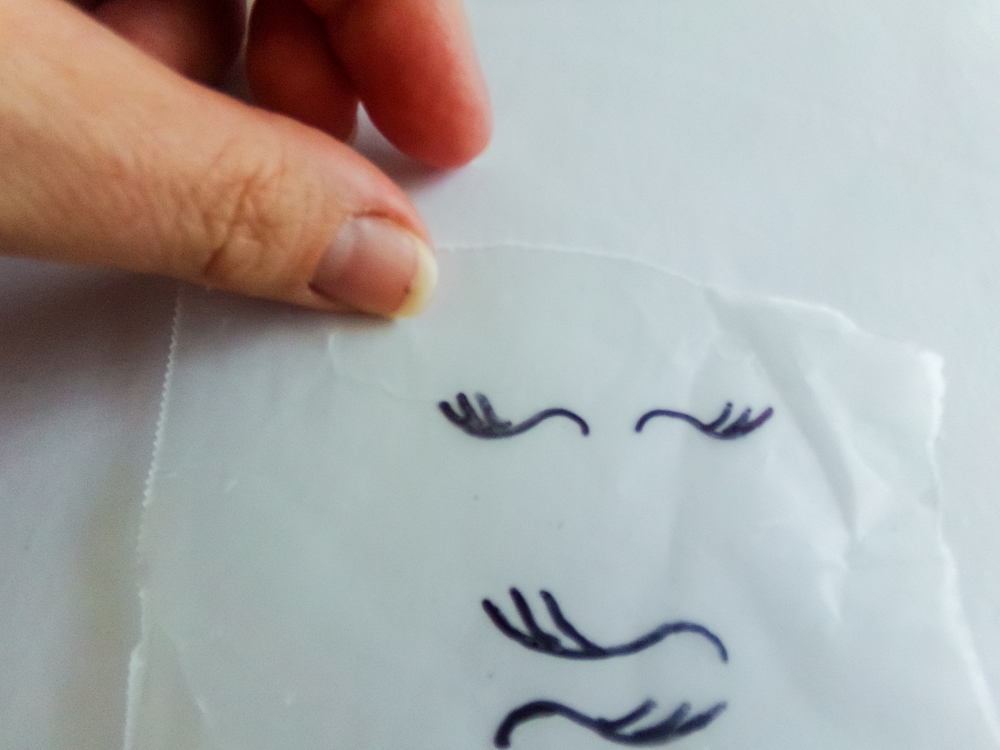
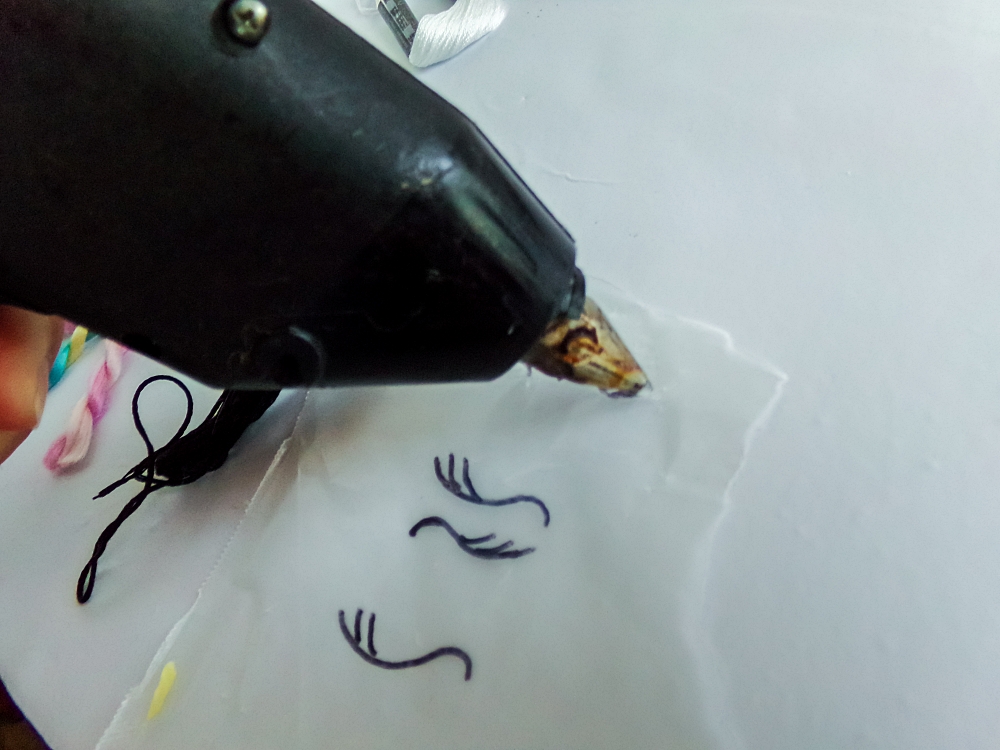
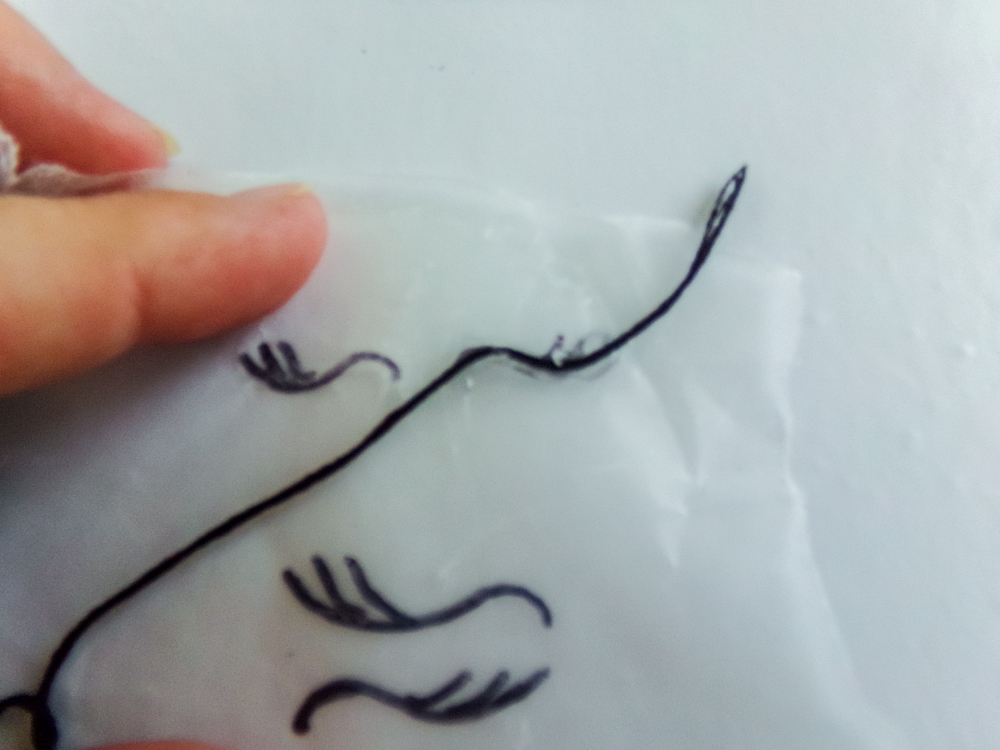
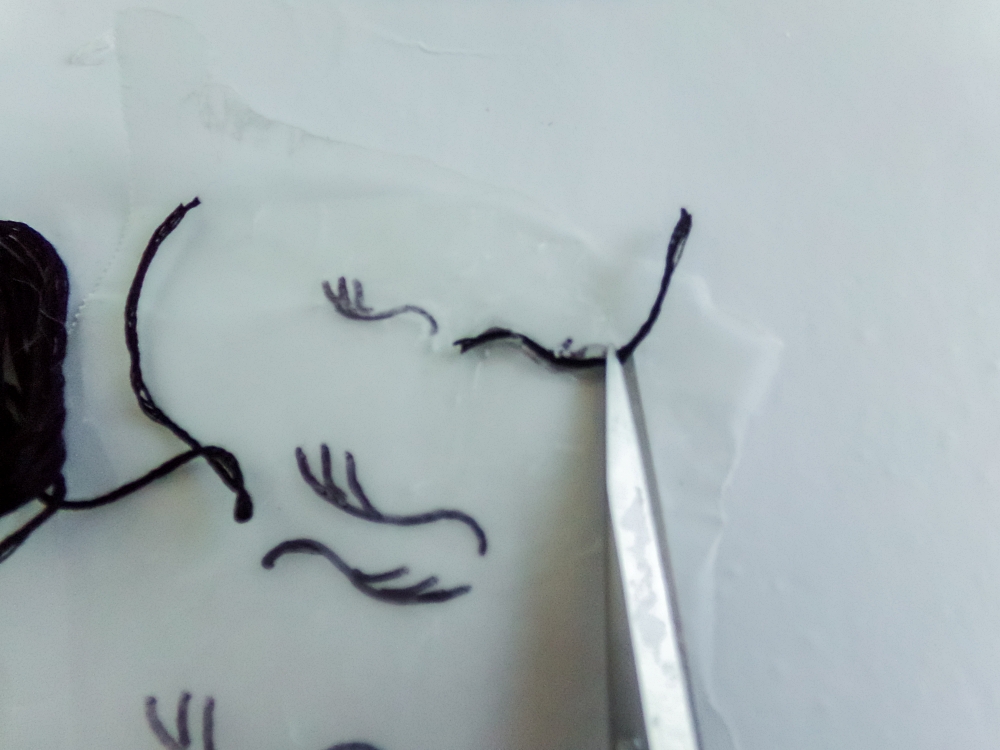
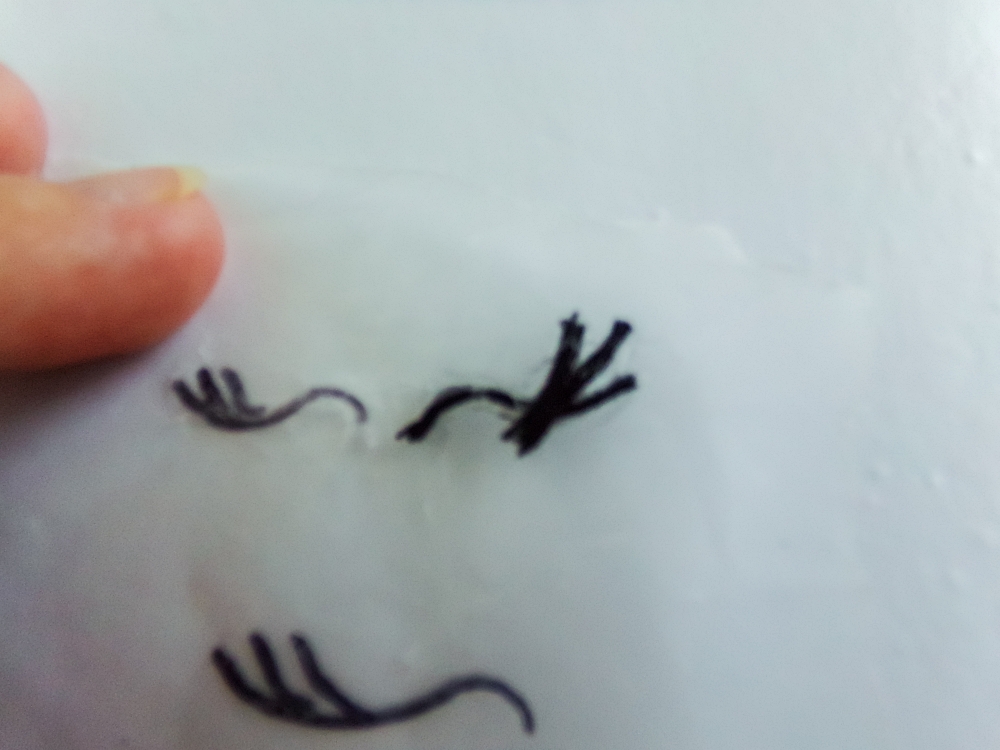
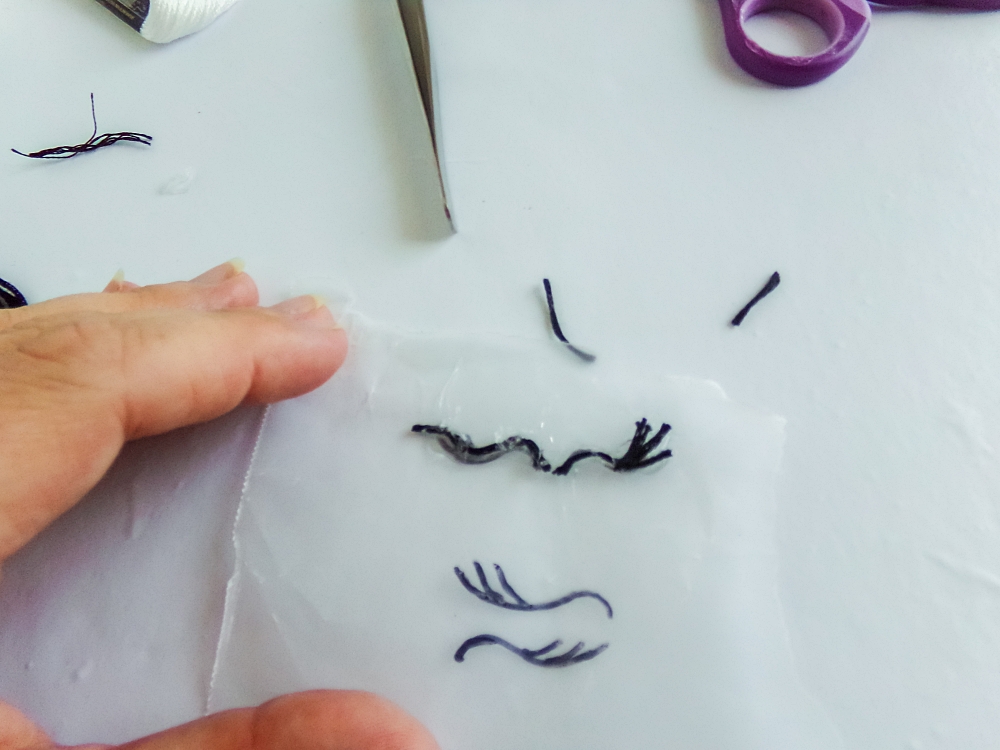
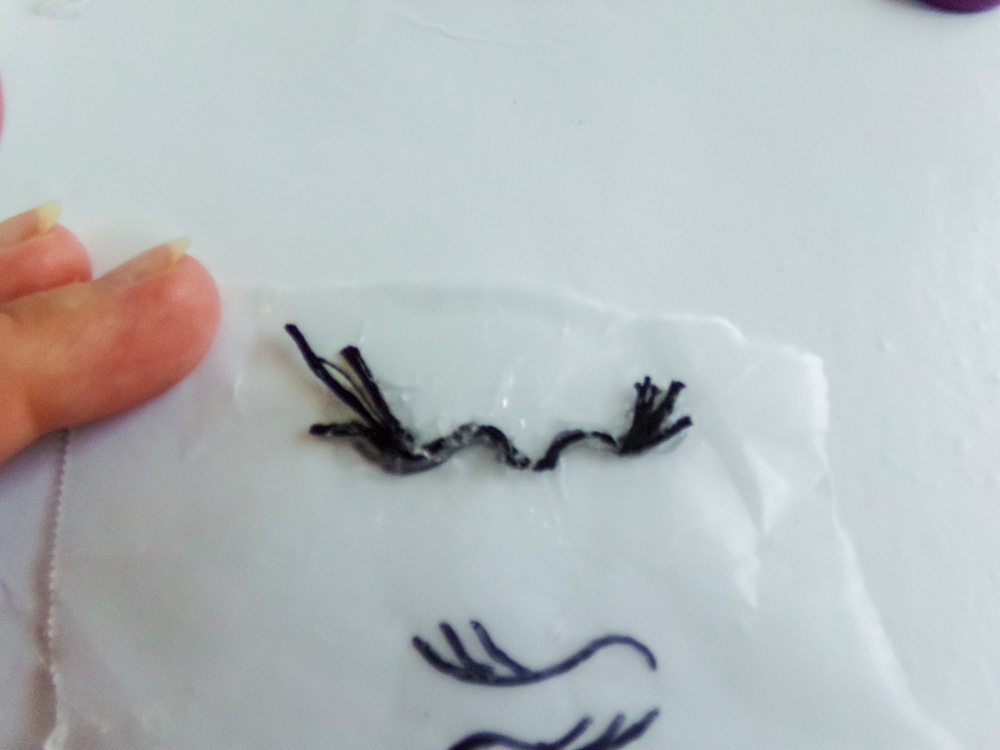
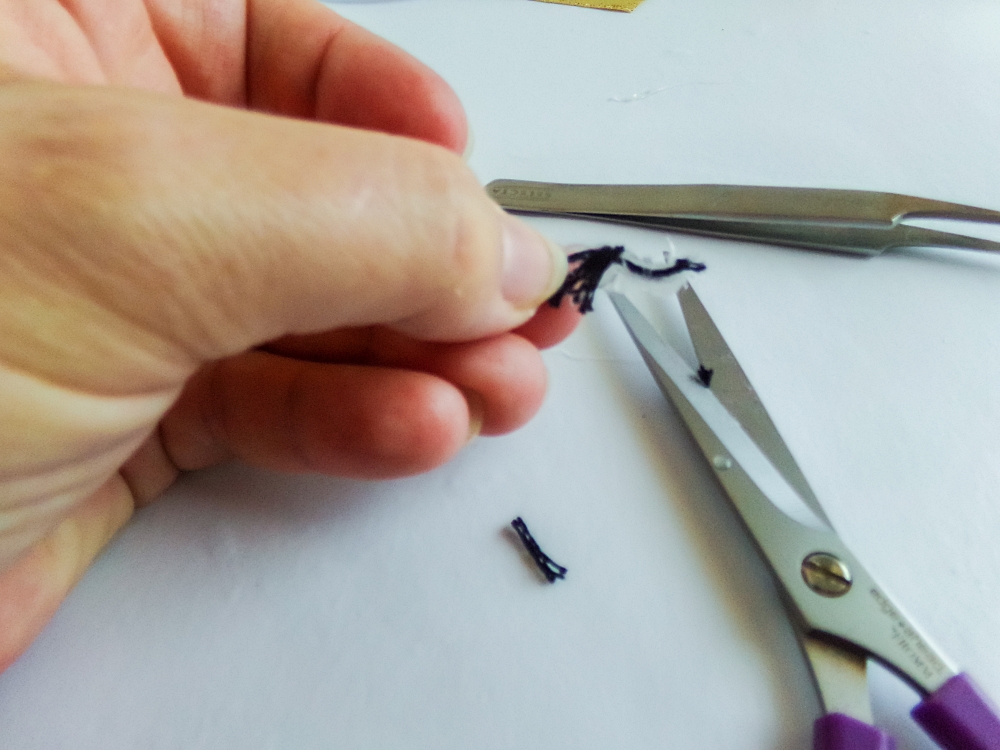
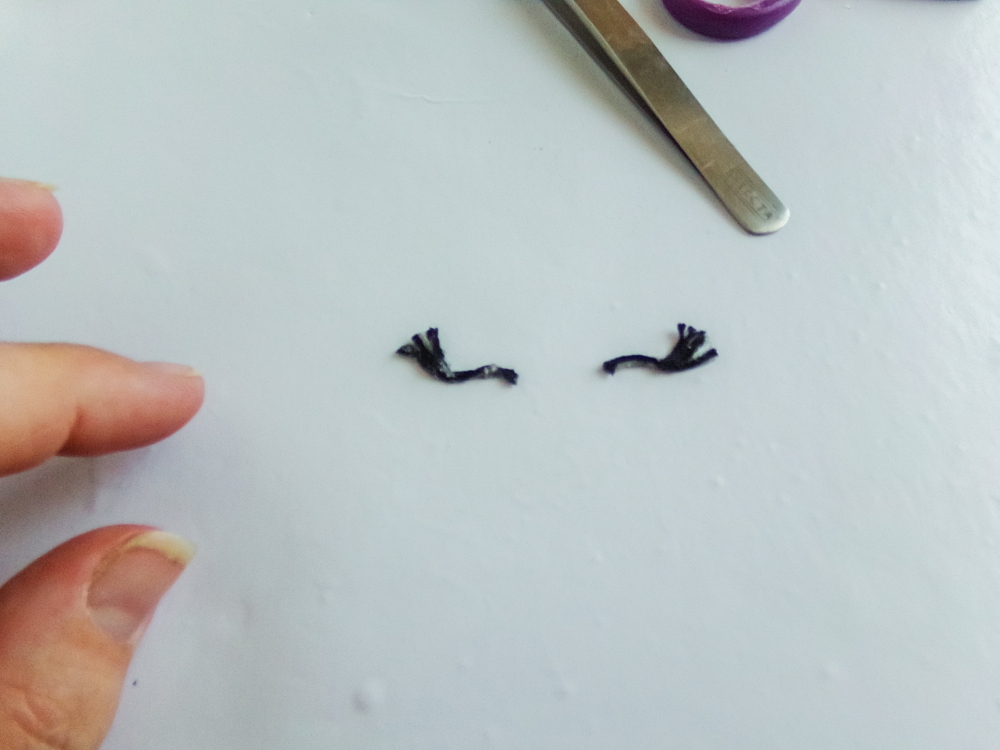
To make the closed eyes, use the hot glue to draw an eye shape on the parchment paper, then immediately place a line of black yarn or embroidery thread on the shape. You can use pliers or a needle to move the thread around a little to form the shape better before the glue cools. You can add more eyelashes or even make them super exaggerated then trim them to suit your unicorn when the glue is fully cooled (about 5 minutes).

KODAK Digital Still Camera
KODAK Digital Still Camera
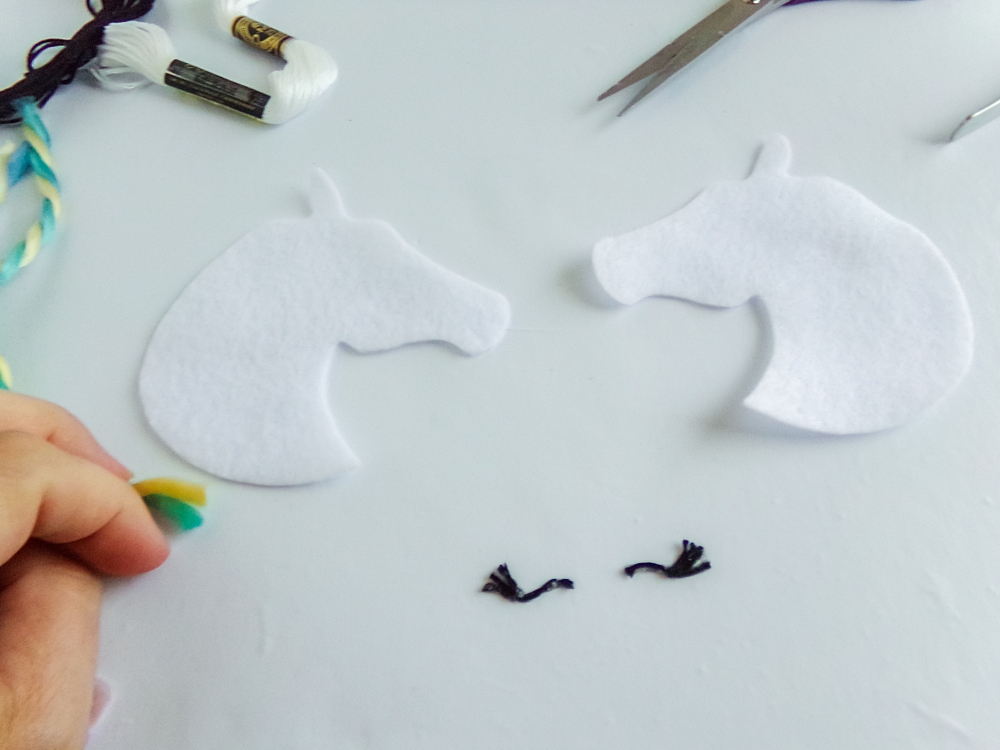
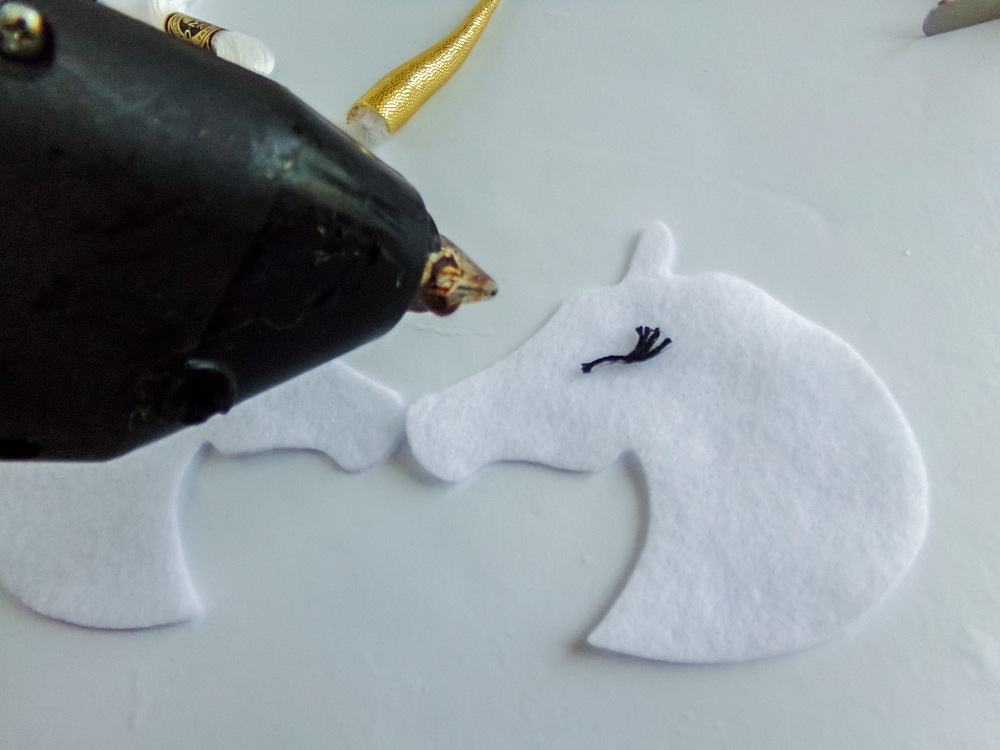
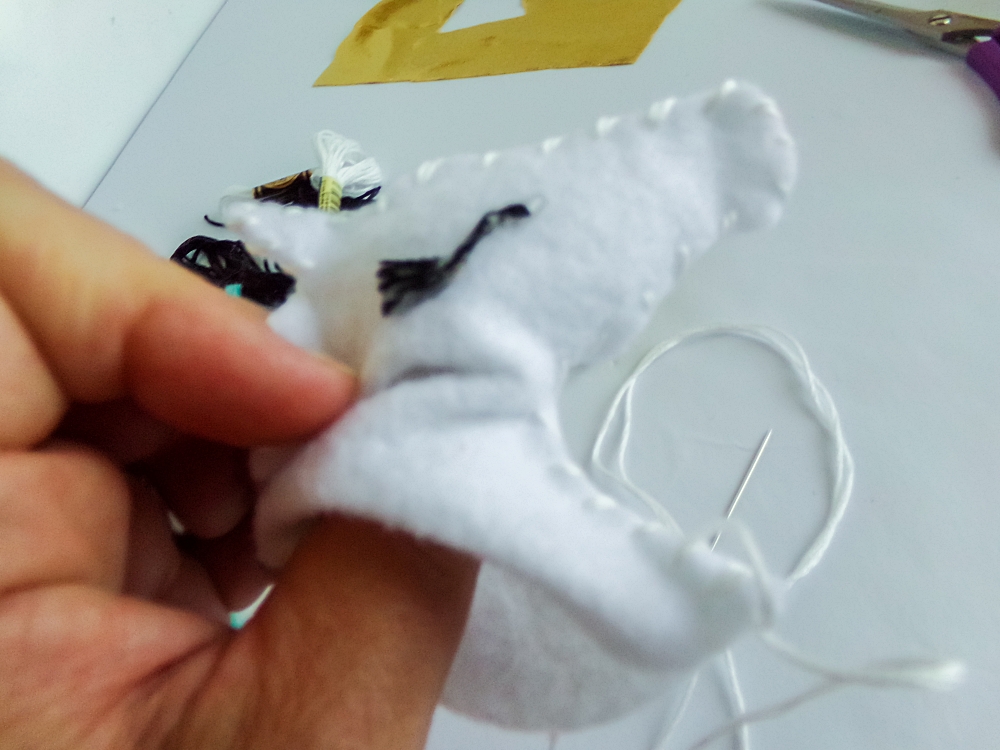
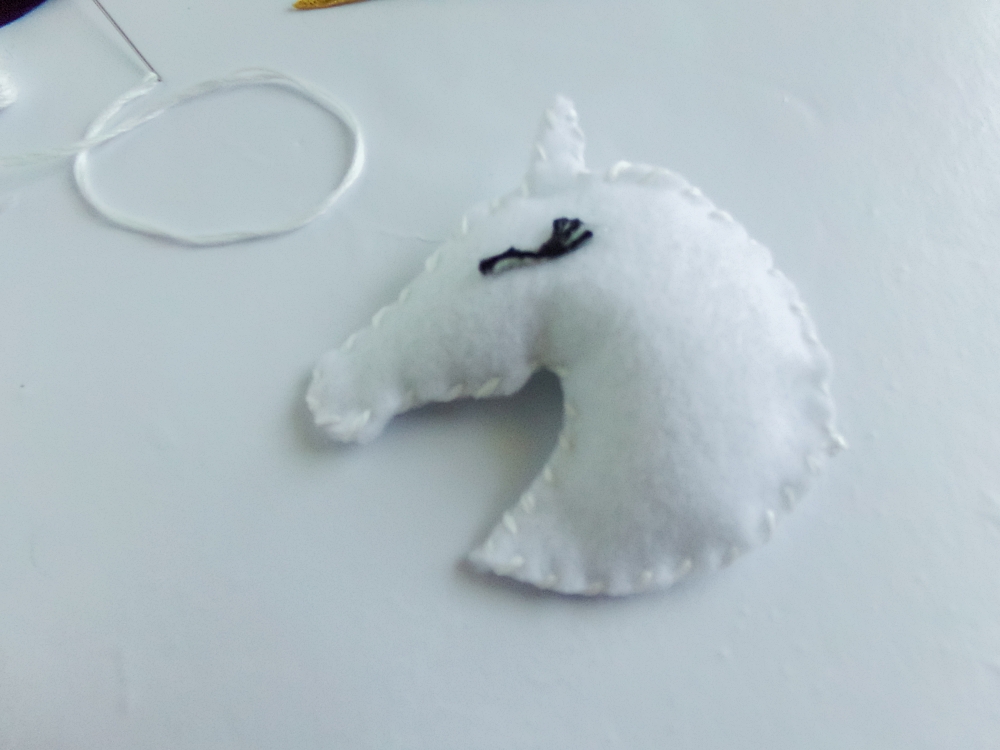
Glue the eyes in place on the two unicorn head shapes, taking care to place them on the opposite sides from each other.
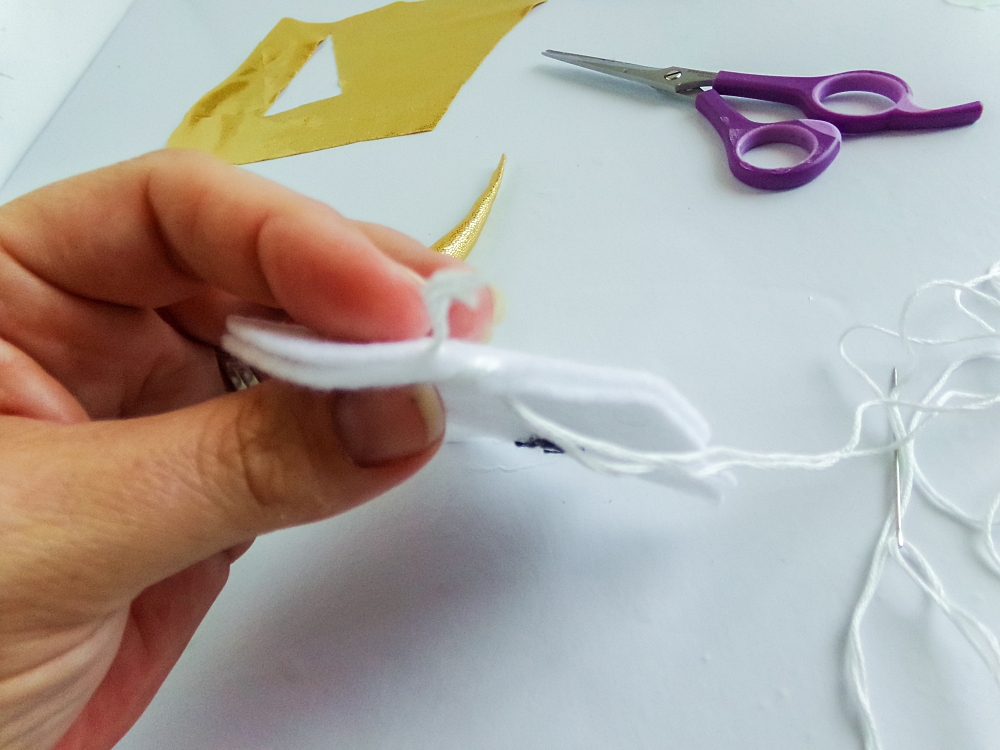
Place the two unicorn head shapes together back to back and with the white embroidery thread, stitch around the outside edge of the two shapes along the lower face, neck, and base using a blanket stitch. Leave the forehead and all along with the neck open.
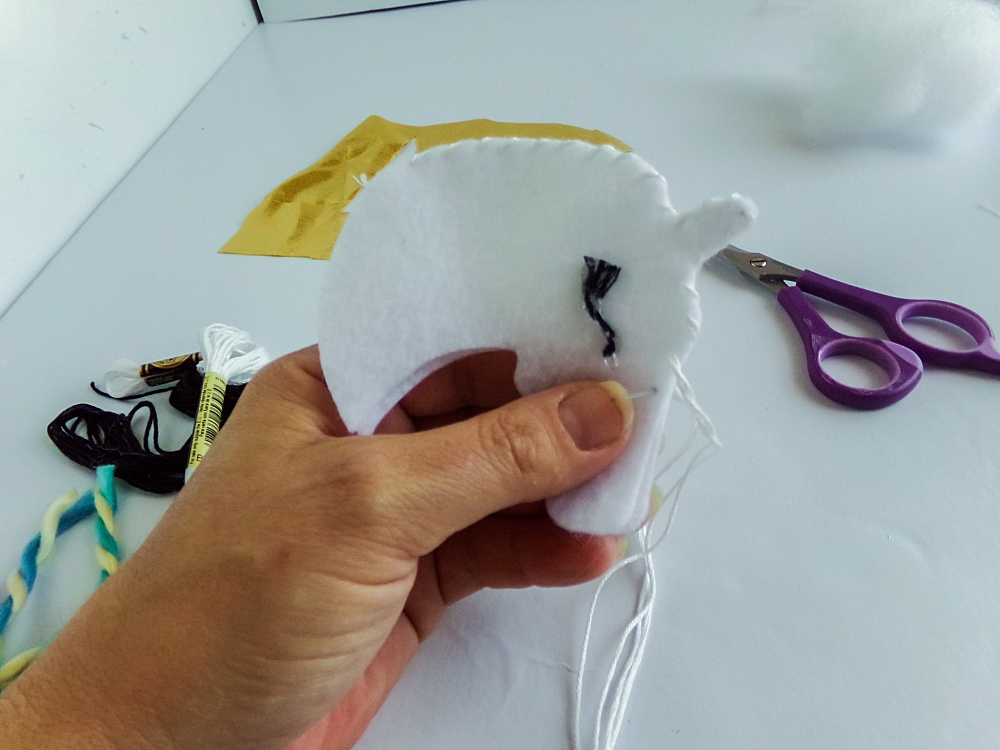
KODAK Digital Still Camera
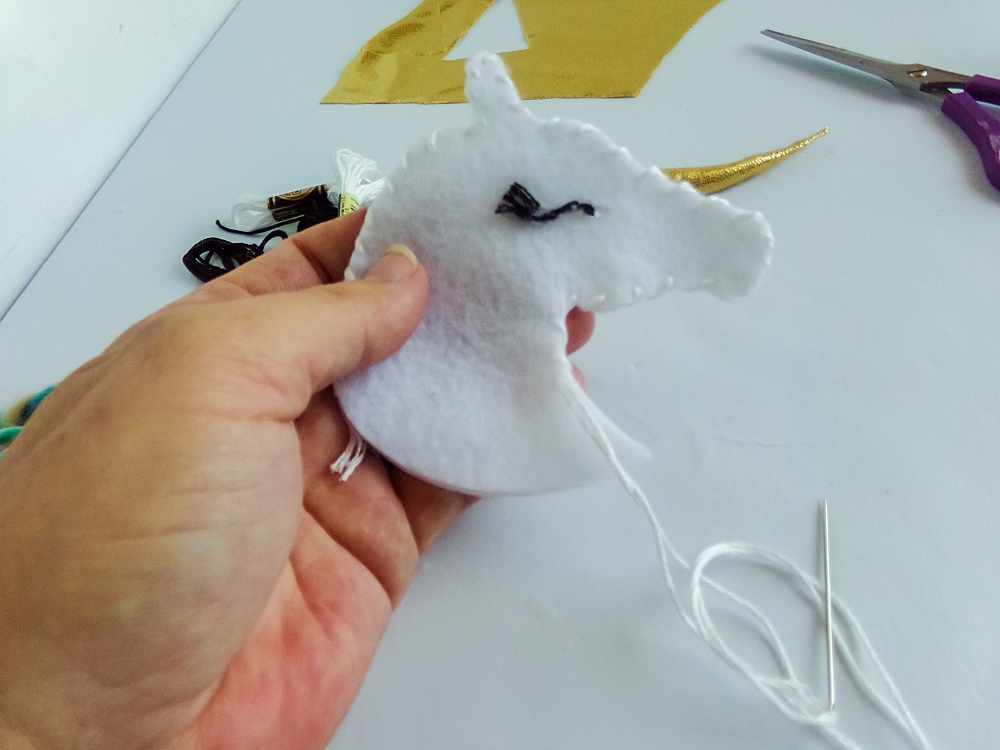
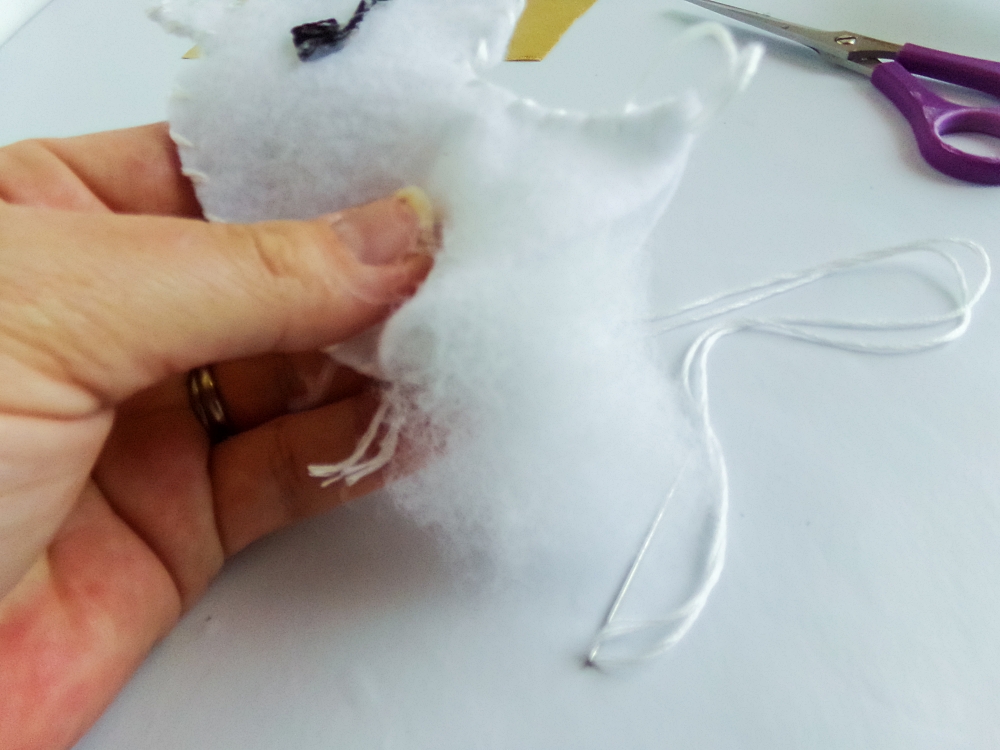
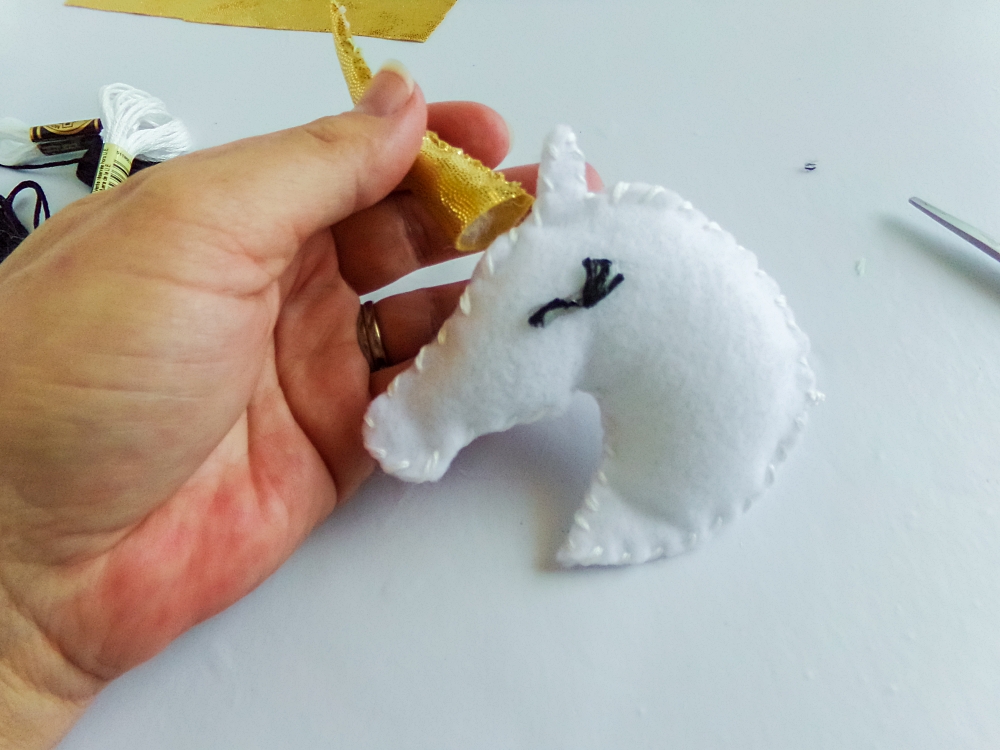
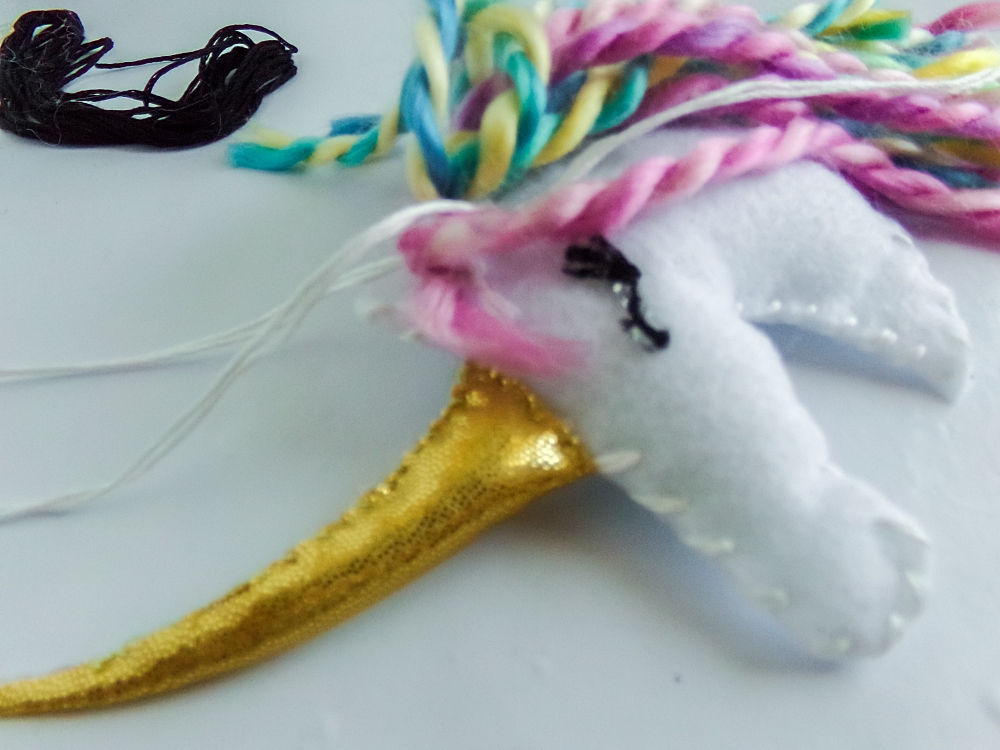
Stuff the unicorn head shape with the polyfill.
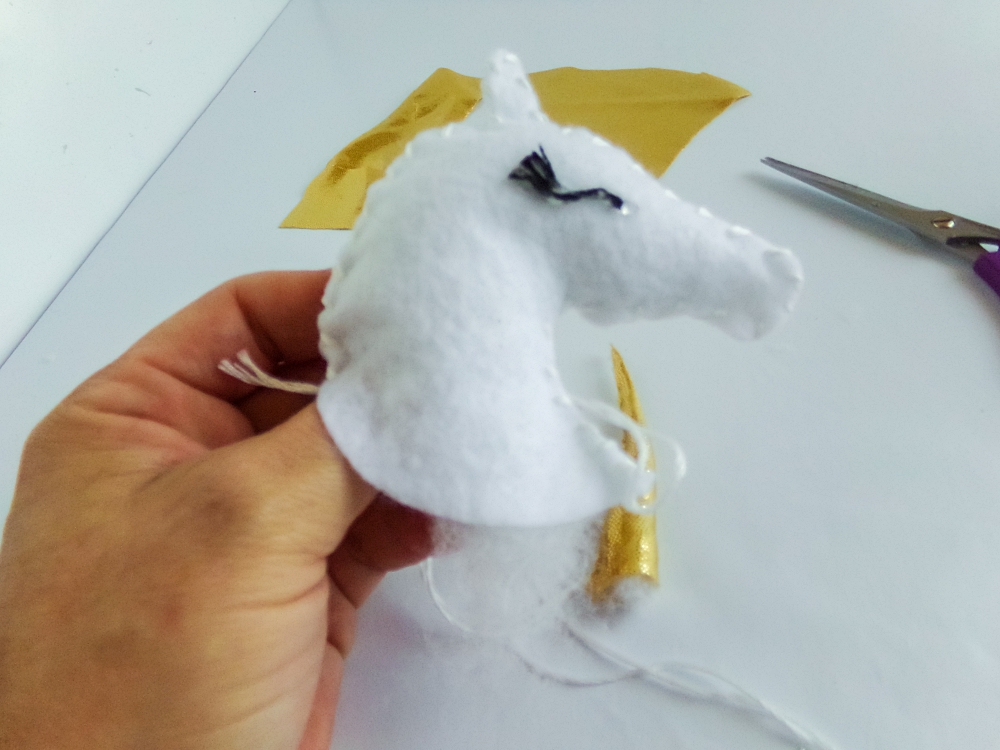
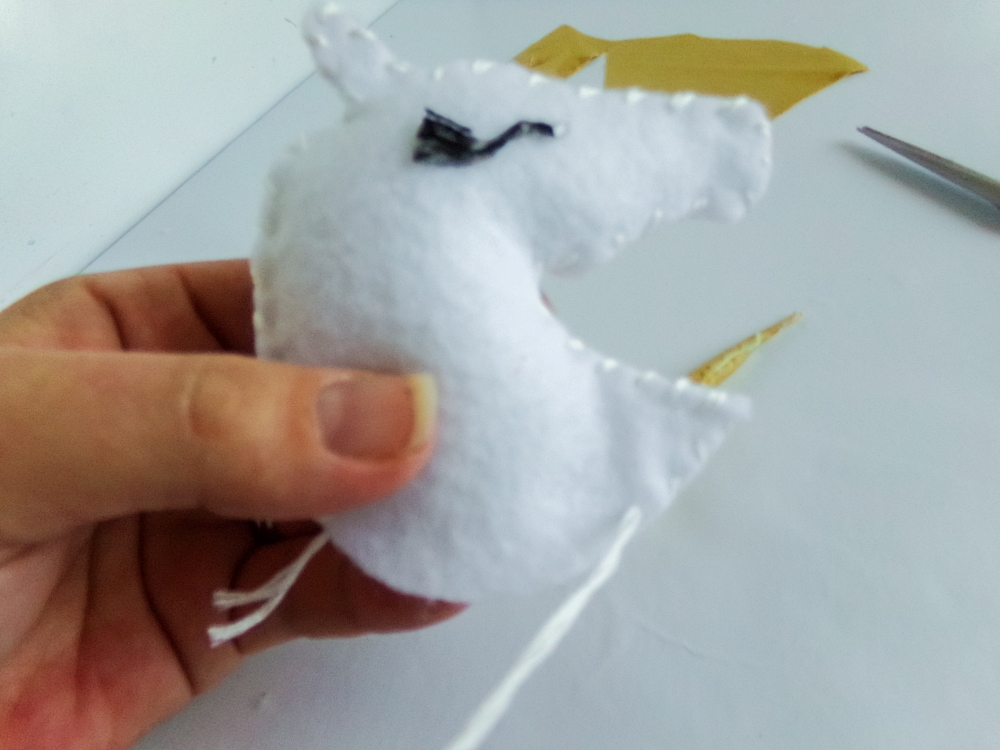
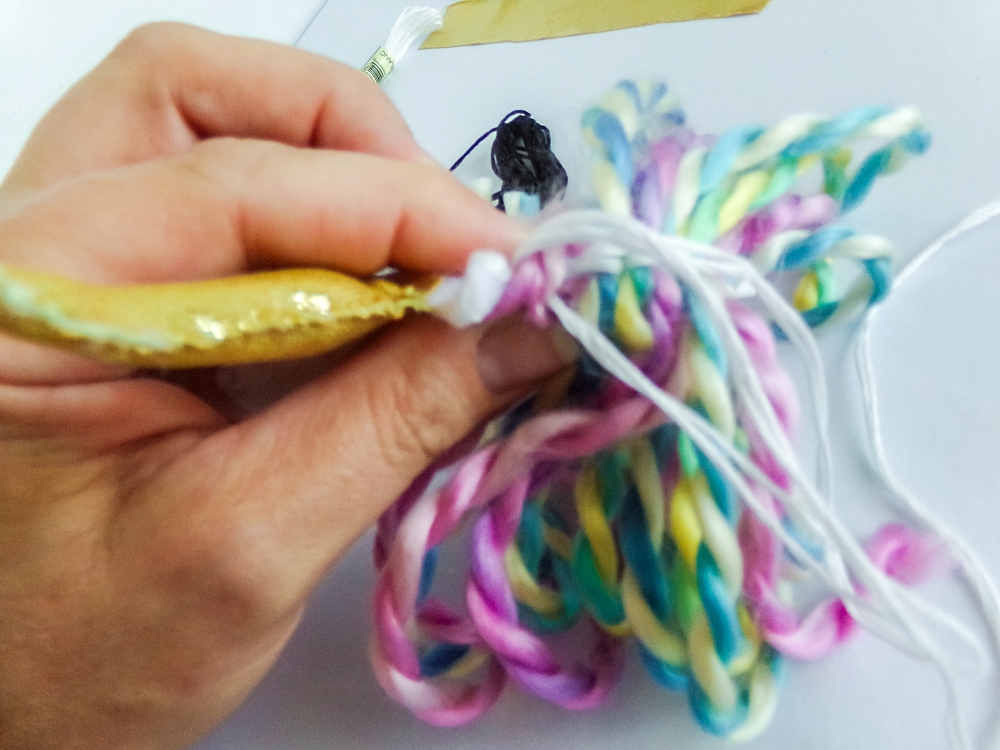
Place the horn into the open forehead area and whip-stitch it in place or glue in place.

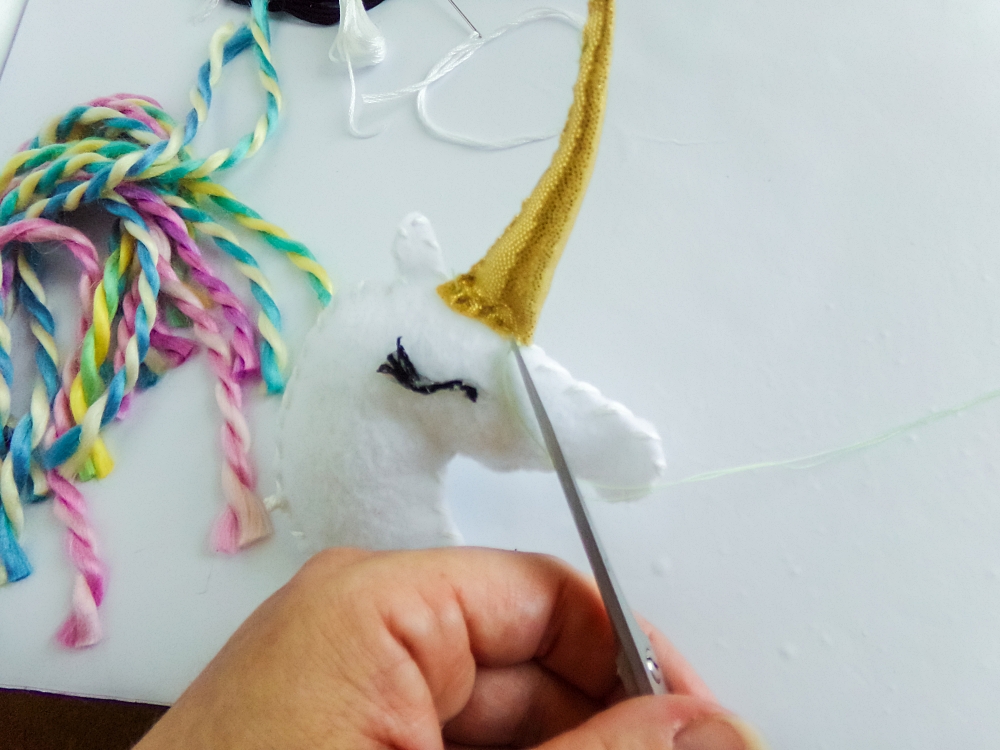
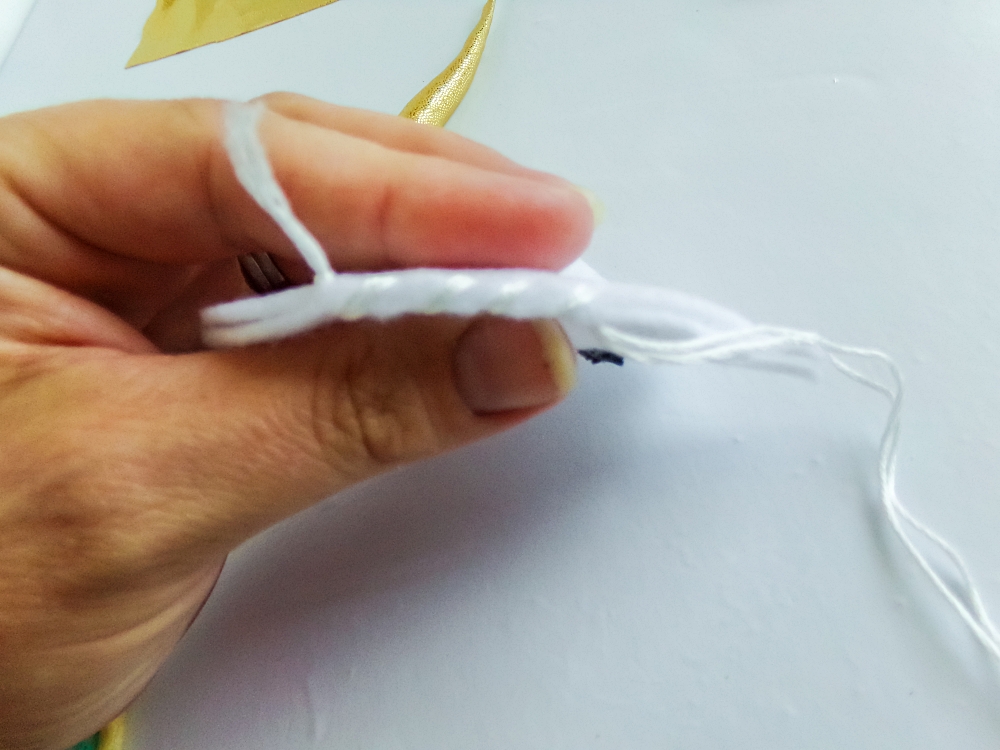
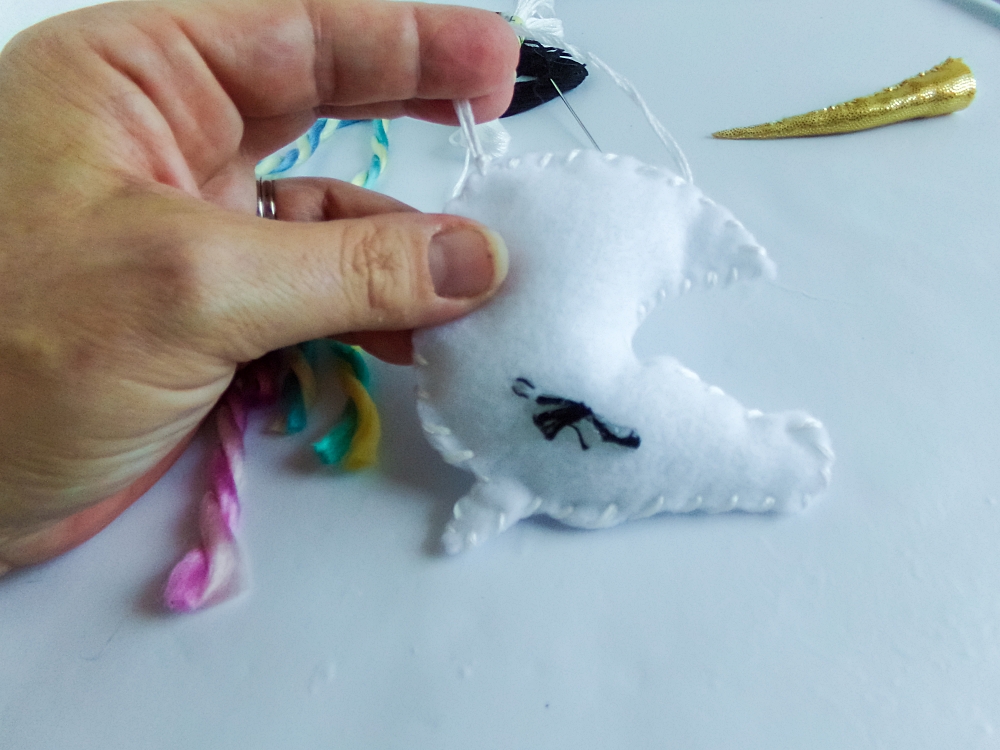
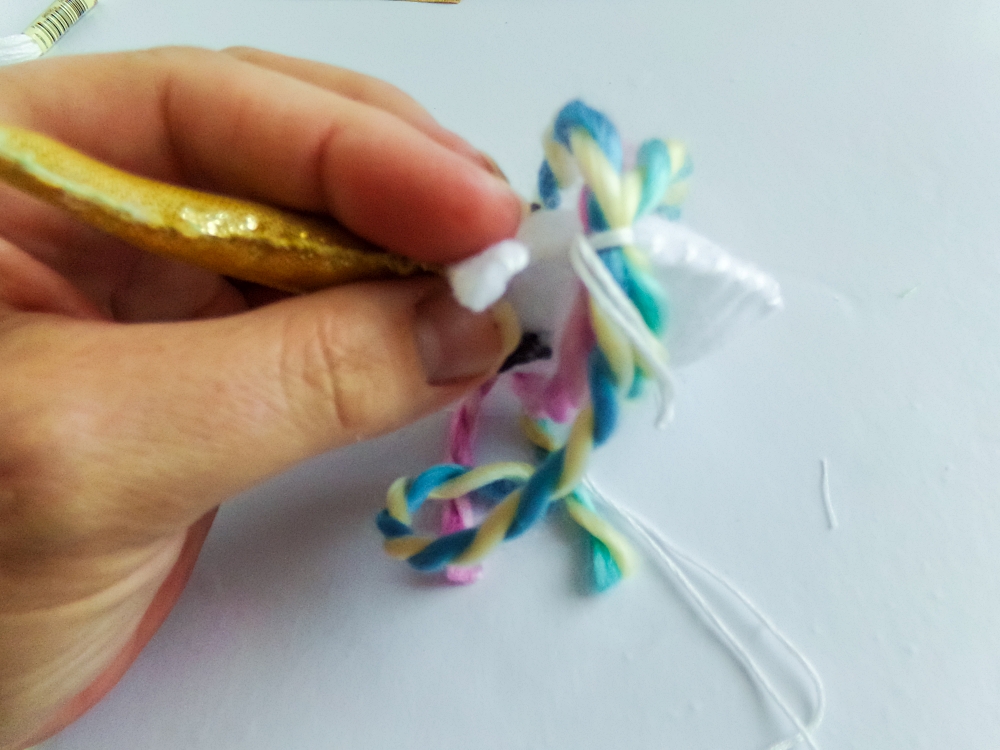
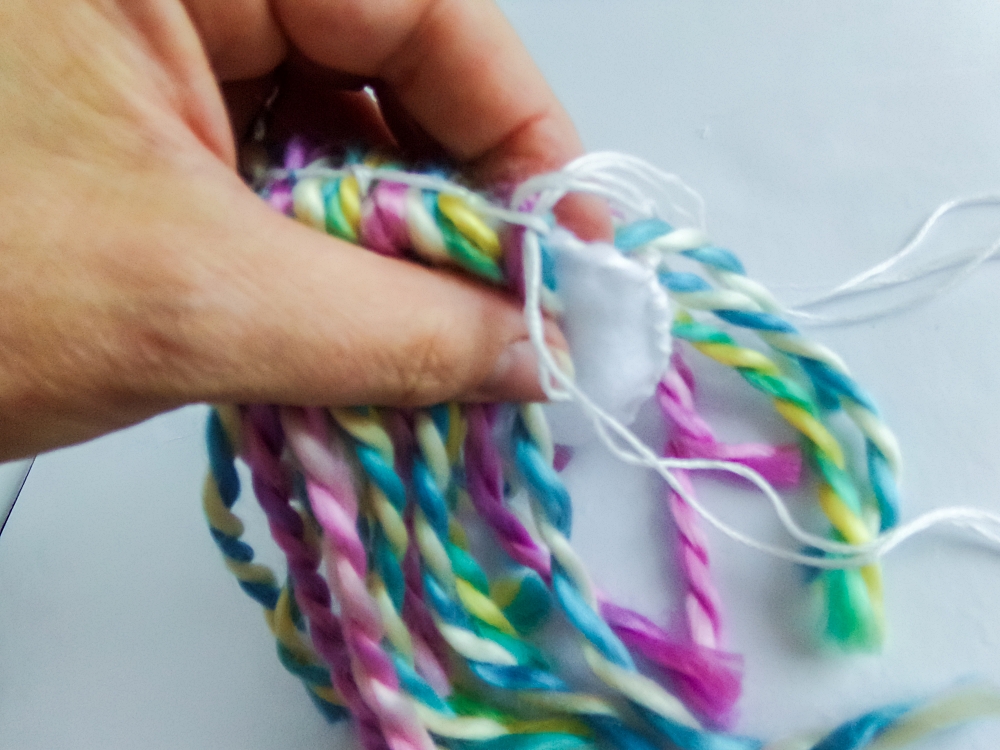
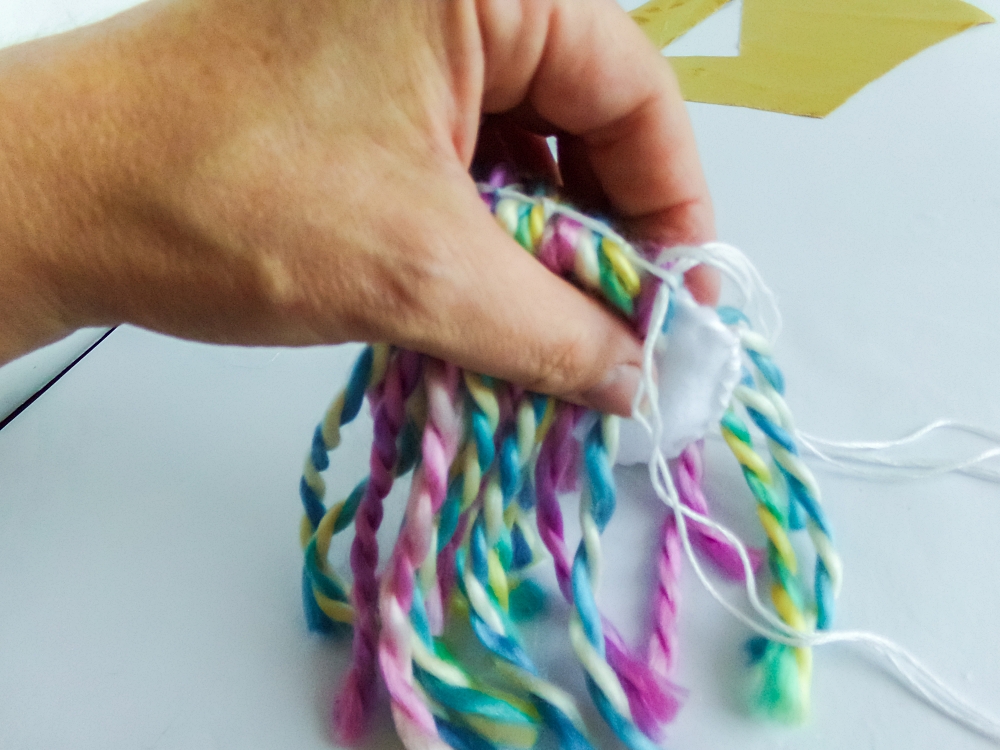
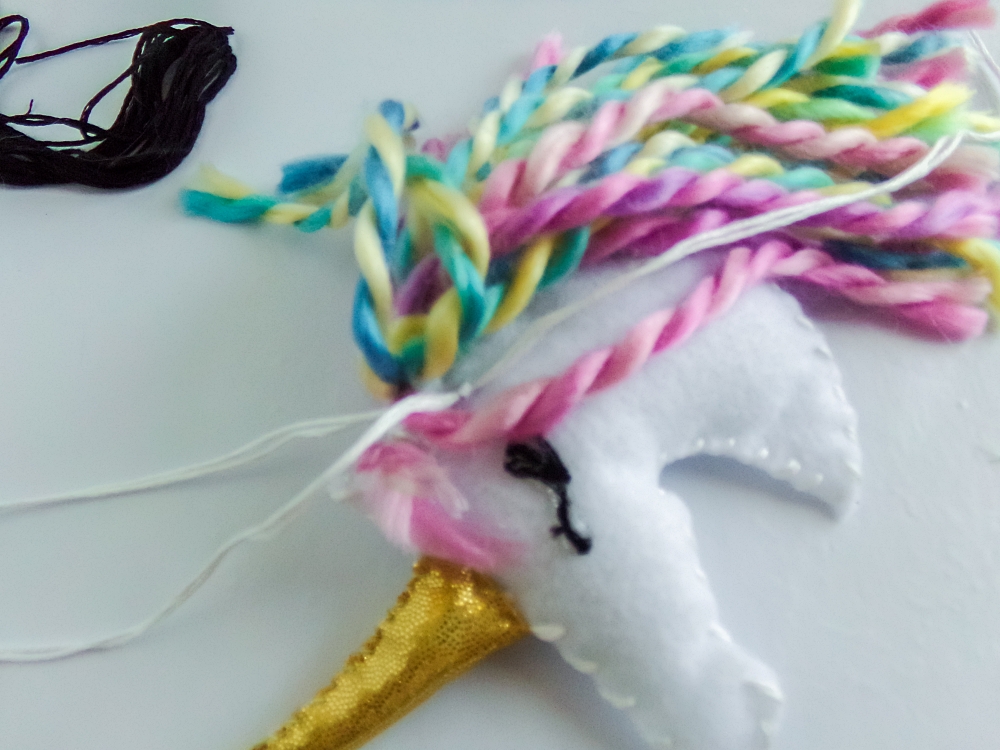
Cut yarn to length using the mane guide paper cutout.
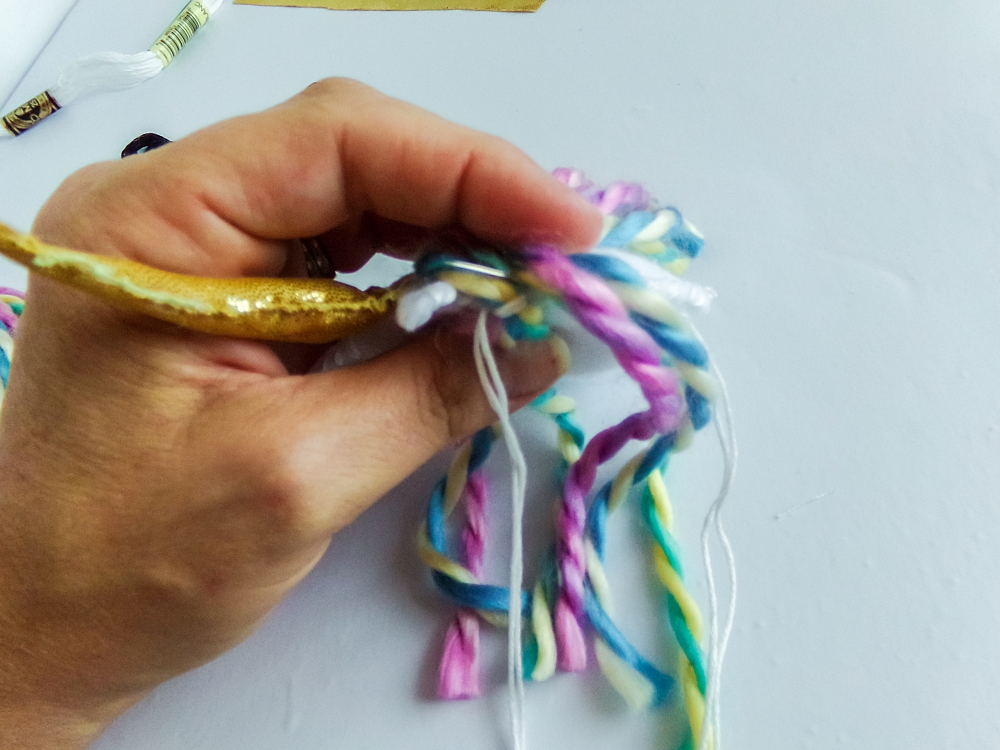
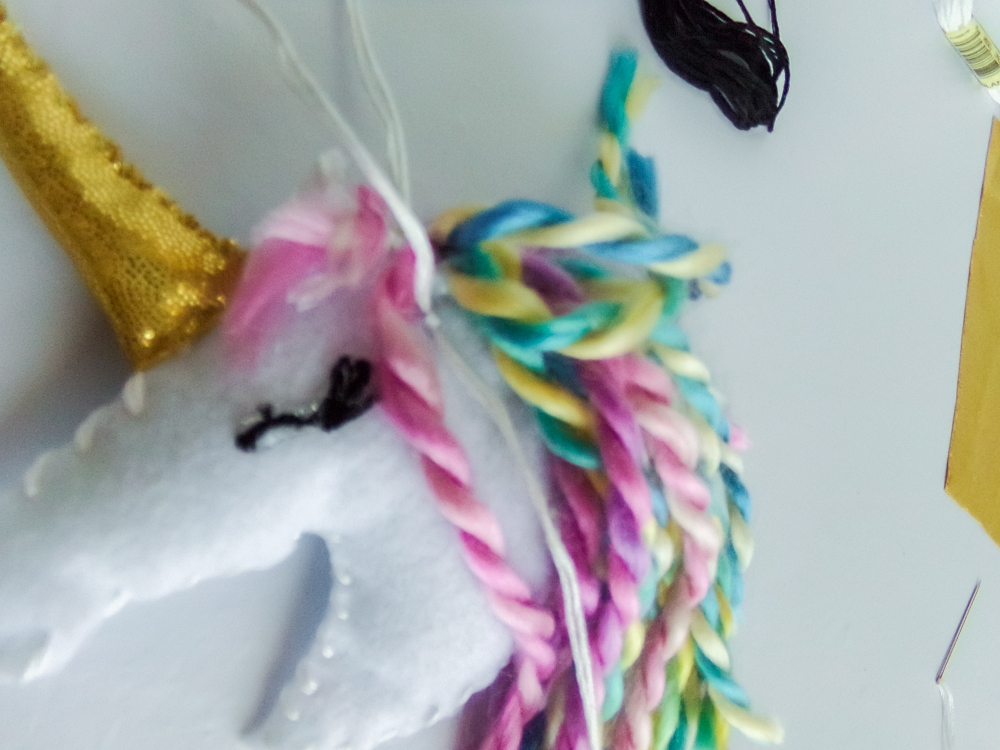
Insert about ¼ inch of the yarn in between the head shapes along the neck back and between the ears.
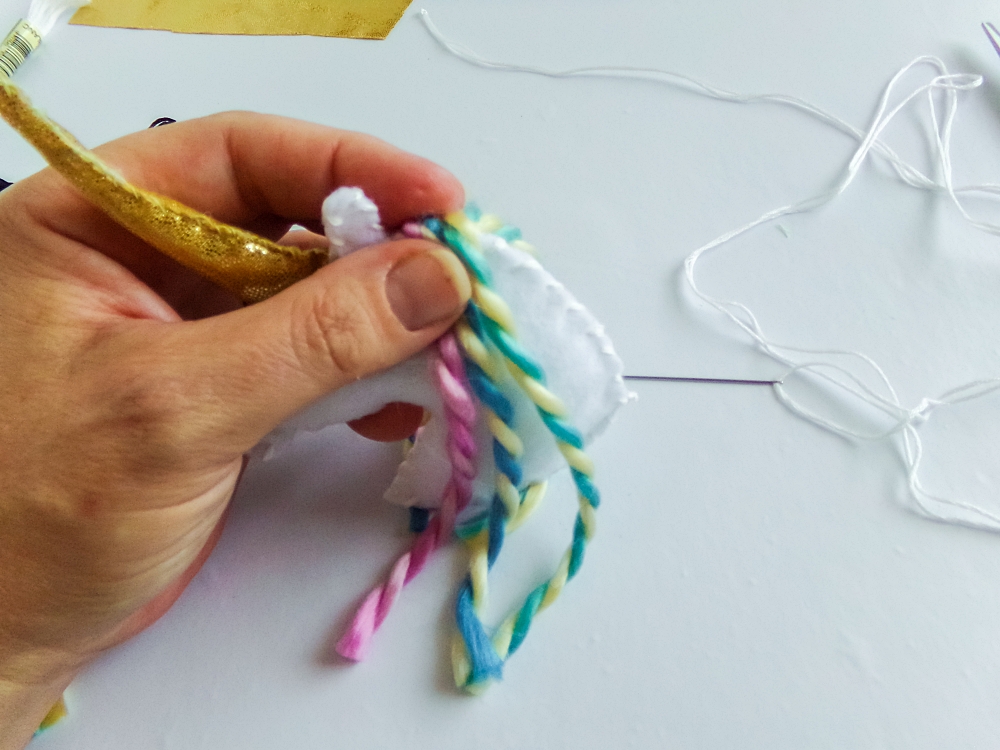
Whipstitch or blanket stitch (whatever is easiest, because it won’t be visible) the two head shapes closed along the mane, through the mane and securing the yarn in place.
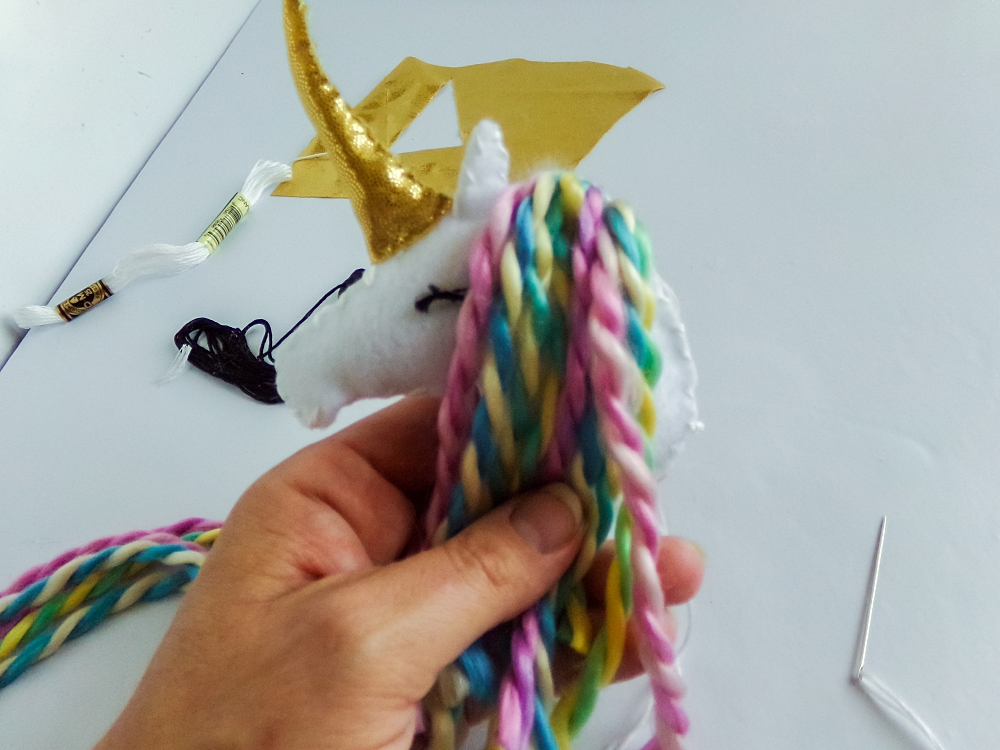
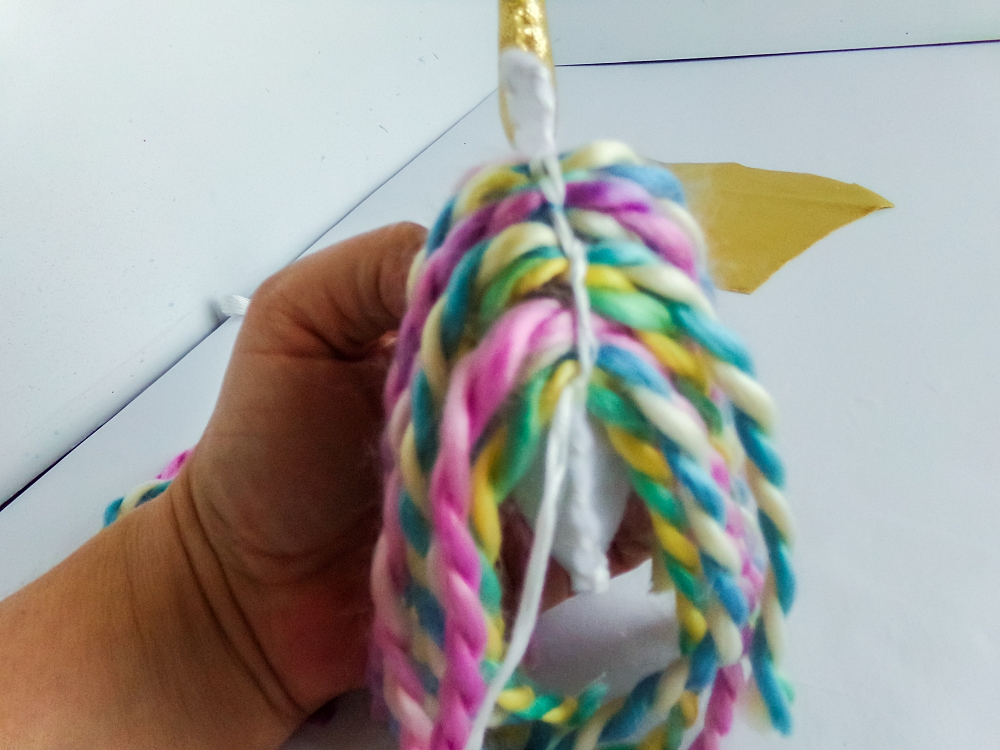
Tie off the thread and trim the end.
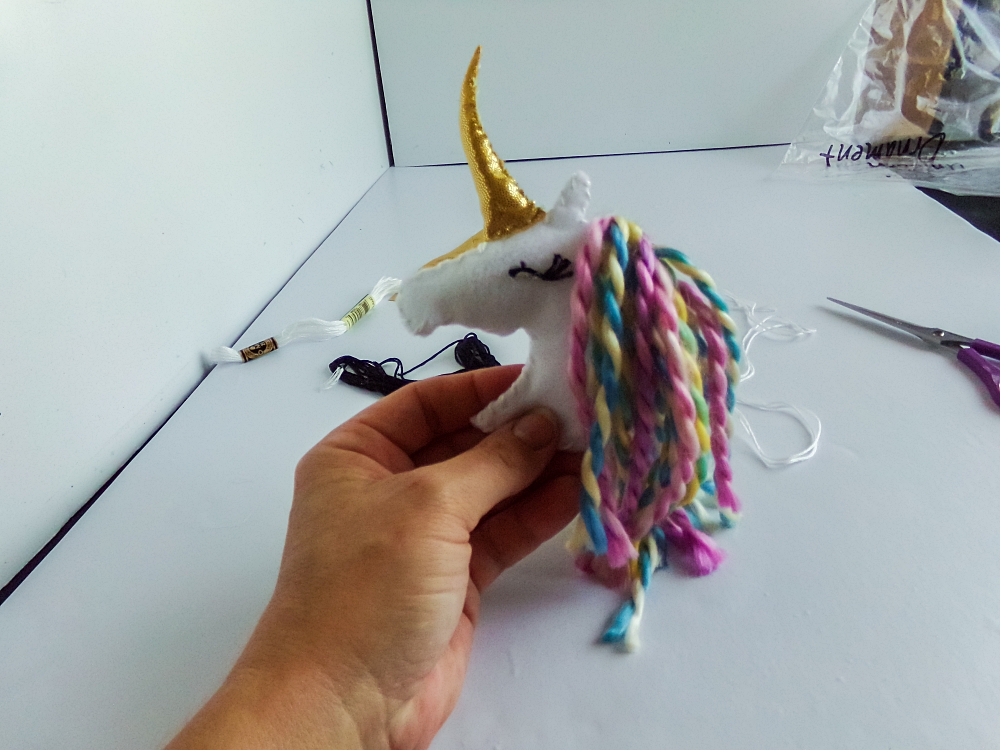
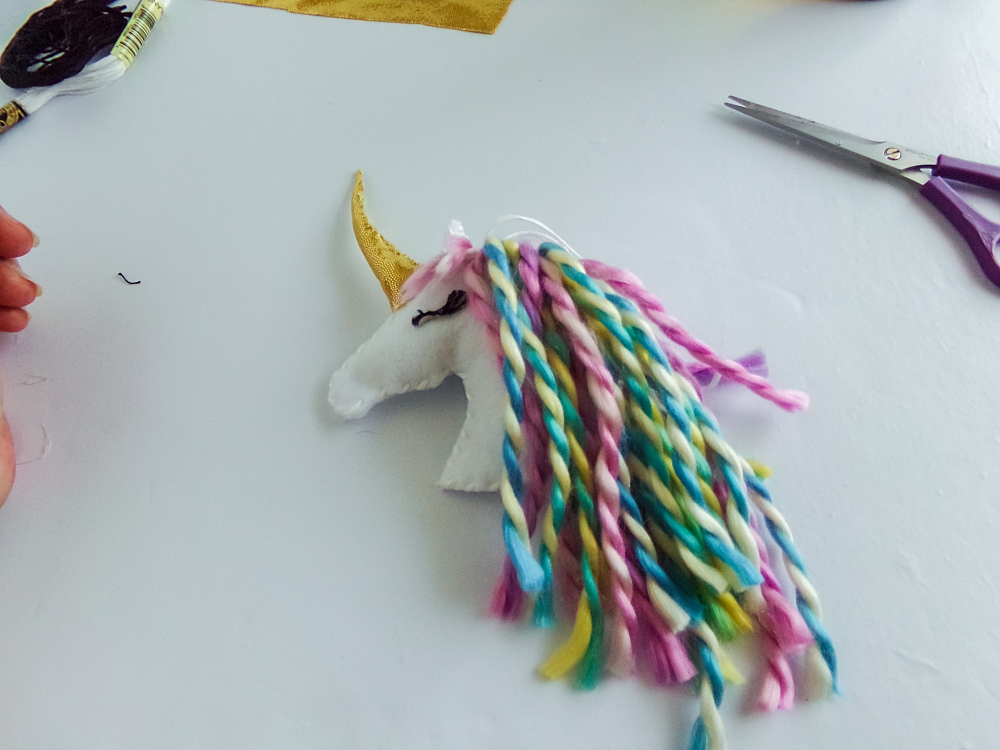
Trim the mane as desired. Add a loop of yarn to the top of the head behind the ears to hang your ornament and enjoy!
Enjoyed this Cricut felt project tutorial? Save it for later by clicking the SAVE button on the image below!
More Cricut Felt Projects to Try
Want more Cricut project inspiration? Check out these posts!
![Cute Felt Frog Craft [Template+SVG Free]](https://cutnmakecrafts.com/wp-content/uploads/2020/06/felt-frog-craft-template-and-svg-by-cricut-maker-crafts-100x150.png "Cute Felt Frog Craft [Template+SVG Free]")
![Super-Cute Turtle Paper Craft for Kids [FREE SVG+PDF]](https://cutnmakecrafts.com/wp-content/uploads/2020/06/cricut-kids-craft-diy-paper-turtle-by-cricut-maker-crafts-100x150.png "Super-Cute Turtle Paper Craft for Kids [FREE SVG+PDF]")
![Cute DIY Felt Cloud Wall Hanging [FREE SVG]](https://cutnmakecrafts.com/wp-content/uploads/2020/05/diy-felt-cloud-wall-hanging-tutorial-100x150.png "Cute DIY Felt Cloud Wall Hanging [FREE SVG]")