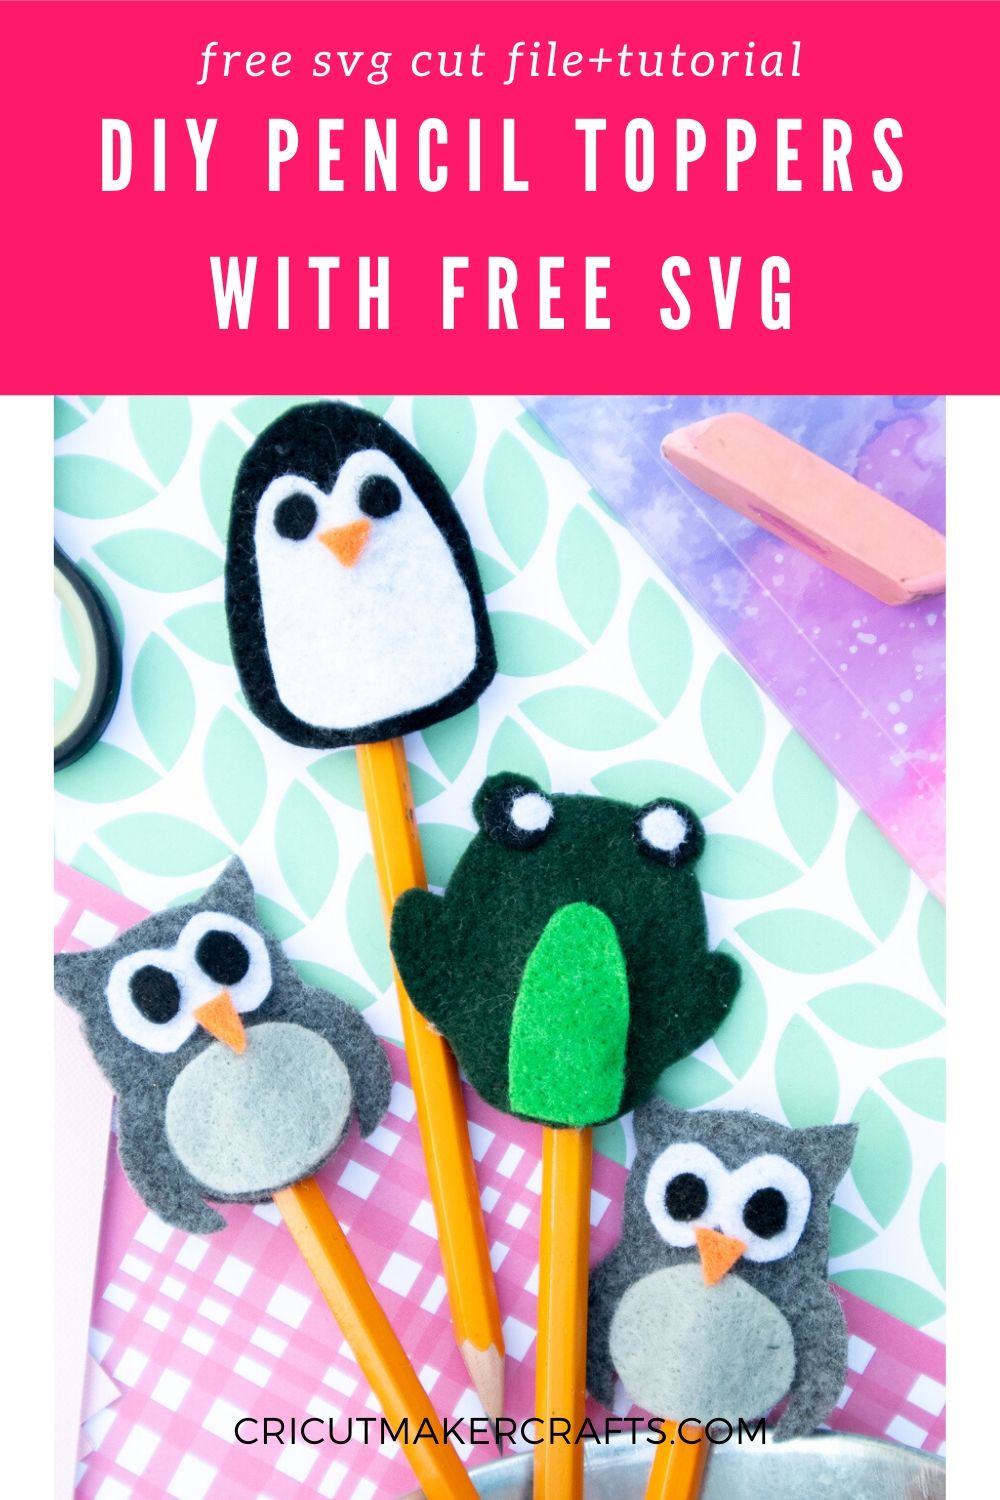
Learn to make felt DIY pencil toppers with Cricut. We’ll be making a super cute penguin, owl and a frog pencil topper that can be cut with the Cricut or by hand USING the free pencil topper template. These home made pencil toppers are also a great gift for classmates. I’ve also shared some tips and hacks on how to cut felt with your Cricut to help you get the best results possible.
AFFILIATE DISCLOSURE: Cut N Make Crafts is a participant in the Amazon Services LLC Associates Program, an affiliate advertising program designed to provide a means for sites to earn advertising fees by advertising and linking to Amazon.com.
I’m a HUGE fan of pencil toppers even though I’m a fully grown adult. It just brings so much joy to my inner child. I remember going to stationary stores and squeaking in joy when I’d find a cute little topper to attach to my pens/pencils. They just add so much fun to boring writing tasks. I can only imagine how much the kids would love them.
So, today, I’m sharing a super fun and quick tutorial for DIY pencil toppers with FREE SVG and templates for an owl, frog and a penguin pencil topper made from felt.
The pieces for these homemade pencil toppers are pretty small so I’d highly recommend using a Cricut for creating these pencil toppers. If you haven’t cut felt before, check out these tips for cutting felt on your Cricut.
Tips for Cutting Felt Perfectly
If you’ve used felt previously, you know how difficult it is to get it off the sticky surface thanks to all the lint. It’s certainly not easy at all and can ruin the mats as well.
A quick hack to prevent your mats from getting covered in lint is to cover the mat with the contact paper. Keep the sticky side of the contact paper facing up so you can stick your felt on the sticky side. This will ensure all the lint sticks to the contact paper rather than the mat.
Okay now let’s have a look at all the supplies now.
Supplies Needed for DIY Pencil Toppers Tutorial
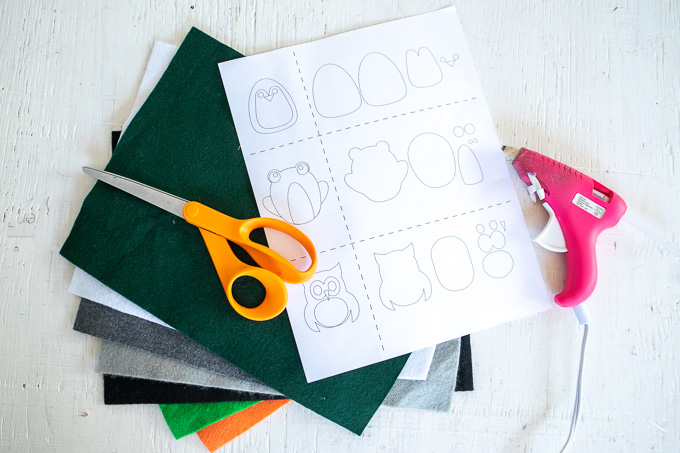
- –Felt sheets (any coordinating colors of your choosing – I used white and light blue for the cloud, black for the eyes and mouth, pink for the cheeks, two shades of blue, coral, orange and green for the rays)
- –Cricut Rotary Blade /fine point blade [this depends on the type of felt you use. If you’re using acrylic felt, you’d need the rotary blade. If you’re using plain felt, you can cut it out using the fine point blade.}
- -Twine
- -Sewing machine and matching thread
- –Polyester batting to fill inside the cloud to give it a 3D shape
- –Glue gun with clear glue sticks (my favorite is the Surebonder Glue Gun. Make sure you’re using good quality glue sticks instead of the random ones available at Amazon/Ebay because they don’t fit in the glue gun properly and make things extremely frustrating. I bought some cheap glue sticks off of Aliexpress and it ruined my glue gun, initially I thought the problem was with my glue gun, so I bought a new glue gun and I had the same issue. The glue stick would get stuck half way through and wouldn’t come out no matter what I did. This made me realize the problem was with the glue sticks and not the glue gun. From now, I’m just buying branded glue sticks from trusted brands instead of the cheap ones.)
- FREE DIY pencil toppers temaplate/SVG file (available for the VIPs, become a VIP member by entering your name and address below)
Gather the Supplies
The first step for creating these home made pencil toppers is to gather the supplies as listed above. You can grab the free pencil topper template/SVG from the VIP library. Print out the pencil topper template, if you’re planning to cut by hand before starting this pencil topper project.
Preparing the Image:
- Download the FREE DIY Pencil Toppers SVG from the VIP library. The link for the VIP library is included in the thank you email that you should receive after signing up for the VIP list.
- Open Cricut Design Space.
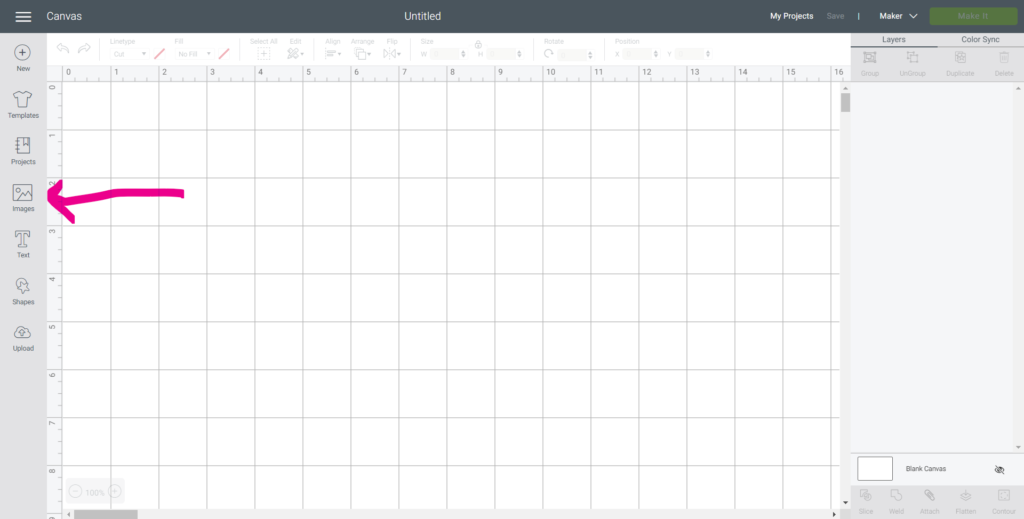
- Click on the “+” sign to start a new project, opening up a blank canvas.
- Click on upload.
- Locate the file on your computer and upload it on Cricut Design Space.
- Insert the file on the canvas and click on “Make it”.
- Click on browse all materials.
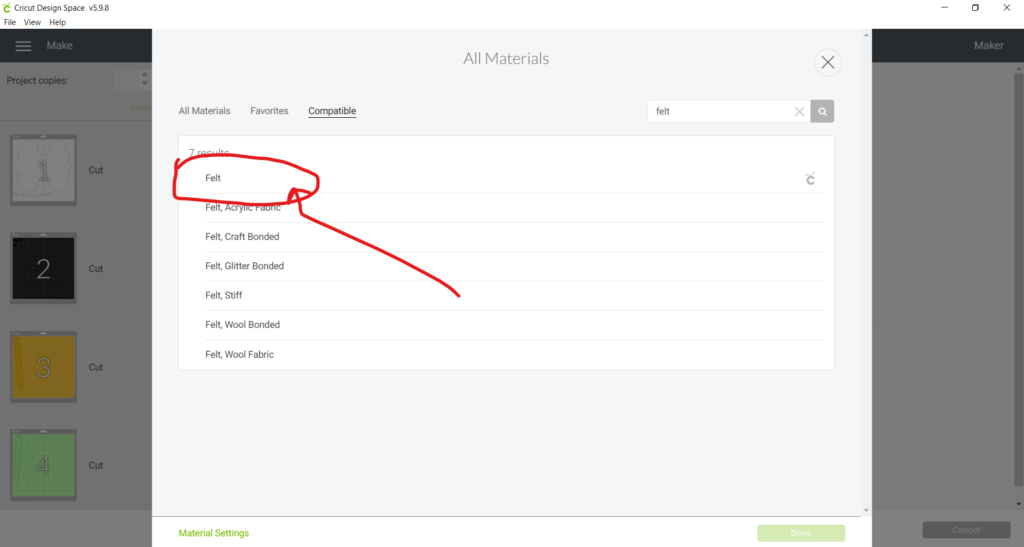
- In the search box, type felt and select the type of felt you’re working with.
- Add the blade to your Cricut depending on the type of felt you’re using for this project. If you have the Cricut Maker you will be prompted to add the fine point blade or the rotary blade. If you’re using the Explore Air 2, you can use the fine point blade to cut out felt.
- Place contact paper sticky side up on your mat.
- Place felt sheets on the contact paper one at a time.
- Load the mat and cut out the felt pieces.
Assembling the Owl Felt Pieces:
- Preheat the hot glue gun.
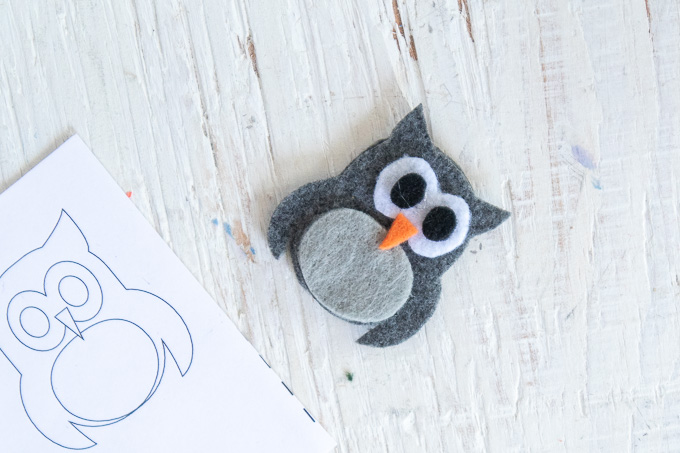
- Carefully glue the smaller felt pieces (the owl belly, eyes and beak) to the largest felt owl piece pressing in place.
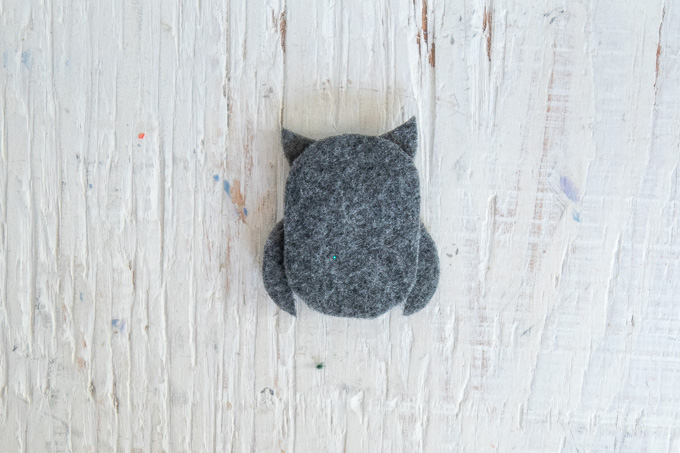
- Apply a bead of glue along the outer edges of the smaller body piece leaving the bottom without glue.
- Press the prepared owl front piece to the back piece and press in place until the glue sets.
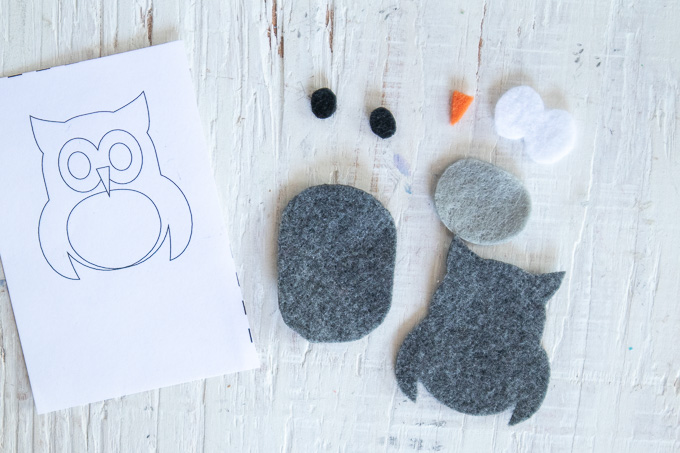
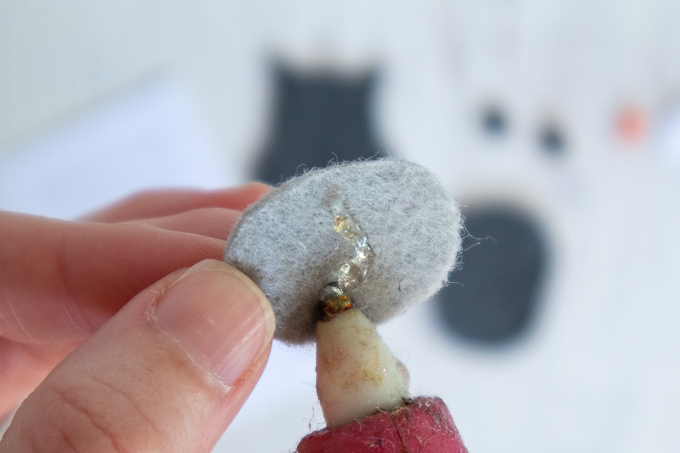
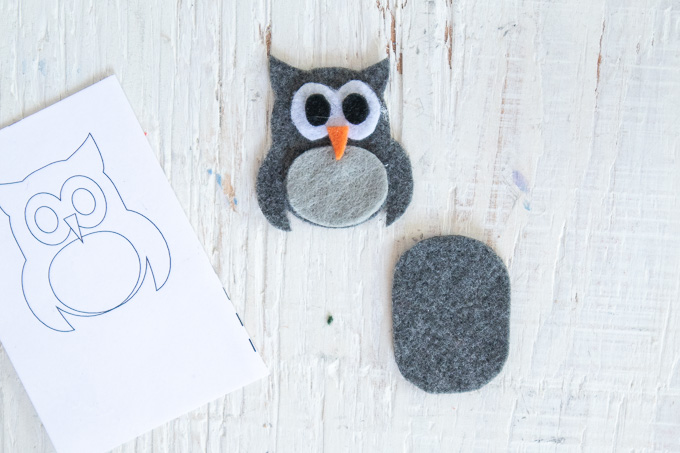
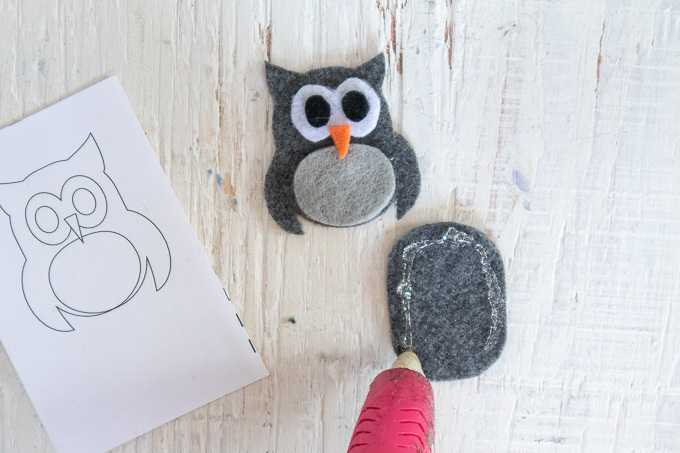
Assembling the Frog Felt Pieces:
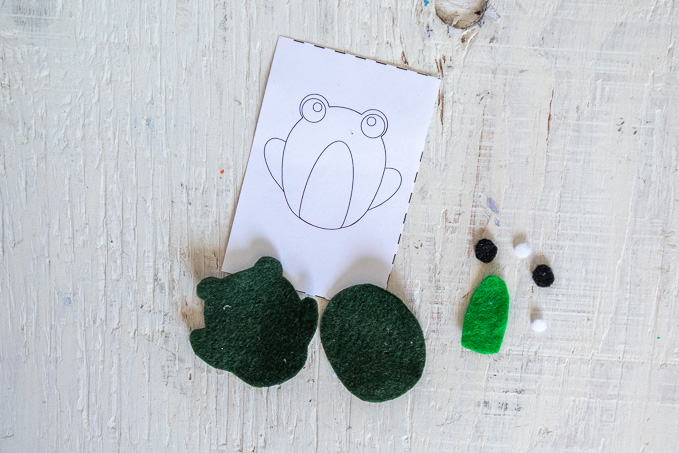
- Carefully glue the smaller felt pieces (the frog belly and eyes) to the largest felt frog piece pressing in place.
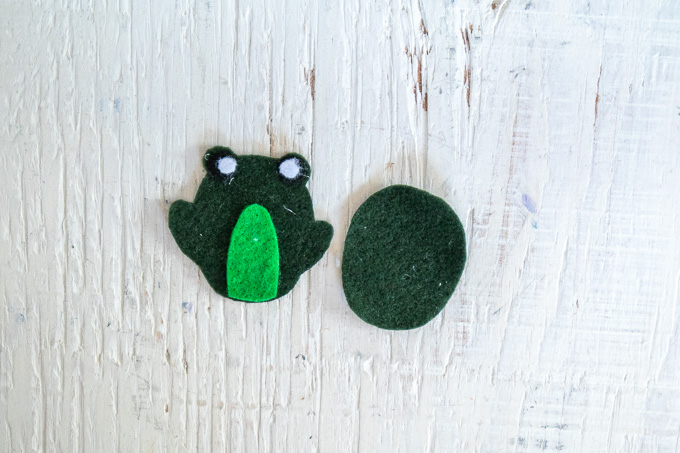
- Apply a bead of glue along the outer edges of the smaller body piece leaving the bottom without glue.
- Press the prepared frog front piece to the back piece and press in place until the glue sets.
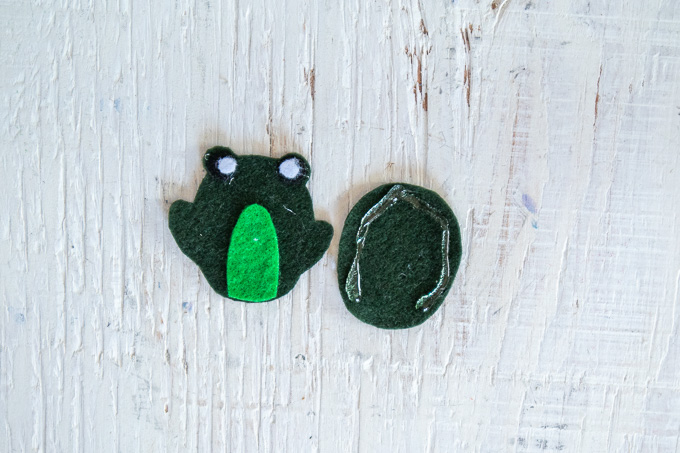
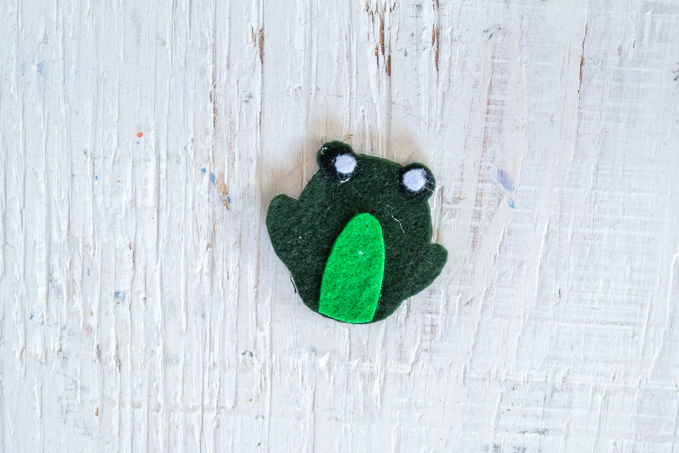
Assembling the Penguin Felt Pieces:
- Carefully glue the smaller felt pieces (the penguin belly, eyes and beak) to the largest felt penguin piece pressing in place.
- Apply a bead of glue along the outer edges of the smaller body piece leaving the bottom without glue.
- Press the prepared penguin front piece to the back piece and press in place until the glue sets.
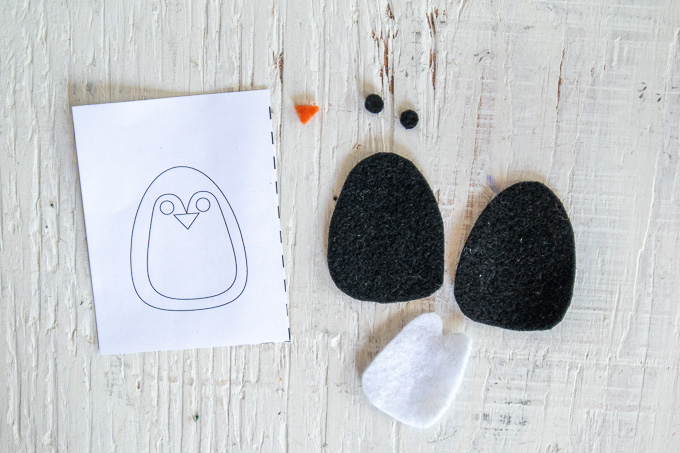
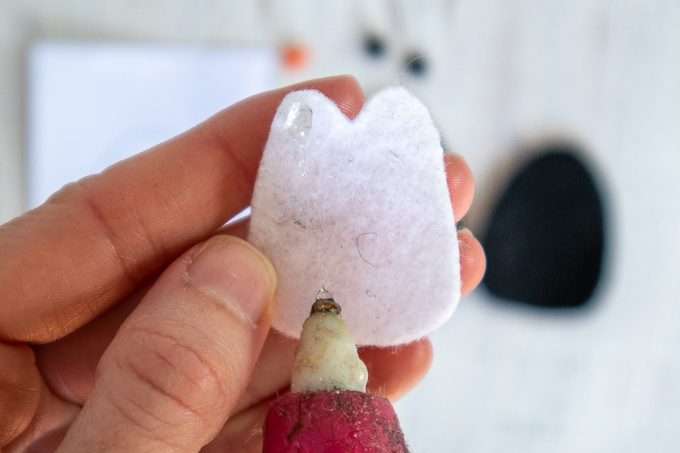
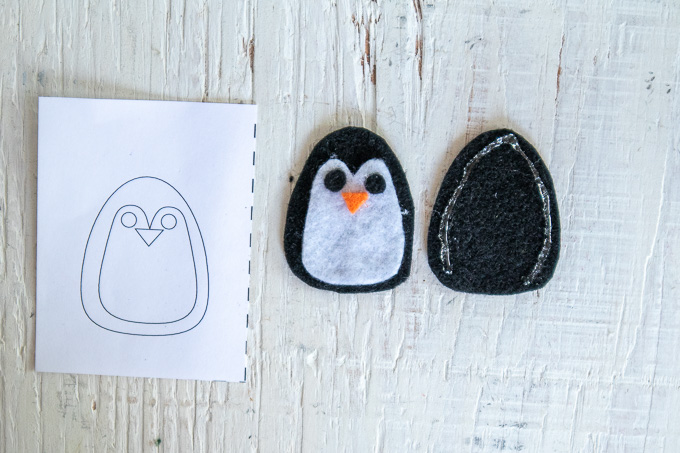
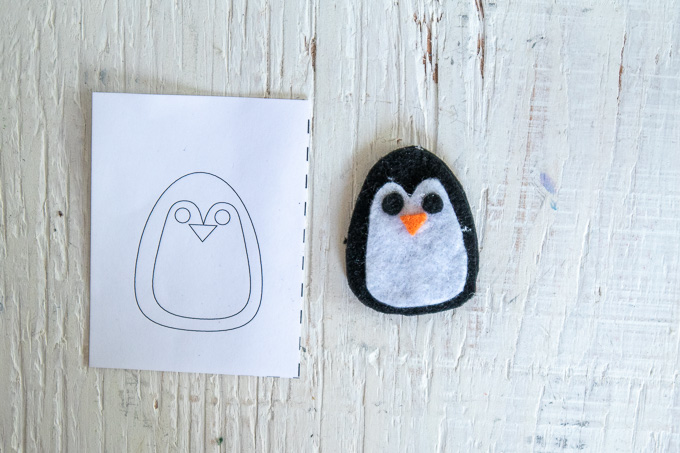
Insert pencil into the felt animal toppers and enjoy!
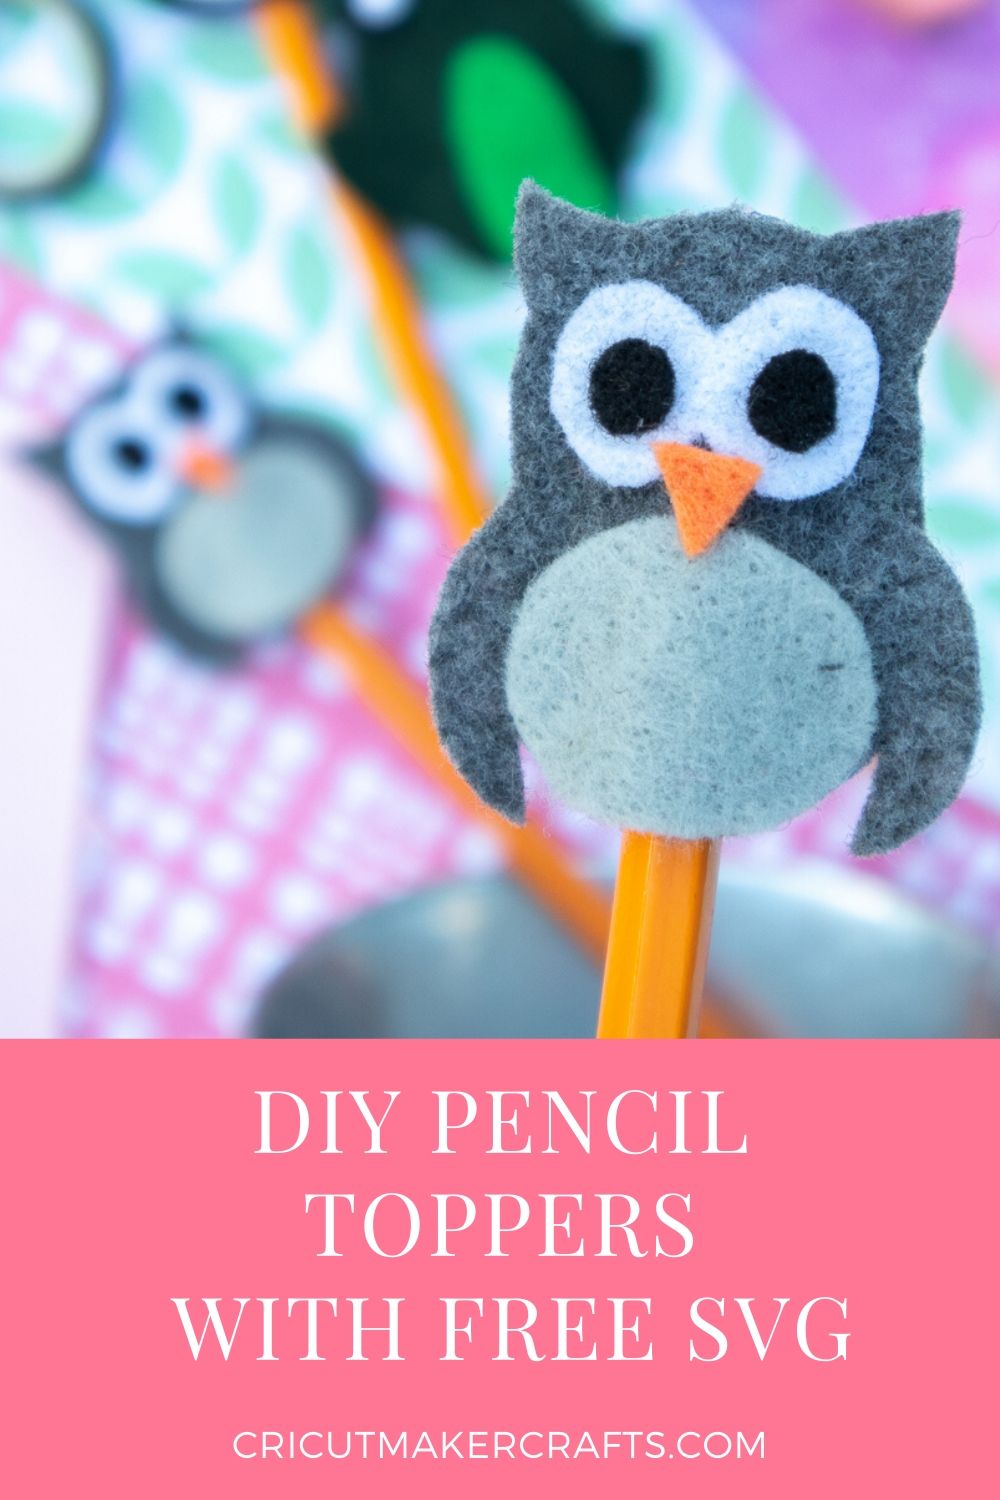
Save this tutorial for later by clicking the SAVE button on the image below!
More Cricut Projects to Try
Want more Cricut project inspiration? Check out these posts!
- 11+ UNIQUE Craft Vinyl Storage Ideas
- Convert Picture to SVG: 3 Quick and Easy Methods
- Different Types of Vinyl and How to Use Them
![Super-Cute Turtle Paper Craft for Kids [FREE SVG+PDF] Super-Cute Turtle Paper Craft for Kids [FREE SVG+PDF]](https://cutnmakecrafts.com/wp-content/uploads/2020/06/cricut-kids-craft-diy-paper-turtle-by-cricut-maker-crafts-100x150.png)
![Cute Felt Frog Craft [Template+SVG Free] Cute Felt Frog Craft [Template+SVG Free]](https://cutnmakecrafts.com/wp-content/uploads/2020/06/felt-frog-craft-template-and-svg-by-cricut-maker-crafts-100x150.png)




[…] Cute DIY Felt Pencil Toppers [FREE SVG] […]