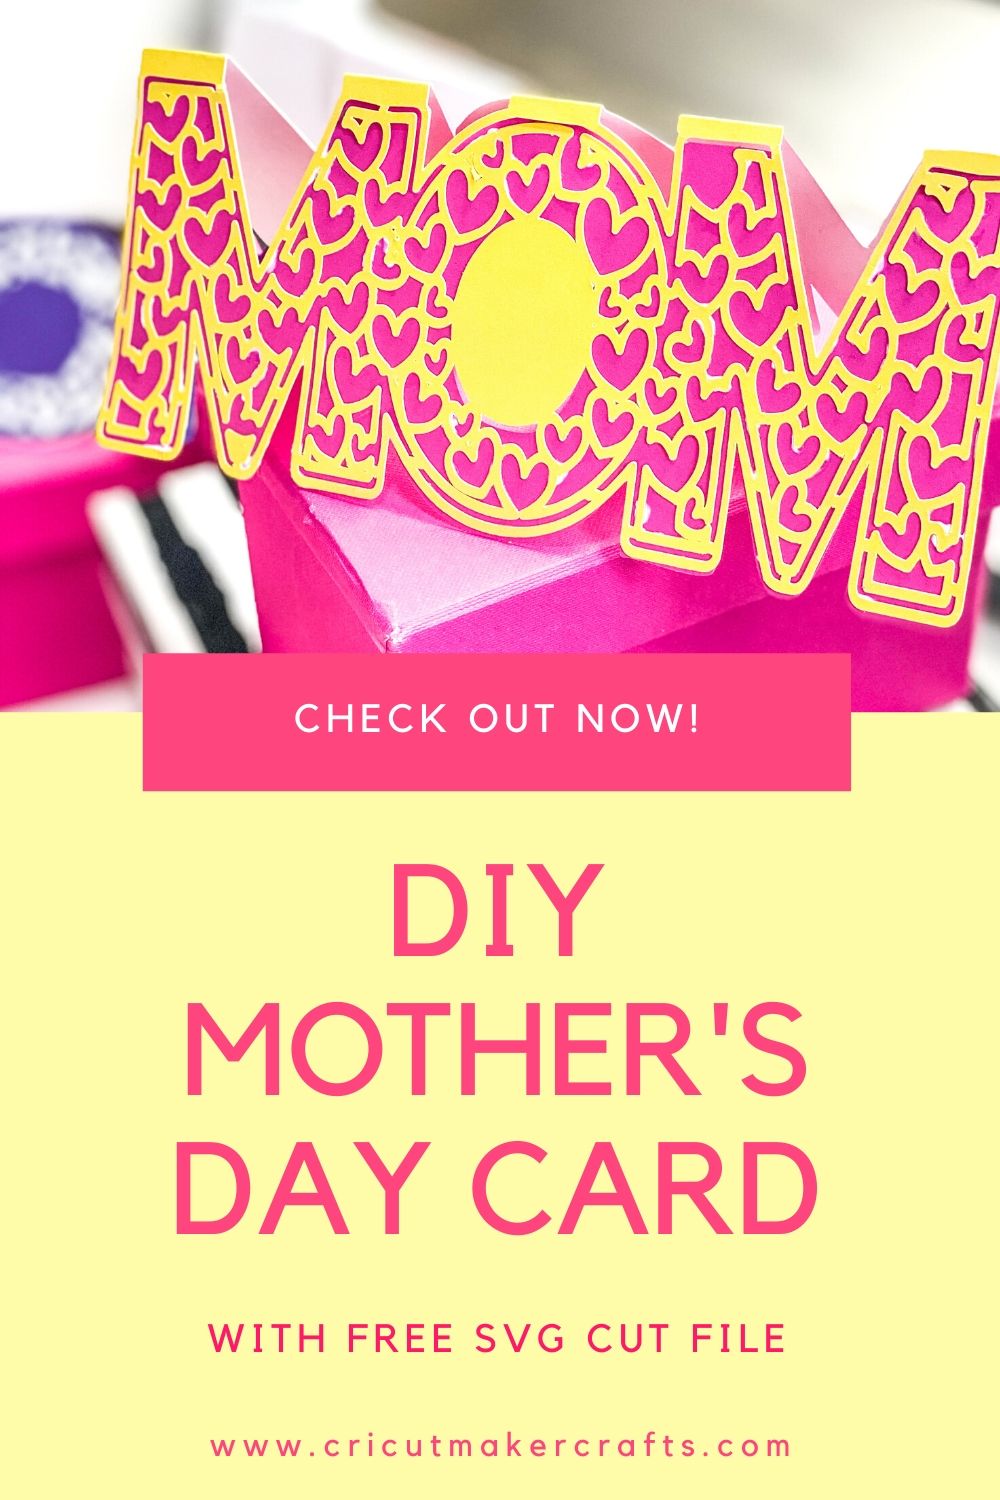
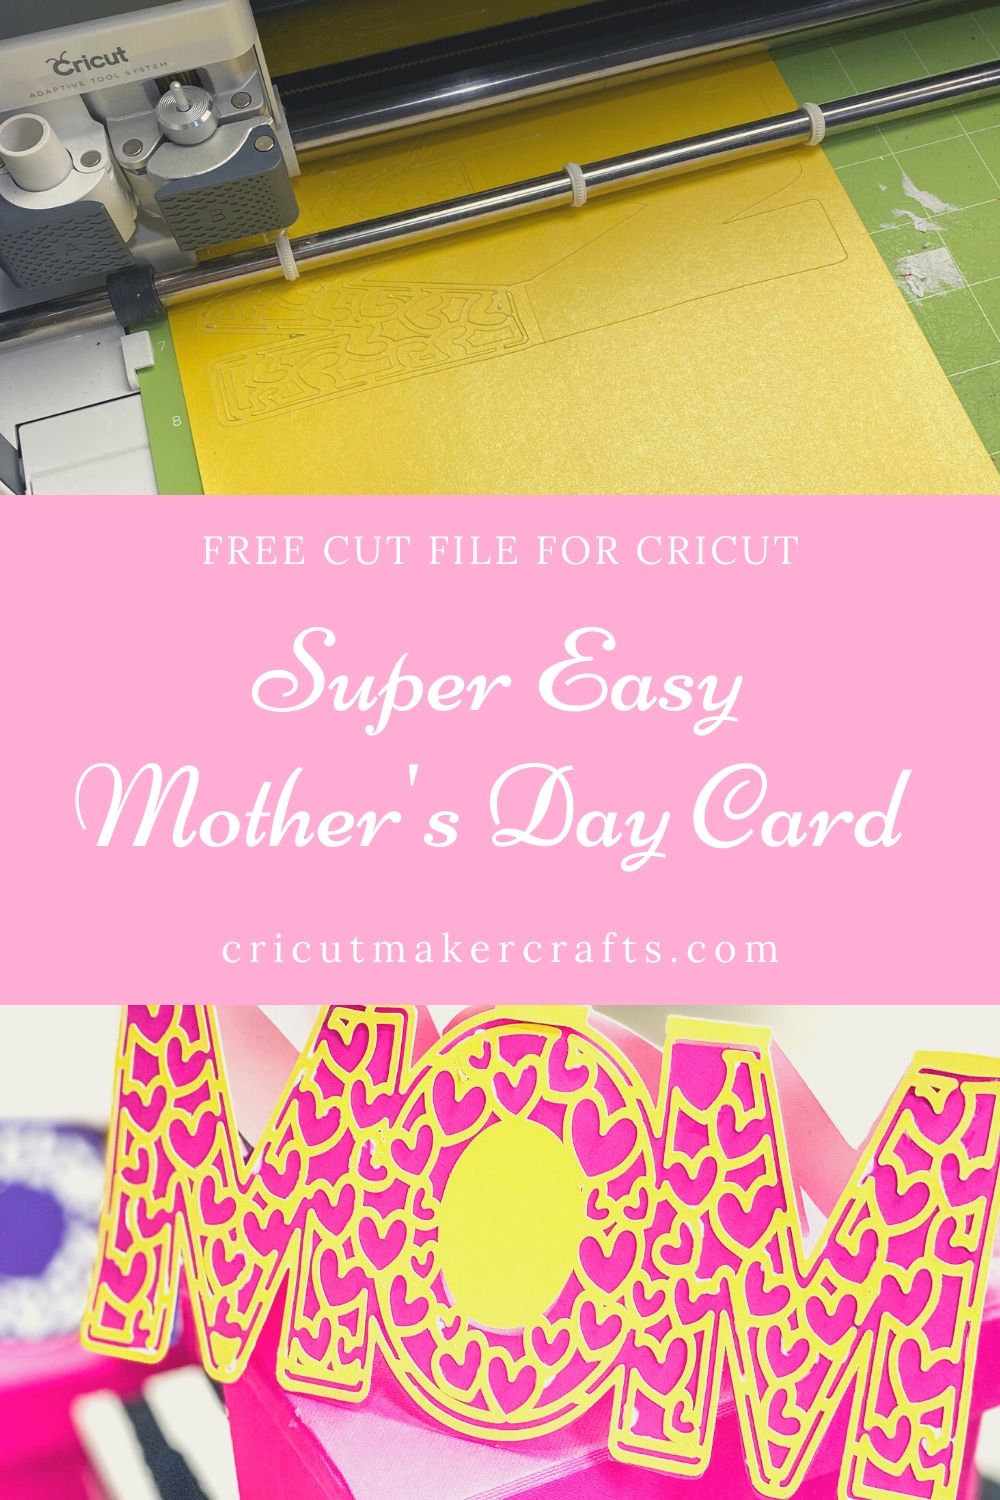
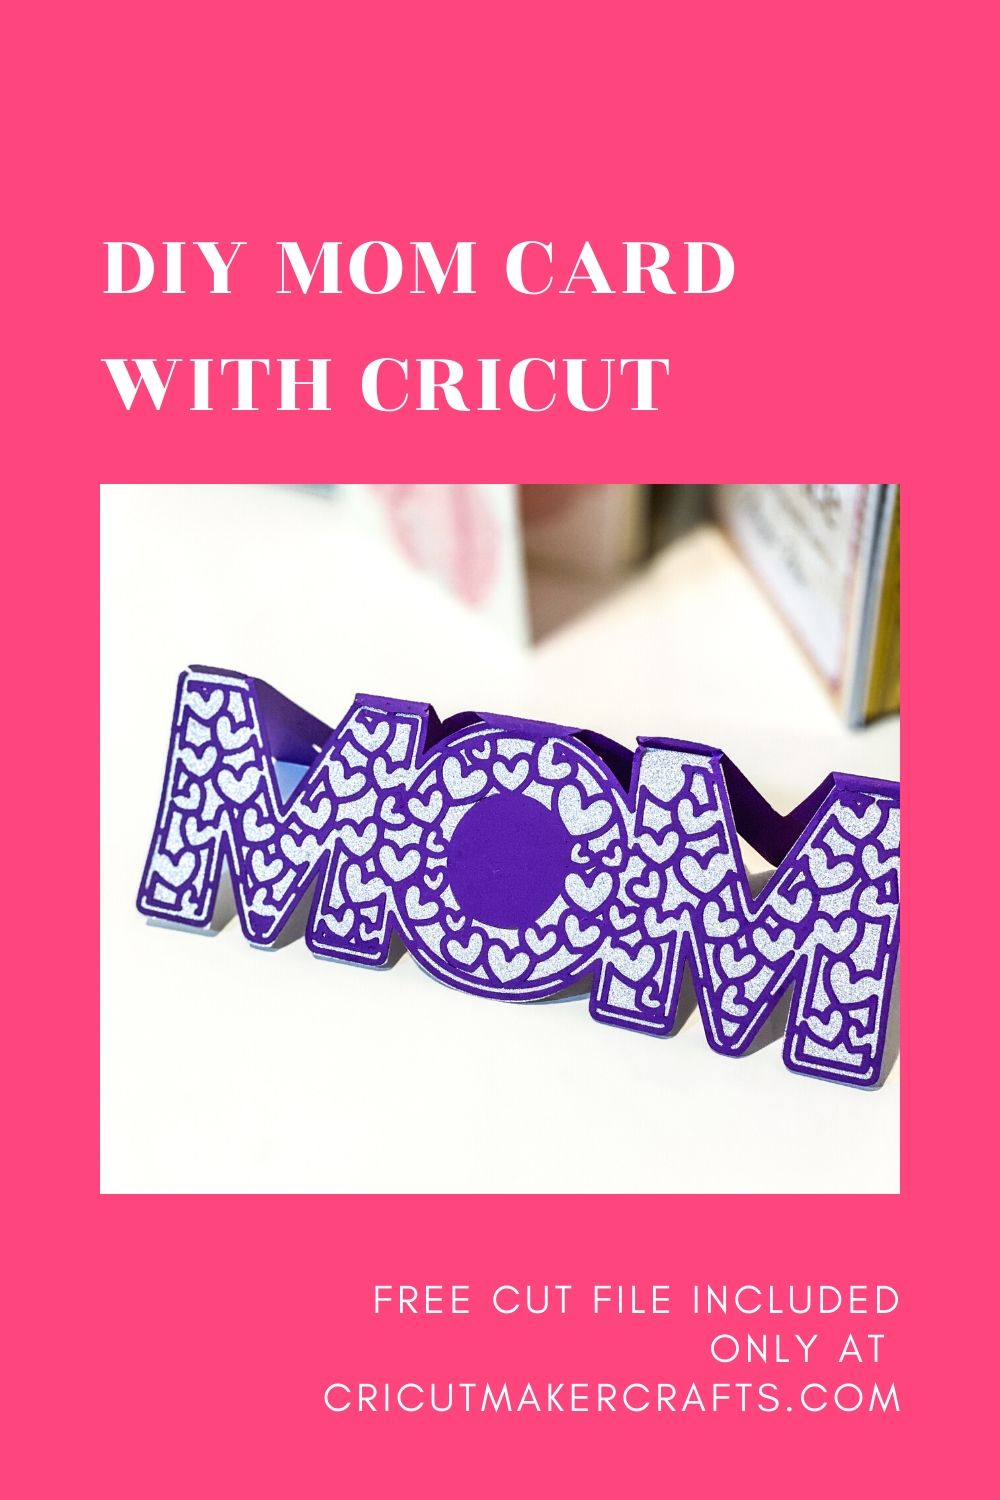
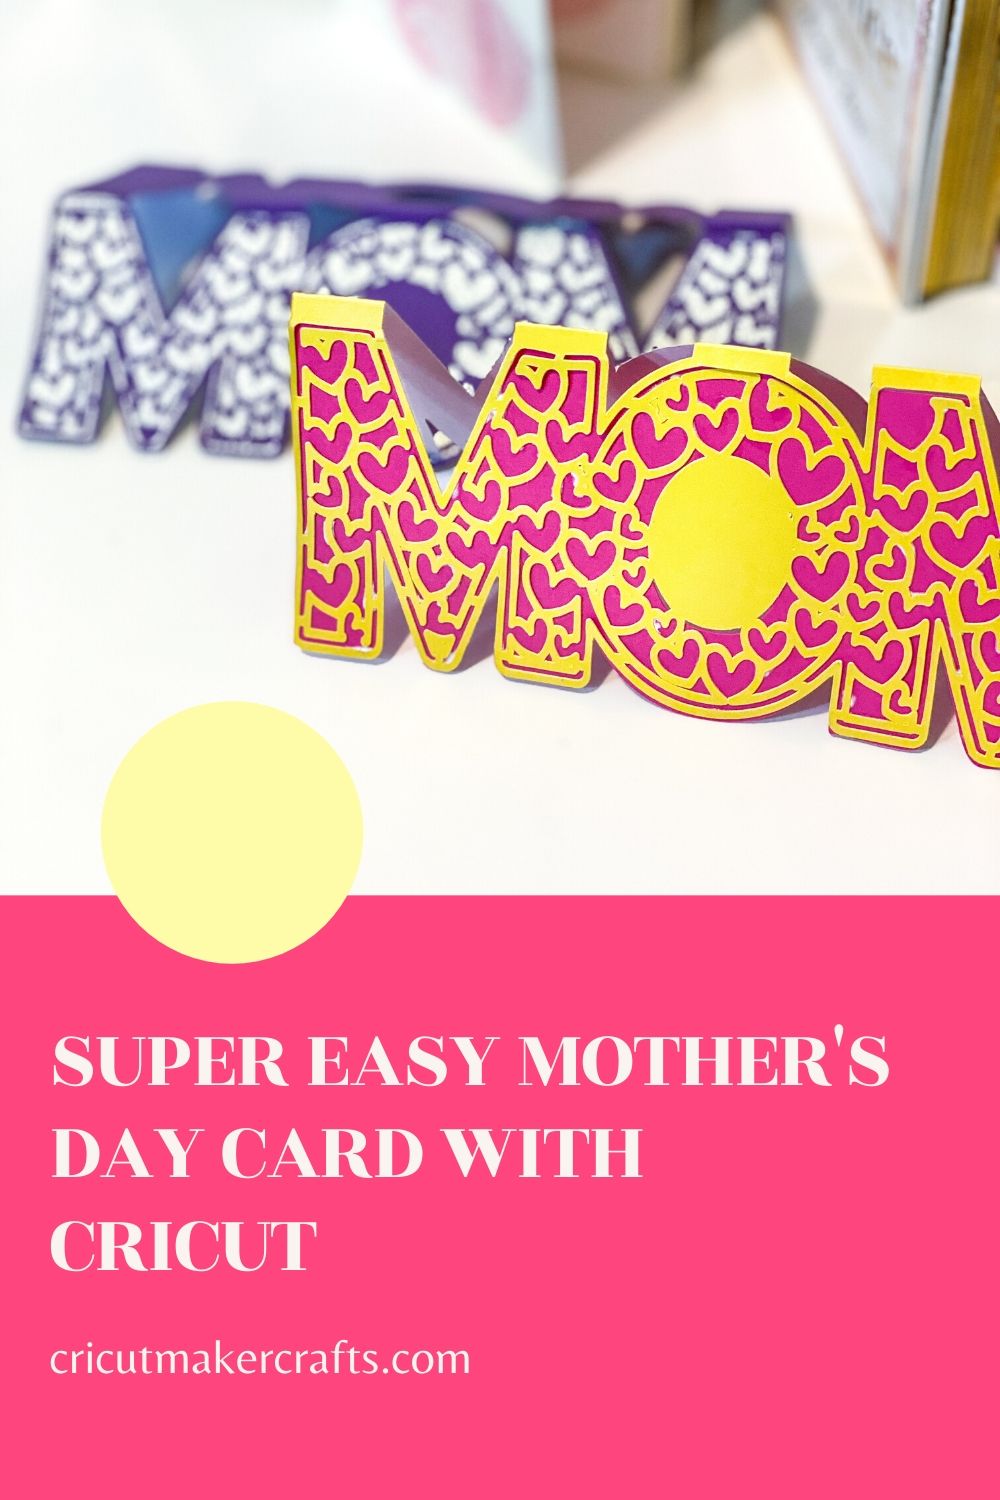
In this post, you’ll find FREE Mother’s Day card cricut project with SVG cut file. This is an extremely easy beginner friendly project to make with your Cricut Maker or Cricut Explore. You can also cut this out on the Silhouette machine.
Hello, Cricut Buddies! Welcome to Cut N Make Crafts! Today I’ll show you how to make your very own Mother’s Day Card Cricut project. This Mother’s Day card might look a bit daunting, but trust me, with the right settings and supplies, you’ll be able to make this beautiful Mother’s Day card with your Cricut without any troubles.

Since this card involves a lot of detailed intricate cuts, I’ll also be sharing some tips on how to get PERFECT intricate cuts with your Cricut so your Mother’s Day card turns out PERFECT.
This Mother’s Day card can be perfectly paired with the Free Mother’s Day SVG & Gift Box Tutorial. You can place a cute little jewelry inside the box and present it with this Mother’s Day Card.
Alright, onto the tutorial now where I show you how to make Mother’s Day card with your Cricut and the FREE SVG file provided.
I’ve included steps on how to make this card on both the Design Space Desktop and iPad app. So even if you don’t have a laptop, you can make this card following the iPad tutorial.
Mother’s Day Card Cricut Project Tutorial
Let’s get started with the Mother’s Day Card Cricut Project tutorial. But first, here’s some important Affiliate info.
AFFILIATE DISCLOSURE: Cut N Make Crafts is a participant in the Amazon Services LLC Associates Program, an affiliate advertising program designed to provide a means for sites to earn advertising fees by advertising and linking to Amazon.com.
Techniques Covered in Mother’s Day card tutorial
In this tutorial you will learn the following important techniques:
- How to sharpen your blade using aluminum foil.
- How to score
- How to get the perfect intricate cuts with your Cricut.
Now, let’s look at the list of supplies.
Supplies needed for Graduation Card
- Cricut Maker/Cricut Explore
- Light Grip Cutting Mat
- Essential Tools Set
- Scoring wheel or a ruler
- 2 different colors of Cardstock (160gsm or more)
- Scotch glue
- Free SVG file (available for the VIPs, you can grab this by signing up for the VIP list below).
Important Tips for Making Mother’s Day Card [Cricut Project]
- Make sure your Cricut StandardGrip mat is clean and sticky. If it’s not clean, wash it using dish-washing liquid first, leave it overnight and use it the next day. It’s extremely important to have a sticky mat for this project because there are some intricate cuts involved which will not come out good if the mat isn’t sticky.
- Make sure your blade is sharp. To sharpen/clean your blade stab it in a ball of aluminum foil a couple of times.
- Use intricate cardstock settings from the materials list. If using Explore Air, set the dial to custom and select intricate cardstock from the materials list.
Video Tutorial for Mother’s Day Card
Step-by-step Tutorial for Mother’s Day Card [Cricut Project]
Here’s a summary of the steps involved in making your own Mother’s Day card. These steps are very simple and straightforward. If you’re making a card for the first time with your Cricut, you will find these steps for making the Mother’s Day card fairly easy to follow. If you come across any difficulties, you can always message me at [email protected]. Now let’s have a look at the steps for making this card with Cricut.
- Sign up for the VIP library and download the free Mother’s Day Card SVG file from the link given in the email.
- Choose the colors for your Mother’s Day card. You can use a color wheel available on Google to get some inspiration for what colors look good together. I made this card in three different color combos. Purple and silver glitter, pink and yellow and pink and yellow stripes. One thing to keep in mind when picking out the papers for this Mother’s Day card is that we need to choose something plain rather than something with patterns. A plain paper will bring out the beauty of the lace unlike a patterened paper which will just make the card look crowded and unflattering. You can pair a plain paper with a glitter paper or a contrasting shade like I’ve done with pink and yellow.
- Upload the Mother’s Day card SVG file on Design Space.
- If you have a scoring wheel/stylus, change the lines on the card to score lines. Drag the mouse and select the entire envelope along with the score lines and click “attach” at the bottom right of the screen. This will ensure the lines stay in place when transferred to the mat.
- Resize the card to your desired size. Make sure when resizing you select both the top layer and the underlay.
- Next, click on “Make it”.
- For the main part of the Mother’s Day card (the one with the intricate cuts), choose “intricate cardstock setting” from the list of materials.
- Load your mat and get everything cut. It’s going to take a little longer than usual to cut the intricate part so be patient. (IMPORTANT: If you’re using glitter cardstock, make sure you place it RIGHT SIDE UP).
- To assemble the card, start off by applying Scotch glue along the edges of the card. Go very slow, making sure the glue doesn’t fall off.
- Stick the insert to the back side.
- Fold the card along the score lines and you’re all done! Pretty easy right? I knew you could do it!
The End!
With that, we have reached the end of the tutorial where I showed you how to make a custom Mother’s Day Card {Cricut Project].
If you found this tutorial helpful, make sure you save it and share it in your fav Facebook group!
If you have any special requests or questions, just drop me a comment below. I’ll get back to you ASAP. xx
-Jav
Please save this for later by clicking the save it button. 🙂


More Beginner Cricut Projects
Don’t forget to check out these beginner Cricut projects!
- DIY Unicorn Hair Clips – FREE SVG
- How to Make a Unicorn Birthday Banner – FREE SVG
- DIY Hand-lettered Cake Topper (Cricut)


[…] FREE Mother's Day Card Cricut Project […]