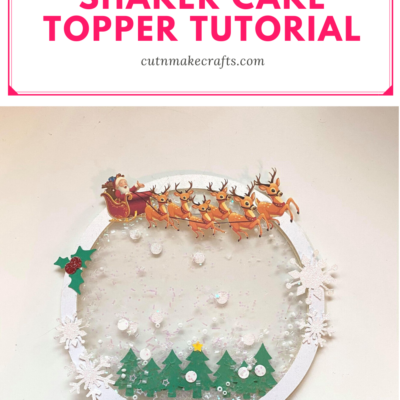
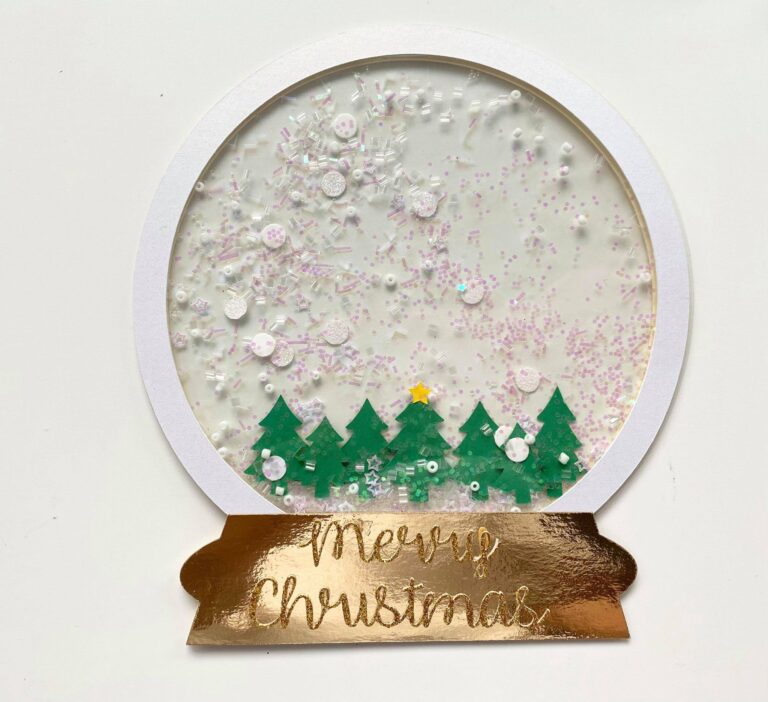
In this post, you will learn how to make an easy GORGEOUS snow globe holiday-themed cake topper with your Cricut and supplies you already have at home. This is a shaker cake topper with glitter and sequins inside to add a ton of Christmas cheer to your cake.
Hello, Cricut Buddies! Welcome to Cut N Make Crafts! Today’s shaker Christmas cake topper tutorial is contributed by Petra from Petra’s creations.
Ever since I’ve started crafting with Cricut, I’ve been obsessed with paper crafting, especially making cake toppers for various occasions and events.
Cricut makes it SO darn easy and fun to create cake toppers. I’m truly obsessed with it and have so far created a hand-lettered cake topper and a multilayered mermaid themed cake topper to share with you guys.
Custom cake toppers are so fun for adding a personalized touch to a simple cake in a jiffy. Therefore, to add some more Christmas cheer to the holiday cakes, today Petra will be showing you how to make customized Christmas themed shaker cake topper with glitter and sequins inside.
How to Make a Holiday Shaker Cake Topper
Let’s get started with the custom Christmas shaker cake topper tutorial. But first, here’s some important Affiliate info.
AFFILIATE DISCLOSURE: Cut N Make Crafts is a participant in the Amazon Services LLC Associates Program, an affiliate advertising program designed to provide a means for sites to earn advertising fees by advertising and linking to Amazon.com.
Techniques Covered in Holiday Cake Topper Tutorial
In this tutorial you will learn the following important techniques:
- How to cut cardstock paper using Cricut
- How to join objects/weld in Design Space
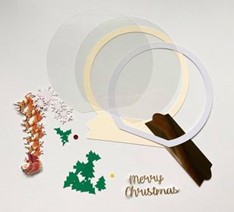
Now, let’s look at the list of supplies needed to make the Christmas shaker cake topper.
Supplies needed for Christmas Cake Topper Tutorial
- Cricut Maker/Cricut Explore
- Standard Grip Cutting Mat
- Essential Tools Set
- Heavyweight cardstock (250gsm or more)
- Hot glue gun
- SVG from Petra’s store
- Skewers
- Foam tape
- Tape runner
- Acetate sheets
- Sequins/Glitter
- Hot glue gun
Step-by-step Tutorial for Making Your Own Custom Cake Toppers
How to make a holiday cake topper with Cricut
Instructions
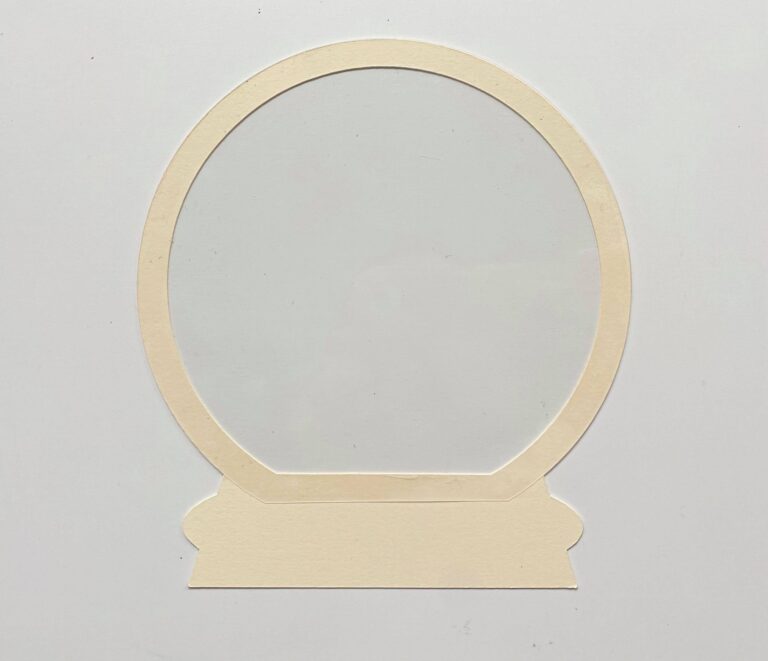
Step 1: Cut out all the pieces
- Purchase the SVG from Petra's store here. Upload the SVG snow globe file.
- Resize to desired size. The file is made for a 5” cake topper in width
- Cut it using the setting depending on your cardstock package with a fine point blade.
Step 2: Assemble
- Line the edges of the circle with a tape runner.
- Place the acetate sheet on top. Make sure the acetate sheet is stuck perfectly to the circle.
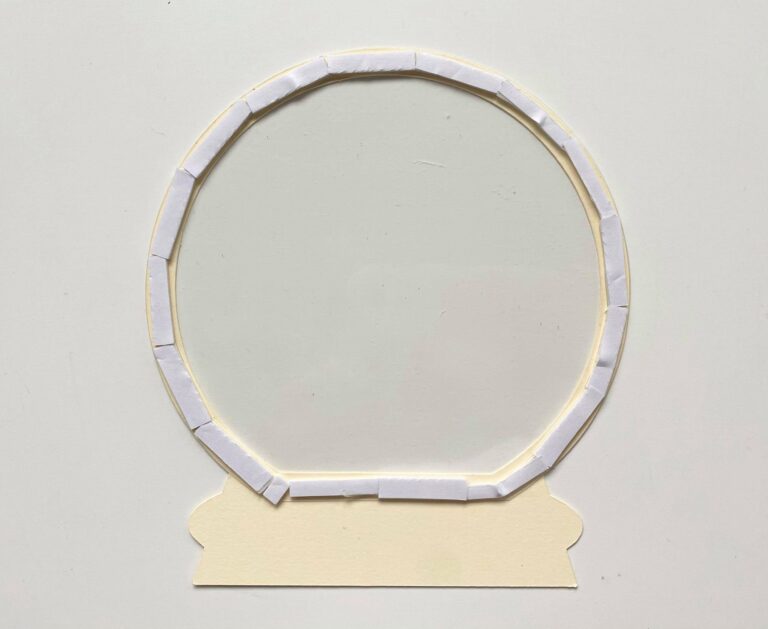
- Line the edges with foam tape and place your Christmas trees at the bottom using a low temp hot glue gun or allowing your glue to slightly cool before placing. You can also use foam tape to add depth
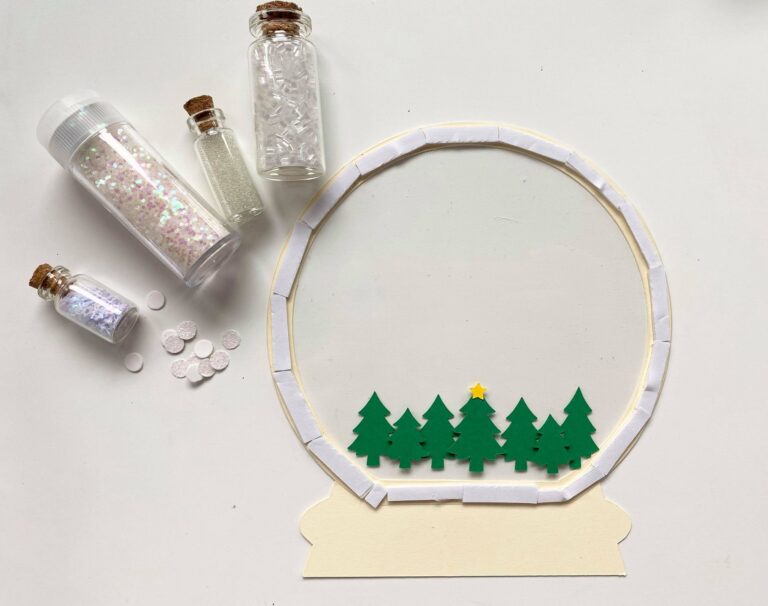
- Pour glitter and sequins in the middle.
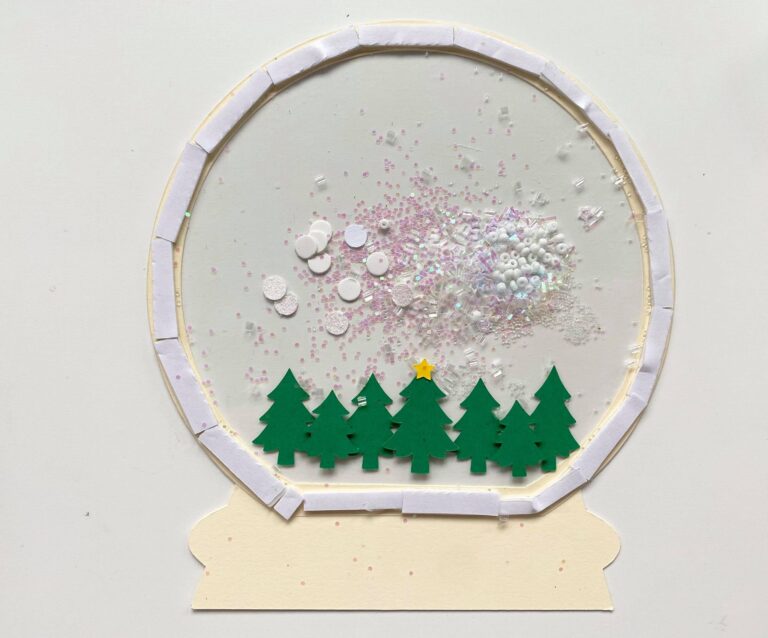
- Peel off the tape backing and place your 2nd acetate sheet on top

- Line the edges with a tape runner and place the white border on top of the acetate.
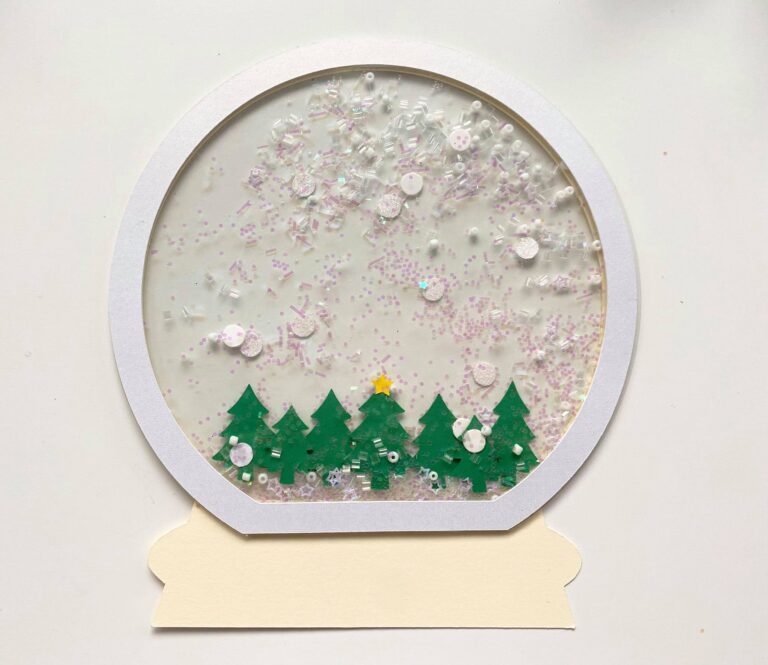
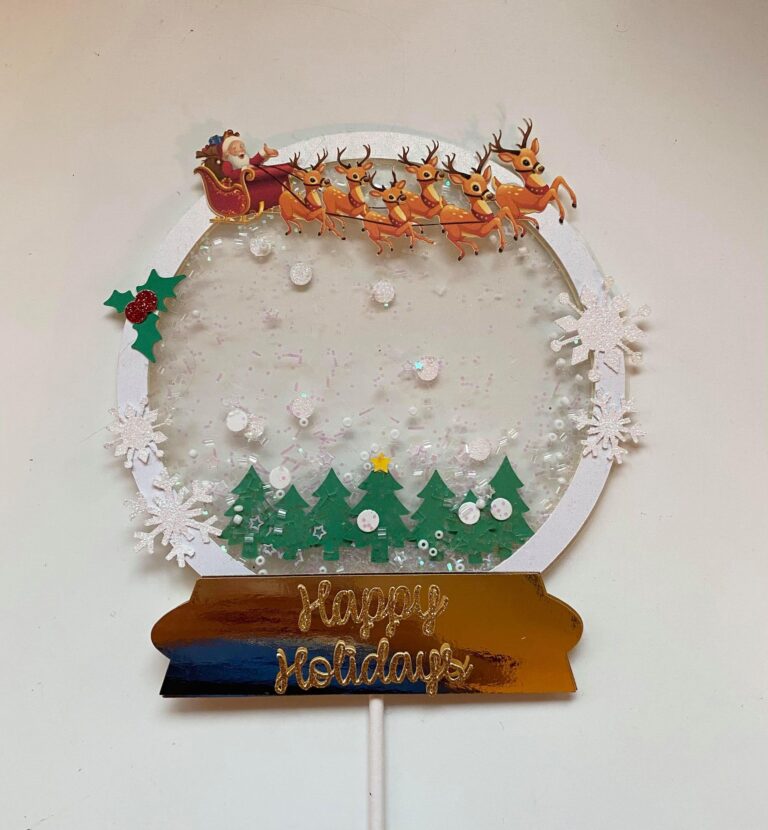
- Add the bottom of the snow globe with foam squares and glue your sayingto it.
- Using a hot glue gun, place your details on the snow globe. Add the stick to the back using a hot glue gun and shake your cake topper Add the details and create the rest of the scene
- TIP: Before removing all the tape backings, leave some on and place the acetate sheet. Shake and see if you need more glitter, if so add it through the hole and remove the backing.
Want to Make a Hand-lettered Cake Topper?
If you want to make a hand-lettered cake topper instead of a shaker cake topper, check out the video below.
The End!
With that, we have reached the end of the tutorial where I showed you how to make your own custom Christmas shaker cake topper.
If you found this tutorial helpful, make sure you pin it and share it in your fav Facebook group!