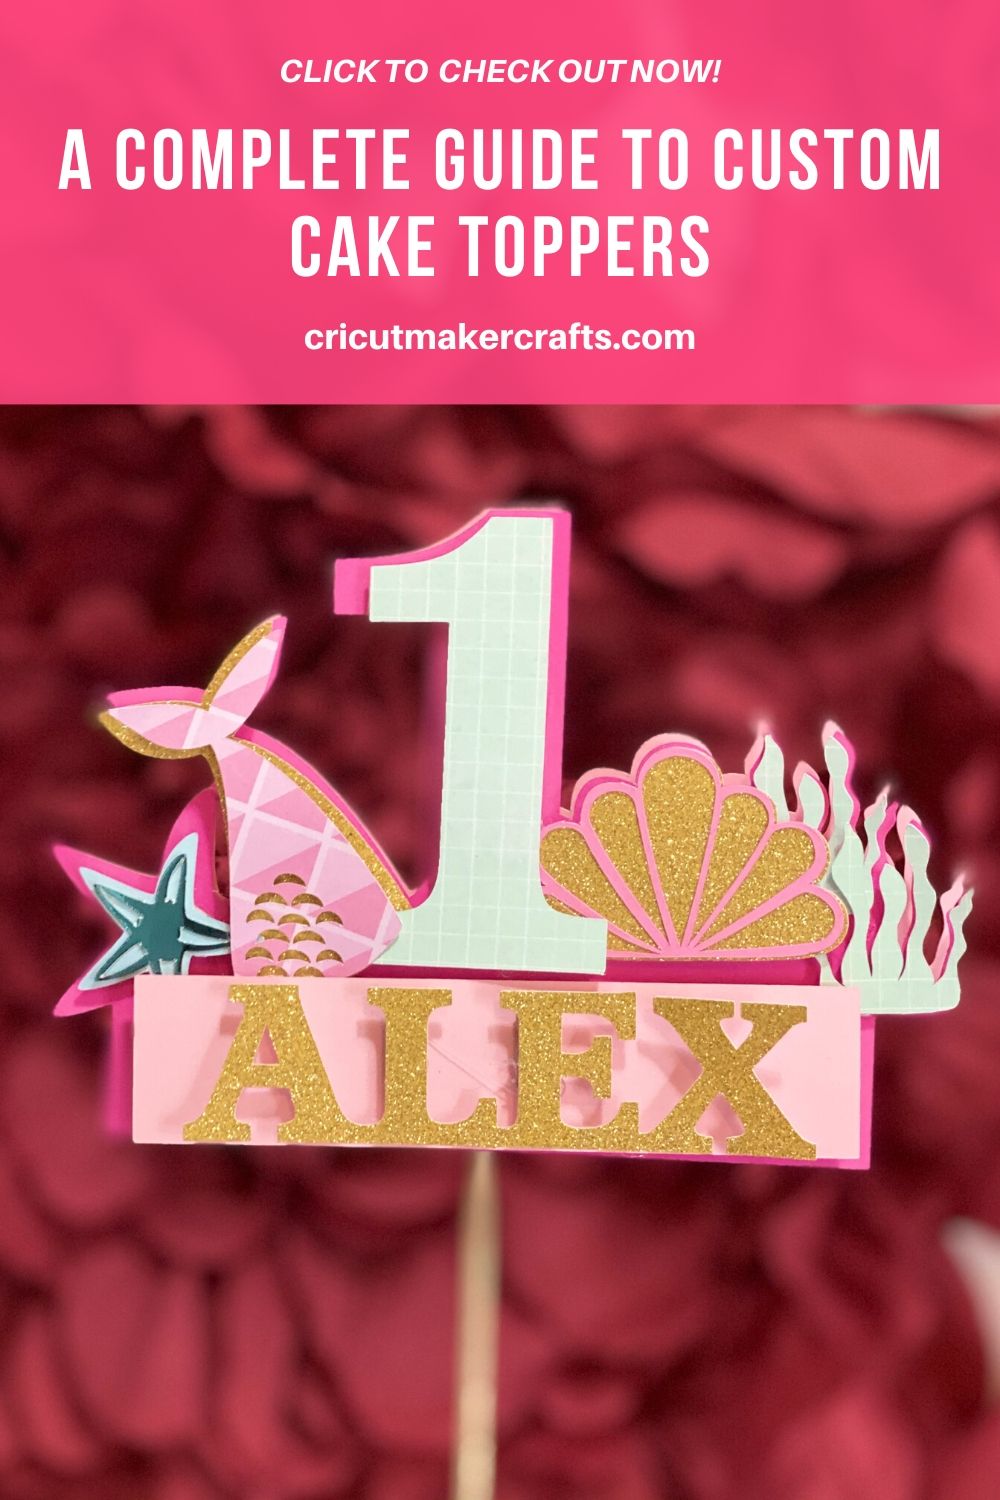
In this post, I’m sharing how to make cake toppers with Cricut with lots of layers to add a 3D effect to your cake toppers. I’ve included steps on how to plan a cake topper design with an example to create a mermaid cake topper. I shall also share Cricut cake topper materials and how big to make a cake topper.
Cake toppers are so fun to make especially when you can cut them out with your Cricut. Plus, there are SO many different ways to make the cake toppers. You can cut them out using paper, acrylic, wood or craft plastic. You can also make a custom hand-lettered topper like this one: DIY Hand-lettered Cake Topper (Cricut). Or you can design something from scratch in Design Space like I’m going to show you today.
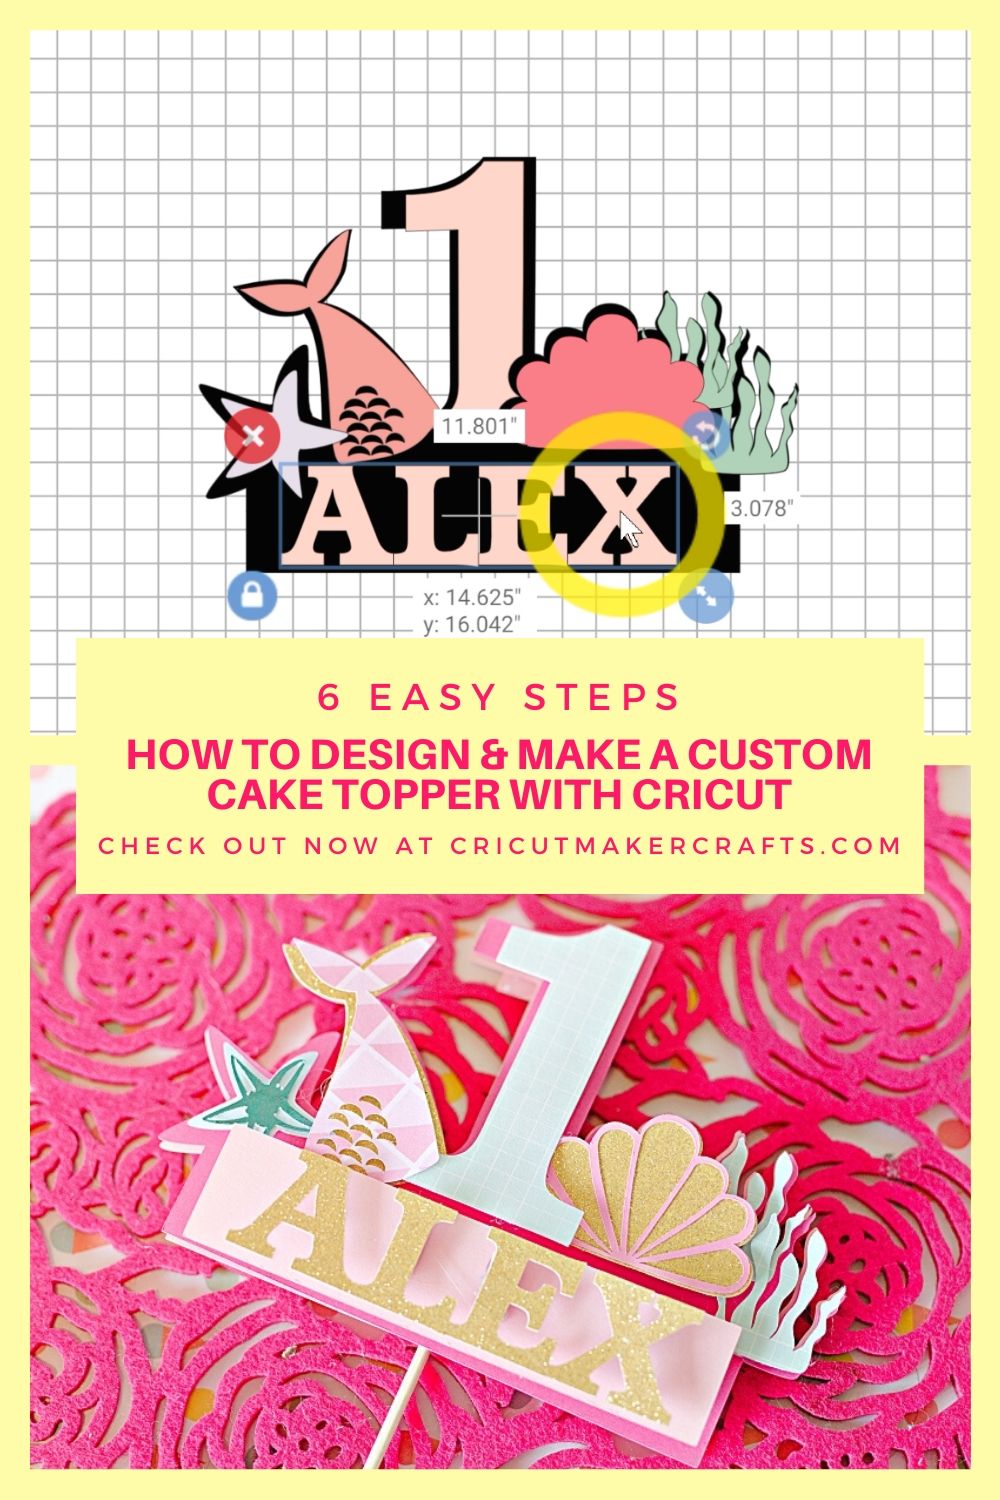
I’ve divided the steps for this cake topper tutorial into 6 different parts so you can use these basic steps to create cake toppers in any theme you like.
In today’s tutorial I’ll be using the mermaid theme, however using the 6 steps that I’ll be sharing, you can easily modify the topper to create unicorn or Disney themed cake topper.
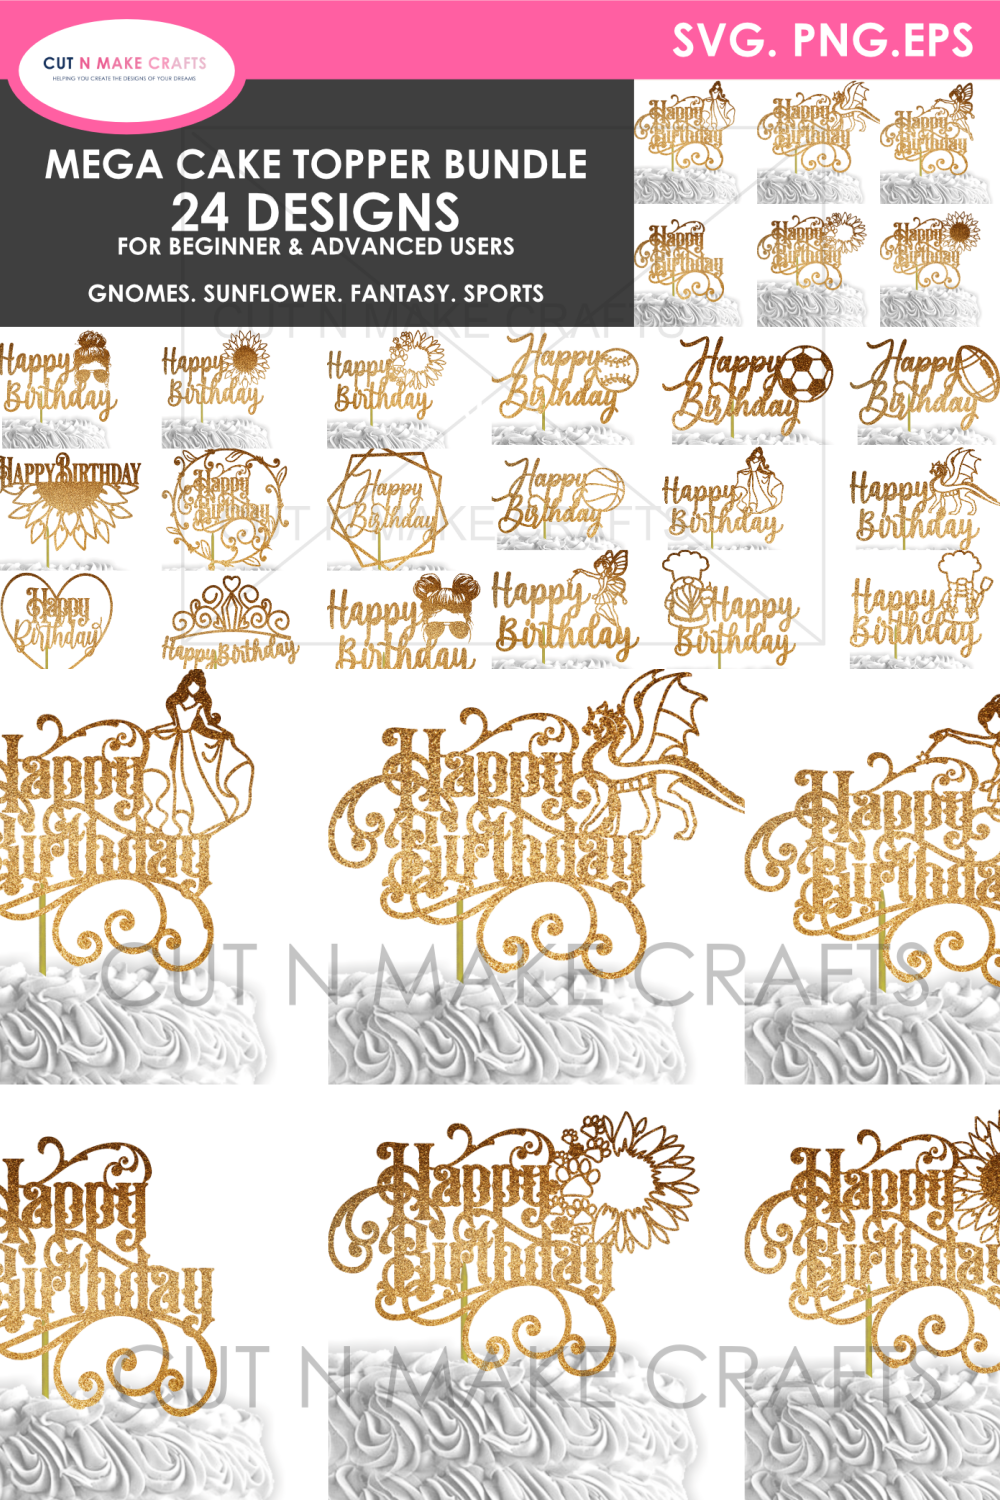
Before we begin, check out this MEGA cake topper SVG bundle with 24 cake topper SVGs for just $3.99. Click here to get it now!
How to Make Cake Topper With Cricut
You can use any Cricut machine to make this cake topper as this cake topper is mainly made out of paper. Here are the steps in short that we will be following for creating a custom cake topper with Cricut.
- Decide on your theme and color palette
- Plan your design (spring: flowers, grass, bunny)
- Look for the images (Pixabay.com or any other free website or buy a set of clipart from Etsy)
- Create the base
- Add the elements
- Cut & assemble
Supplies Needed for Cake Toppers
AFFILIATE DISCLOSURE: Cut N Make Crafts is a participant in the Amazon Services LLC Associates Program, an affiliate advertising program designed to provide a means for sites to earn advertising fees by advertising and linking to Amazon.com.
Here’s a list of supplies that you’ll need to make paper cake toppers with Cricut.
- Cricut Maker/Cricut Explore
- Light Grip Cutting Mat
- Essential Tools Set
- Cardstock
- Scotch glue
- Surebonder glue gun
- FREE Mermaid topper SVG file (available for the VIPs, become a VIP member by entering your name and email address below)
Video Tutorial for Making Cake Topper
Here’s the step-by-step video tutorial on how to make the cake topper with Cricut.
Instructions for Making the Cake Topper with Cricut
Step 1: Decide on your theme and color palette
First and foremost, decide on your cake topper theme. Are you making a Unicorn themed cake topper or a mermaid cake topper? Or will this cake topper be based on a cartoon character? Decide and finalize your theme and then choose a color palette that compliments the theme from designseeds.com.
Step 2: Plan your design
Step 2 is to decide on your elements to decorate your topper. For example, if you’re making a spring-themed topper, to give that spring feeling you can add a bunny, some flowers, grass, and birds. If you put all of these elements together, you can easily tell that the cake topper is spring themed. Similarly, if you’re making a mermaid-themed topper you can add mermaid fins, fish, starfish, clams, seaweed, etc. So list down all of these elements on a paper.
Step 3: Look for the images for your elements
Next, look for the images for whatever elements you have written down for your cake topper. You can either go to pixabay.com and download the images or you can buy them from Etsy in a bundle. One thing to keep in mind while looking for the elements is to make sure they follow the theme color that you have picked to create that well-put-together look.
If you’d like to make the mermaid topper as shown in this example, you can grab the free mermaid elements from the VIP library. The steps to access the mermaid file via the VIP library are covered in the “How to Make Cake Topper with Cricut” video tutorial.
Step 4: Create the base
Once you’ve downloaded all the elements, go ahead and upload them on Design Space as you’ll be needing them for this step where we will create the base.
To create the base add your number, followed by a rectangle and then duplicate all the elements and arrange them all around the base. Once you’re happy with what you have, select all and weld. Resize everything to fit the base.
How big to make a cake topper?
Here, you might have the questions: how big to make a cake topper. Well, I’ve noticed that a cake topper that’s 6″ wide works best. If the size of the cake topper is bigger than 6″ it can become too heavy and unstable if it has multiple layers. If the size is smaller than 6″ then the elements can be too difficult to assemble. Therefore the best size for the cake toppers is 6″.
Step 5: Add the elements
The second last step for making custom cake toppers with Cricut in Design Space is to add the elements around the base to check if everything looks perfect or not. Feel free to use the colors from your color palette that you created earlier.
Step 6: Cut & assemble
Once you’re happy with everything, get ready to cut everything out. Carefully pick the correct colors for your paper based on the color theme. Your paper colors might not EXACTLY match the color theme but should be similar. Make sure everything goes together perfectly and no color looks out of the place.
Once you’ve cut everything out, it’s time to assemble the cake topper. To create a 3D effect I like to add glue dots or cardboard pieces in multiple layers.
How to ship cake toppers?
The best way to ship cake toppers is by sandwiching them in between two thick cardboard to prevent them from bending. Place the sandwiched cake topper inside the mailing satchel to ship it to the customer.
More Helpful Cricut Posts
With that, we have reached the end of this tutorial where I showed you how to make a cake topper with Cricut. You can use this tutorial to create a cake topper based around ANY theme of your choice.
Before you go, check out these amazing Cricut posts!
- 9+ AMAZING Craft Paper Storage Ideas
- 9 Must-Have Everyday Objects for Cricut Owners
- Unique Blank Gift Ideas for Her
Don’t forget to save this for later

")

![How to make pop-up Mother's Day card [Cricut Project]](https://cutnmakecrafts.com/wp-content/uploads/2020/03/Pinterest-pins-150x150.png "How to make pop-up Mother's Day card [Cricut Project]")


[…] I also have a fun mermaid cake topper tutorial that you can check out at How to Make Mermaid Cake Topper […]