Learn how to make cards with Cricut Joy for loved ones. Step by step tutorial included for beginners on how to use the Cricut Joy card mat to make super easy and quick two-toned cards.
Hello Cricut buddies! Welcome to Cut N Make Crafts. Today I’ll be showing you how to make cards with Cricut Joy. This is a super easy tutorial so you can follow along and make some cards for your loved ones.
AFFILIATE DISCLOSURE: Cut N Make Crafts is a participant in the Amazon Services LLC Associates Program, an affiliate advertising program designed to provide a means for sites to earn advertising fees by advertising and linking to Amazon.com.
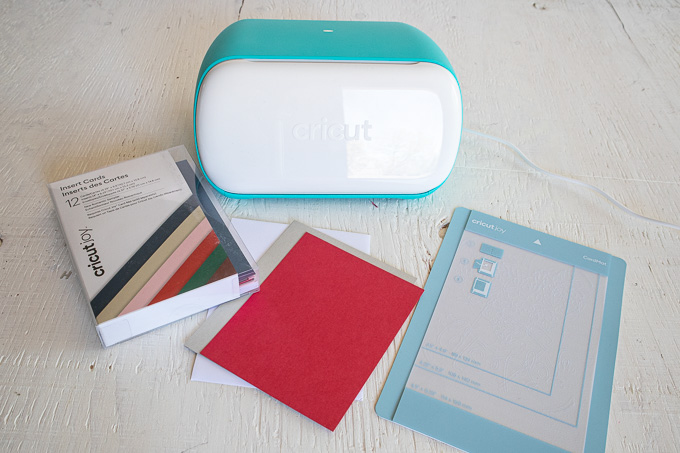
Supplies Needed to Make Cricut Joy Card
-
Cricut Design Space Card Image #M10B97948
-
Cricut Joy with Fine Point Blade
-
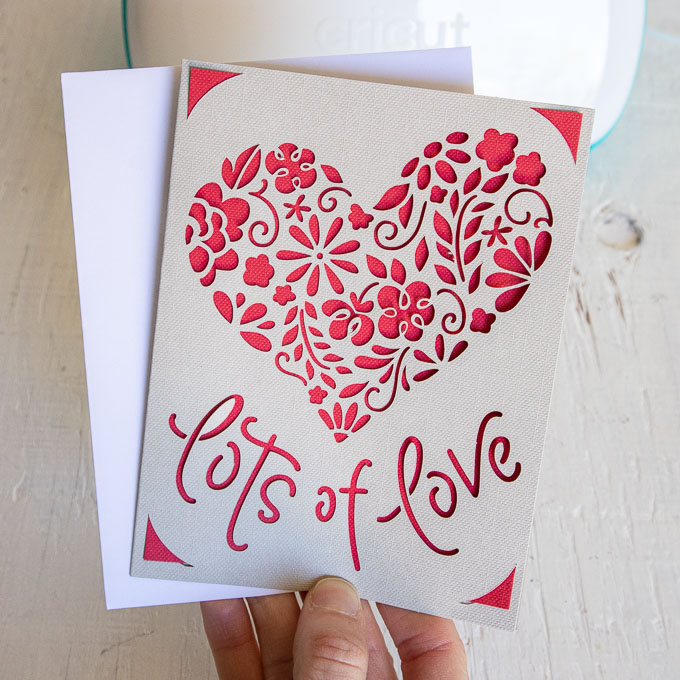
Cricut Joy Insert Cards, New Romantic Sampler using Khaki card color and Burnt Red Insert
The best thing about using a Cricut Joy to make a card is the card mat that’s made especially for the Cricut Joy and the pre-made card packs that you can get from Cricut. There are a variety of card packs available at Cricut in many different colors and each pack comes with 12 different colors to work with.
Each pack costs $6.99 only and is totally worth it as it makes everything extremely easy and quick. This is also great for kids due to the simplicity as they can make fun little cards without going through a ton of steps.
The Cricut Joy card mat can cut cards of three different sizes. These sizes are:
- 3.5″x4.9″
- 4.25″x5.5″
- 4.5″x6.25″
With the help of these pre-built features, it easy to customize any card within a few minutes.
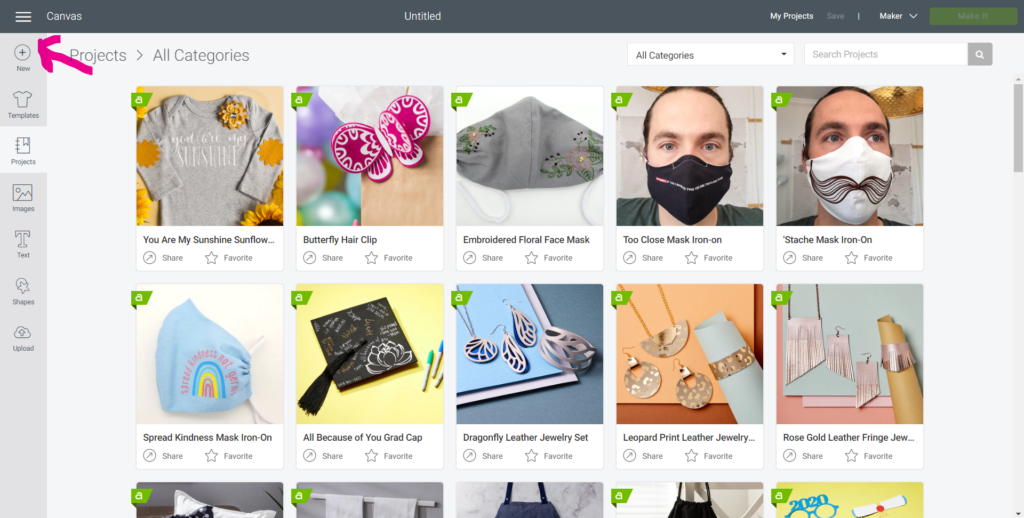
Preparing the Image:
- Open Cricut Design Space.
- Click on the “+” sign to start a new project, opening up a blank canvas.
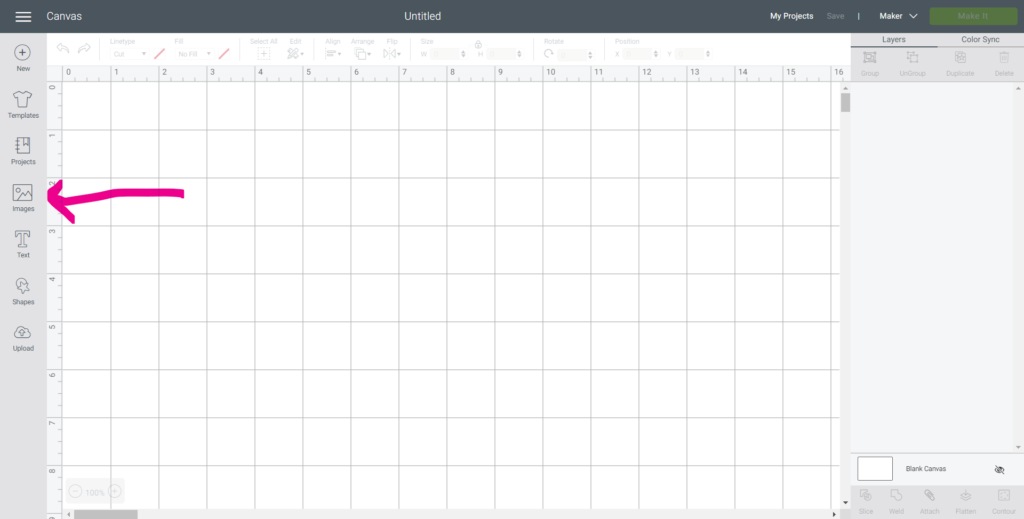
- Click on the Images button from the toolbar.
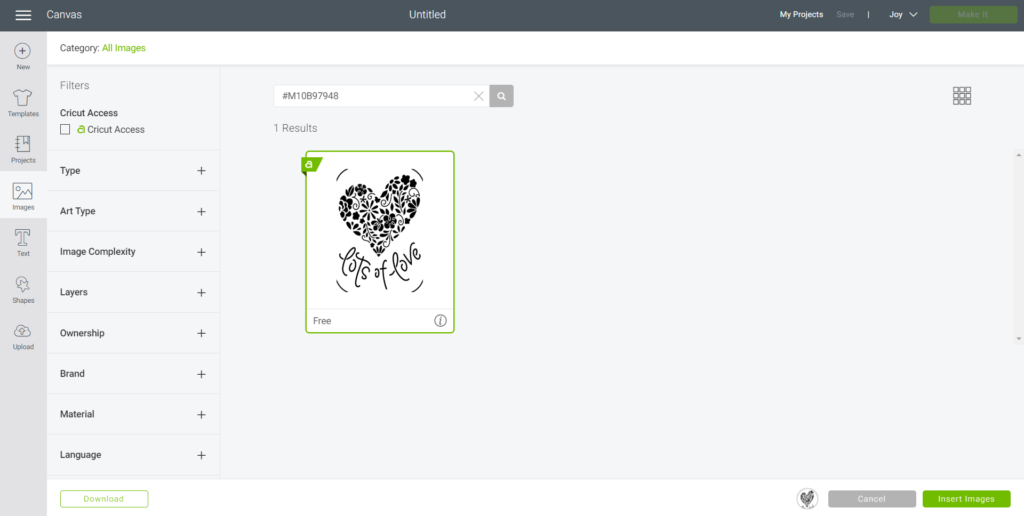
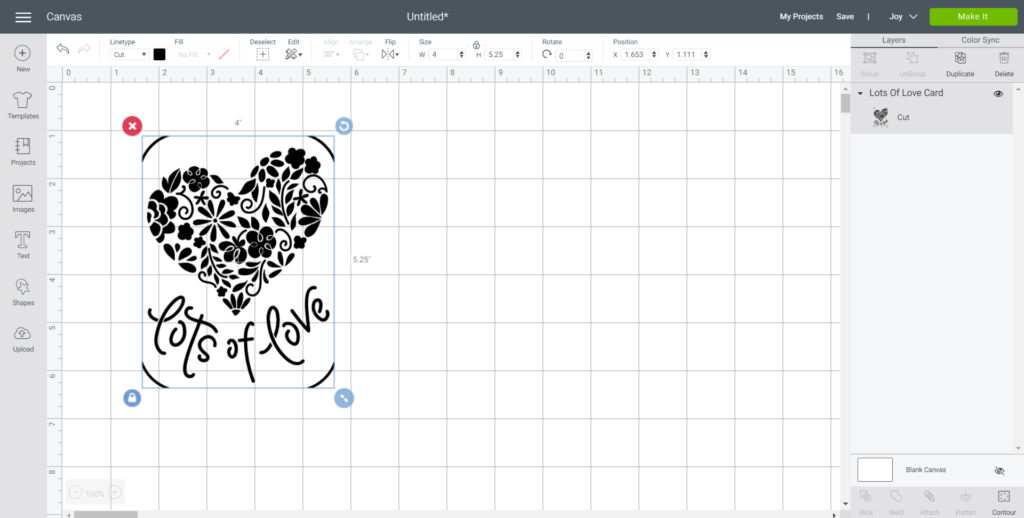
- Search card image #M10B97948 and then click on the image to insert it on the canvas.
Cutting the Image on the Card:
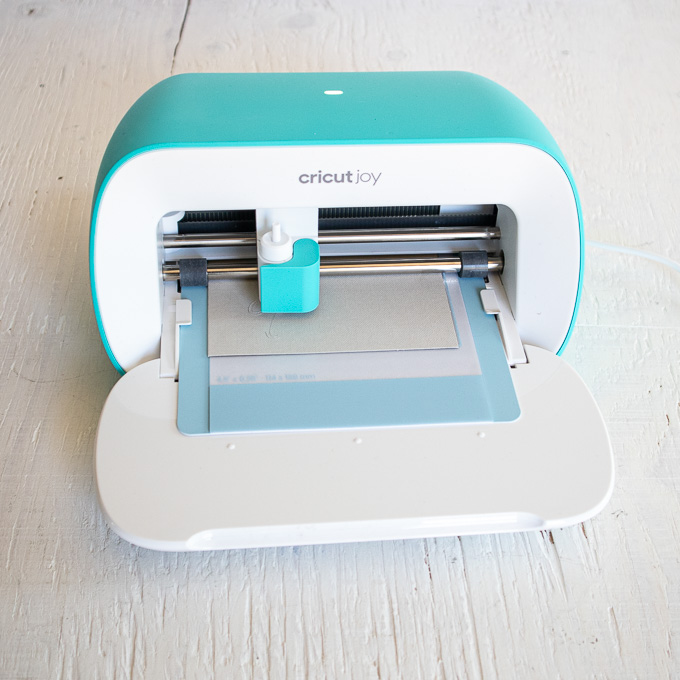
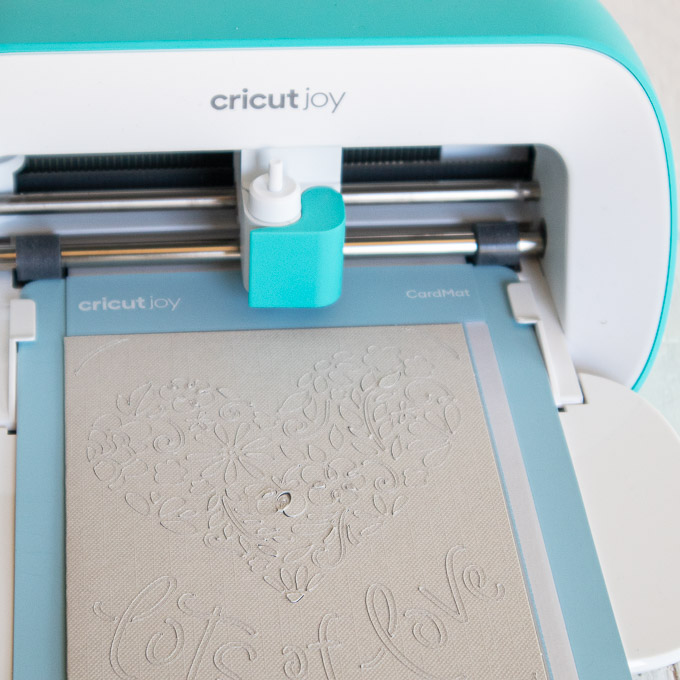
- Ensure the machine is set to Cricut Joy, then select “Make It” in the upper right corner to proceed with cutting.
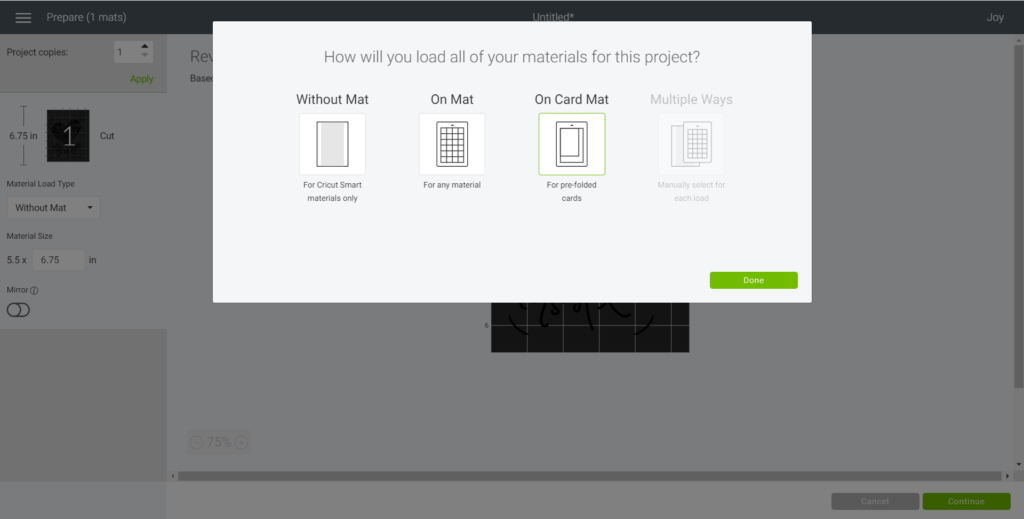
- Choose “On Card Mat”.
- Adjust the card size to 4.25” x 5.5”.

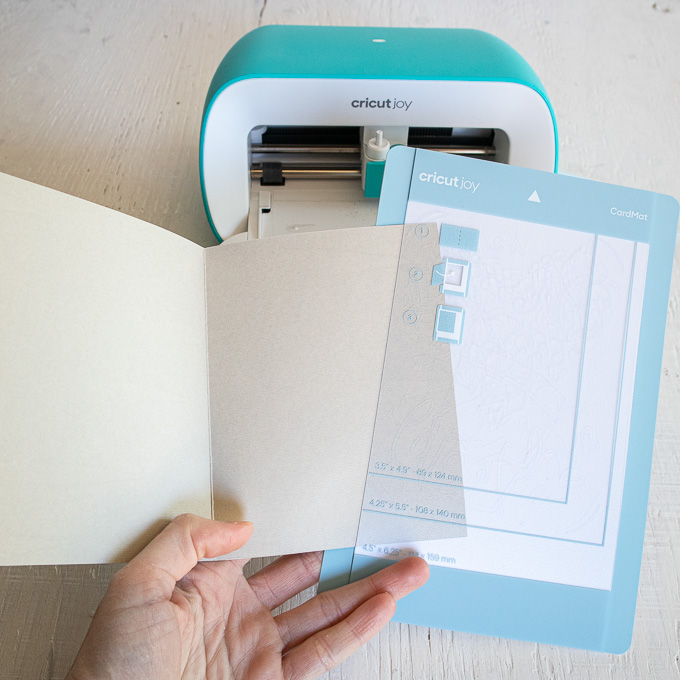
- Remove the protective plastic cover from the mat.
- Open the pre-folded card and from the left, slide one side of the folded card under the plastic divider.
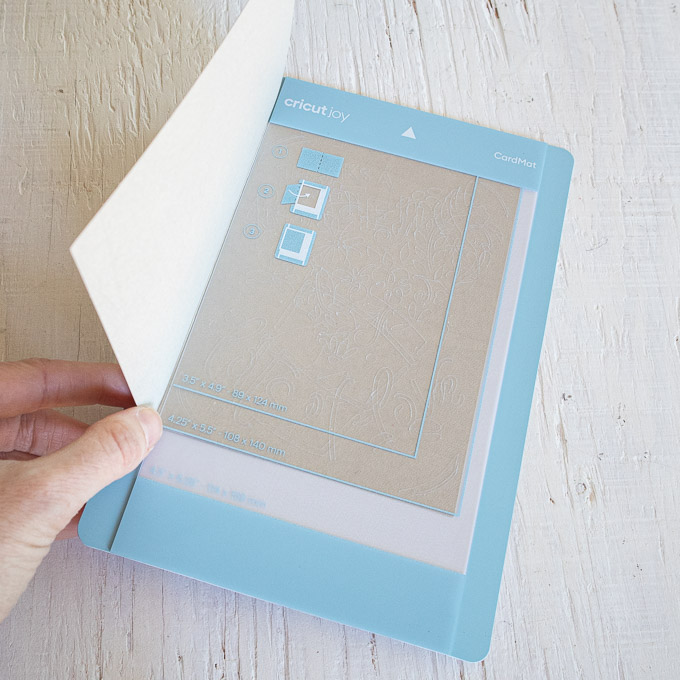
- Make sure the card is flush with the top, then align the inside fold of the card against the plastic divider.
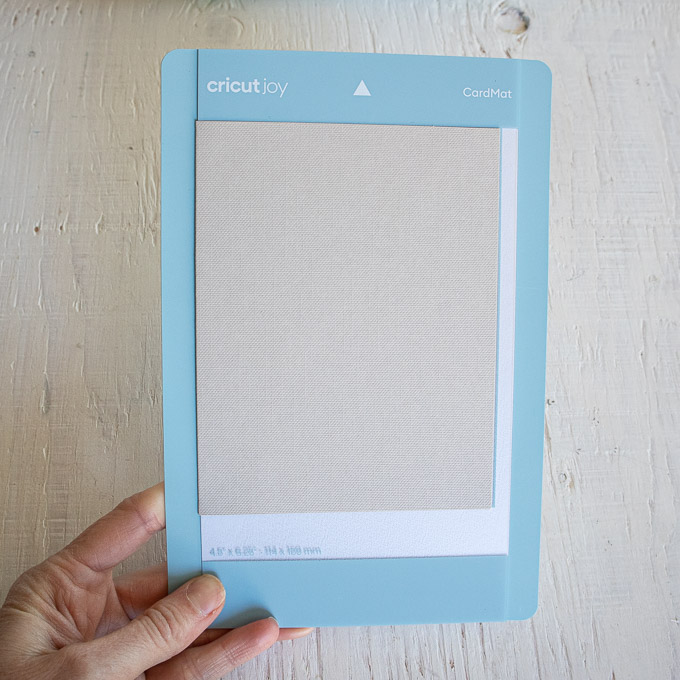
- Press the front of the card down against the adhesive on the mat.
- Select browse all materials and choose “Insert Card – Cardstock” from the list of materials.
- Following the instructions prompted on the screen, cut out the pattern.
Finishing:
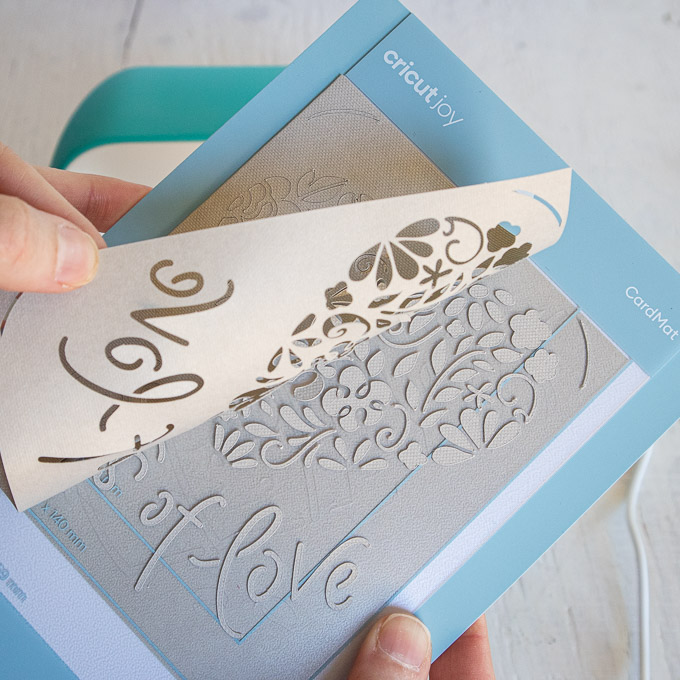
- Remove the mat from the machine when the cut is complete. Carefully peel off the mat from the card and trim or remove any small attached pieces.
- Tuck the insert into the corner cut-outs to hold in place.

More Fun Cricut Projects
With that we have reached the end of this post where I shared how to make a card with Cricut Joy.
For more easy and fun projects check out the following posts:
- How to Make Cake Topper With Cricut
- 11+ UNIQUE Craft Vinyl Storage Ideas
- Convert Picture to SVG – 3 Quick and Easy Methods