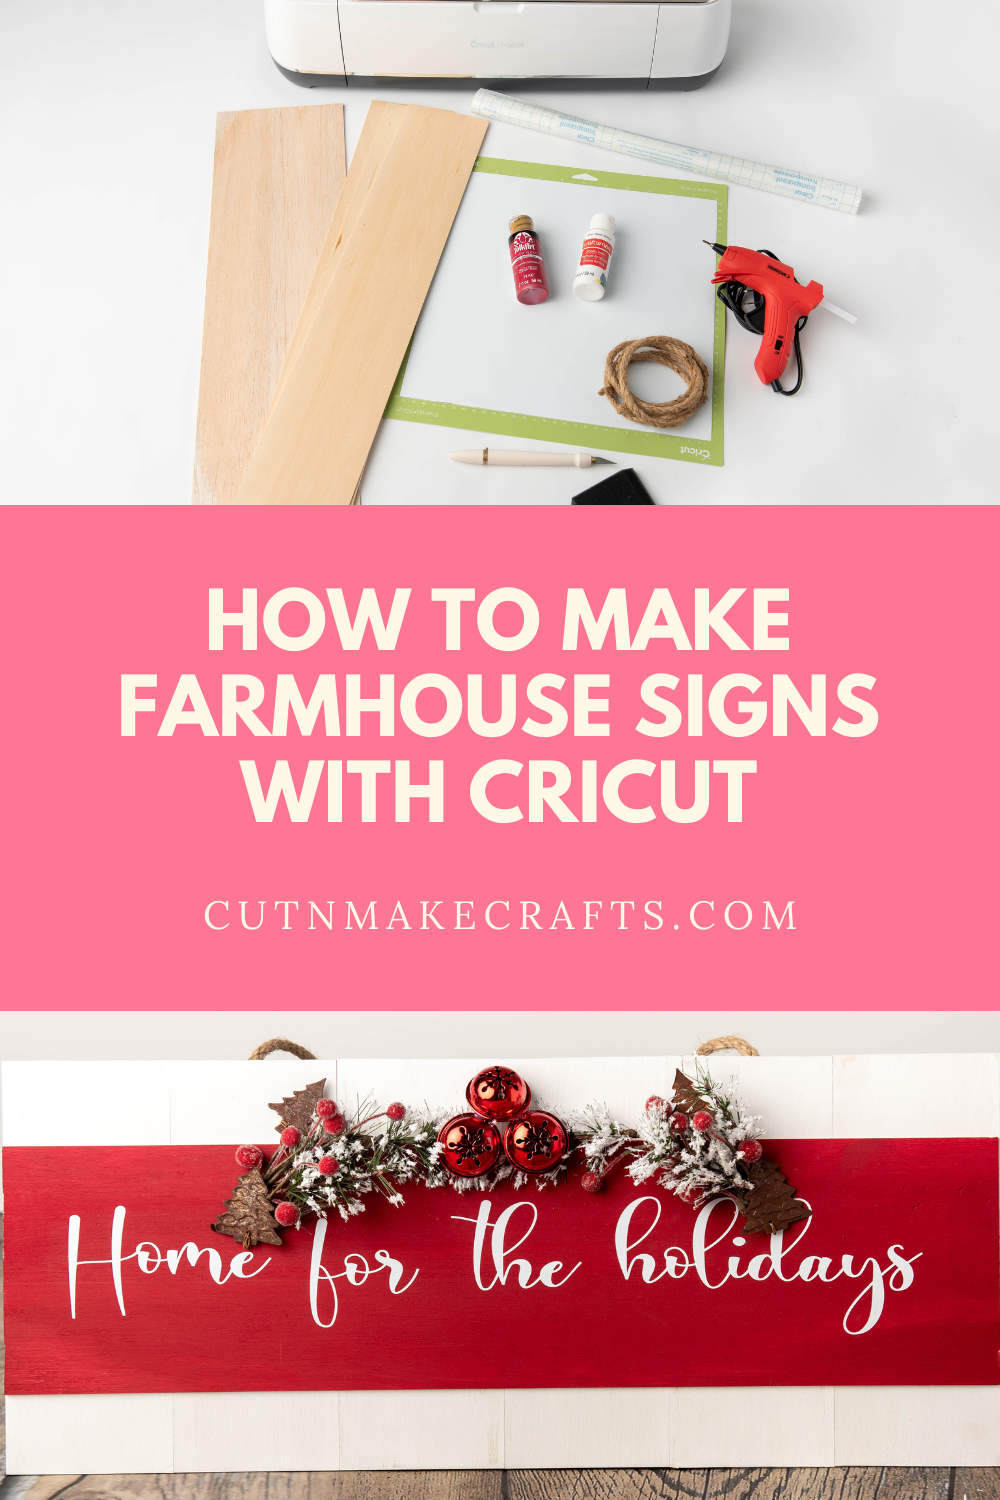
In this post, I’m sharing how to make farmhouse signs with Cricut and some vinyl scraps to bring some holiday cheer in your homes. This holiday decor project is perfect for beginners to try.
Wooden farmhouse style signs are a perfect way to add decor and homely touch to your home. Back in college when I was crazy about the French farmhouse decor. I decorated my entire dorm room in the farmhouse style and my room was one of the most popular ones on the entire block. I had baby pink drapes and a lace table cloth. I painted my bookshelf peach and distressed it to give it the farmhouse look too.
I was able to buy some stainless steel buckets and decor to add that homely farmhouse touch to the room. Altogether it made the dorm room very cozy and dreamy, a perfect place to rest my head after a long day of classes.
Today, farmhouse decor is so popular which is why I’m sharing this super easy farmhouse sign tutorial that you can make with your Cricut.
DISCLAIMER: Cut N Make Crafts is a participant in the Amazon Services LLC Associates Program, an affiliate advertising program designed to provide a means for sites to earn advertising fees by advertising and linking to Amazon.com.
How to make farmhouse signs with Cricut
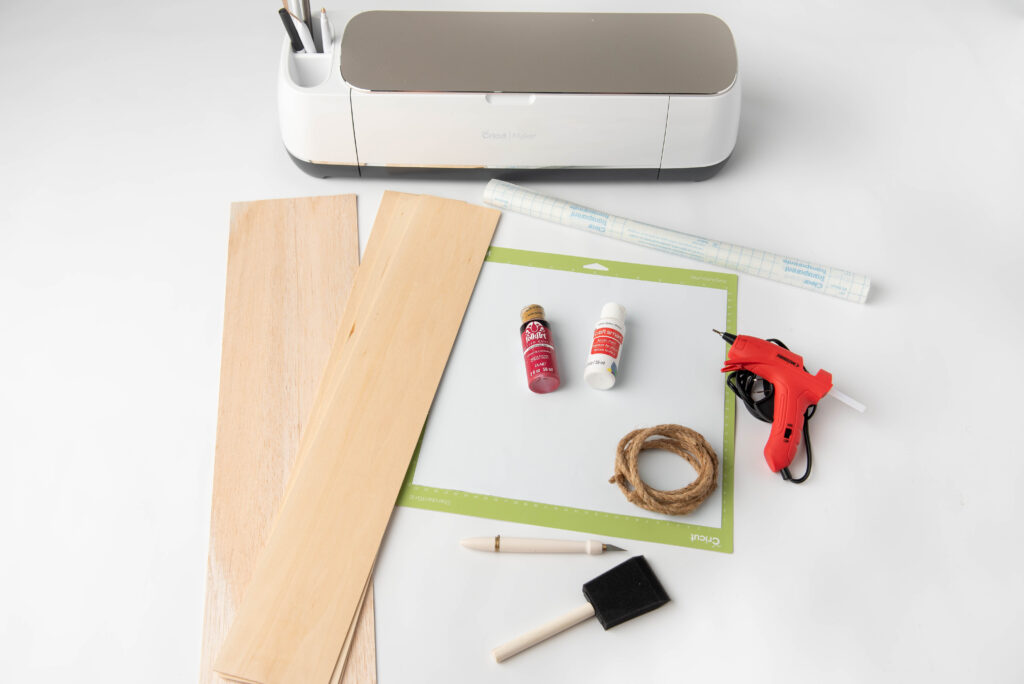
Supplies Needed to Make Farmhouse Signs with Cricut
To make this farmhouse or wooden sign with Cricut, you would need the following list of supplies.
-
- Cricut Maker/Cricut Explore
- Light Grip Cutting Mat
- Essential Tools Set
- Adhesive Vinyl (I used Oracal 651 and Cricut Premium Vinyl) If you’re not sure what type of vinyl to use, check out my post Different Types of Vinyl and How to Use Them
- Cricut Transfer Tape
- Wood (I used craft wood found at hobby lobby)
- (3) ⅜” x 4 x 24” (Back)
- (1) ⅜” x 6” x 24” (Face)
- Can find other sizes at most craft stores
- Wood Craft Knife or Utility Knife
- You can also use a table saw or a hand saw if desired
- Paint
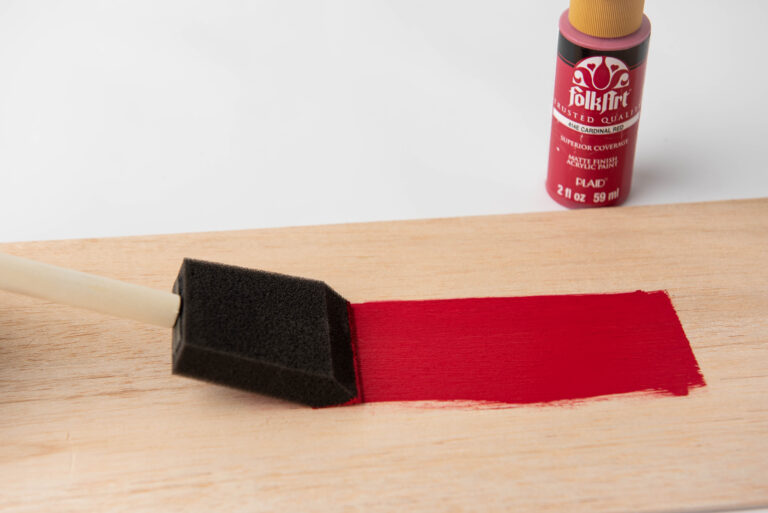
- I used 2oz FolkArt 414E Cardinal Red acrylic paint
- & 2oz craft smart white acrylic paint
- Can also use stain or any of color paint
- Paintbrush and sponge brush
- Hot Glue Gun
- Thick Jute String
- Used to hang the sign or just decorative
- Access to design program
- Used design space
- (2) Christmas Stems (Optional)
- Christmas Bells (Optional)

How to make farmhouse signs with Cricut
Ingredients
- 1 Wood ■ (3) ⅜” x 4 x 24” (Back)■ (1) ⅜” x 6” x 24” (Face)
- Wood Craft Knife or Utility Knife
- Paint
- Paint brush andsponge brush
- Hot Glue Gun
- Thick Jute String Used to hang sign orjust decorative
- Cricut or othercutting machine
- Oracle 651 Vinyl
- Transfer Tape
- Access to designprogram
- (2) Christmas Stems(Optional)
- Christmas Bells(Optional)
Instructions
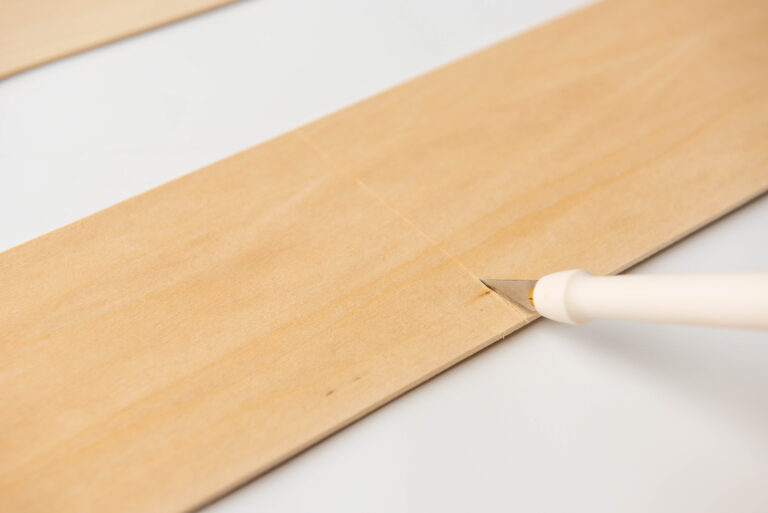
Paint the wood
- If the wood is not cut to size, please go ahead and cut it now. Craft wood can be cut with craft wood knife or utility knife. But you can also use a table saw or a hand saw. Here are the wood measurements (6) ⅜” x 4 x 10” (Back) (1) ⅜” x 6” x 24” (Front)
- Once wood is cut, paint the wood first with a sponge brush in a well ventilated area. You can also stain the wood if desired
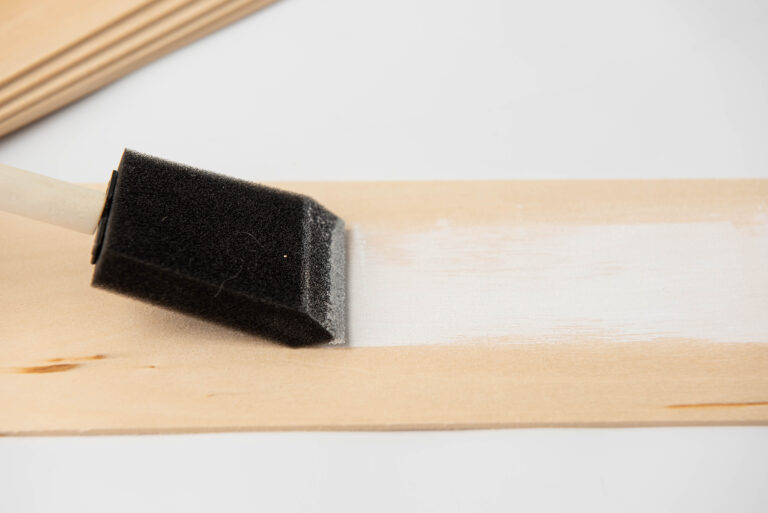
- If staining, stain along the grain of the wood. For lighter color, wipe off quickly. For darker color, wait before wiping off
Glue Wood Together
- With the wood cut and painted, it is time to assemble the sign
- First, place the front piece of the wood flat on a surface paint down.
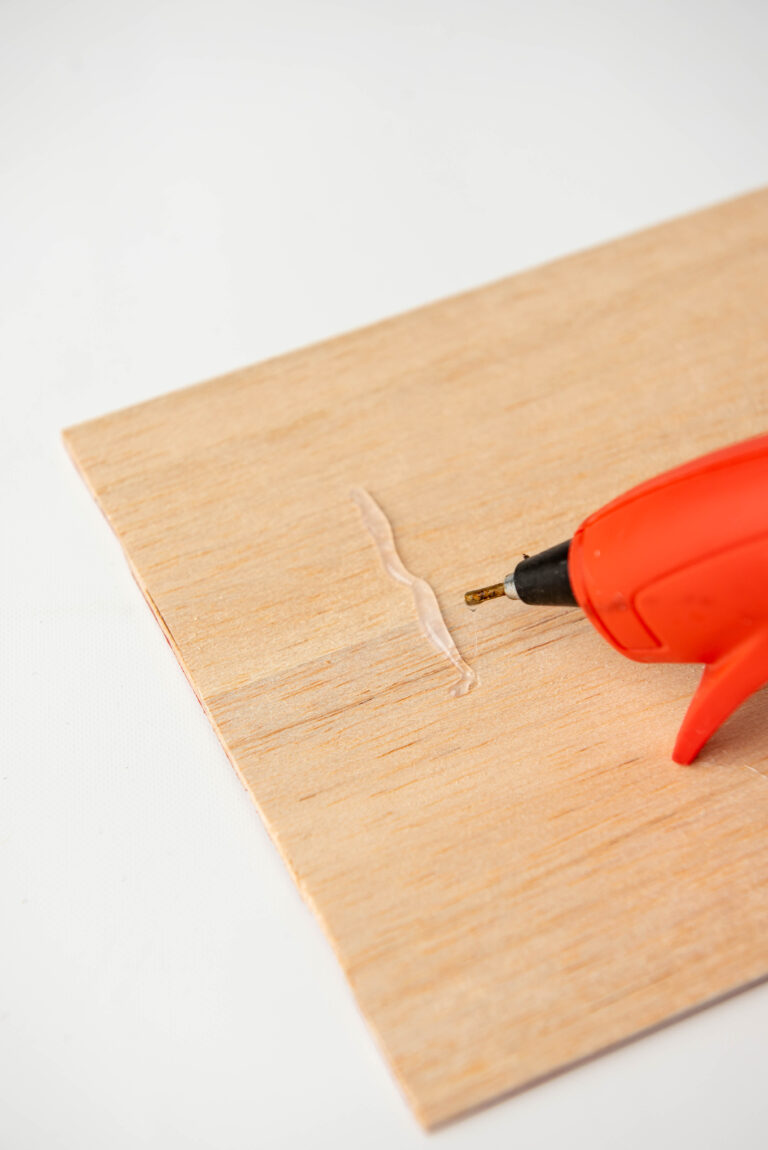
- Next, grab the back pieces and glue to the back of the face edge to edge. This is used to hold the wood sign face pieces together. .
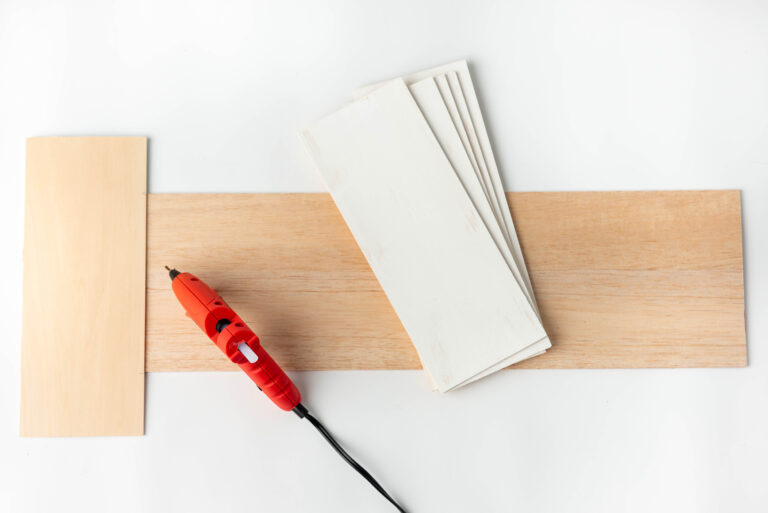
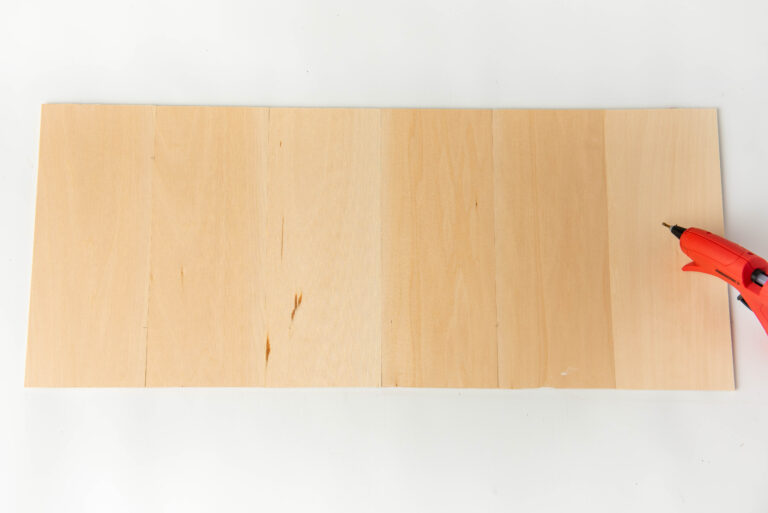
- Place the back piece on the back of the face wood while keeping the front piece centered on the back piece. The paint side will be glued face down.

- This is what you should have at the end.
Add the Vinyl
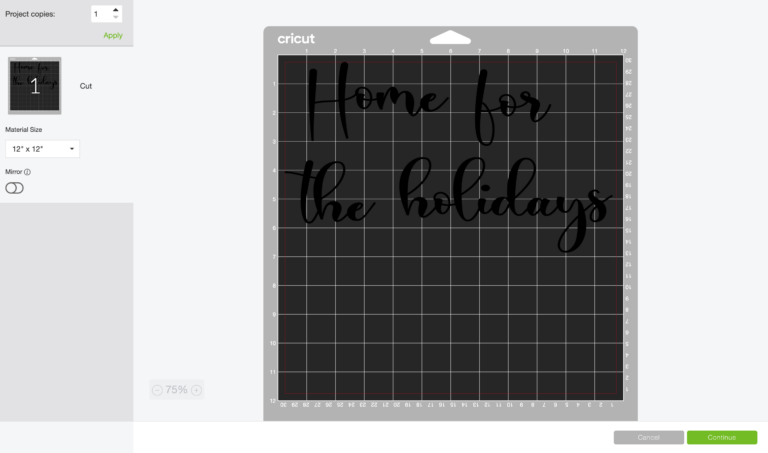
- Load the SVG file in design space
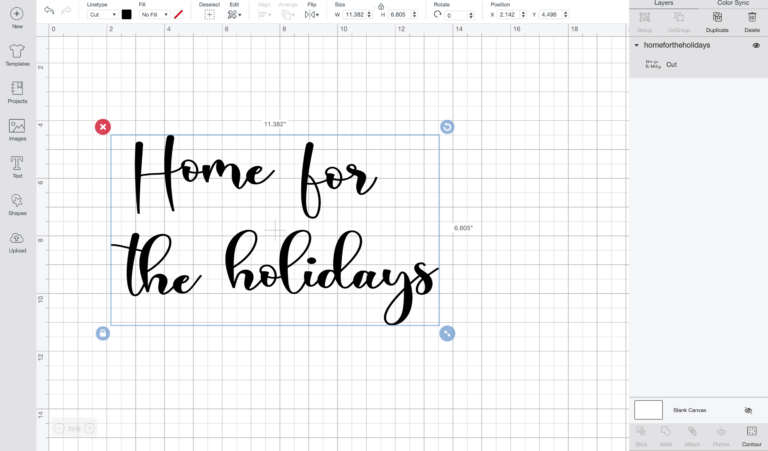
- Hit make it button to cut out the vinyl. Choose "vinyl" from the settings.
- Apply vinyl to cutting mat.
- Load mat into machine
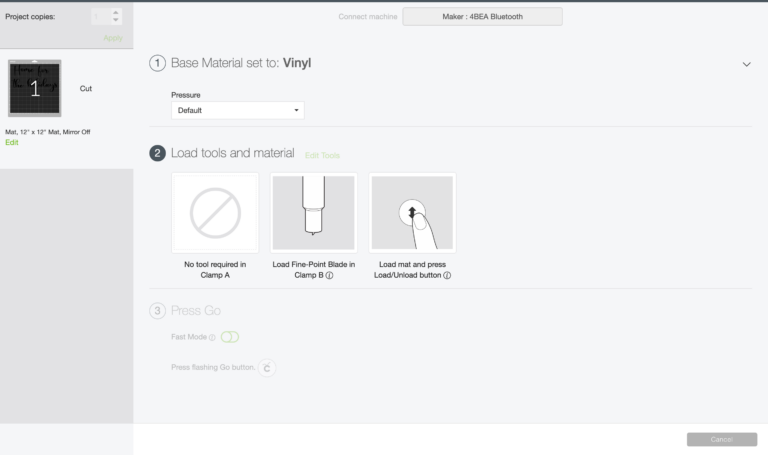
- Once sized accordingly, adjust your machine's setting or material dial to vinyl. Load the oracle 651 (this is permanent vinyl) to your machine on the cutting grip mat and hit “go”.

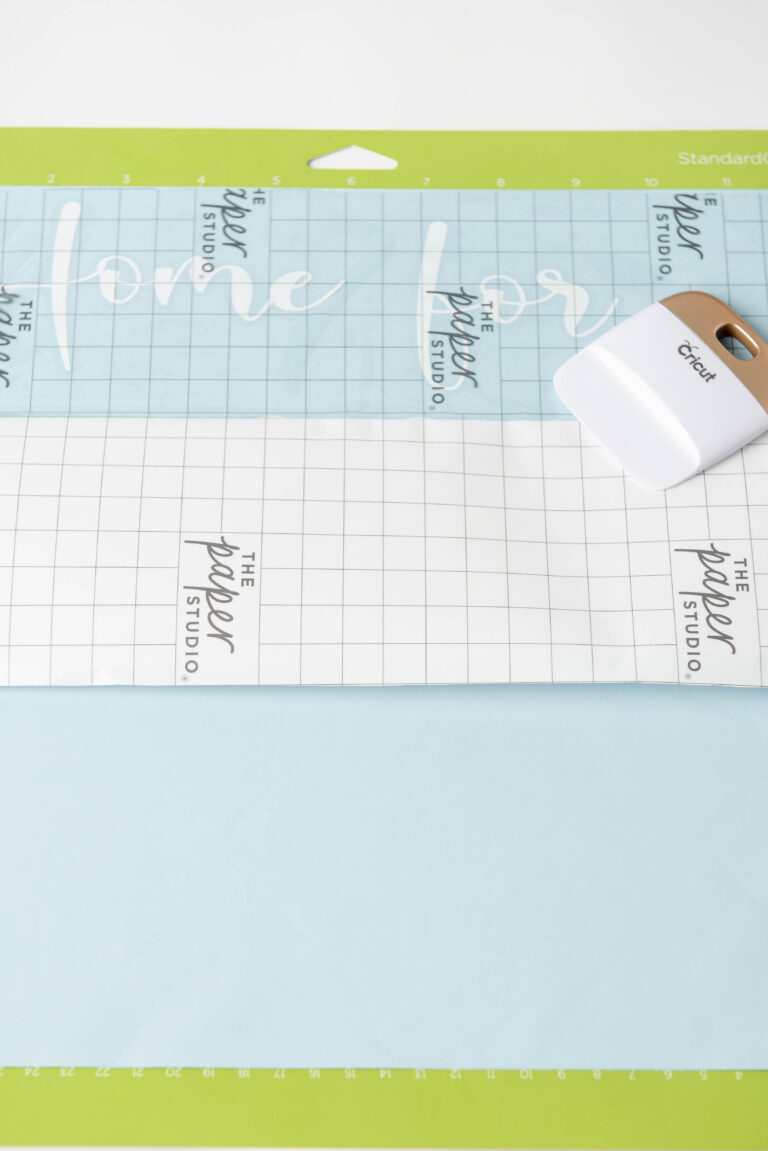
- After the cut is complete, begin to pull the negative vinyl off and away from the letters using your weeding tool (looks like a dentist's pick). This process is called weeding and you will weed around the outside of the letters and small parts inside any letter that is enclosed (ex. a,e,o ).
- Now that the weeding is complete, cut off a piece of transfer paper the size of your cut vinyl and apply it to the vinyl. This will be done to help get your vinyl off the vinyl's plastic backing and onto your project's surface.
- Since working with a big design, to get transfer paper to lay smooth on design, start off by pulling the plastic backing off a little at a time and using my scraper tool (or old gift card) down the vinyl.
- Next, turn the entire design facing downwards and begin gently pulling the vinyl's plastic backing off and away from the transfer paper. Starting at a corner and rolling it away slowly while applying pressure is best.
- When the vinyl has been successfully transferred you will be able to see them through the transfer paper with vinyl attached.
Apply Vinyl to the Wooden Sign
- Next, find the middle of your wood sign. Be sure to leave an equal amount of space on each side and enough room at the bottom of the wood sign to fit your second part of the SVG. "Home" should begin roughly 1 ¾ inch from the left edge. "Holidays" should end roughly 1 ¾ inch from the right edge
- Lay the transfer with vinyl lightly on top of the wood sign. Do not pull too tight when laying it down. This can distort the vinyl and leave you with air bubbles later on.
- Do not apply pressure or smooth down design until you are 100% happy with the location. If you're happy with the location begin to apply pressure and smoothen the design using again a scraper tool or an old gift card.
- Once enough pressure had been applied slowly remove the transfer paper by starting at a corner and very carefully and slowly rolling it away and off the wood. The vinyl will remain on your project.
- Some letters on this design are small. Be careful when removing and apply and use your scraper tool to help it along at times by wedging it under the transfer paper while holding down the letter and using your other hand to roll the transfer paper away.
- If you're still having trouble try applying heat like a blow dryer while removing
String Jute Cord to the Wooden Sign
- Now that the vinyl is down, string the jute rope
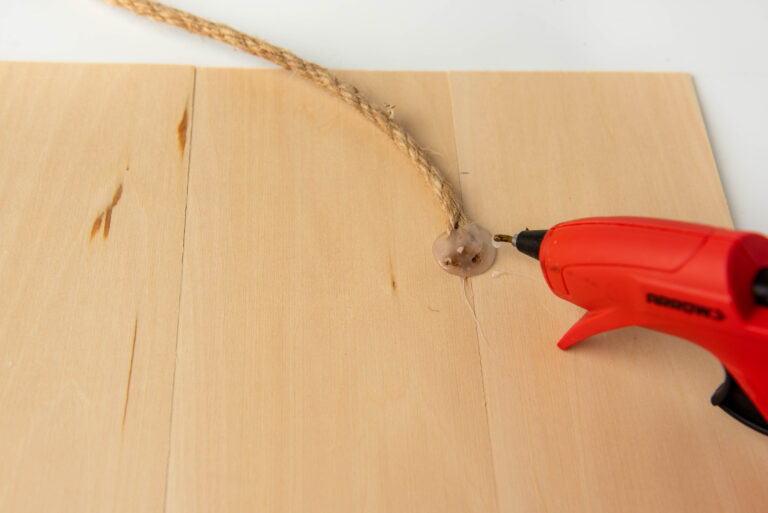
- To do so, measure out the length desired and cut
- Glue each end of the rope to the back side of the completed sign. I glued each end about 6 inch in from each edge
- Glue Christmas Floral to center of top of the sign (Optional)
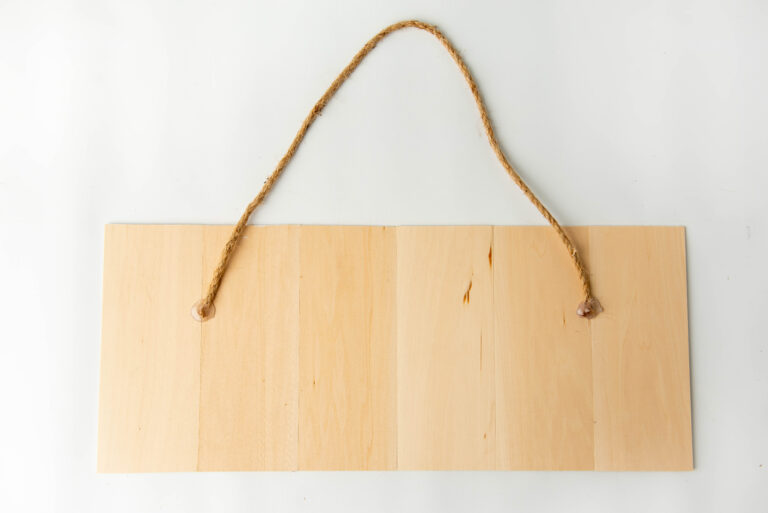
- All done! Your farmhouse sign is ready for display!


Be sure to save this post for later by clicking the save button.

More Cricut Decor Project Ideas
With that, we have reached the end of this post. Please share this tutorial on how to apply layered vinyl with your Cricut buddies. Also, check out these helpful Cricut posts.