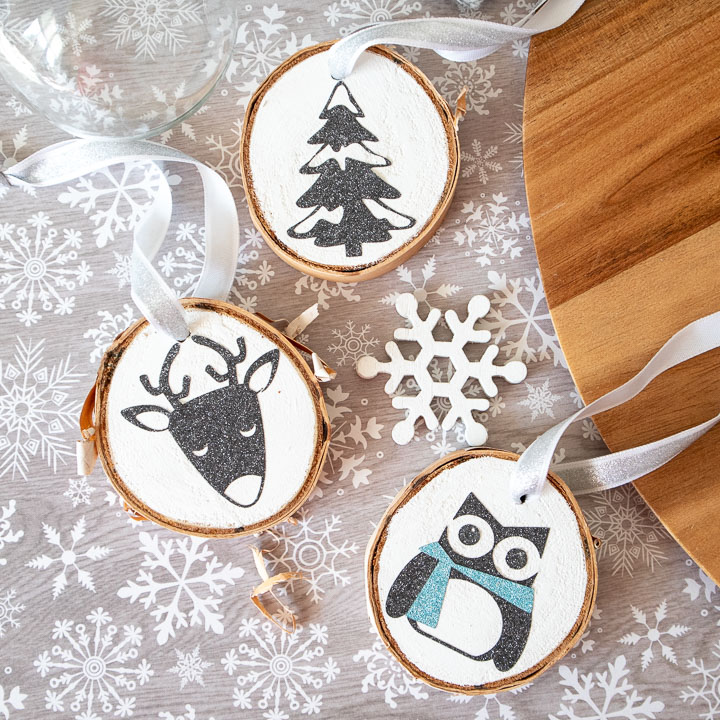
In this post, I’m sharing how to make some wood slice Cricut ornaments with vinyl and wood slices. This is a super easy eco-friendly ornament project for beginner Cricut crafters. You can make these ornaments for holiday decor.
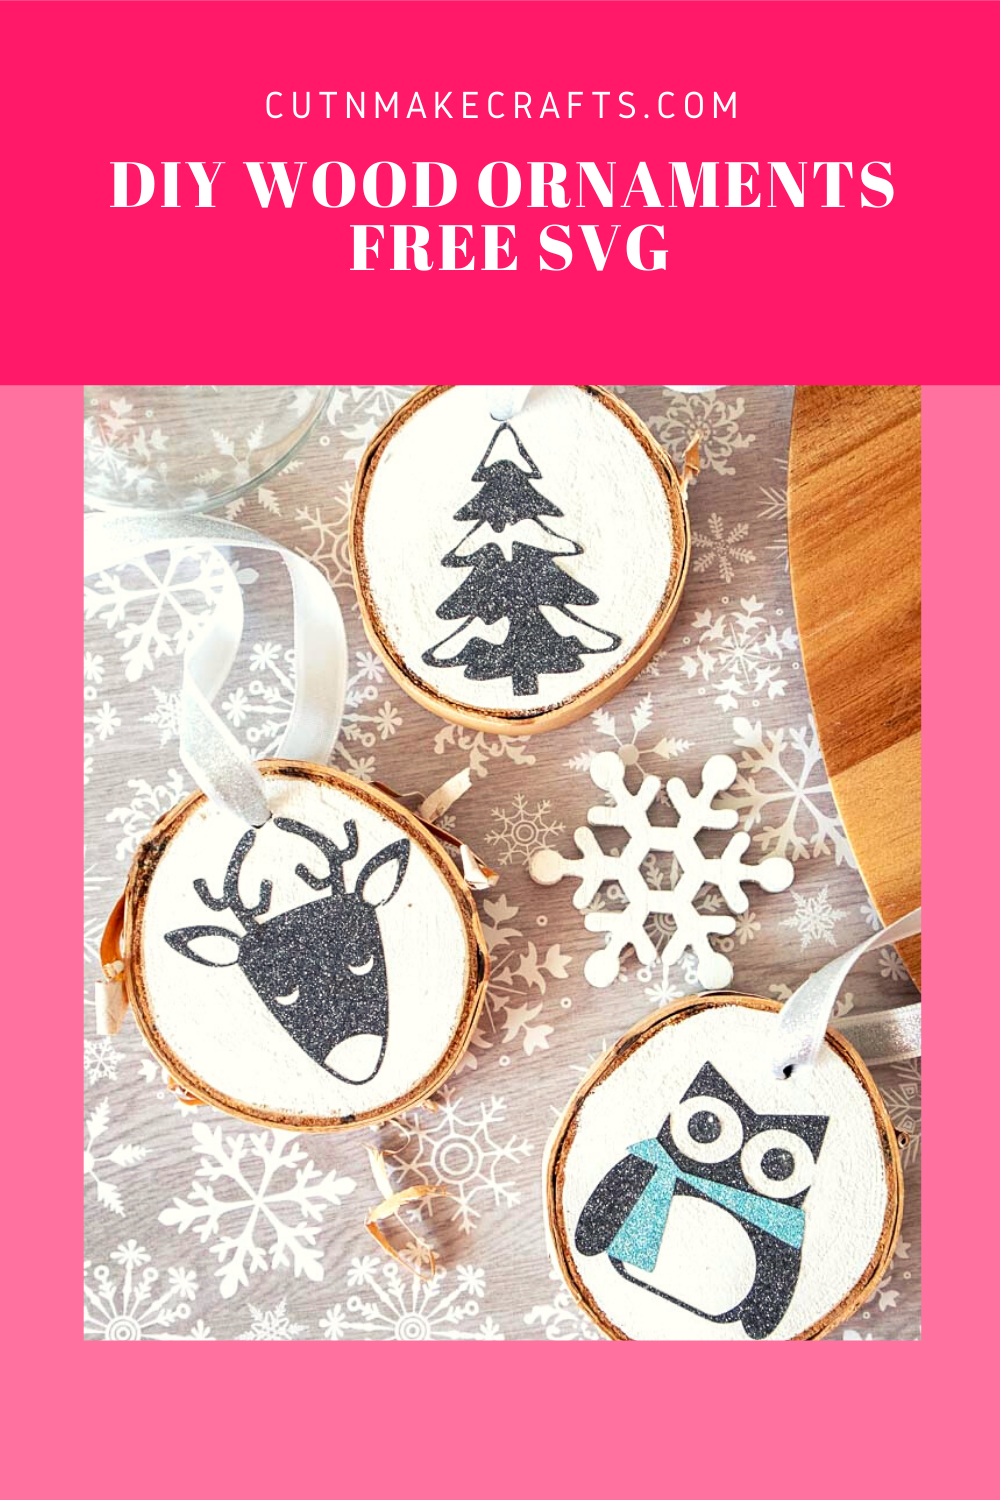
Wood slice ornaments are crazy popular this year and I’m so happy about this because wood slices are eco-friendly. Using wood slices to make ornaments is much better than using plastic ornaments as they can decompose when discarded, unlike plastic. So, this is a huge win for our planet and it makes me so happy because I’m always looking for eco-friendly crafts that minimize waste, and this wood slice Cricut ornament project is the perfect example for this.
In this tutorial, I’ll show you how to make the wood slice ornaments using the Cricut Joy and some vinyl, however, if you don’t have a Cricut, you can still make the ornament by hand. Check out these 40 wood slice ornament ideas for some inspiration to help you out.
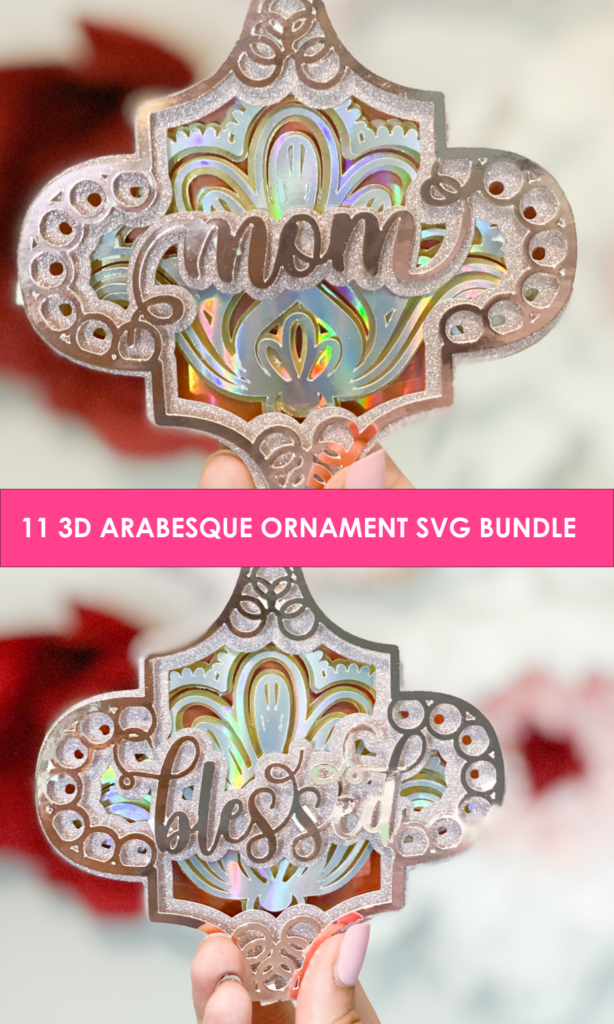
You can get these wood slices from your local stores or you can order them from Amazon. However, if it’s too late to order the ornaments, you can make the 3D paper ornaments shown below.
Want to make paper ornaments instead? Get this 3D Arabesque paper ornament SVG bundle here.
DISCLAIMER: Cut N Make Crafts is a participant in the Amazon Services LLC Associates Program, an affiliate advertising program designed to provide a means for sites to earn advertising fees by advertising and linking to Amazon.com.
How to Make Wood Slice Cricut Ornaments
Supplies Needed to Make Wood Slice Cricut Ornaments
To make these wood slice ornaments with Cricut, you would need the following list of supplies.
-
- Cricut Joy and mat (due to the small nature of this project, you can easily make this on any of the Cricut machines which includes Cricut Joy, if you don’t have a Cricut Joy, don’t worry, you can just cut the SVG on Cricut Explore or Cricut Maker)
- Set of 3 birch wood slices, 2.25” diameter x ⅜” thick
- Crafter’s Acrylic paint in white
- Paintbrush
- Glitter Vinyl in black and blue
- Weeder
- Scissors
- Cricut transfer tape
- Decorative glitter ribbon, 1/4” wide
- FREE SVG for owl, deer, and tree (available for the VIPs, become a VIP by signing up for the email list below).
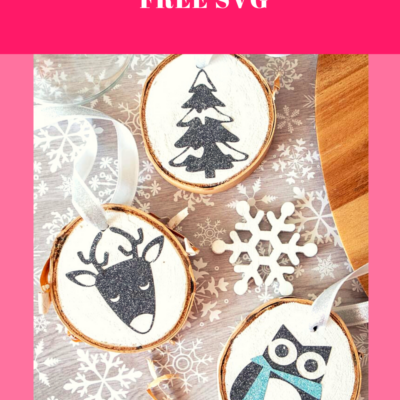
DIY Wood Slice Cricut Ornaments
Instructions
Painting the Wood Slices
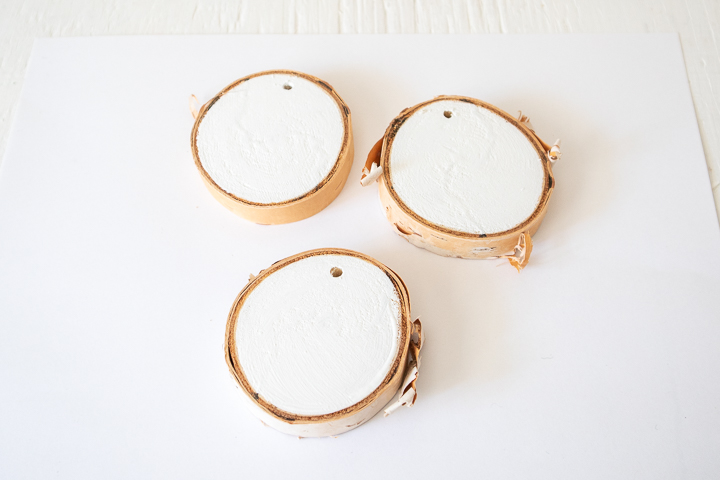
- Paint both sides of the wood slices in white.
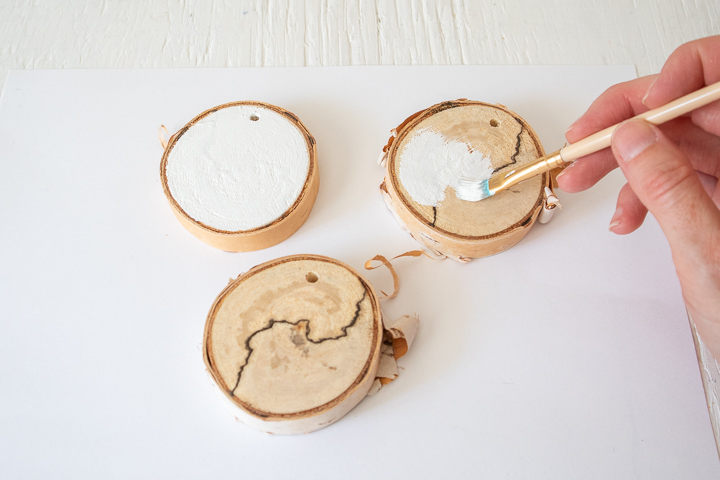
- Ensure paint dries fully before proceeding.
Uploading the SVG Pattern
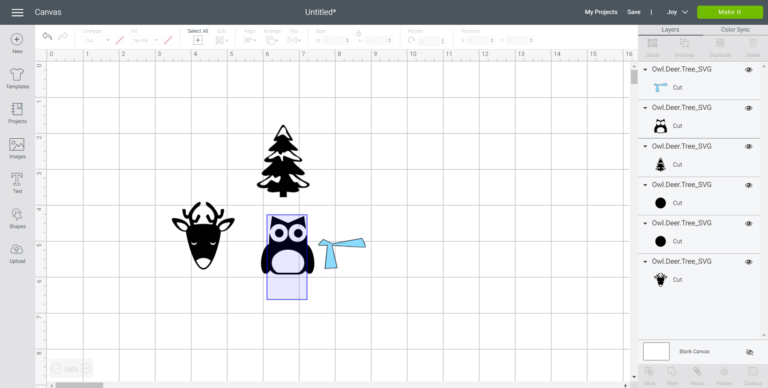
- Upload the Owl.Deer.Tree SVG File into Design Space.
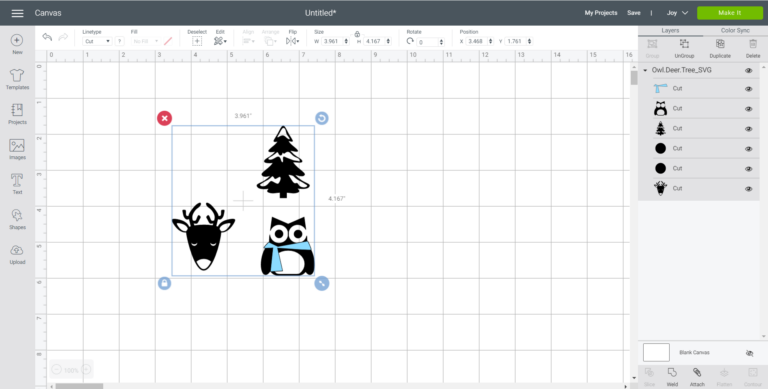
- With the image highlighted, click on “Ungroup” to separate the images.
- Adjust image sizes to fit your wood slices accordingly or maintain size as provided.
- Highlight the owl and click on “Attach”.
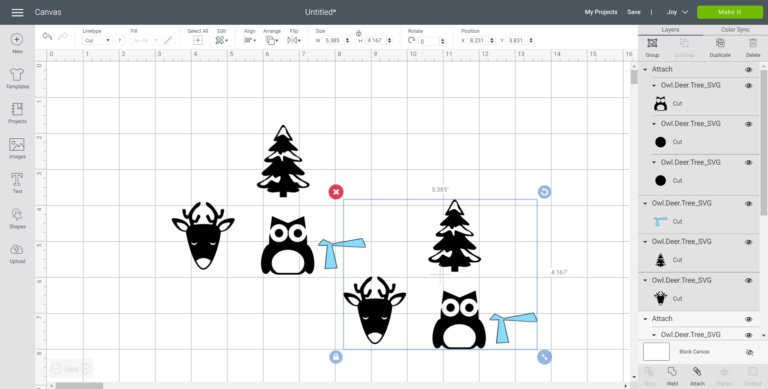
- Duplicate the images to have for both sides of the wood slice.
Cutting the Vinyl for Wood Slices
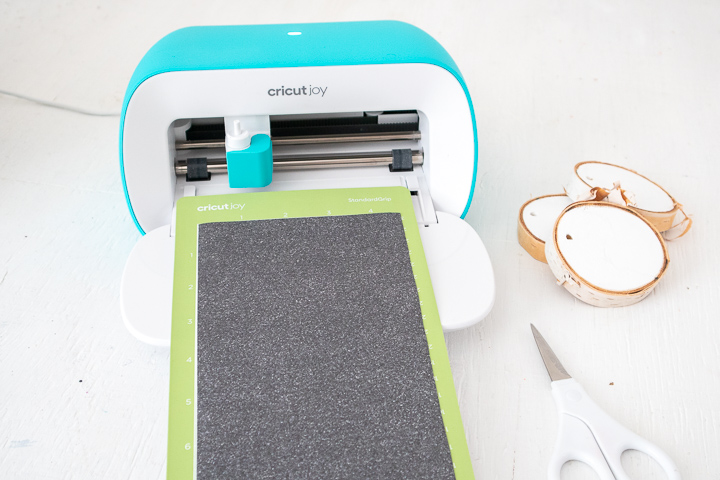
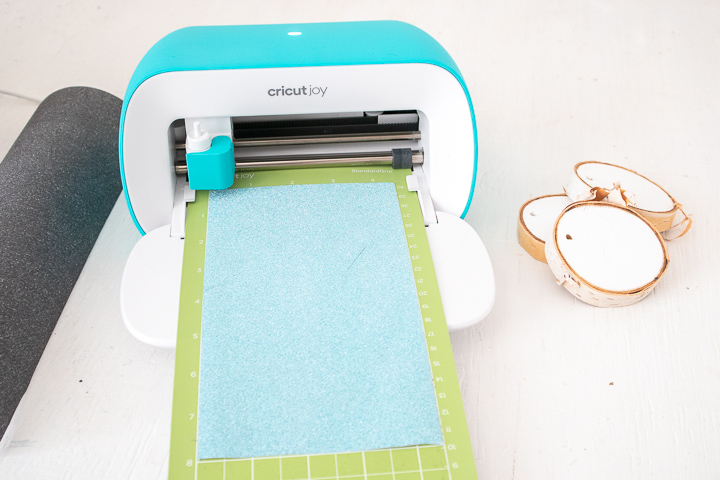
- Ensure the machine is set to Cricut Joy and select “Make It” in Design Space.
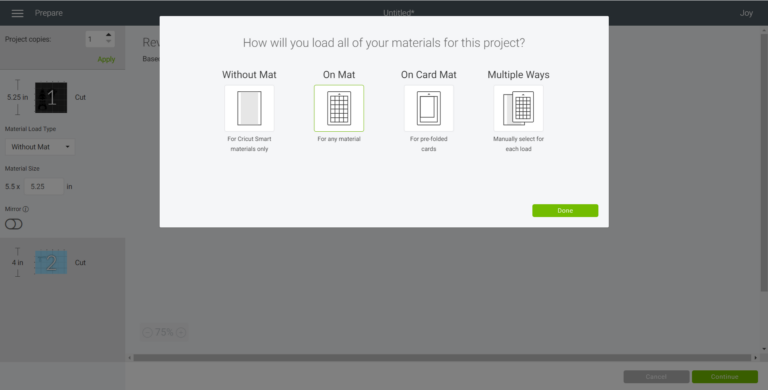
- Choose “With Mat” as the option for cutting when using regular Cricut Vinyl.
- Set material type to Glitter Vinyl.
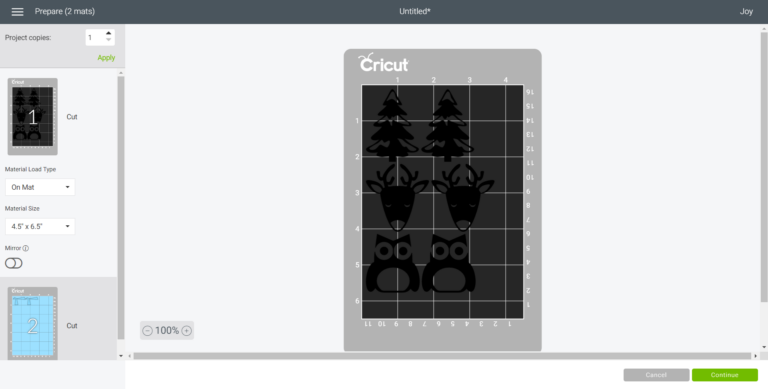
- Follow prompts for loading the mat into the Cricut Joy and cutting the Glitter Vinyl. When prompted, unload the vinyl from the cutting machine.
Applying the Vinyl to the Wood Slices
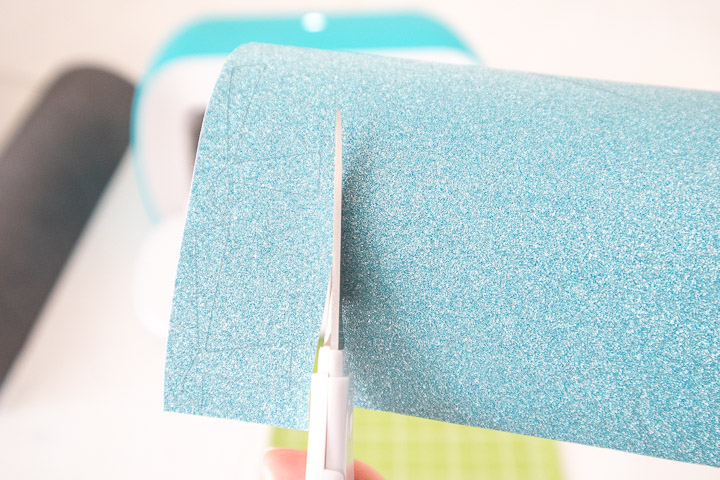
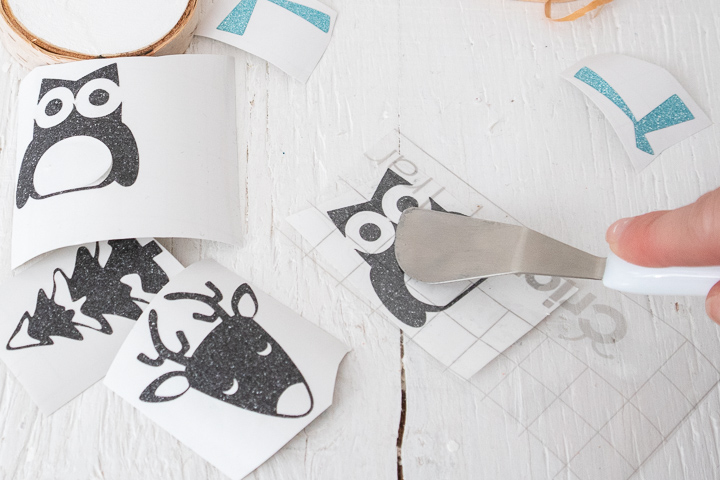
- Cut around each word and image with a pair of scissors.
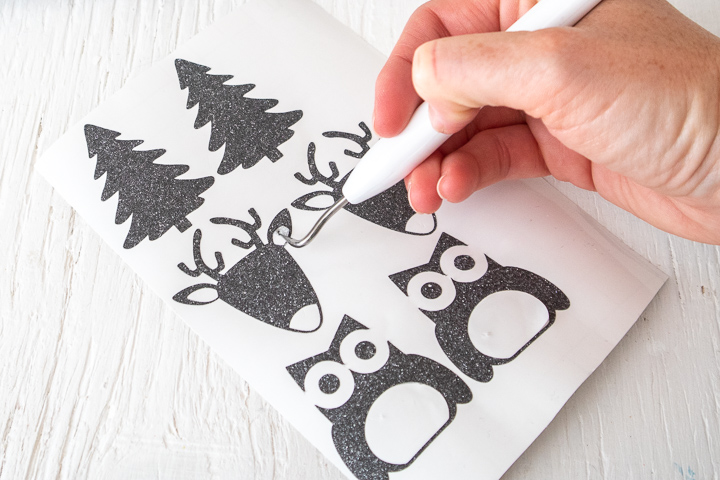
- Using the weeding tool, peel away the excess vinyl and discard.
- Cut a piece of transfer tape a bit larger than the size of the phrase or image.

- Peel away the transfer tape backing and place the transfer tape over the top of the cut image. Gently rub the vinyl to help it stick to the transfer tape.
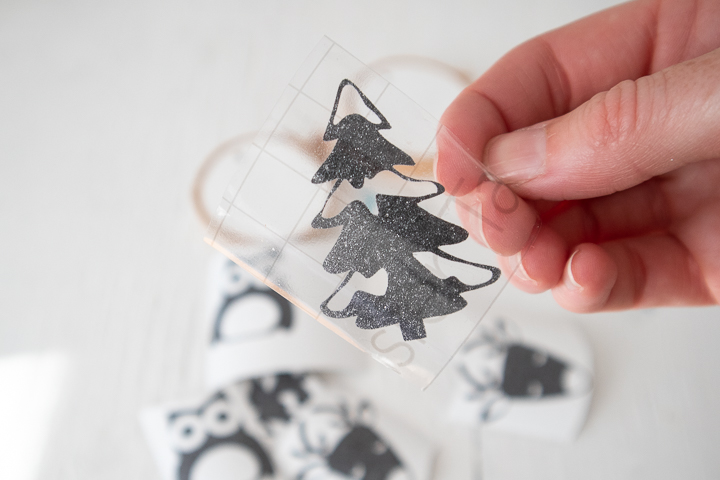
- Peel away the vinyl backing and place the image on to one side of the wood slice. Gently rub the vinyl to help it stick to the wood slice. You can use a Cricut scraper tool for this.
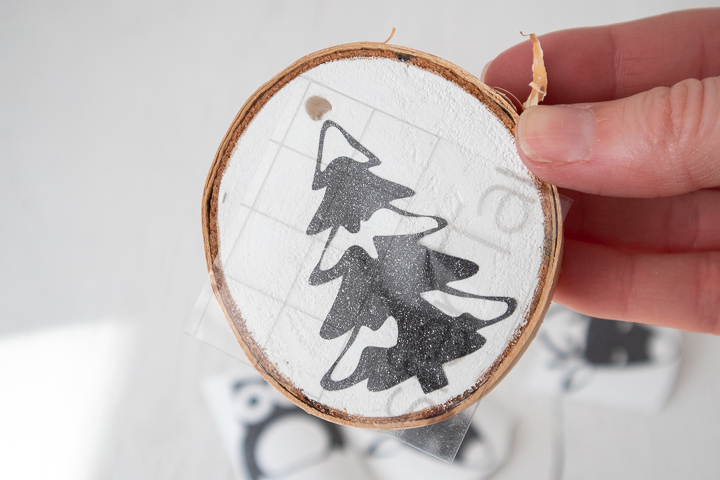
- Carefully and slowly peel away the transfer tape.
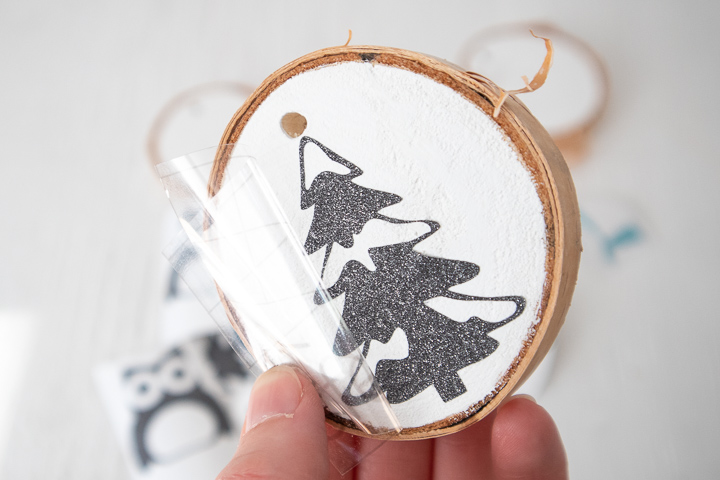
- Alternatively, peel the glitter vinyl image off the backing and place it directly on to the wood slice without using the transfer tape.
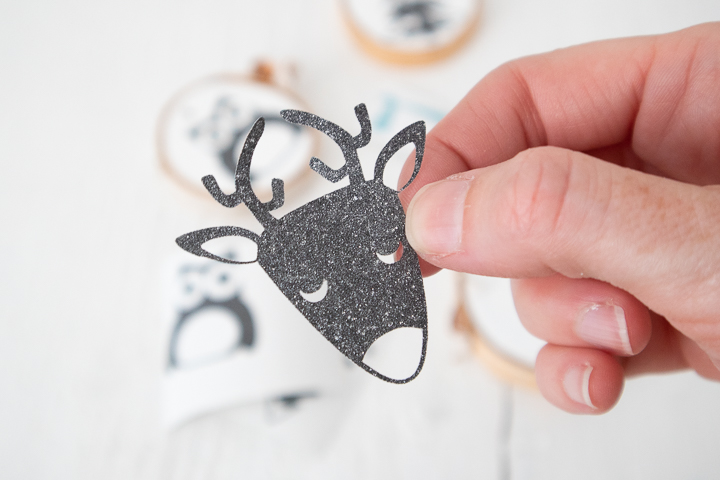
- Repeat for the other wood slices. For the owl ornament, place the body of the owl on to the wood slice first, then stick the scarf piece over top.
Assembling the Ornaments
- Cut three pieces of ribbon 9” long. Insert the end of the ribbon through the hole at the top of the wood slice and tie ends together.
Be sure to save this post for later by clicking the save button.
More Cricut Vinyl Project Ideas
With that, we have reached the end of this post. Please share this tutorial on how to apply layered vinyl with your Cricut buddies. Also, check out these helpful Cricut posts.
- 11+ UNIQUE Craft Vinyl Storage Ideas
- 9 UNIQUE Heat Transfer Vinyl Projects to Try
- Different Types of Vinyl and How to Use Them


