
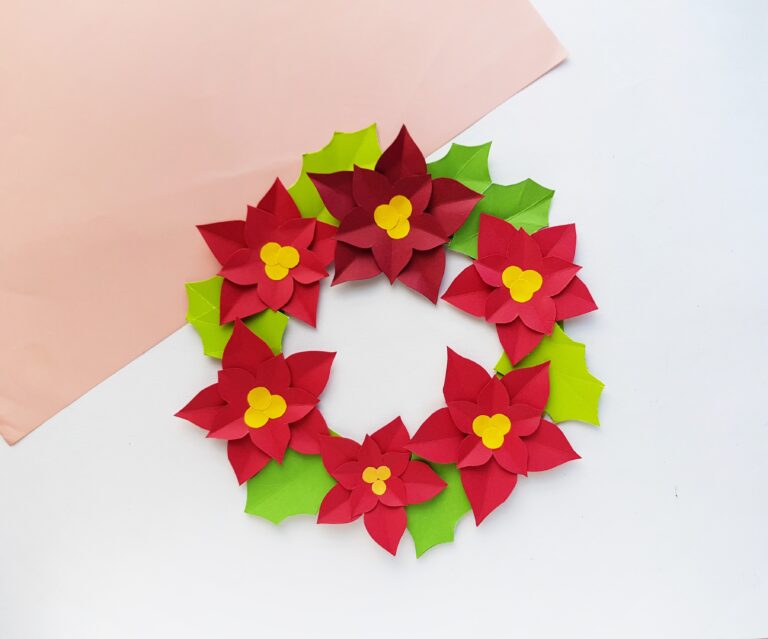
In this post, I’m sharing how to make a poinsettia flower wreath with the FREE poinsettia flower template SVG cut file. This is a super easy tutorial for Cricut beginners and is also extremely affordable to make because you just need some cardstock and glue.
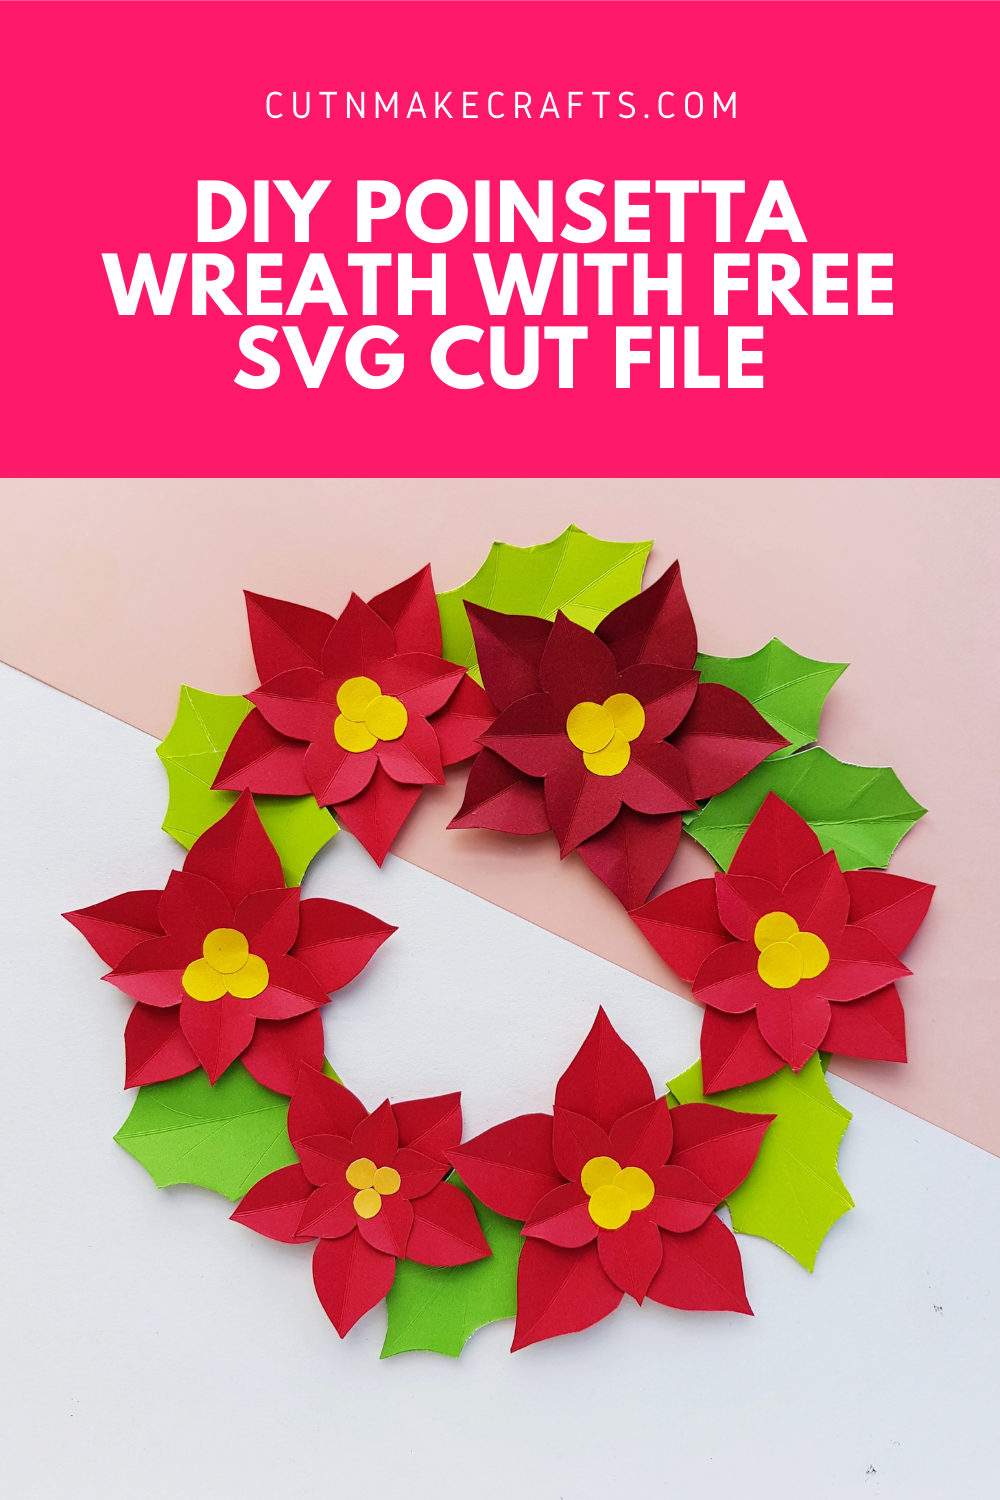
Hello, Cricut buddies! Jav here from Cut N Make Crafts and today I’ll be showing you how to make a paper poinsettia wreath with the free paper poinsettia flower template/SVG cut file. This is a very affordable holiday tutorial that uses cardstock, and your cutting machine such as a Cricut.
If you don’t have a cutting machine, you can make this paper flower wreath by cutting out everything by hand using the free paper flower wreath template.
I have a ton of paper flower tutorials on my blog that you can check out under Cricut Paper Flowers.
I’ve also listed some of the very popular paper flower SVG cut files in the post-Cricut Flower Tutorials SO EASY!
Supplies Needed for Paper Poinsettia Wreath
- Cricut Maker/Cricut Explore/Cricut Joy(if you’re using Cricut Joy, you can reduce the size of the flowers to fit on the Cricut Joy mats)
- Light Grip Cutting Mat
- Essential Tools Set
- Scotch Tacky Glue
- Lightweight cardstock (in any color you like. I love this cardstock and highly recommend them for all sort of flower making)
- FREE Paper Poinsettia Flower Template/SVG [available for the VIPs. Become a VIP member of Cut N Make Crafts by entering your name and address below]
DIY Paper Poinsettia Wreath Tutorial + Template
Instructions
Get the FREE Paper Poinsettia Flower Template/SVG from the VIP library
- Sign up for the VIP list by entering your name and email in the box given above.
- Once you’ve entered your name and email address, you will receive a welcome email from me – Jav at Cut N Make Crafts.
- Inside the email, you’ll find the link to go to the FREE VIP library.
- Download the FREE poinsettia flower template/SVG from the VIP library. The link for the VIP library is included in the thank you email that you should receive after signing up for the VIP list.
Cut out the Paper Pansy using the FREE SVG and Cricut
- Open Cricut Design Space.
- Click on the “+” sign to start a new project, opening up a blank canvas.
- Click on upload.
- Locate the file on your computer and upload it to Cricut Design Space.
- Insert the file on the canvas and click on “Make it”.
- Place the cardstock on the mat and cut everything out.
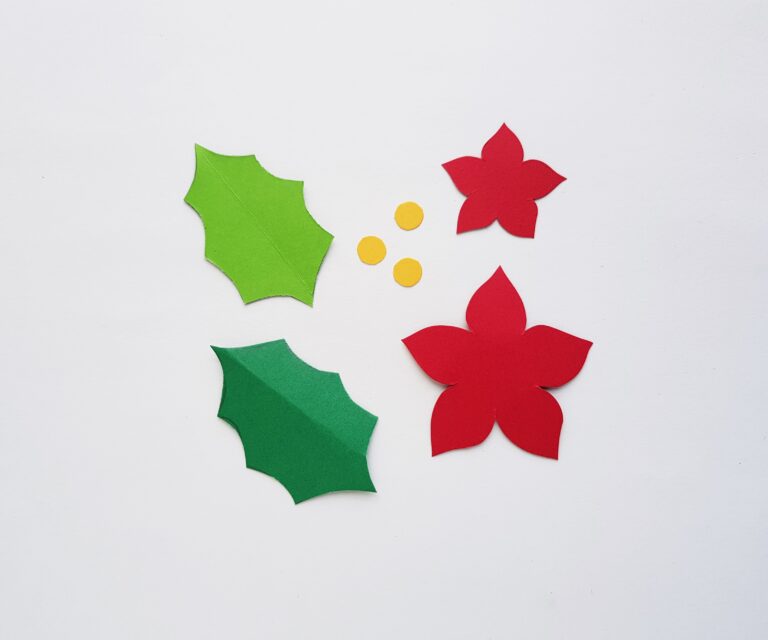
Asemble paper poinsettia
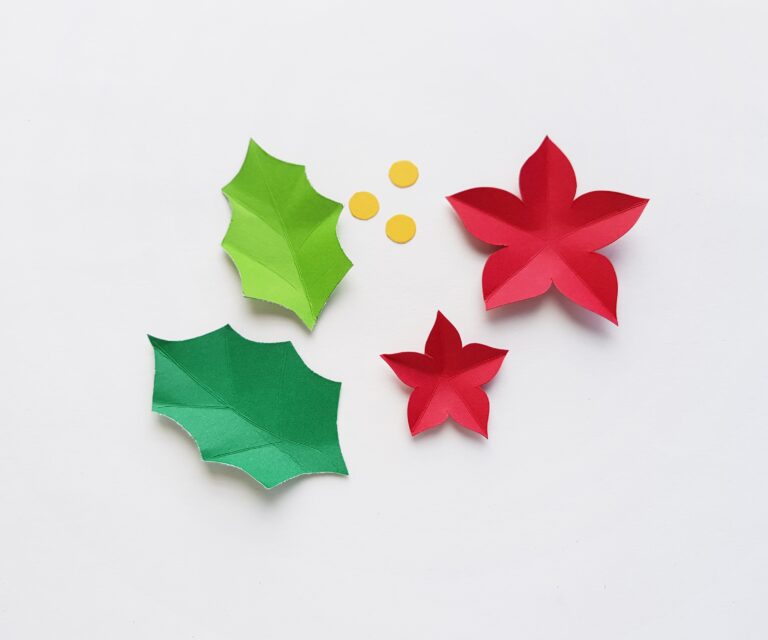
- Use a blunt x-acto knife or any sharp object to trace half-cut lines from the tip of the petals towards the center of the flower pattern. Trace lines on the leaf patterns as well.
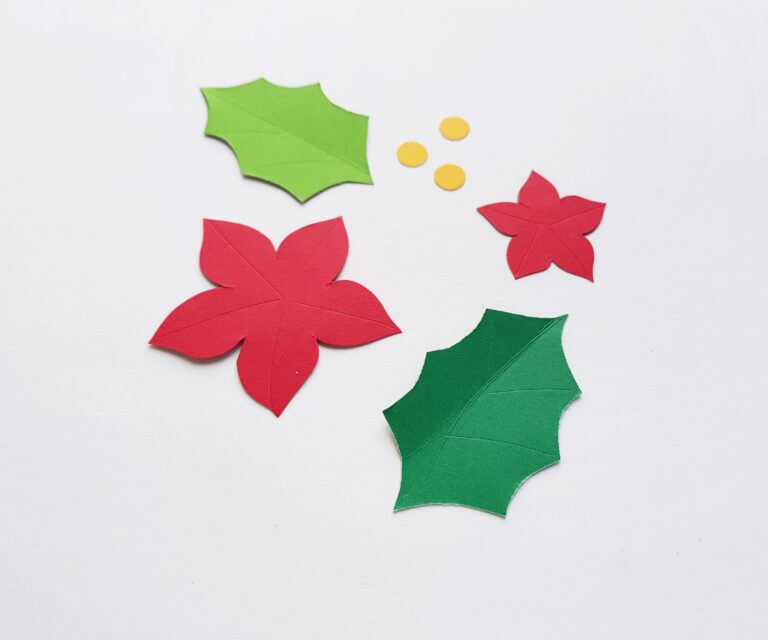
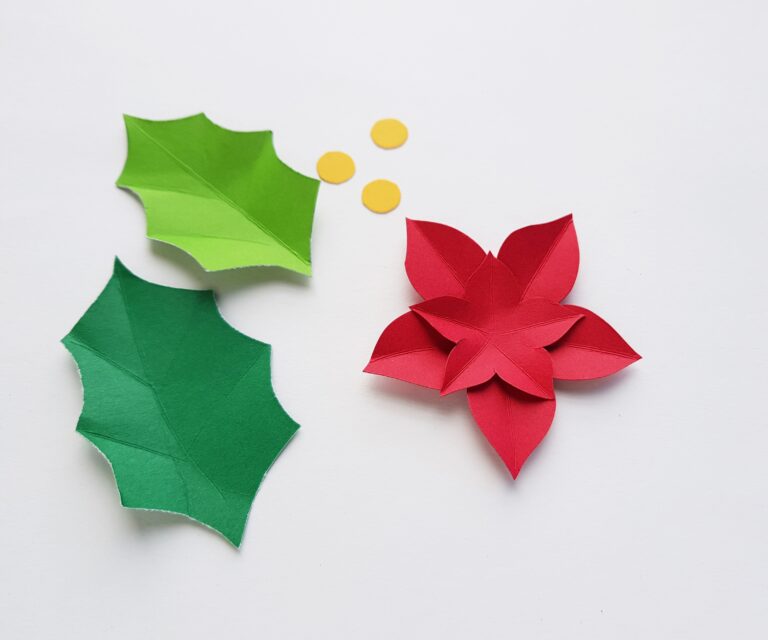
- Create creases along the half-cut lines of the flower and the leaf patterns.
- Stick the small flower pattern in the center of the big flower pattern.
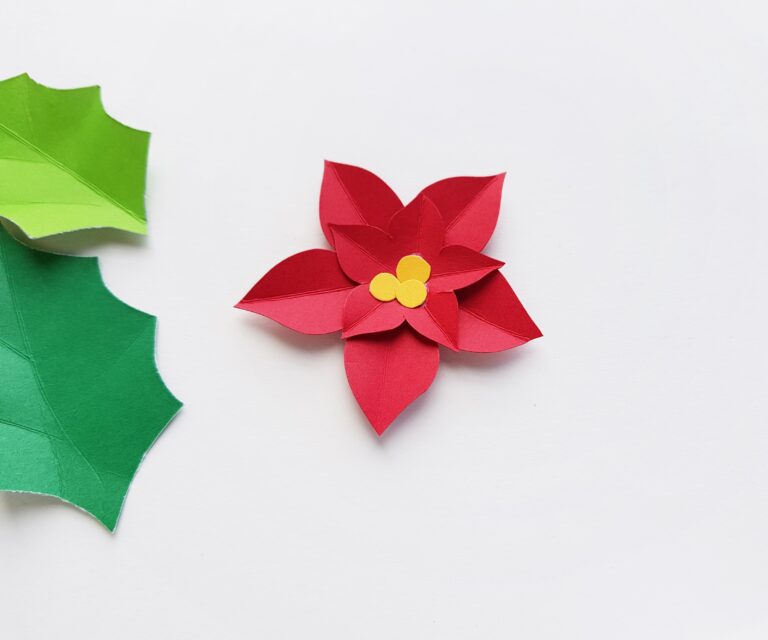
- Stick the yellow round cutouts in the center of the small flower pattern by forming a triangular shape using the round pieces.
- Stick the poinsettia paper flowers on the wreath base one by one. Keep small gaps between the flowers for the leaves.
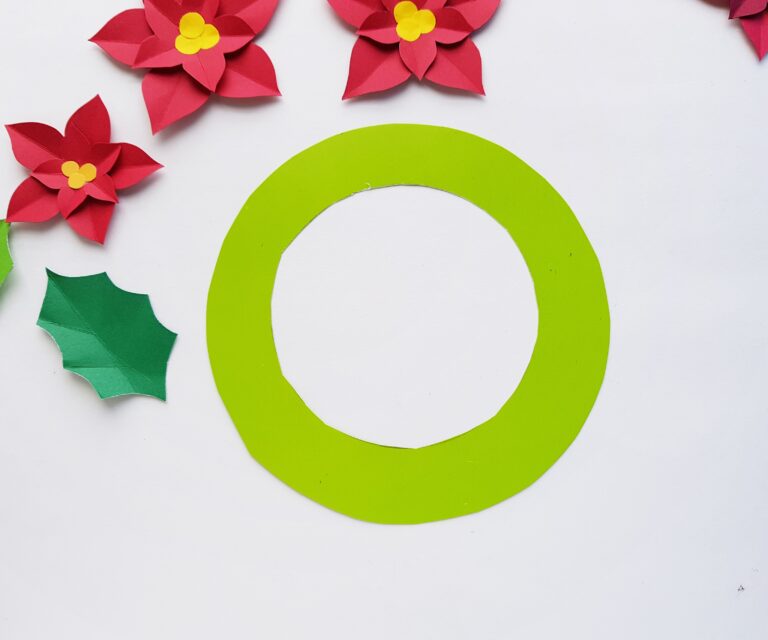
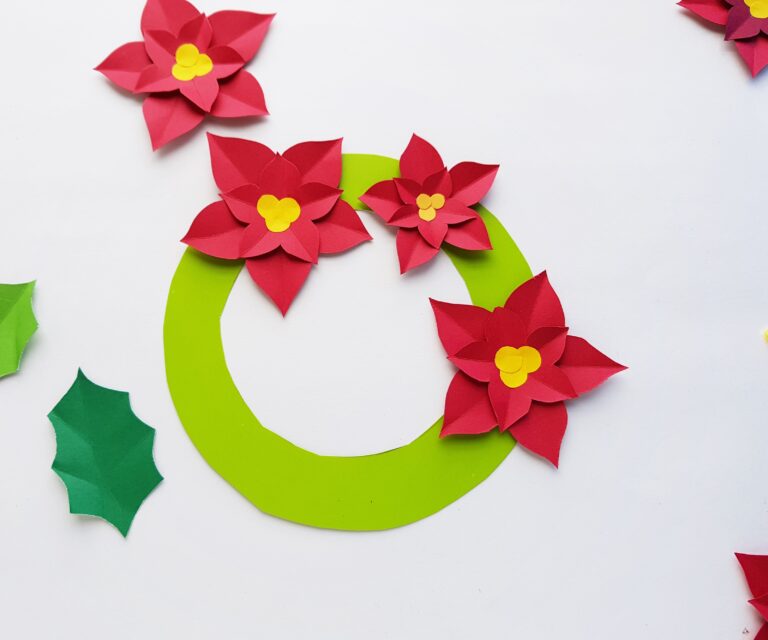
- Once the base is filled with flowers, stick the leaf patterns between the flowers to fill the spaces. Attach a hanging mechanism on the backside of the wreath to complete the craft.
The End of Paper Poinsettia Tutorial
With that, we have reached the end of the tutorial where I showed you how to make a paper poinsettia wreath with a free paper poinsettia template, cardstock, and Cricut. Hope you had fun making this super easy paper poinsettia wreath. If you make this paper poinsettia wreath, feel free to share it on Instagram and tag me in your post!
Also, check out these free Cricut paper crafts.
- 9+ AMAZING Craft Paper Storage Ideas
- EASY Giant Paper Gerbera Daisy Template FREE SVG
- DIY Rose Paper Flower Bouquet with FREE SVG for Cricut
- How to Make a Unicorn Crown (FREE SVG)
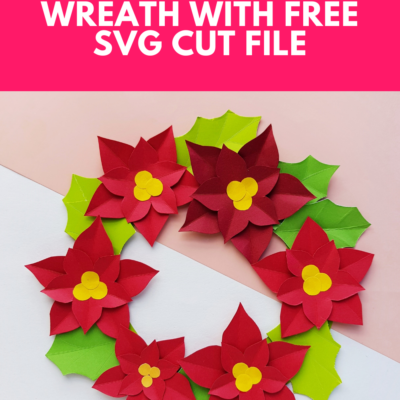
Save this paper poinsettia wreath tutorial for later!