In this post, I’m sharing how to make rainbow glass ornaments with your Cricut and some vinyl. These DIY Christmas ornaments are a perfect way to practice crafting with vinyl.
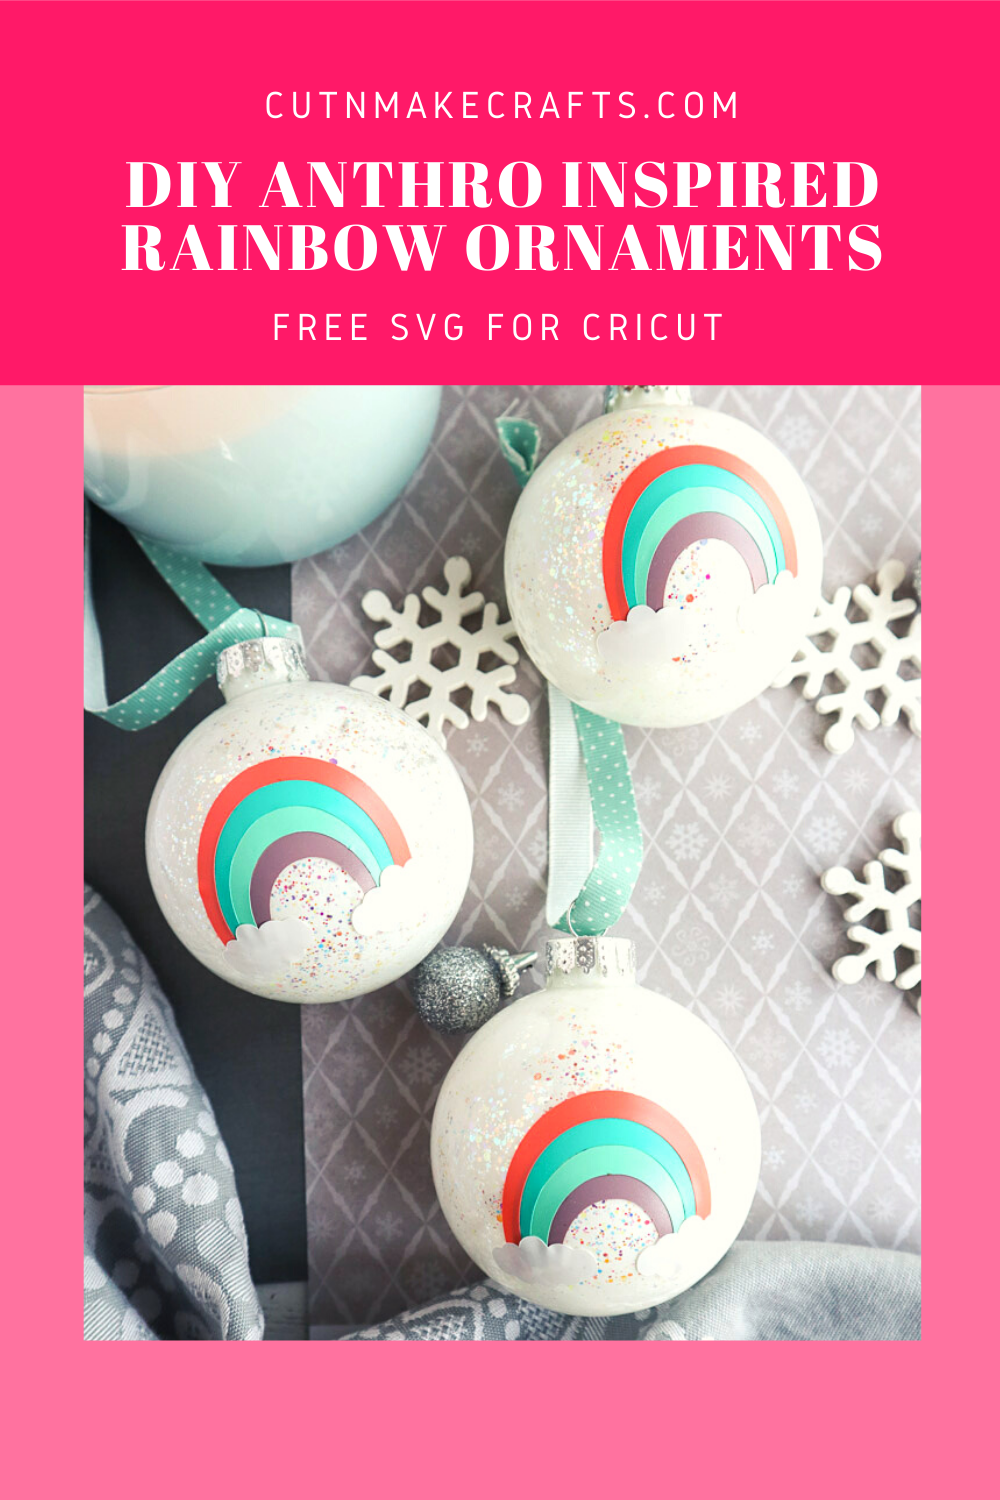
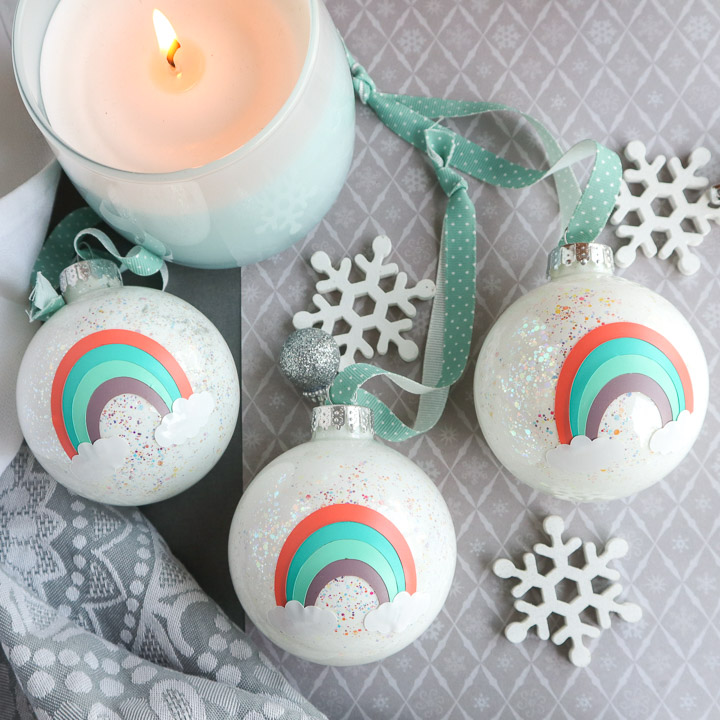
If you’re looking for a cute rainbow ornament, I have a tutorial for you for creating these adorable Anthro-inspired ornaments perfect to add a magical touch to your holiday decor. These ornaments can be easily made with your Cricut Joy and some vinyl scrap. This is a great vinyl scrap-buster project.
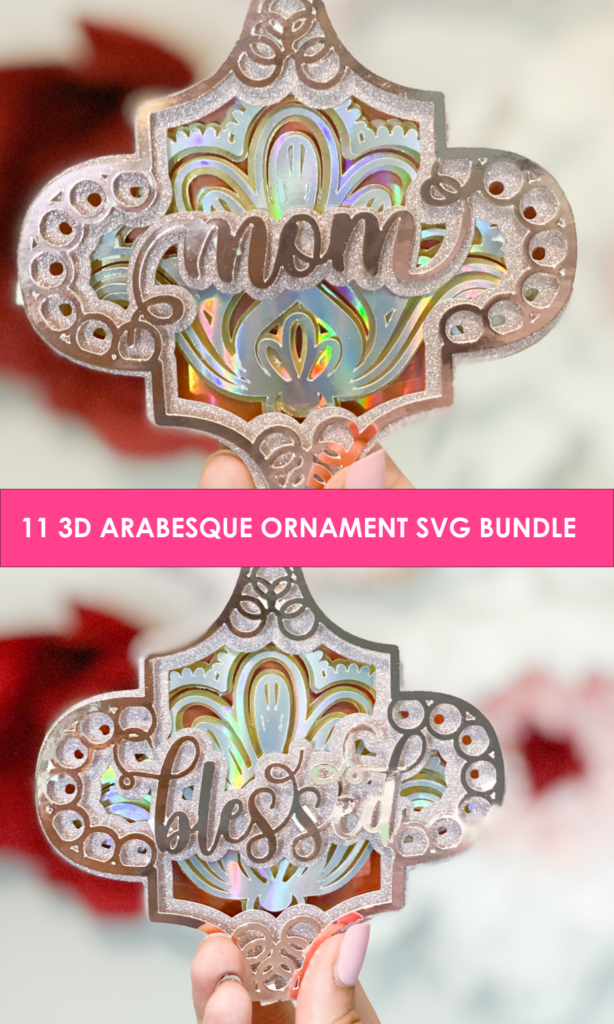
However, if it’s too late to order the ornaments, you can make the 3D paper ornaments shown below.
Want to make paper ornaments instead? Get this 3D Arabesque paper ornament SVG bundle here.
DISCLAIMER: Cut N Make Crafts is a participant in the Amazon Services LLC Associates Program, an affiliate advertising program designed to provide a means for sites to earn advertising fees by advertising and linking to Amazon.com.
How to Make Anthro-Inspired Rainbow Ornaments
Supplies Needed to Make Anthro-Inspired Rainbow Ornaments
To make these Anthro-inspired ornaments with Cricut Joy, you would need the following list of supplies.
-
- Cricut Joy and mat (due to the small nature of this project, you can easily make this on any of the Cricut machines which includes Cricut Joy, if you don’t have a Cricut Joy, don’t worry, you can just cut the SVG on Cricut Explore or Cricut Maker)
- Set of 3 birch wood slices, 2.25” diameter x ⅜” thick
-
Clear Glass Ornaments
-
Cricut Transfer Tape
-
DecoArt Crafter’s Acrylic in White
-
DecoArt Galaxy Glitter in Clear Ice Comet
-
Weeder - Scissors
- Cricut transfer tape
- FREE SVG for rainbow ornaments (available for the VIPs, become a VIP by signing up for the email list below).
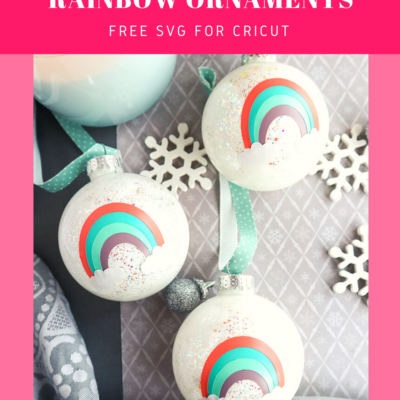
DIY Anthro-inspired Rainbow Ornaments
Instructions
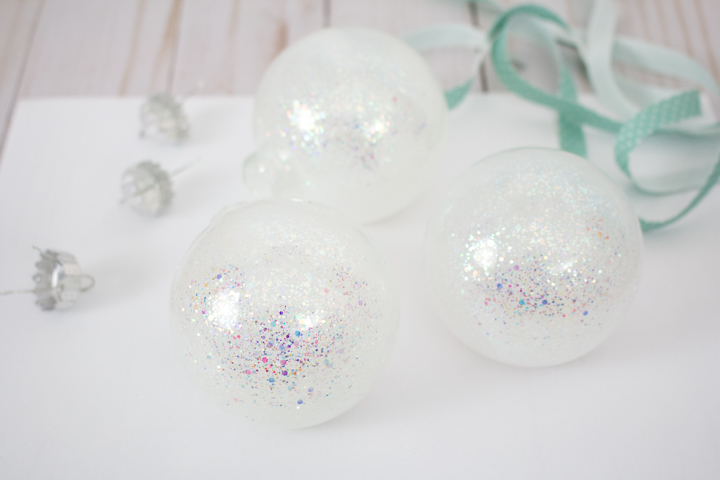
Painting the Glass Ornaments
- Remove cap from ornament.
- Squeeze Galaxy Glitter Clear Ice Comet paint into the opening.
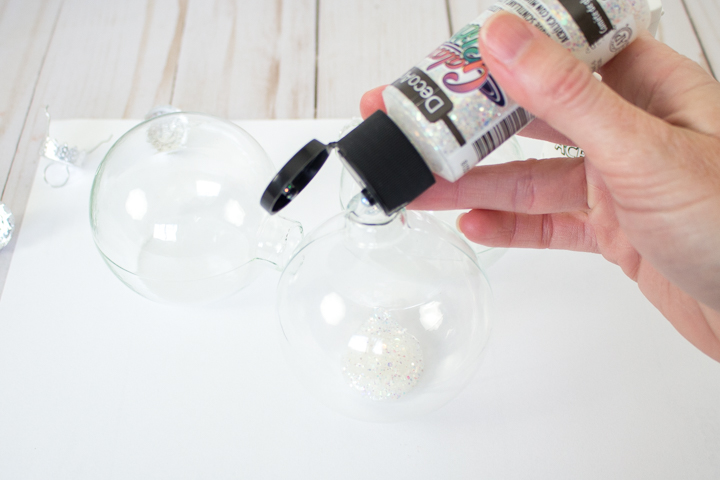
- Place your covered thumb over the opening and shake the ornament until the paint inside has mixed together and covered the inside. Add more glitter paint and shake if needed.
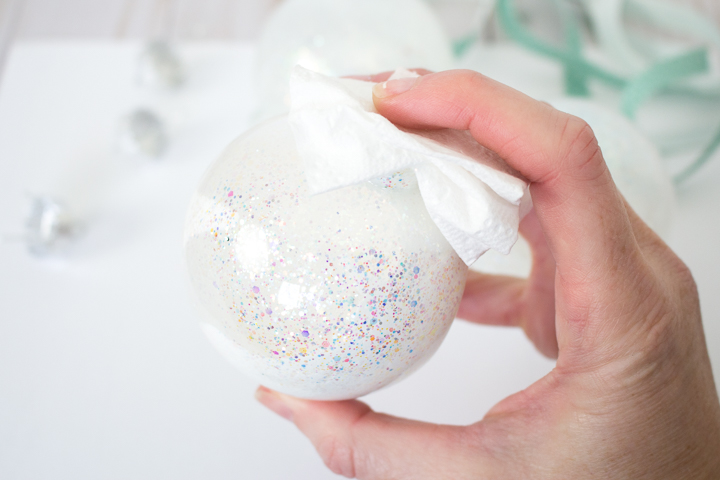
- Allow glitter paint to dry for about 10 minutes.
- Next, squeeze some white acrylic paint into the ornament. Avoid using too much paint, better to start with a little and add more as needed.
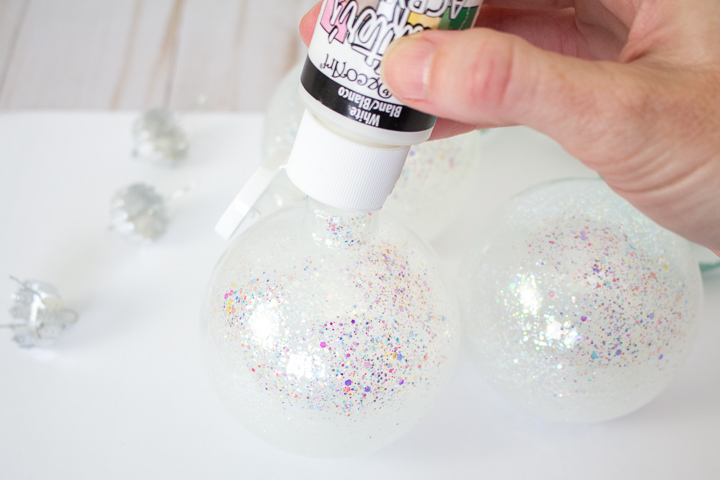
- Once again, place your covered thumb over the opening and shake the ornament until the paint inside has mixed together and covered the inside.
- Repeat for remaining ornaments.
Preparing the Images:
- Open Cricut Design Space.
- Click on the “+” sign to start a new project, opening up a blank canvas.
- Click on the “Upload” button from the toolbar and browse your downloaded files to insert the SVG file.
- The image will appear on the canvas. With the image selected, select “duplicate” to make as many rainbow vinyl cuts as needed.
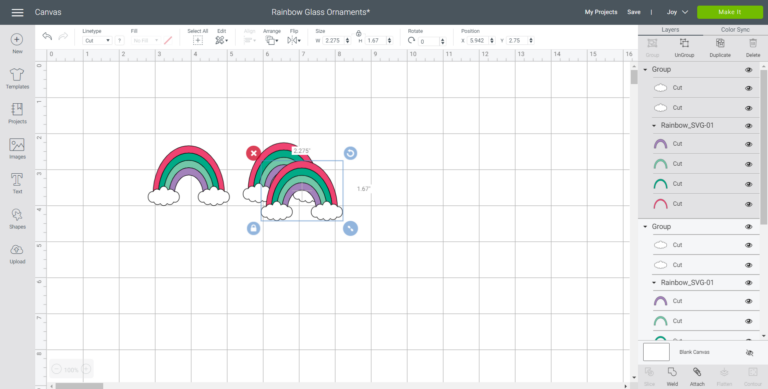
- Maintain the size or adjust it to fit your ornament. To adjust the size, highlight the image and click on the size box in the top toolbar. Change the measurement to suit your ornament size accordingly.
- Change the image color if desired to match with the material color.
Cutting the Permanent Smart Vinyl:
- Select “Make It” in the upper right corner to proceed with cutting.
- If using Cricut Joy Smart Vinyl, choose “no mat” for cutting.
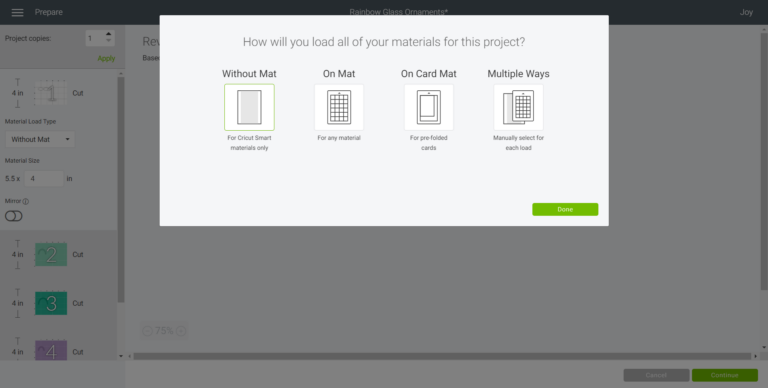
- Note the size of the Smart Vinyl needed and cut the length of the vinyl accordingly.
- Choose the Smart Vinyl from the list of options in the drop-down menu.
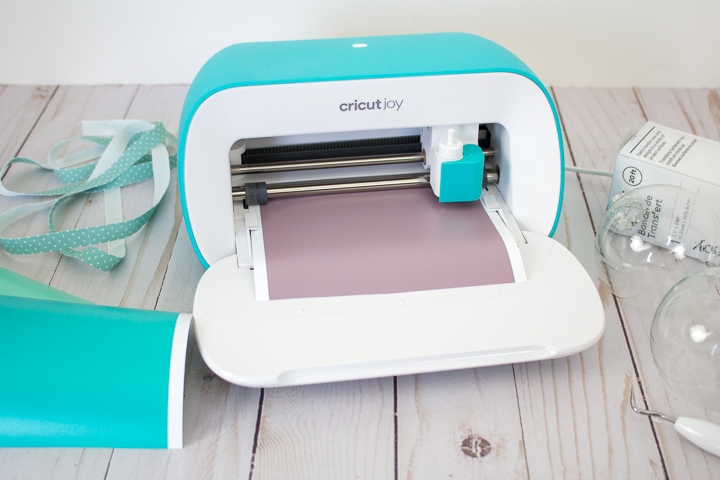
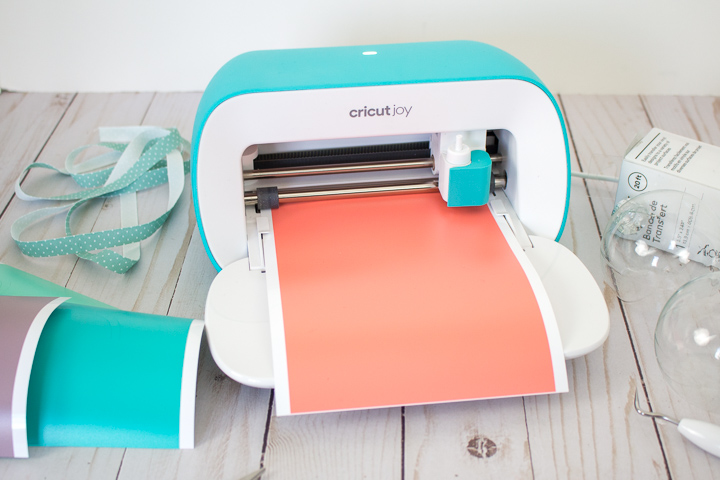
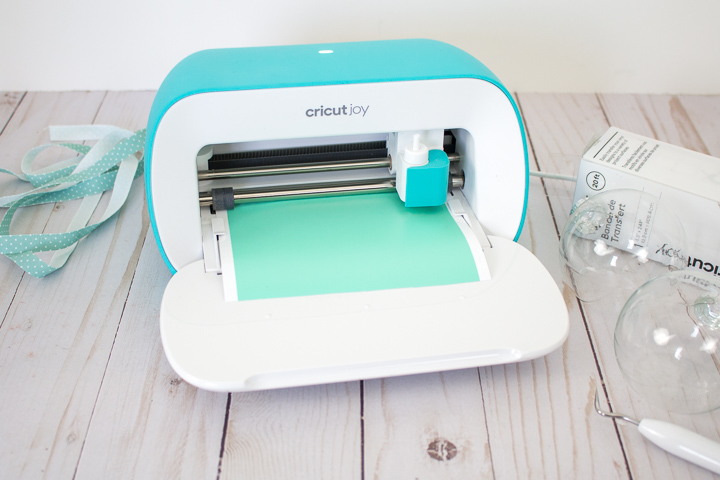
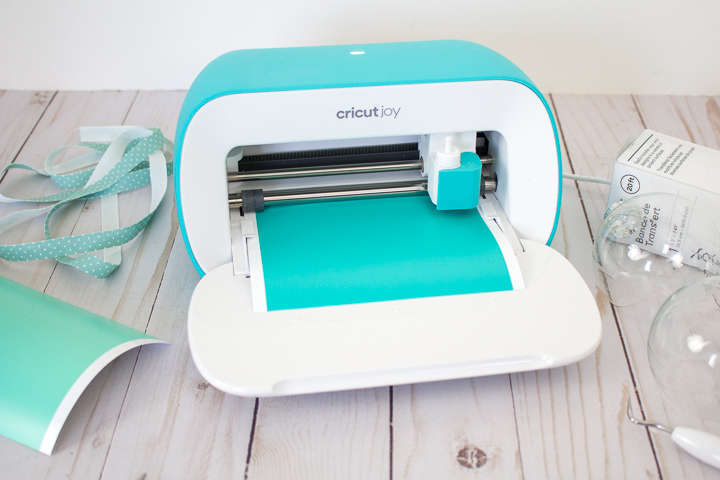
- Following the instructions prompted on the screen, cut out the different colored vinyl for all the images.
How to Assemble the Ornaments
- Cut around the images with a pair of scissors.
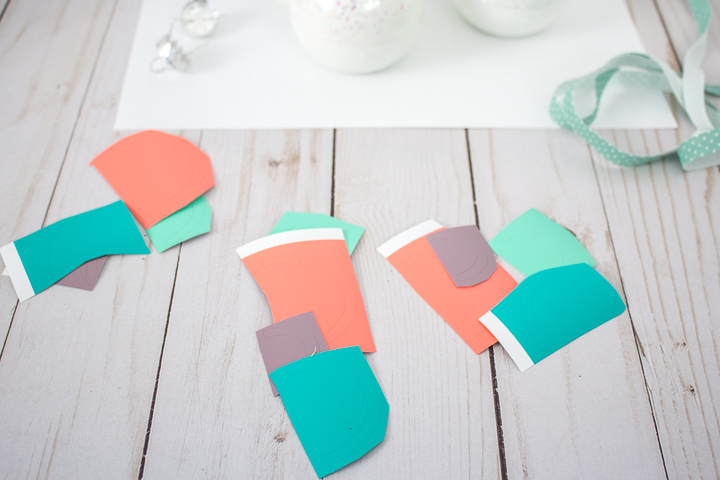
- Peel away the excess vinyl around the cut images and discard.
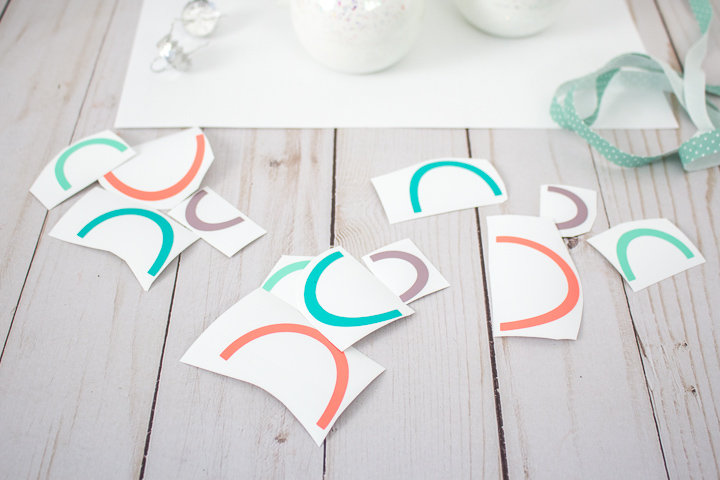
- Cut a piece of transfer tape a bit larger in size than the largest rainbow arc.
- Peel away the transfer tape backing and place the transfer tape overtop of the image. Gently rub the vinyl to help it stick to the transfer tape.
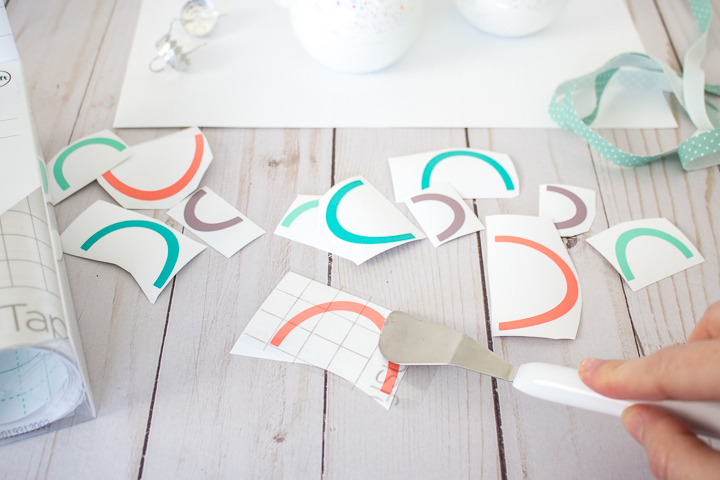
- Peel away the vinyl backing, leaving just the image adhered to the transfer tape.

- Next, place the transfer tape over the next rainbow arc and peel off the backing.
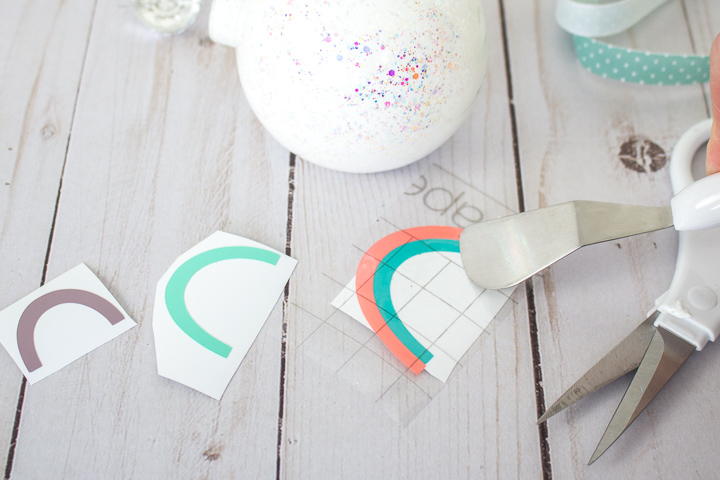
- Continue with the remaining rainbow arc pieces until all are attached to the same piece of transfer tape.
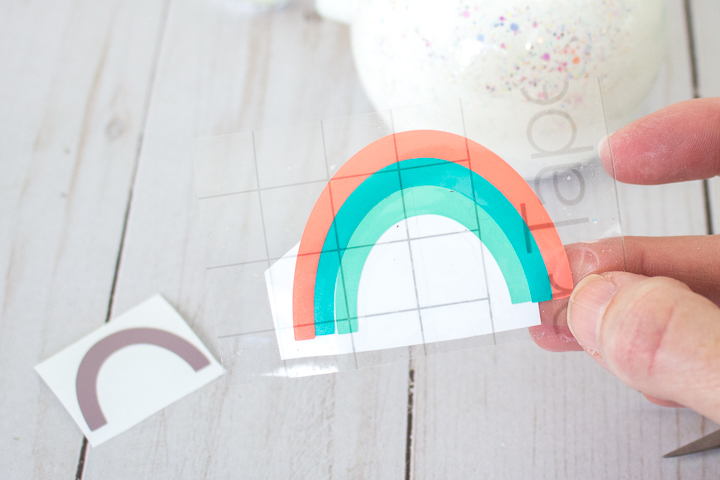
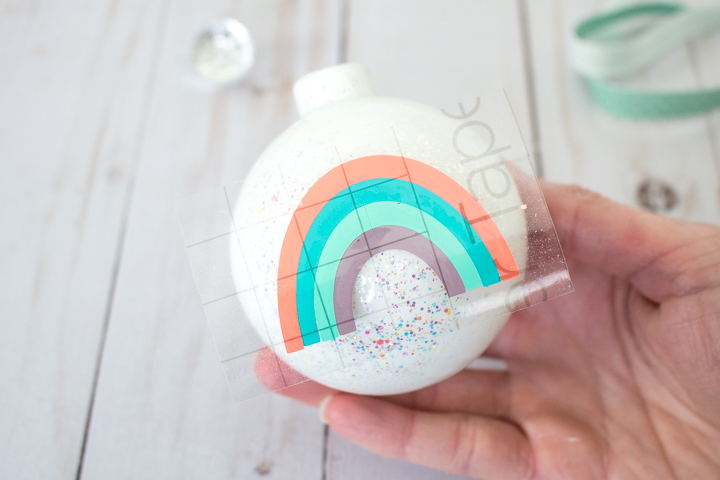
- Place the image on to the center of the ornament and clip the center of the transfer tape towards the center of the rainbow.

- Press the rainbow vinyl on to the ornament and peel away the transfer tape. Gently work out any bubbles that formed under the vinyl with your finger nails.
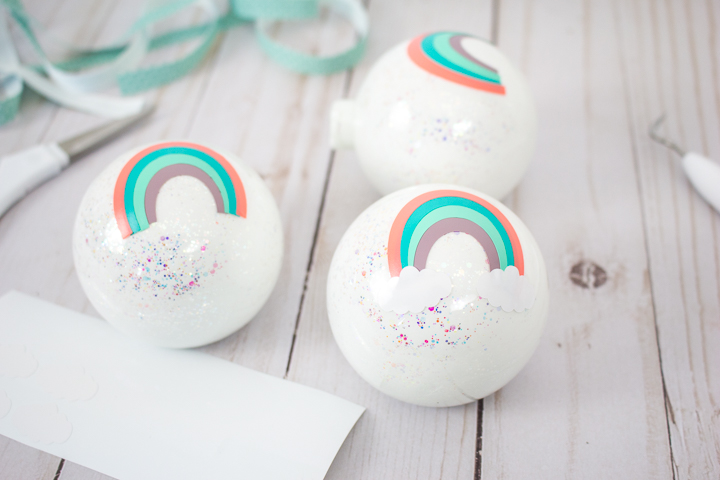
- Lastly, place the cloud pieces over the ends of the rainbow covering any edges that are uneven.
- Reattach the ornament caps and tie a piece of decorative ribbon to the top of the ornaments.
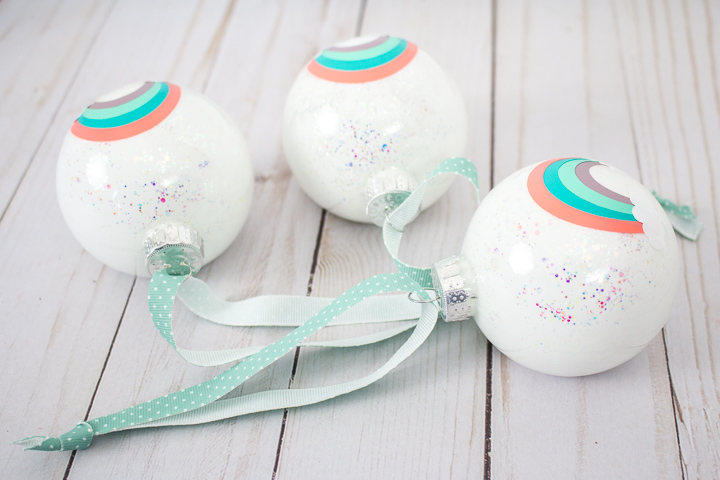
- All done, your Anthro-inspired ornaments are ready!
Be sure to save this post for later by clicking the save button.
More Cricut Vinyl Project Ideas
With that, we have reached the end of this post. Please share this tutorial on how to apply layered vinyl with your Cricut buddies. Also, check out these helpful Cricut posts.
- 11+ UNIQUE Craft Vinyl Storage Ideas
- 9 UNIQUE Heat Transfer Vinyl Projects to Try
- Different Types of Vinyl and How to Use Them


