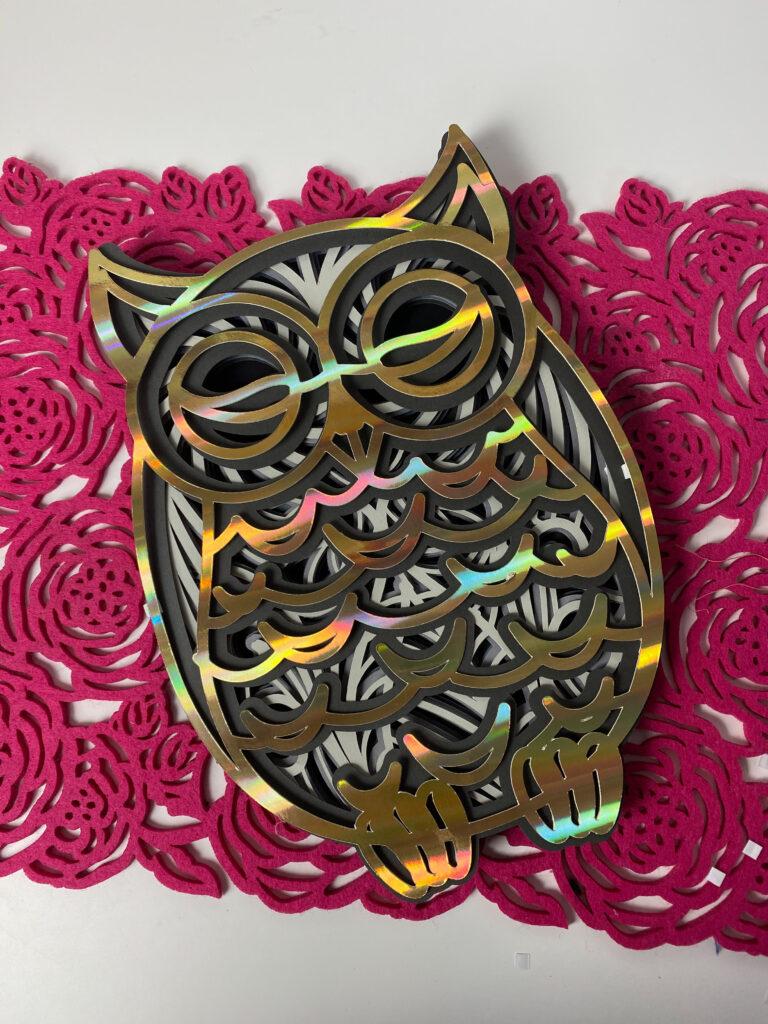
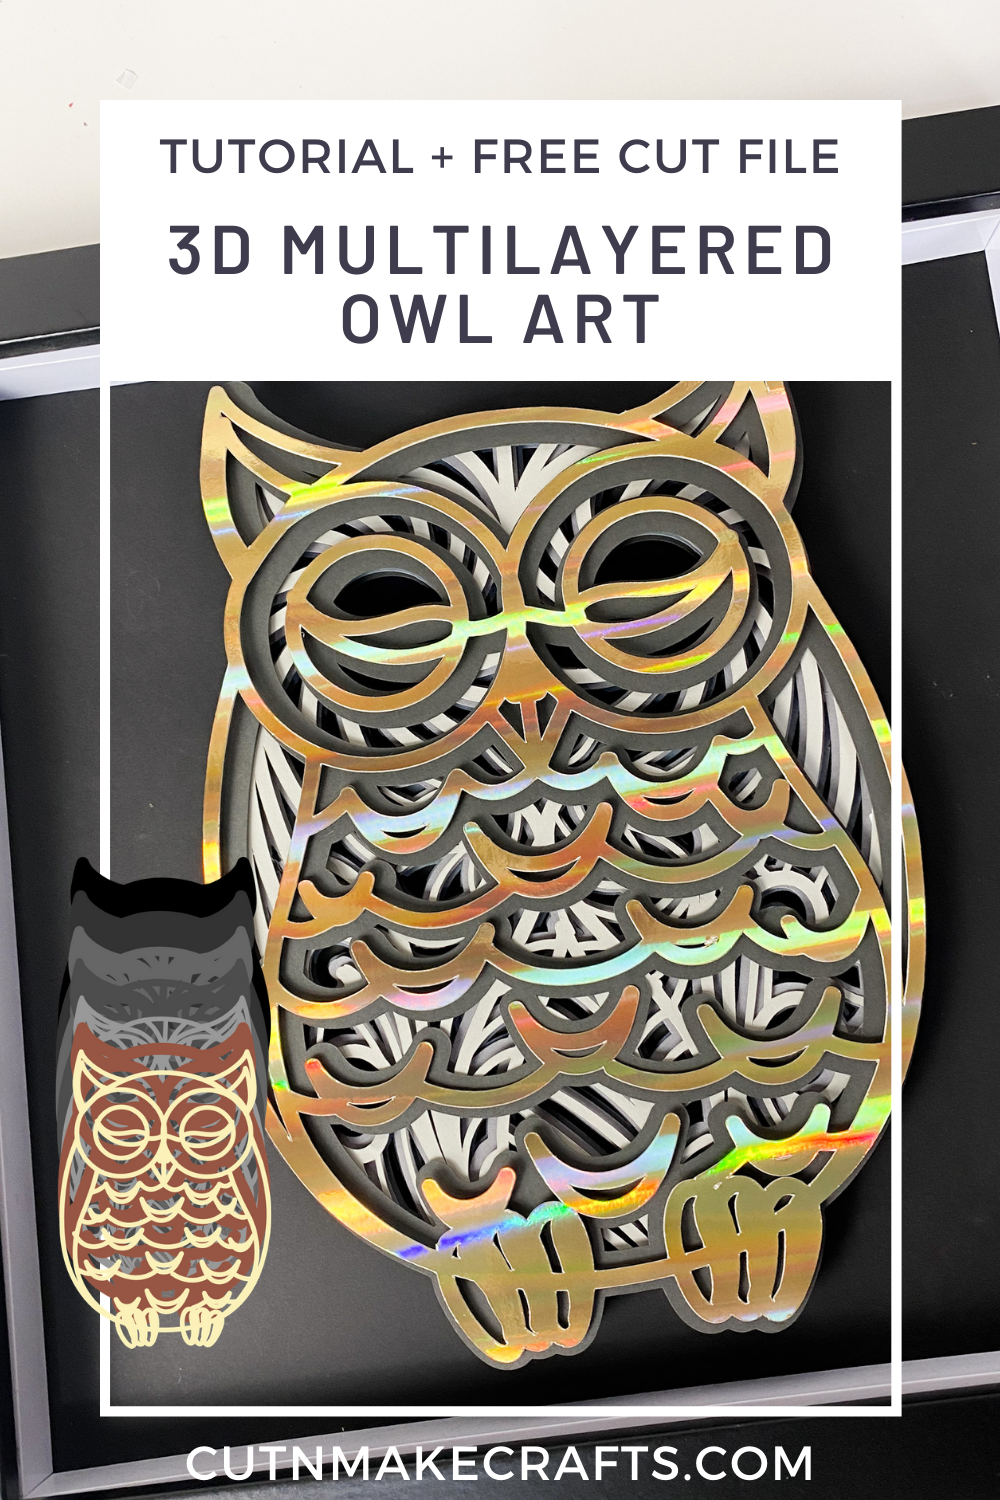
In this post, I’m sharing an owl 3D Layered SVG [FREE], perfect for creating a 3D layered art for home, along with secrets to make the best-layered art with clean cuts. I’ve also covered the type of cardstock I use for creating layered arts using SVG designs from my store.
Get the FREE Layered SVG File Below
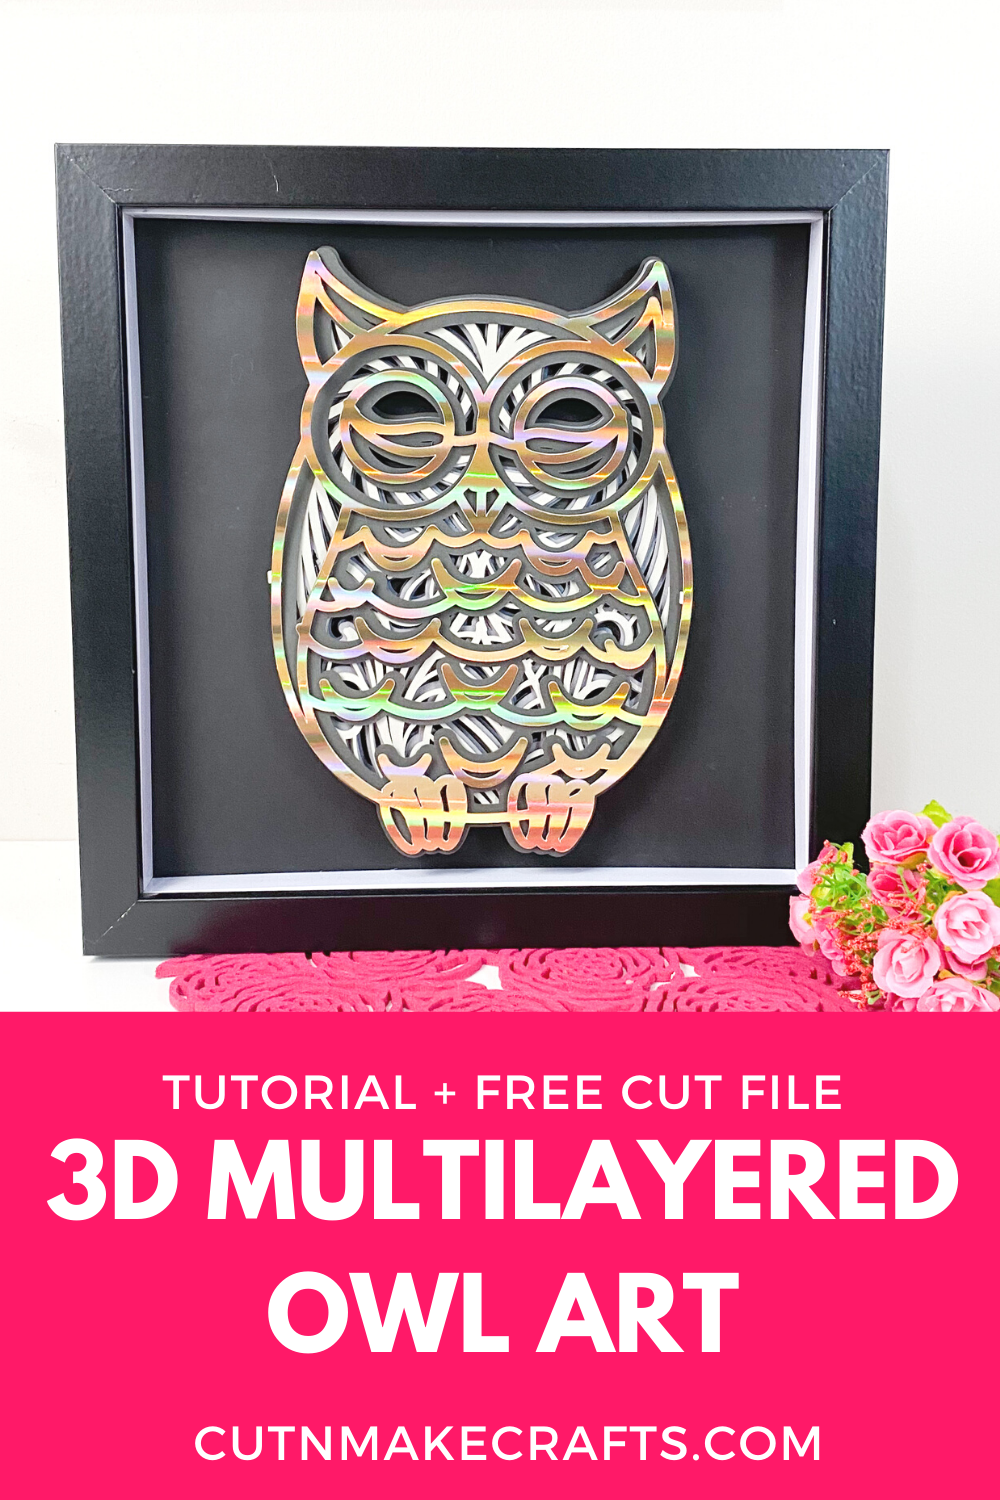
DIY 3D Owl Mandala + 3D Layered SVG [FREE]
Hello, Cricut buddies! I’m Jav from Cut N Make Crafts. Today I’m sharing a super cool 3D Layered SVG [FREE] to make a 3D layered mandala owl. If you have been following me on other social media channels, you must have noticed how obsessed I am with this new papercraft. It suits me so well because it’s so hassle-free for a lazy person like me. LOL! I’ve noticed that I just LOVE designing and playing with software more than anything. When I was designing bags, I truly enjoyed the designing process, it’s the pattern testing that drove me nuts. With the 3D layered art designs, it’s so much easier as I don’t have to run multiple tests with a group of sewists. I can test the 3D mandala SVGs on my own on the magical Cricut. It literally takes a few minutes to test out the 3D layered SVG cut files which is the best part about designing these 3D layered SVG mandala designs.
And it’s even easier to assemble them. Trust me!
Alright, now let’s see how you can make this 3D layered owl with the 3D Layered SVG [FREE].
This FREE layered art SVG is perfect for creating a gorgeous home decor wall art or you can also create it as a gift for your loved ones. You can use any color cardstock you like for creating this gorgeous 3D layered project. For my owl, I used
In this post, I’ve covered the supplies needed for creating awesome 3D layered owl art with paid or free layered art SVG files along with eight of my personal tips for creating the perfect layered art. These are the tips I discovered after cutting out a ton of layered SVG files while I was testing my designs for my Etsy store.
AFFILIATE DISCLOSURE: Cut N Make Crafts is a participant in the Amazon Services LLC Associates Program, an affiliate advertising program designed to provide a means for sites to earn advertising fees by advertising and linking to Amazon.com.
Supplies Needed for 3D Layered Owl Mandala
- Heavyweight cardstock (the color of cardstock that you choose for creating your 3D layered artwork is totally up to you. I’ve noticed I get the best results when I use a transition of colors starting from the darkest to the lightest or vice versa. For my designs, I mostly use mirrored, metallic and holographic cardstock. I’ve listed the different places you can purchase these cardstocks for your layered art below).
- Cricut Fine Point Blade (most of the layered art designs have layers with very intricate details. The secret to cut these layers perfectly without any mess is to use a separate blade for the intricate layers with the “cardstock for intricate cuts” settings enabled).
- Foam squares (these are perfect for adding a raised effect to the 3D art. I used 4mm foam squares as they are really small and are barely visible to the eye. I bought mine in bulk from eBay).
- FREE Layered SVG File for 3D Layered Owl Mandala (available for the VIPs, become a VIP member by entering your name and address below)
Get the FREE Layered SVG File Below
Enter your name and address below to access the FREE VIP library and get the FREE layered SVG file for “3D Layered Owl Artwork” art.
Places to Purchase Mirror/Metallic Cardstock
Secrets for Creating Perfect Layered Art
- To get the best results always use heavyweight cardstock instead of the lighter ones because the heavy cardstock is sturdy and stays stiff without having to glue together a million different layers. This will save you a ton of time and gives a really beautiful look to the art.
- When cutting out detailed designs, use “cardstock for the intricate cut” settings as this tells the machine to be gentle and cut with lesser pressure thus preventing rips giving clean and beautiful cuts. I usually use this setting for cutting the topmost layers of my layered SVG files.
- Keep a separate blade for intricate cuts as paper usually makes the blades dull which can cause issues when cutting out intricate designs.
- Always start by cutting the intricate design first. Before cutting the design make sure your machine has rested an hour because cutting intricate designs takes a lot of time which puts stress on the machine. Once, while cutting out the intricate design one after the other, my machine got extremely hot and stopped working while cutting. I had to unplug it and leave it for a day to cool down so I could use it again.
- Another tip I’ve discovered after cutting out a ton of these layered designs is if I use a setting meant for a thinner material on thick material, it cuts out extremely clean even with a blunt blade. For instance, if I’m using medium cardstock, I cut it on “light cardstock” setting, sometimes with the pressure reduced. It does not cut in one cycle, so usually, I cut it twice without unloading the mat. Thanks to this tip, I barely have unclean cuts.
- Always use a sticky mat, if your mat is not sticky enough, wash your mat with some dishwashing liquid. Another way to make the mats sticky is by spraying adhesive spray or using Zig Glue.
- When choosing the colors, it’s best to create an ombre effect by going from dark to light or light to dark.
- Make sure the design is not less than 7”. This is extremely IMPORTANT. If you’re planning to make something smaller, leave out the intricate layers because it’s too small for the machine to cut and will not come out perfect.
- To ensure the cut stays intact while removing it from the mat, roll the mat and use the scraper to gently remove the cut.
Video Tutorial for the Layered Art
Here’s a step-by-step video tutorial for creating any layered artwork project.
How to Make Layered 3D Owl Mandala
How to Make Layered 3D Owl Mandala
Equipment
- Cricut Maker/Explore Air 2
Ingredients
- Medium – Heavyweight Cardstock
- Fine point blade
- Foam Squares
Instructions
Get the FREE 3D layered owl mandala from the VIP library
- Sign up for the VIP list by entering your name and email in the box given above.
- Once you’ve entered your name and email address, you will receive a welcome email from me – Jav at Cut N Make Crafts.
- Inside the email, you’ll find the link to go to the FREE VIP library.
- Download the FREE layered owl mandala SVG from the VIP library. The link for the VIP library is included in the thank you email that you should receive after signing up for the VIP list.
Cut Out the Owl Mandala SVG Using the 3D Layered SVG [FREE]
- Open Cricut Design Space.
- Click on the “+” sign to start a new project, opening up a blank canvas.
- Click on upload.
- Locate the file on your computer and upload it to Cricut Design Space.
- Insert the file on the canvas, resize the file to your needs. You can resize it to cut on a 12×12 cardstock or if you're using an A4 or letter sized paper, you can reduce the size to 7.5" in width. Once you're happy with the size, click on “Make it”.
- Load the paper in the machine and cut everything out. Follow the tips given above to get the best cuts.
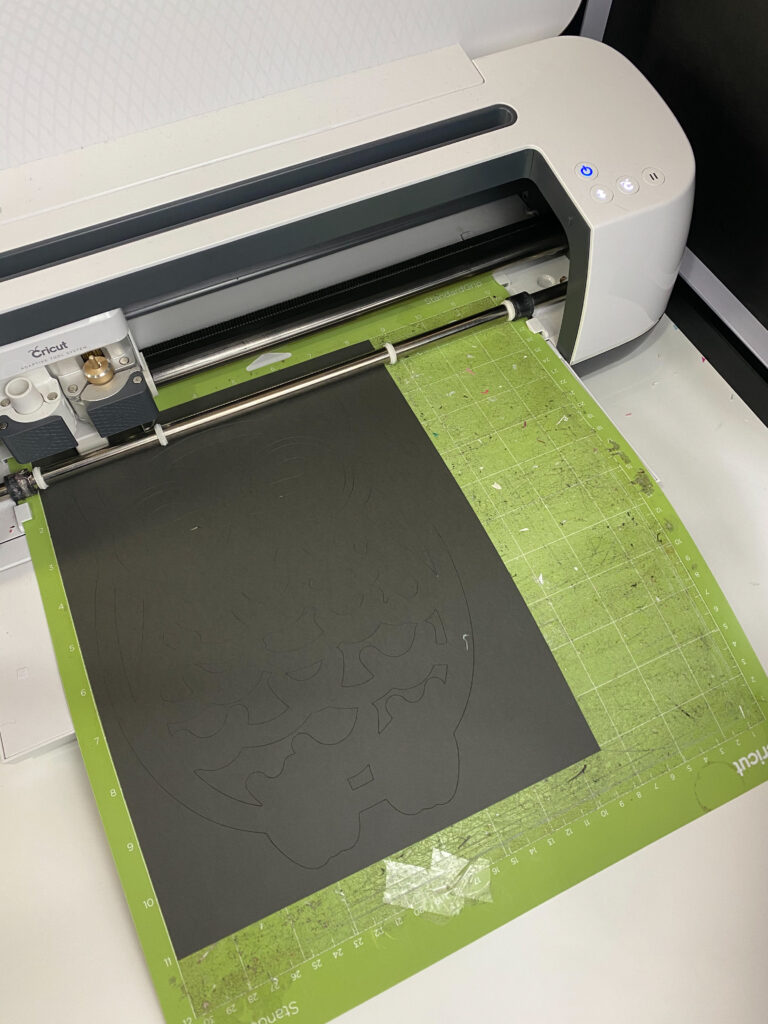
- To remove the cut out from the mat, roll the mat over as shown below and use your scraper tool to gently push the design away.
Assemble the 3D Layered Owl Mandala
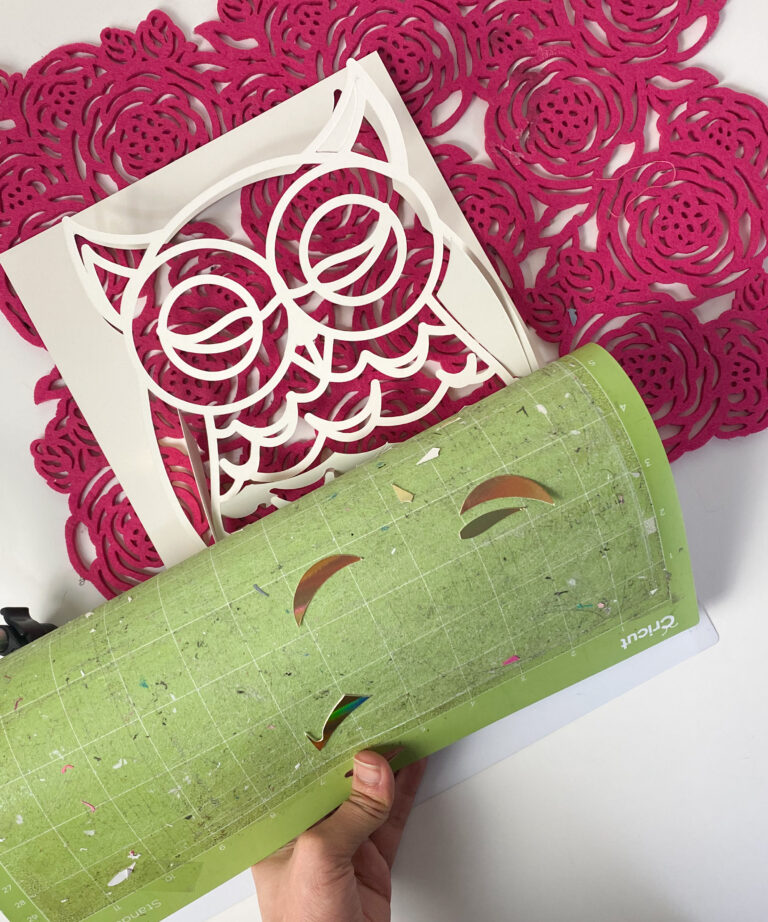
- After cutting out all the layered from the 3D layered SVG [free] place each design one on top of the other according to the arrangement shown below. This step is crucial as it will help you in figuring out the right placement of the layers.
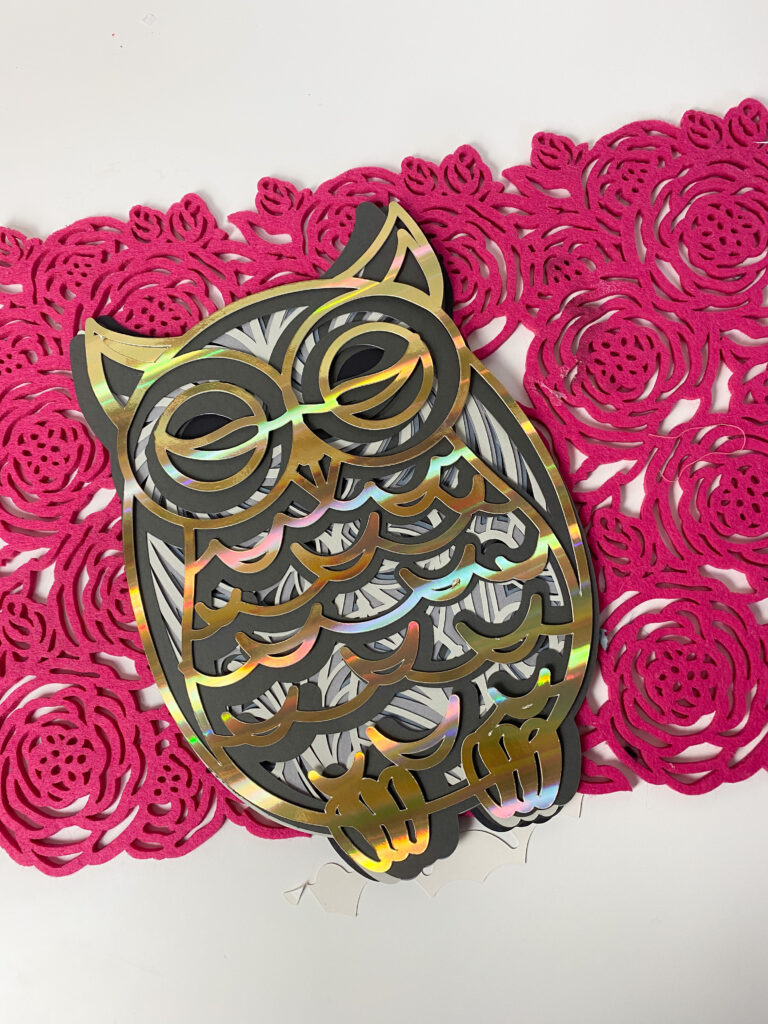
- This is the order in which you need to arrange the layers for the 3D layered owl SVG.

- Next, flip the entire set so that it's wrong side up.
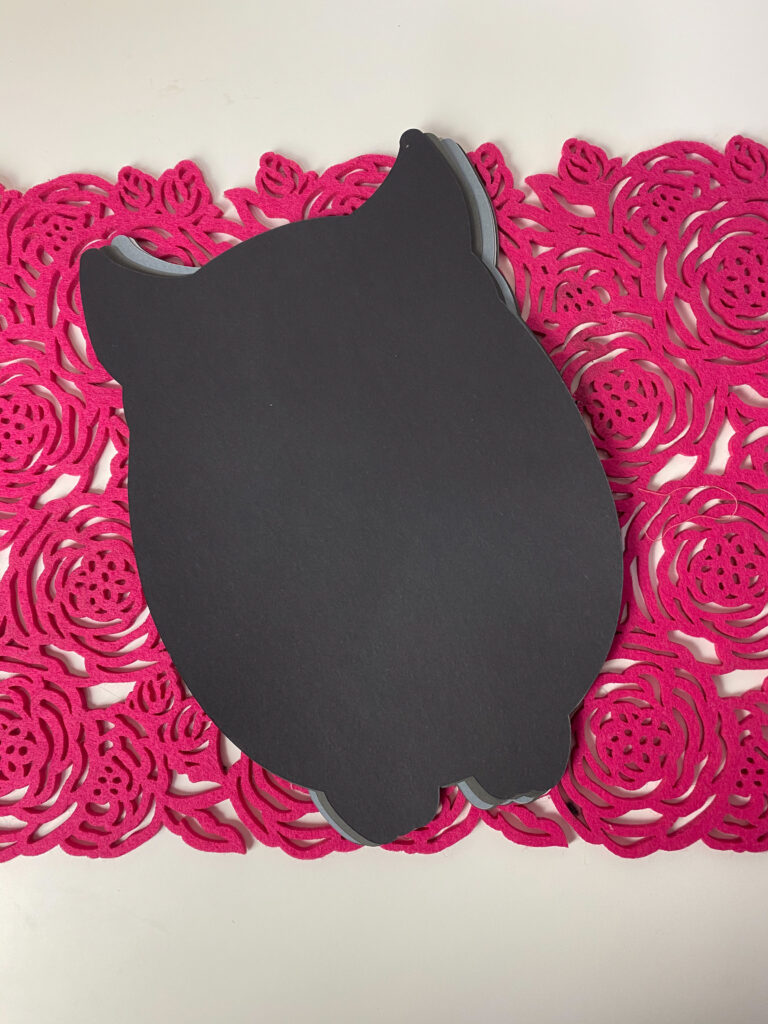
- Now, take the bottom most layer, flip it over and keep it aside with RIGHT-SIDE up.
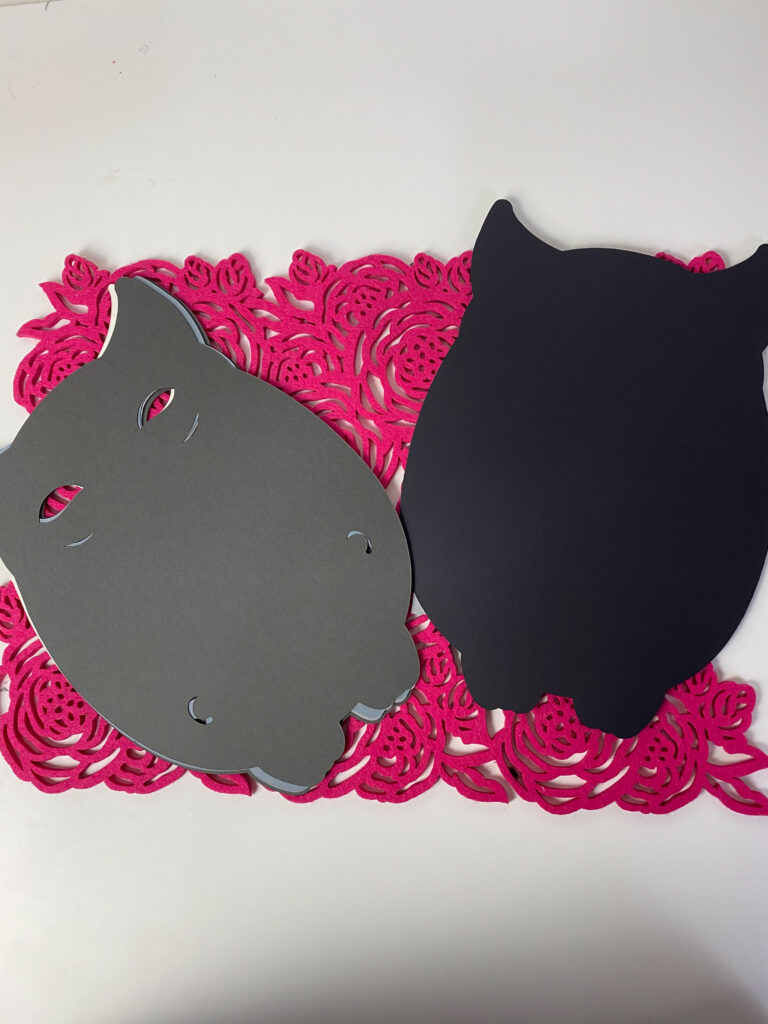
- Now, it's time to add the foam squares.
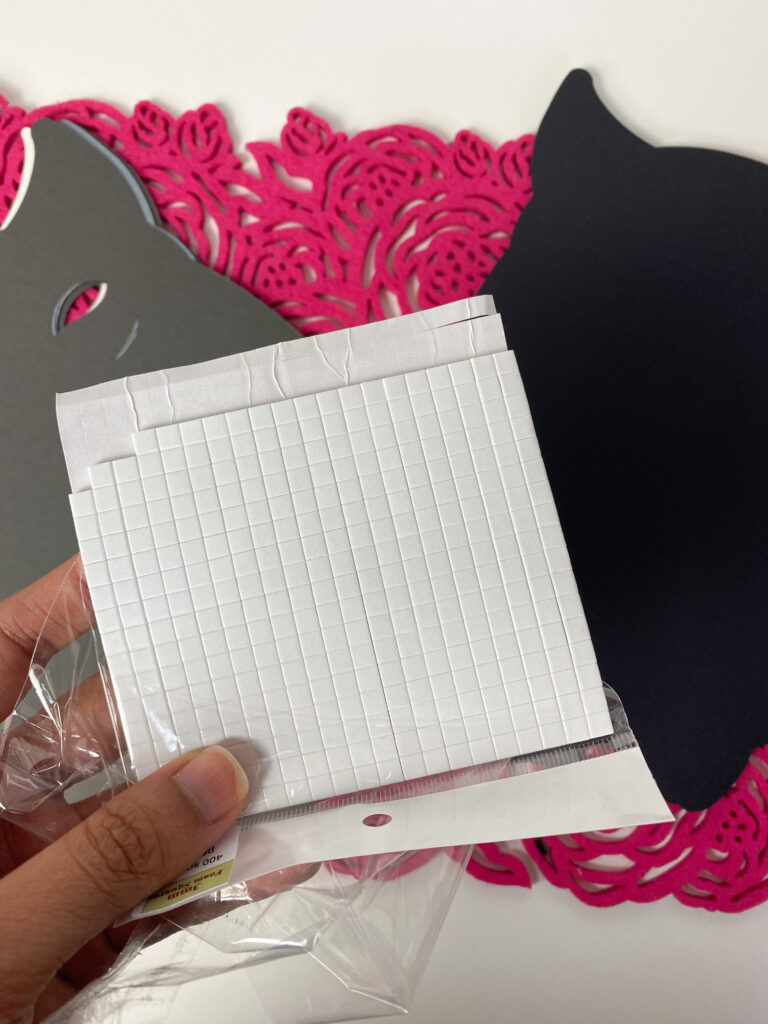
- Start adding foam squares on the WRONG-SIDES of all the layers.
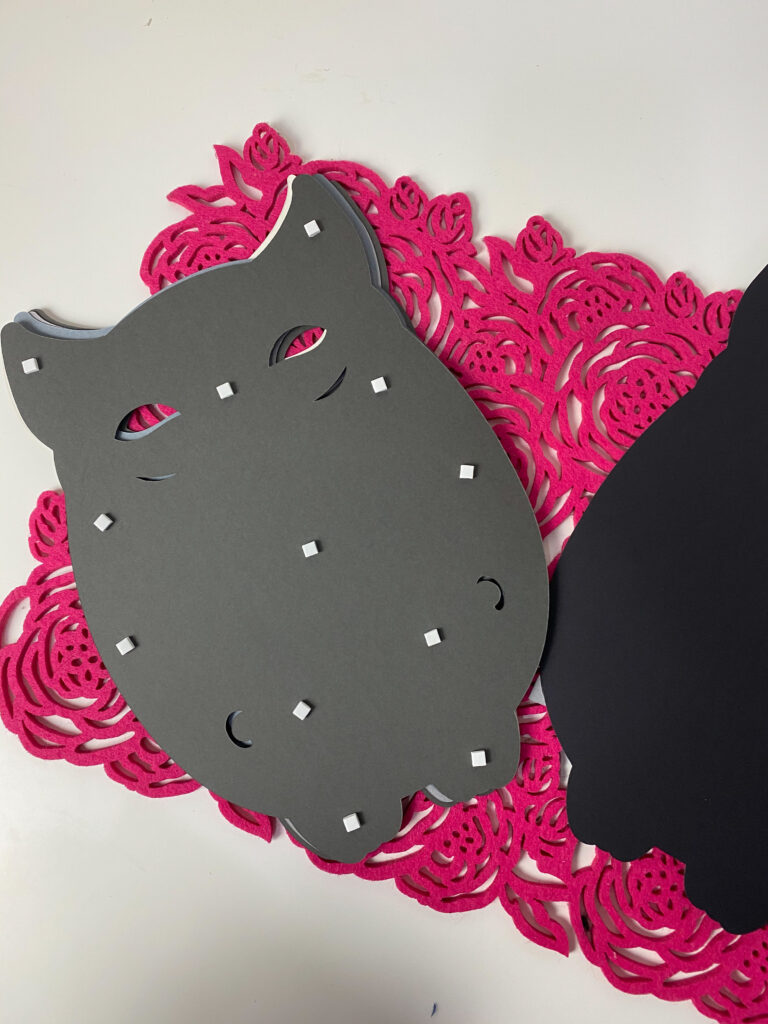
- Once you're done with one layer, keep it aside with the WRONG-SIDE up.
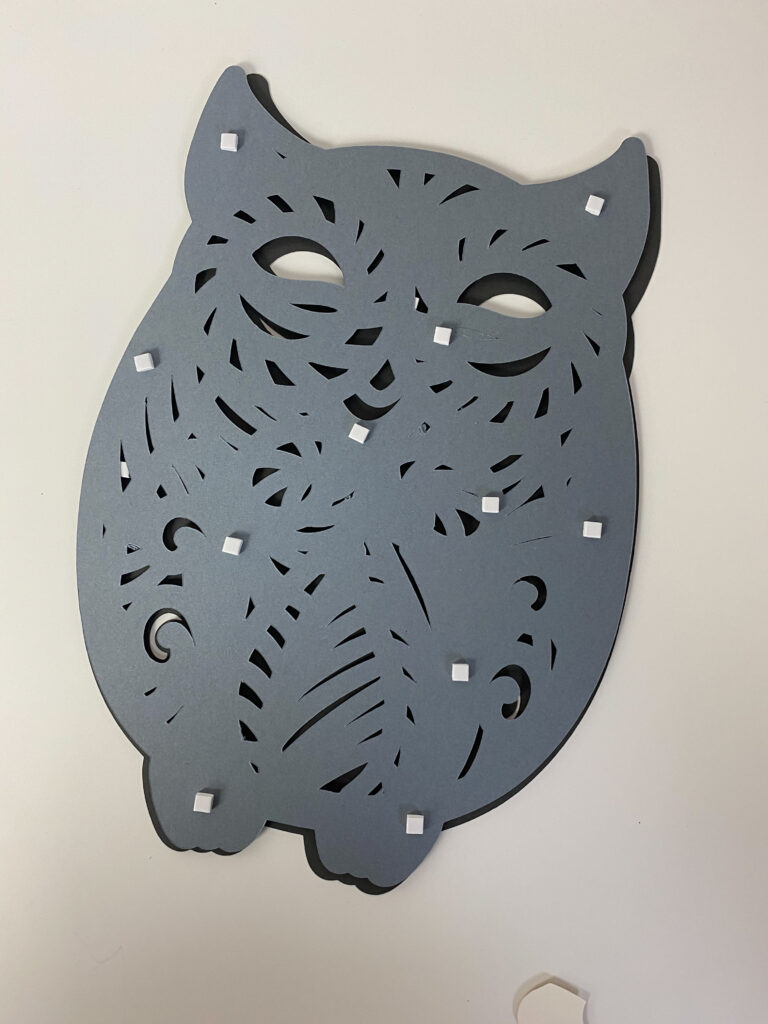
- Repeat this step until you have added the foam squares on the WRONG-SIDES of all the layeres EXCEPT the bottom most layer.
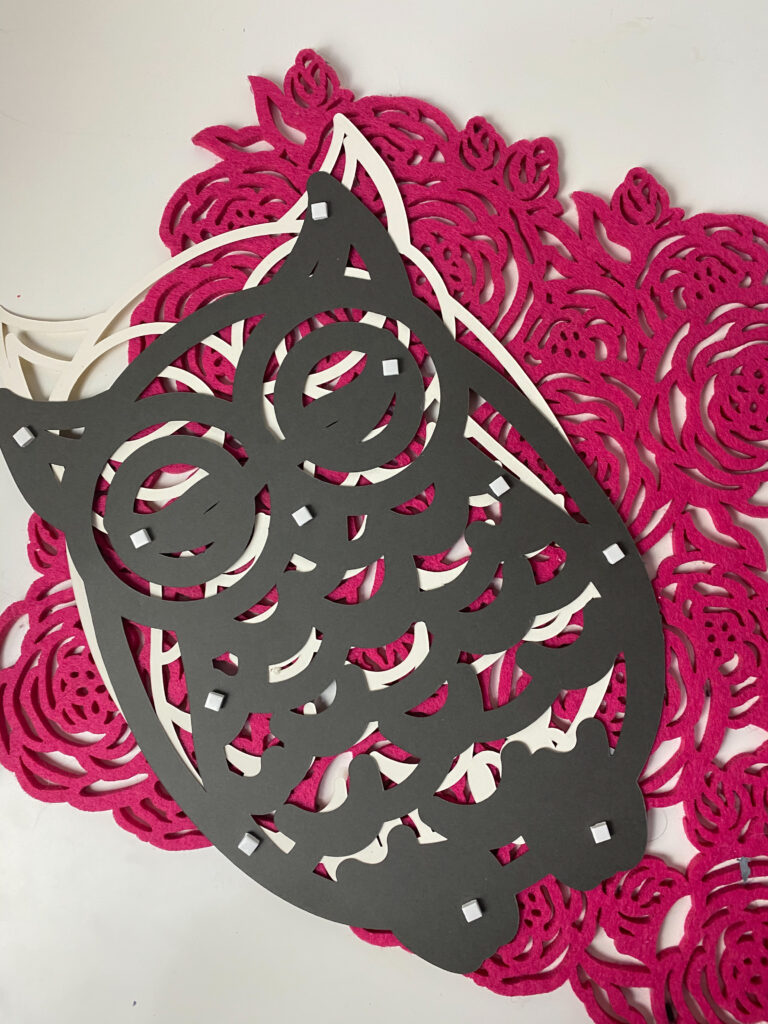
- Once you're done adding the foam squares to all the layers of the 3D layered SVG file [FREE], take the entire stack and flip it over, so that it's RIGHT-SIDE UP. We're going to work from the BOTTOM UP.
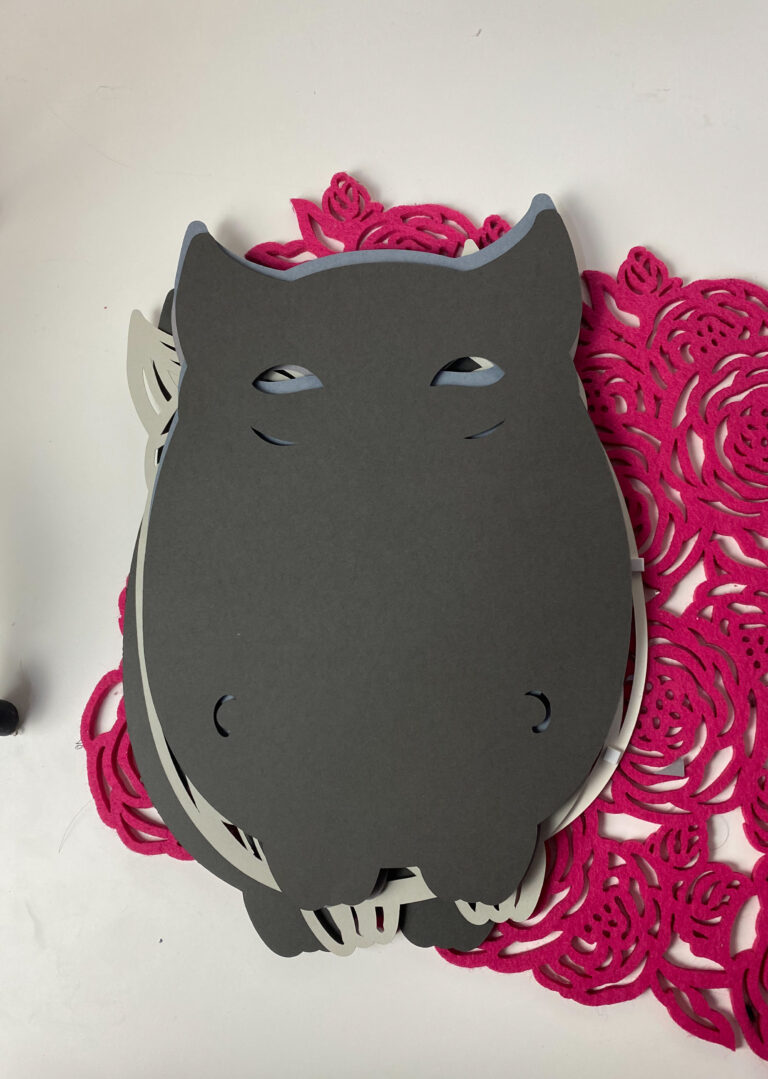
- Make sure your bottom layer is RIGHT-SIDE UP. Remove the backing of the foam squares from the second last layer and place it on the bottom-most layer.
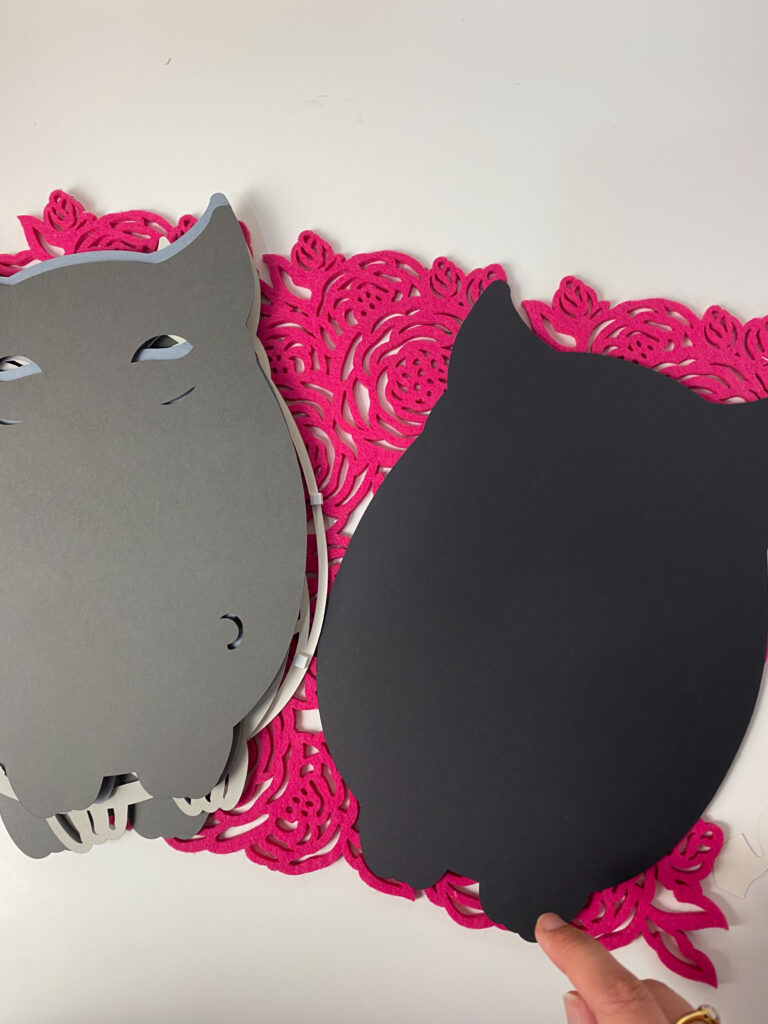
- Repeat this step for each of layer after that.
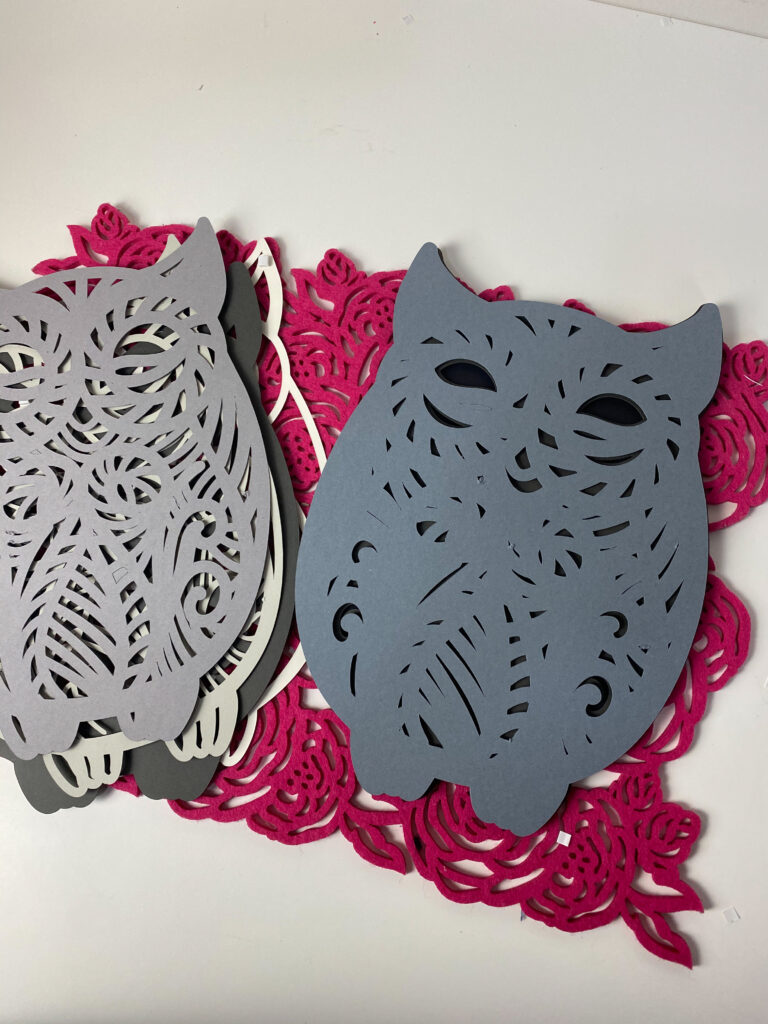
- This is how it should look like at the 5th layer.
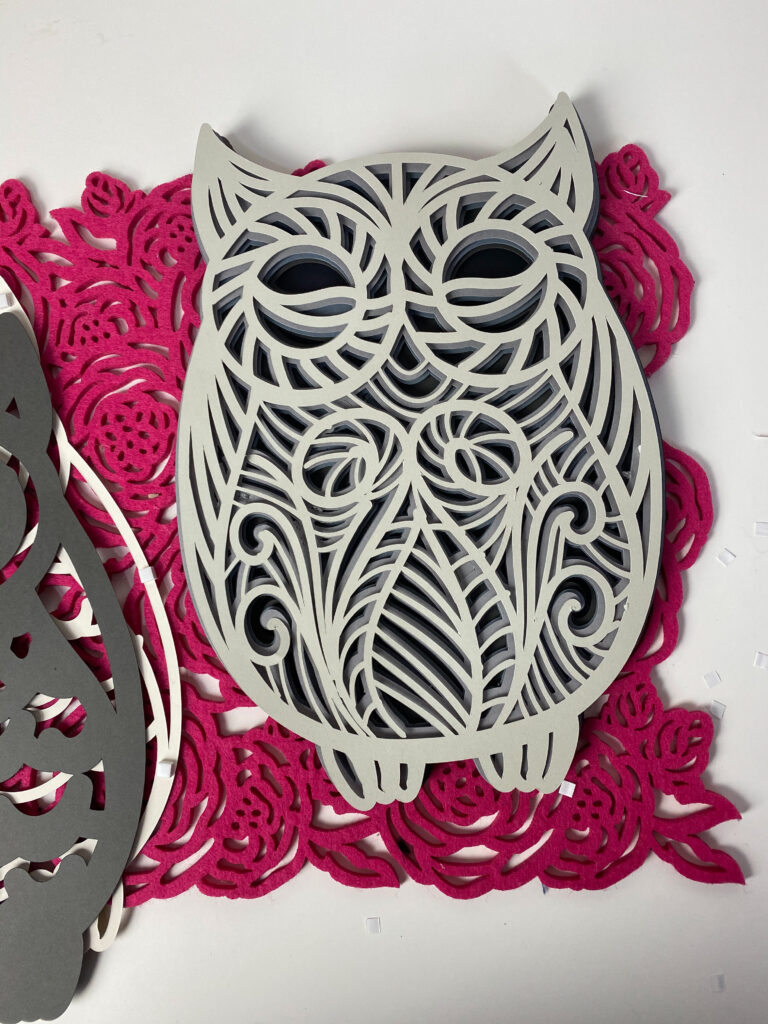
- Here's a shot after adding the sixth layer.
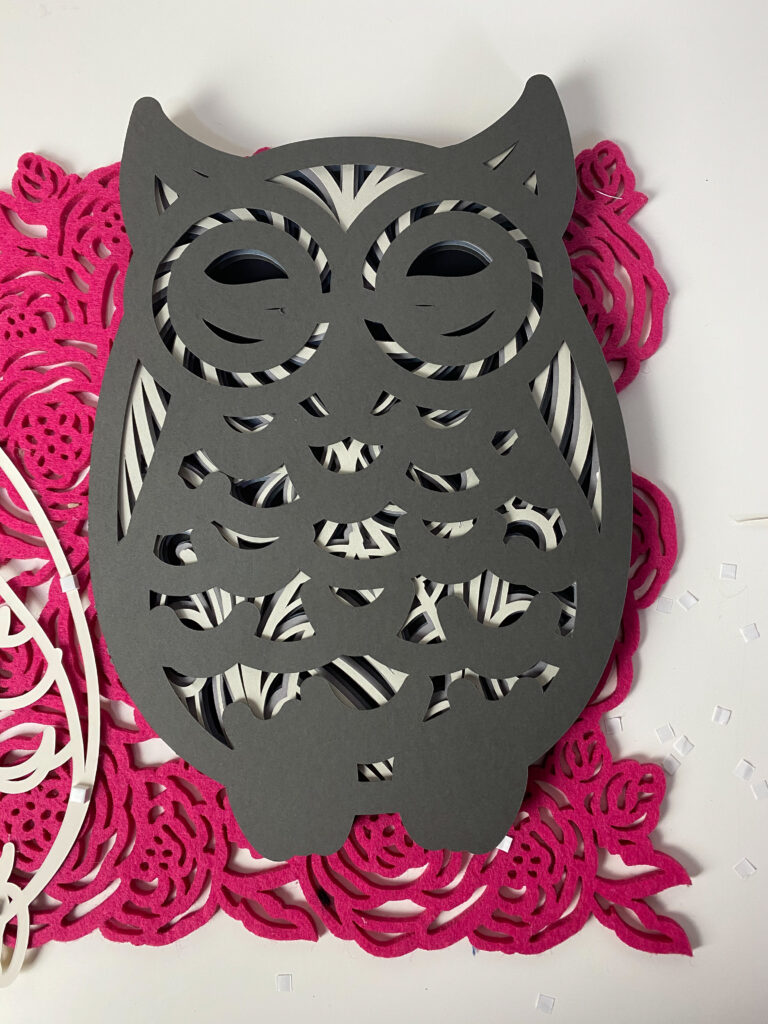
- And here's the final shot after adding the top-most layer.
Notes
3D Layered Artwork FAQs
Can I cut these 3D SVGs on Cricut Joy?
Yes, you can! However, you would need to make sure the size of the file is less than 6″ so that it fits on the mat. Also, when reducing the size, you might have to leave out some layers with extremely intricate designs as it will be too difficult for the machine to cut it and might result in the paper ripping off.
How long does it take to make the 3D layered art?
It takes just a couple of minutes to assemble the 3d layered projects once they are cut out.
Get the Multi-layered Owl SVG Below
More Layered SVG Cut Files to Check Out
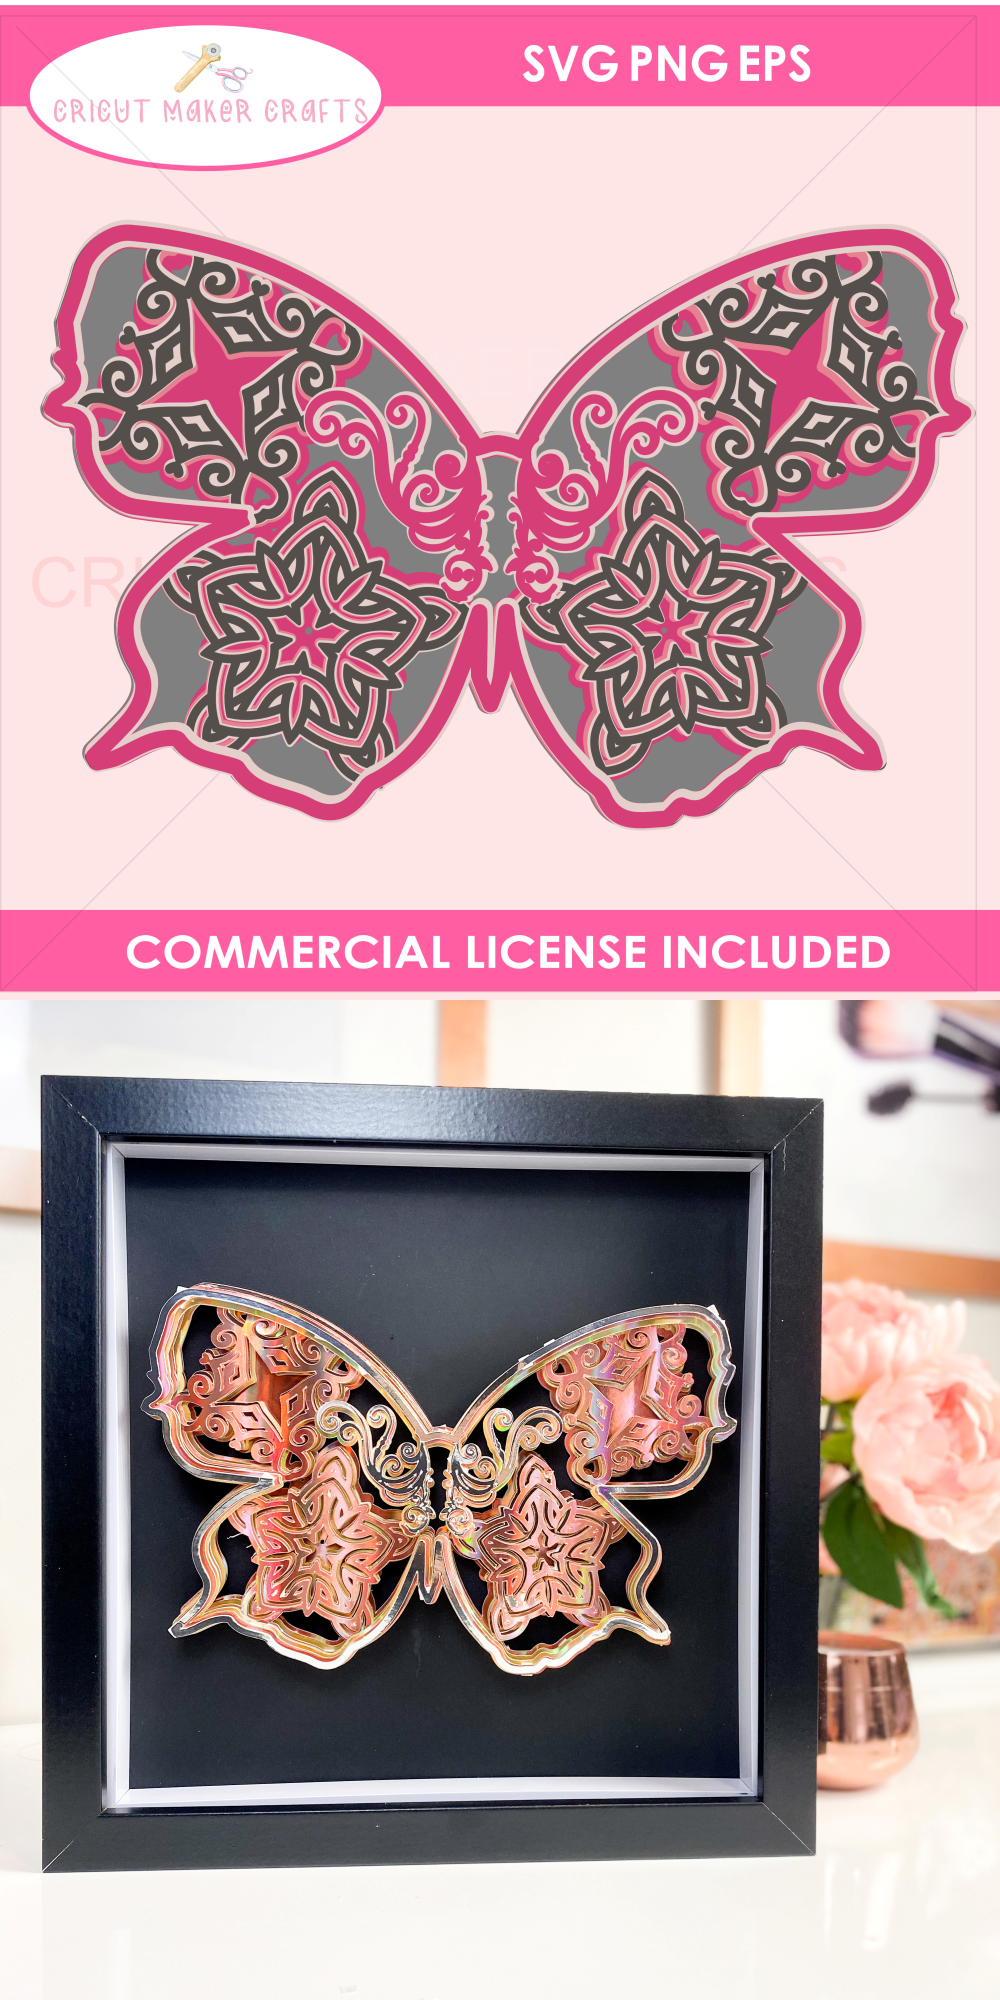
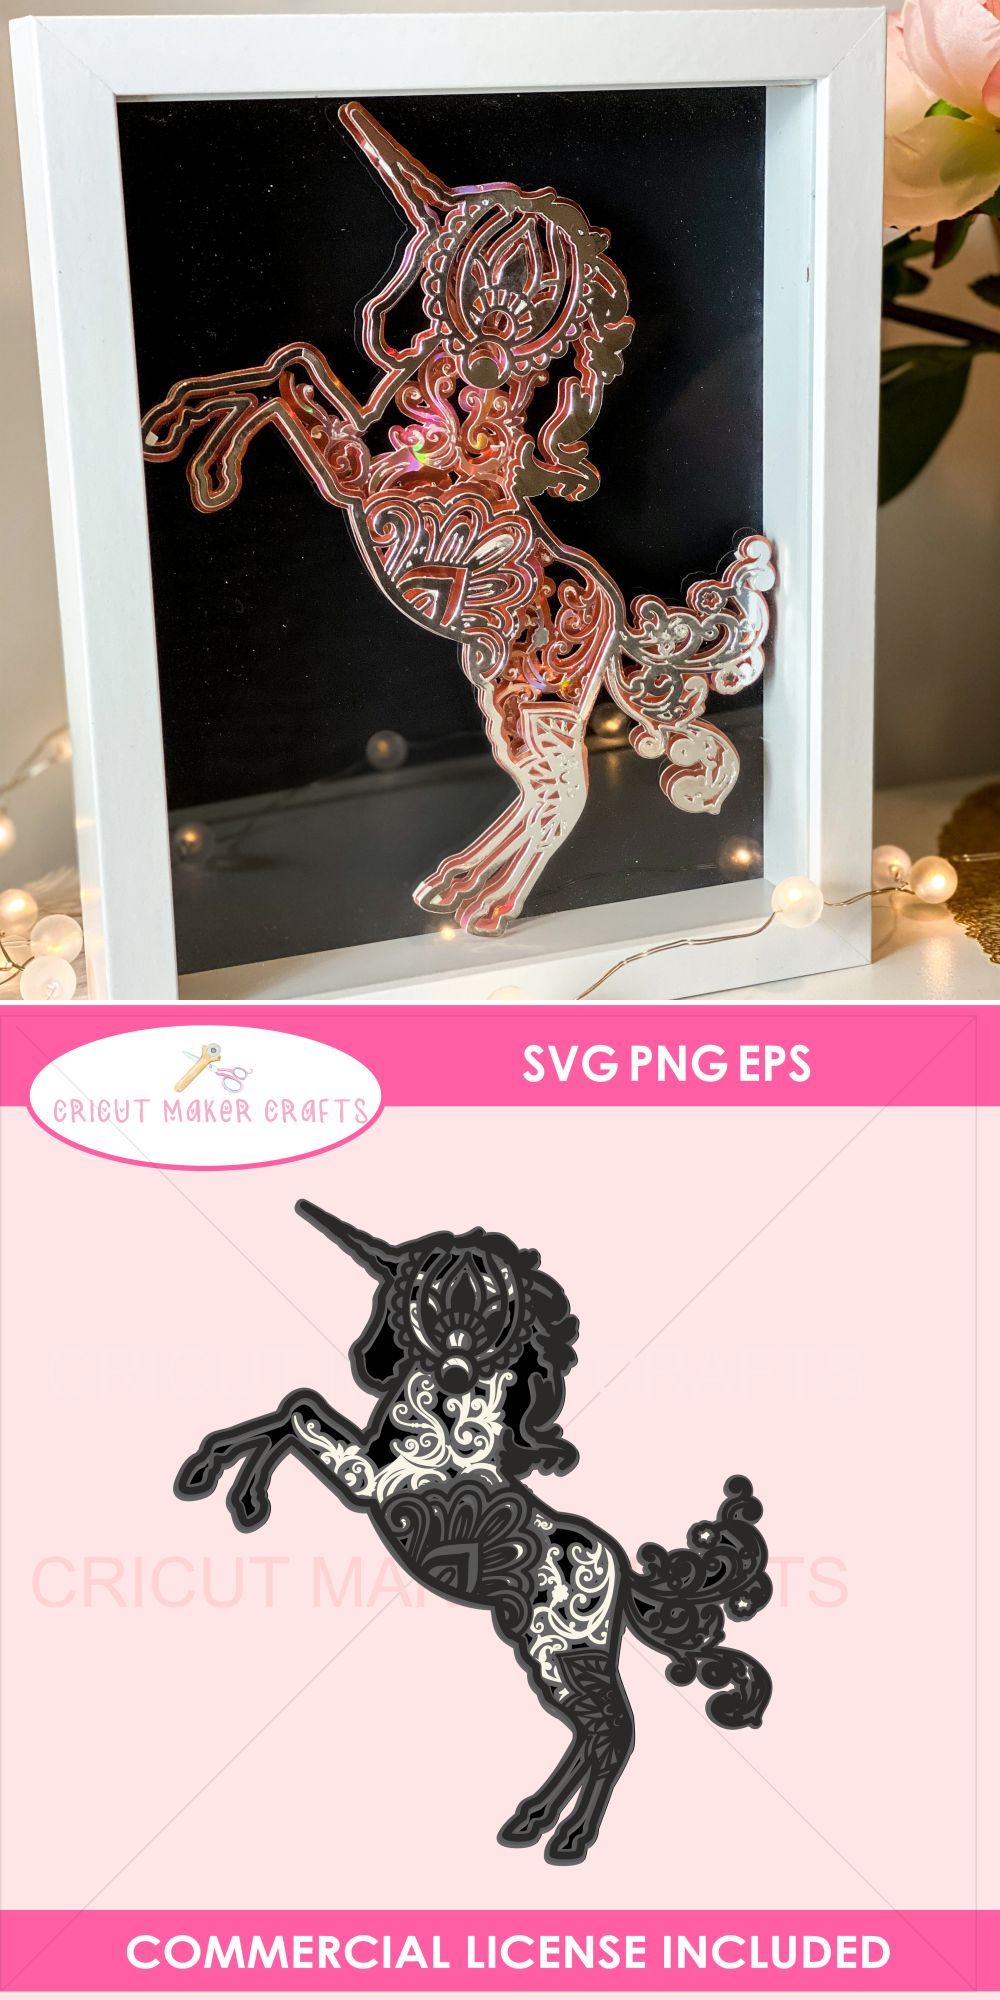
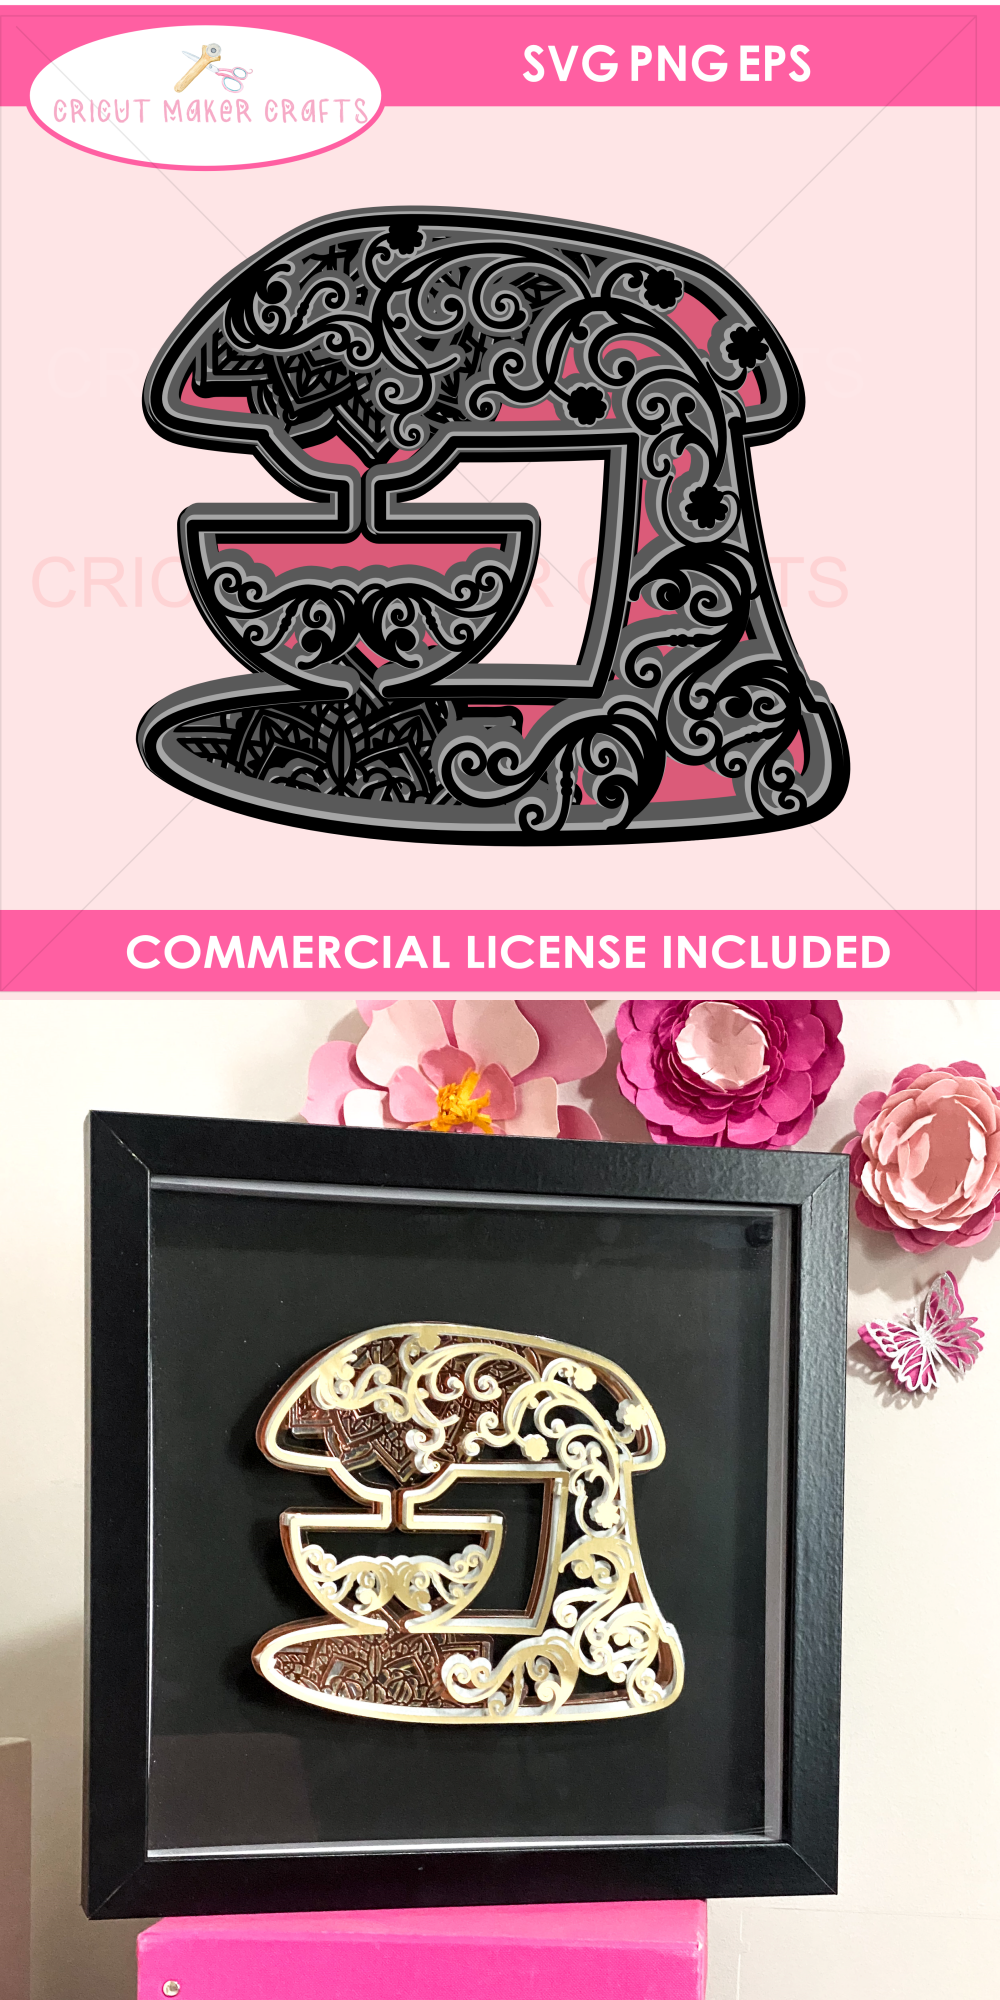
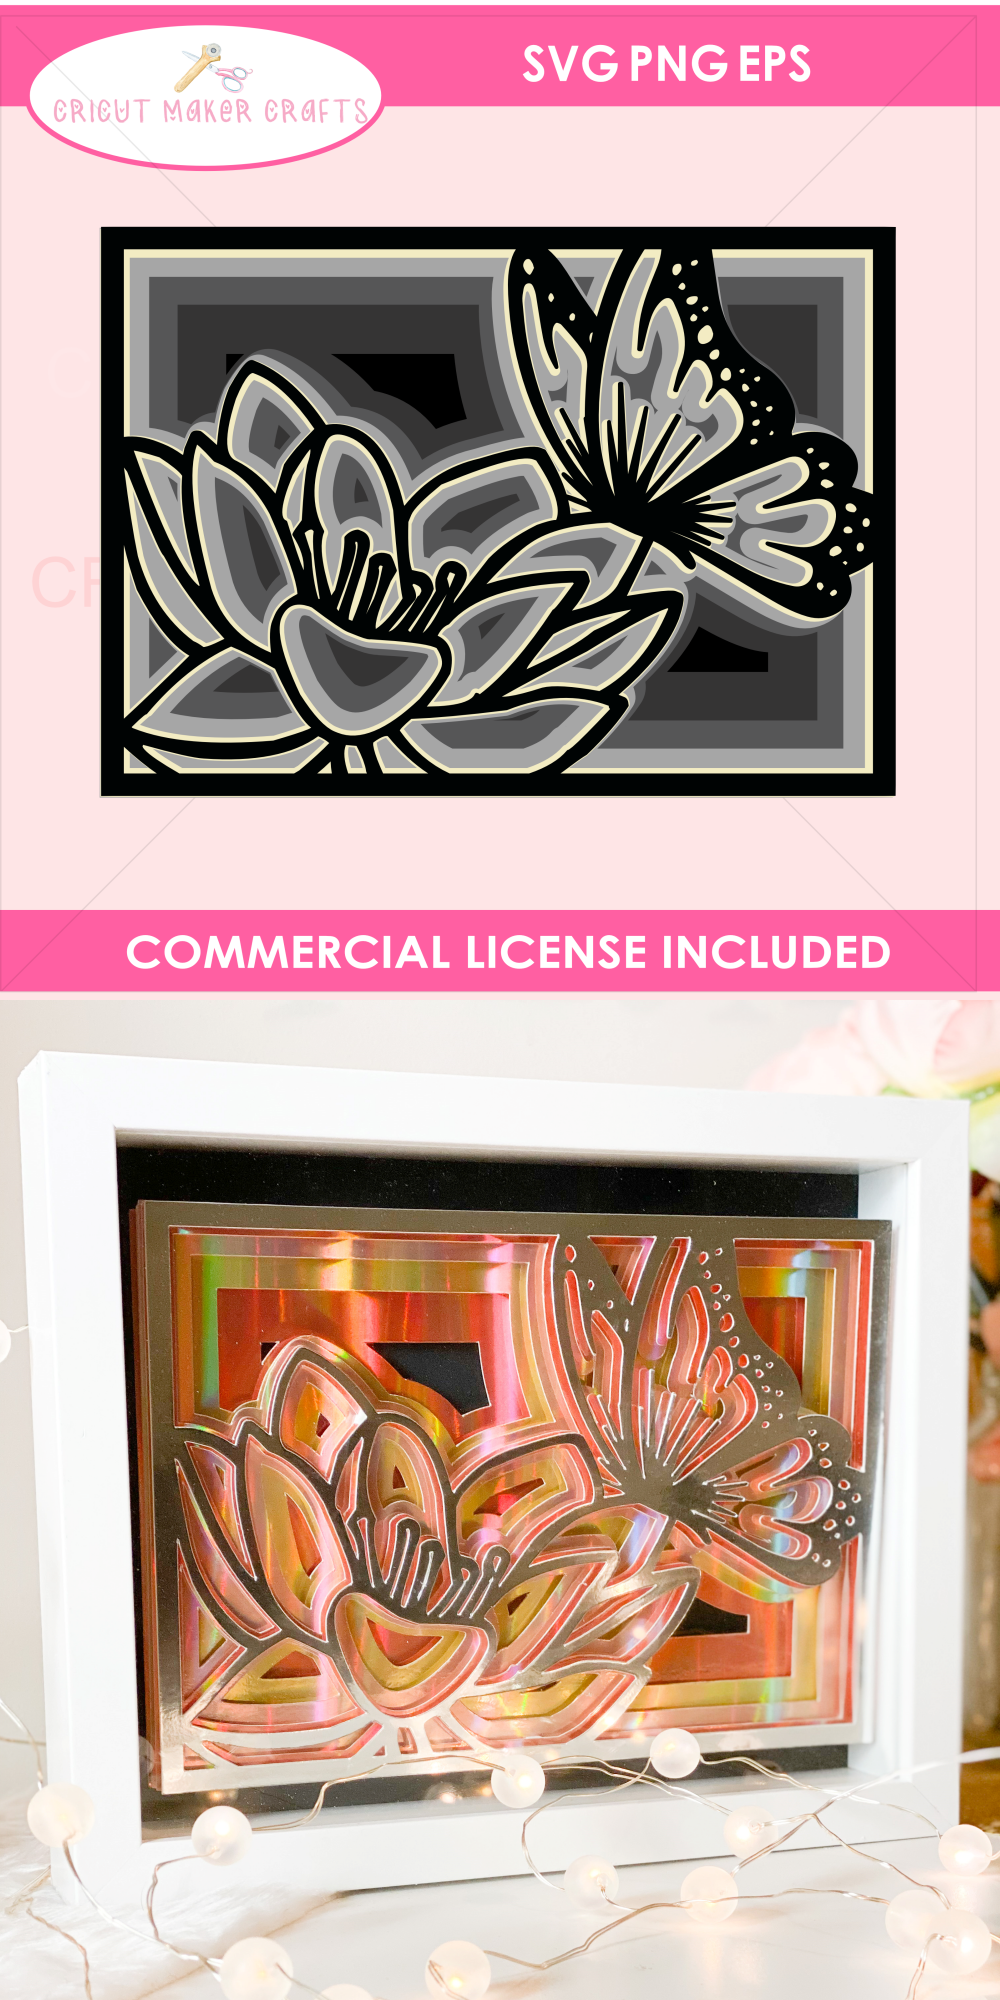
I have a ton of layered SVG cut files available in my Etsy shop based on different themes. Click on each image to check out the file in my Etsy store!


Save this Project on Pinterest for Later
More Cricut Projects to Try
Want more Cricut project inspiration? Check out these posts!

![Cute DIY Felt Pencil Toppers [FREE SVG] Cute DIY Felt Pencil Toppers [FREE SVG]](https://cutnmakecrafts.com/wp-content/uploads/2020/06/DIY-PENCIL-TOPPERS-WITH-FREE-SVG-AND-TEMPLATE-1-100x150.jpg)

![Cute DIY Felt Cloud Wall Hanging [FREE SVG] Cute DIY Felt Cloud Wall Hanging [FREE SVG]](https://cutnmakecrafts.com/wp-content/uploads/2020/05/diy-felt-cloud-wall-hanging-tutorial-100x150.png)
![DIY Father's Day SVG + Artwork Tutorial [FREE] DIY Father's Day SVG + Artwork Tutorial [FREE]](https://cutnmakecrafts.com/wp-content/uploads/2020/06/fathers-day-svg-fathers-day-crafts-by-cricut-maker-crafts-free-svg-2-100x150.png)


