In this Ikea Helmer hack, I’m sharing how I transformed two boring Ikea Helmer drawers into one of a kind statement pieces with my magical Cricut and a bunch of cardstock.
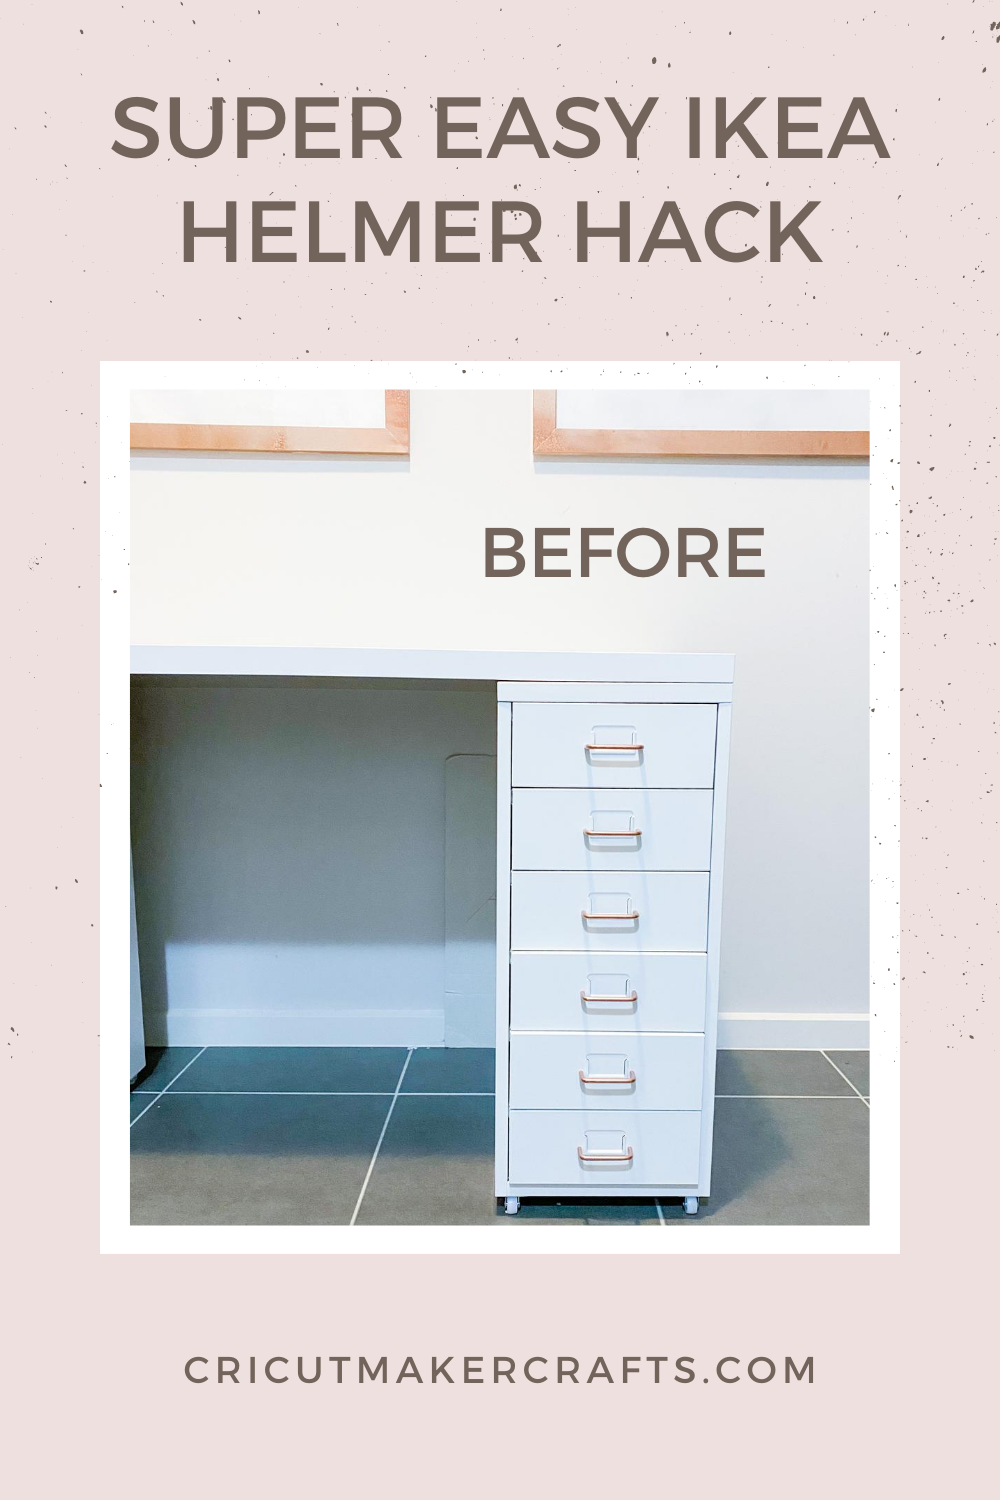
Hello, Cricut buddies! I’m Jav from Cut N Make Crafts (not affiliated with Cricut). Today’s project is all about taking your boring and basic Ikea Helmer drawers and transforming them into something chic that would go with the theme of your office/craft room.
AFFILIATE DISCLOSURE: Cut N Make Crafts is a participant in the Amazon Services LLC Associates Program, an affiliate advertising program designed to provide a means for sites to earn advertising fees by advertising and linking to Amazon.com.
Recently, I purchased two sets of Ikea Helmer drawers as they were on sale and I needed some extra storage space to organize my vinyl and other craft supplies. I thought these drawers would be perfect for sorting the craft supplies based on their categories.
For example, I was able to sort the vinyl rolls into separate drawers. I allotted one drawer for temporary adhesive vinyl, one for permanent adhesive vinyl, one for HTV, one for transfer tapes, and stencil vinyl, one for HTV vinyl sheets and scraps and the last one for adhesive vinyl sheets and scraps.
In the other Helmer drawer, I have so far placed my infusible ink supplies and foil quill supplies. I have left the rest of the drawers empty for now in case I buy more supplies and I need space.
But then the drawers looked too basic so I decided to add some chic look to them using my Cricut. I’m a huge fan of glam decor with modern designs so that was my inspiration for this project.
How to – Ikea Helmer Hack
To create the look, I first measured the length and width of the drawer panel, entered the value in Affinity Designer, and created a bunch of designs to see which I liked best. I couldn’t decide the design to go for so I went ahead and cut out the one which was my most favorite.
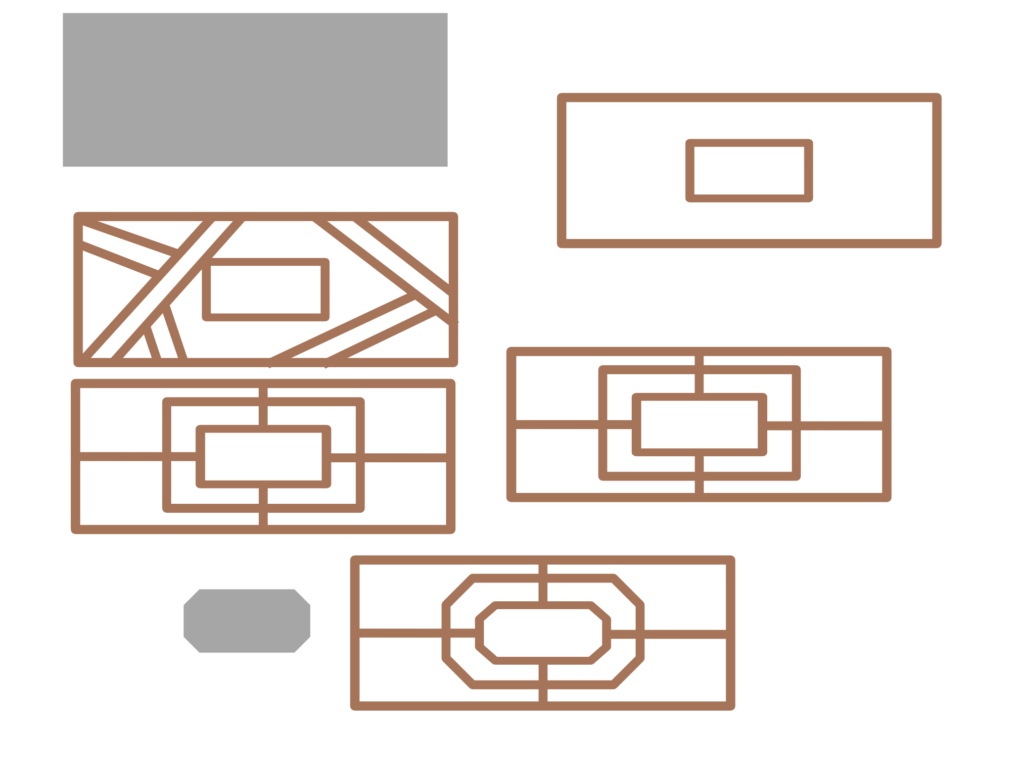
This is the blessing of knowing SVG designing. You can create literally anything your heart desires. If you would like to learn to create your own SVG cut files, check out my free class on designing SVG cut files using professional software.
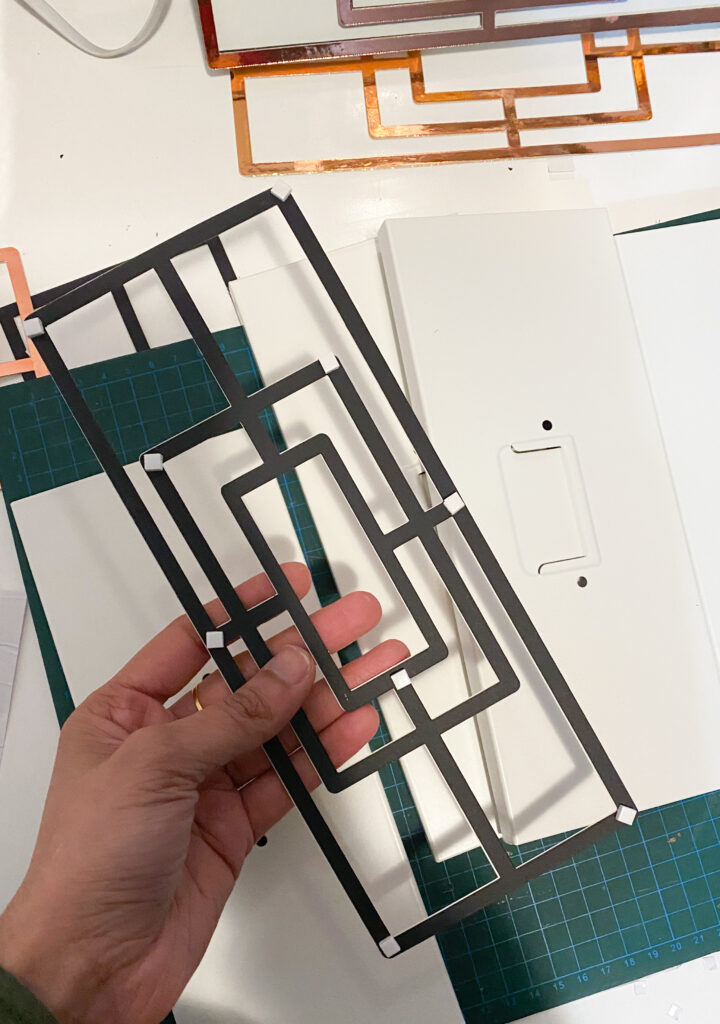
I imported the SVG file onto Cricut Design Space and cut out the design on heavyweight cardstock. I pieced together two layers of cardstock to make it stiffer. The great thing about this project was that the size of the design was small enough to fit on the mat and on the cardstock. Had the designs been bigger, it would’ve been problematic. However, since the Ikea Helmer drawers are small with small panels, it was easier to do this on the Cricut with some cardstock.
I could’ve used some plastic sheets like these to cut out the designs for a more lasting finish, but I didn’t want to go through the hassle and wanted to keep the project simple and quick.
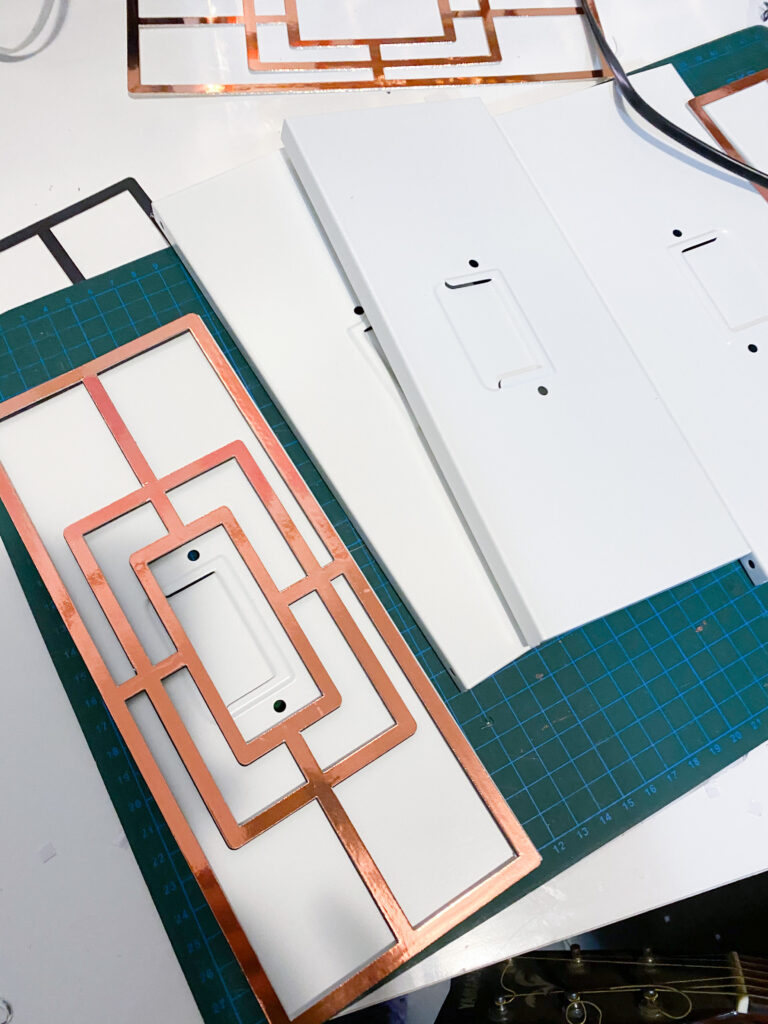
Next, I spray painted the handles with Rose Gold metallic finish Rustoleum spray paint. At first, I used the Copper distressed finish spray paint. But it didn’t go with the smooth finish shiny cardstock so I with my wonderful husband’s help, I sanded all the handles and spray painted them once again with 4 layers of Rose Gold metallic finish Rustoleum spray paint.
Handy hubby installed assembled the drawers for me and once the assembly was done, I added the design overlays using 4mm foam squares. I added foam squares on all the corners and the centers where the lines crossed. That’s it! Super simple and easy Ikea Helmer hack for creating one-of-a-kind statement pieces.
Supplies Needed for Ikea Helmer Hack
- Cricut Maker/Explore
- Ikea Helmer Drawers
- Foil Cardstock
- Foam Squares
- Rustoleum Metallic Spray Paint
How to – Ikea Helmer Hack
Equipment
- Cricut Maker
Ingredients
- 2 Ikea Helmer Drawers
- 1 Rose Gold Rustoleum Metallic Finish Spray Paint
- 10 Rose Gold Foil/Mirror Cardstock
- 40 Foam Squares
Instructions
- Measure the width and height of the drawer panels where you would like to place the overlay.
- Next, use the measurements to create the SVG design in Affinity Designer.
- Cut out the design by uploading it onto Cricut Design Space.
- Layer two cardstock designs one on top of the other.
- Add foam squares at the back of the cardstock to attach it on top of the drawers.
- Spray paint the handles using the Rustoleum spray paint.
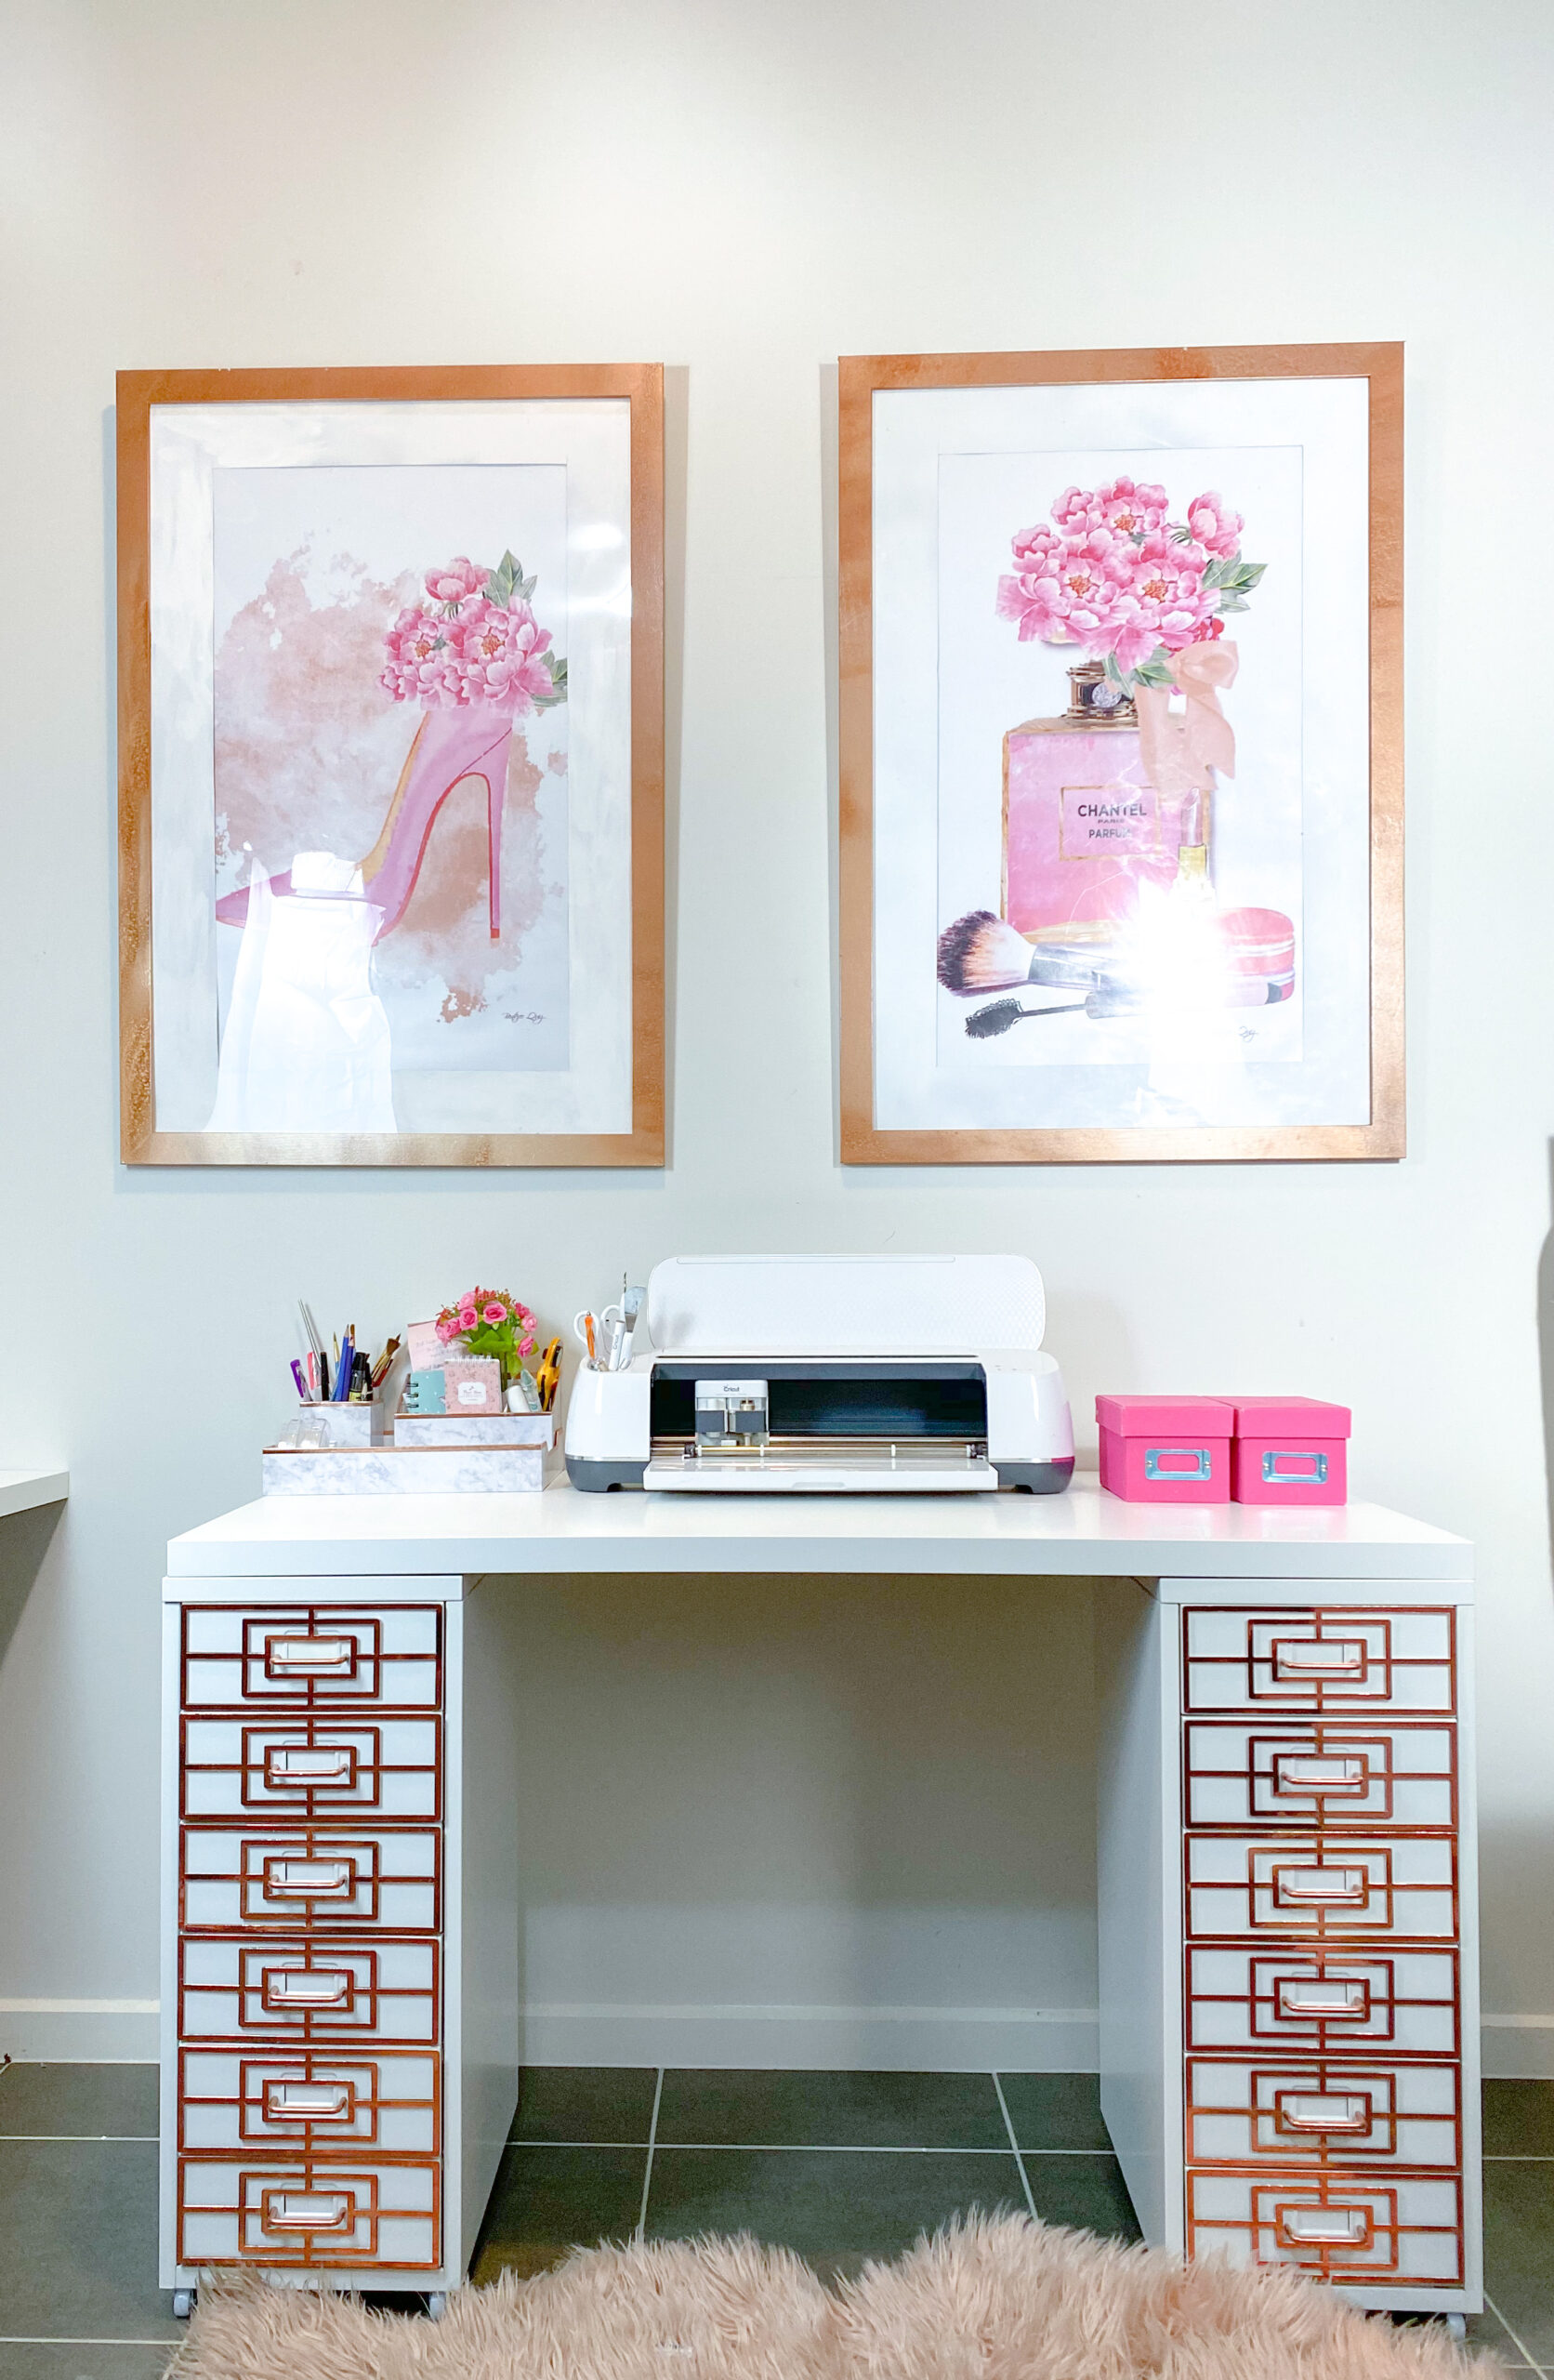
And here’s the final reveal. Here’s what the Ikea Helmer drawers look like once it was all done. My husband says there’s too much going on, but honestly, I’m just in love with how this turned out with just a bunch of cardstock. Seriously, with Cricut and SVG design knowledge anything is POSSIBLE!
BTW I’d like to point out one thing here, this isn’t my first crafting space/room. When I first started crafting, it was on the Ikea Lack table in my bedroom which I shared with my sister. I had no designated space for crafting or for storage. I had a sofa bed where I sat with the Ikea Lack table in front of me to work on. At night I would move the table to the foot of the bed, in the morning, I’d move it to the center to work.
Next, I moved to the dorm where my crafting space was my study desk where I also had to do my homework so every time I created a project I had to clean up the mess and put everything back inside the cupboard.
I used to look at all those humongous crafting spaces and just dreamt of having my own place one day. I thought once I graduated from college and got my own house, I’ll have a huge craft room. But then right after completing my Bachelor’s we moved to Australia and for six months we had to live in a shared house. Once again, I couldn’t get the craft space of my dreams because I had to share the craft room with my housemate.
Finally after years of waiting, when we moved to our new house, I claimed the entire dining area as my craft room/office. Even though it isn’t as big as some of the craft rooms in those farm houses, I still love it. I’ve been slowly adding stuff to the craft room to make it look like the one in my dreams.
Liked this Ikea Helmer hack? Save it for later by clicking the SAVE button on the image below!
More Craft Room Projects and Posts
Want more craft room inspiration? Check out these posts!



![Super-Cute Turtle Paper Craft for Kids [FREE SVG+PDF] Super-Cute Turtle Paper Craft for Kids [FREE SVG+PDF]](https://cutnmakecrafts.com/wp-content/uploads/2020/06/cricut-kids-craft-diy-paper-turtle-by-cricut-maker-crafts-100x150.png)
