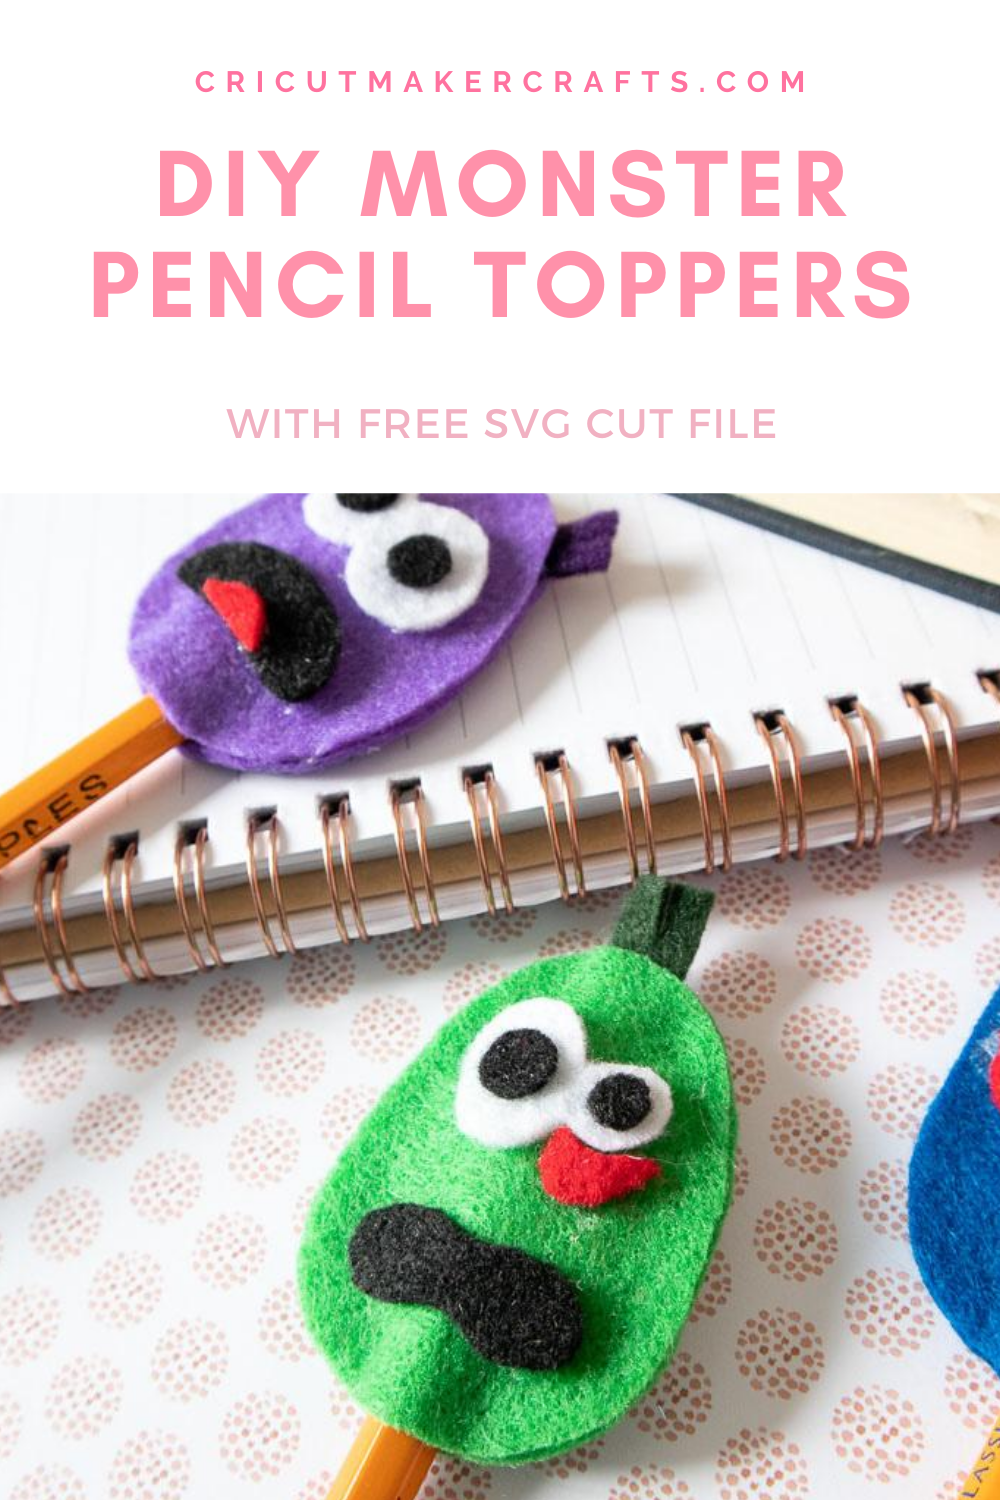
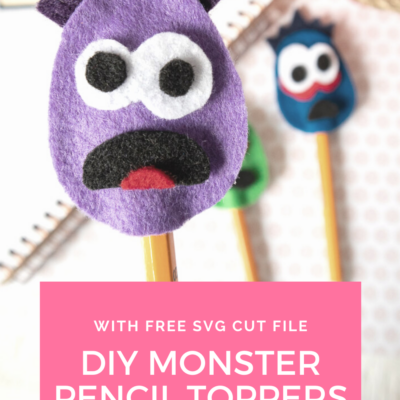
In this tutorial, I’m sharing a FREE monster pencil topper template and an SVG cut file along with steps on how to make your own super adorable pencil toppers. These pencil toppers are super easy to make with your little ones.
AFFILIATE DISCLOSURE: Cut N Make Crafts is a participant in the Amazon Services LLC Associates Program, an affiliate advertising program designed to provide a means for sites to earn advertising fees by advertising and linking to Amazon.com.
Hello, Cricut buddies! I’m Jav from Cut N Make Crafts (not affiliated with Cricut). Today I’m sharing a super adorable monster pencil topper template and tutorial to create with your little ones.
Tips for Cutting Felt Perfectly
If you’ve used felt previously, you know how difficult it is to get it off the sticky surface thanks to all the lint. It’s certainly not easy at all and can ruin the mats as well.
A quick hack to prevent your mats from getting covered in lint is to cover the mat with the contact paper. Keep the sticky side of the contact paper facing up so you can stick your felt on the sticky side. This will ensure all the lint sticks to the contact paper rather than the mat.
Okay now let’s have a look at all the supplies now.
Supplies Needed for Monster Pencil Topper Template + Tutorial
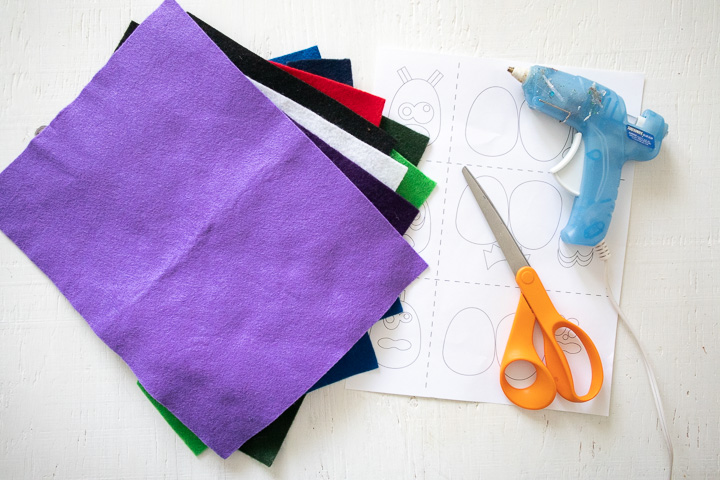
- Felt sheets (preferably purple, green and blue, but you can make your monster pencil topper in any color you like)
- Cricut Rotary Blade /fine point blade [this depends on the type of felt you use. If you’re using acrylic felt, you’d need the rotary blade. If you’re using plain felt, you can cut it out using the fine point blade.]
- Felt glue
- FREE Monster Pencil Topper Template/SVG file (available for the VIPs, become a VIP member by entering your name and address below)
Gather the Supplies
The first step for this adorable felt Monster pencil topper tutorial is to gather all the supplies. Once you have all the supplies in one place, crafting becomes much easier and fun as you don’t have to spend time running around in the middle of the craft to look for the supplies.
FREE Monster Pencil Topper Template + SVG
Equipment
- Cricut Maker/Explore Air 2
Ingredients
- Felt Sheets
- Cricut Rotary Blade
- Felt glue
- FREE Monster Pencil Topper Template/SVG file (available for the VIPs, become a VIP member by entering your name and address below)
Instructions
Preparing the Image:
- Sign up for the VIP list by entering your name and email in the box given above.
- Once you’ve entered your name and email address, you will receive a welcome email from me – Jav at Cut N Make Crafts.
- Inside the email, you’ll find the link to go to the FREE VIP library.
- Download the FREE Monster pencil topper template/SVG from the VIP library. The link for the VIP library is included in the thank you email that you should receive after signing up for the VIP list.
- Open Cricut Design Space.
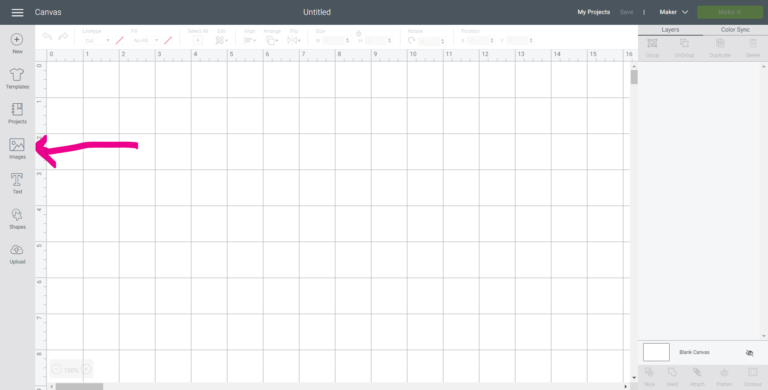
- Click on the “+” sign to start a new project, opening up a blank canvas.
- Click on upload.
- Locate the file on your computer and upload it to Cricut Design Space.
- Insert the file on the canvas and click on “Make it”.
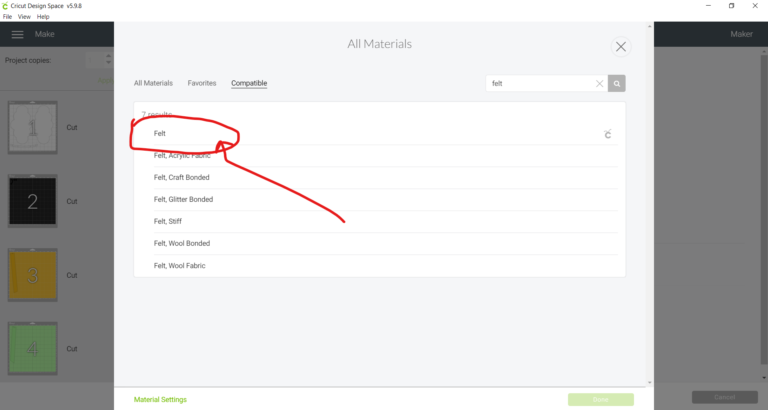
- Click on browse all materials.
- In the search box, type felt and select the type of felt you’re working with.
- Add the blade to your Cricut depending on the type of felt you’re using for this project. If you have the Cricut Maker you will be prompted to add the fine point blade or the rotary blade. If you’re using the Explore Air 2, you can use the fine point blade to cut out felt.
- Place contact paper sticky side up on your mat.
- Place felt sheets on the contact paper one at a time.
- Load the mat and cut out the felt pieces.
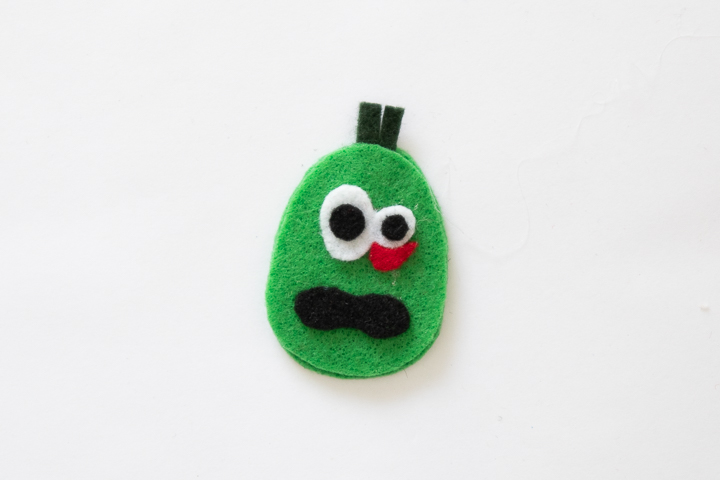
Assembling the Green Monster Pencil Topper
- Preheat the hot glue gun.
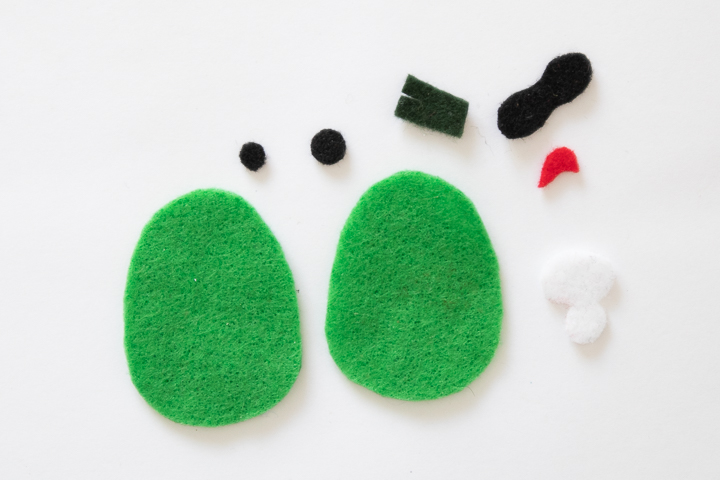
- Carefully glue the smaller felt pieces (the eyes and mouth) to the largest felt monster piece pressing in place.
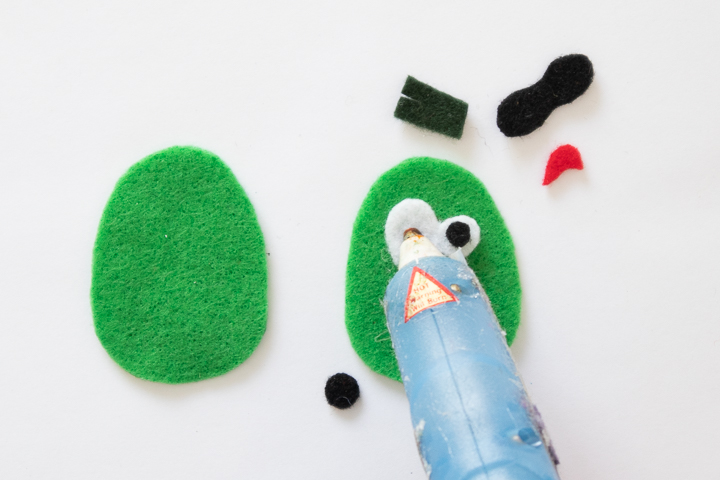
- Glue the fringe pieces to the wrong side of the other body piece.
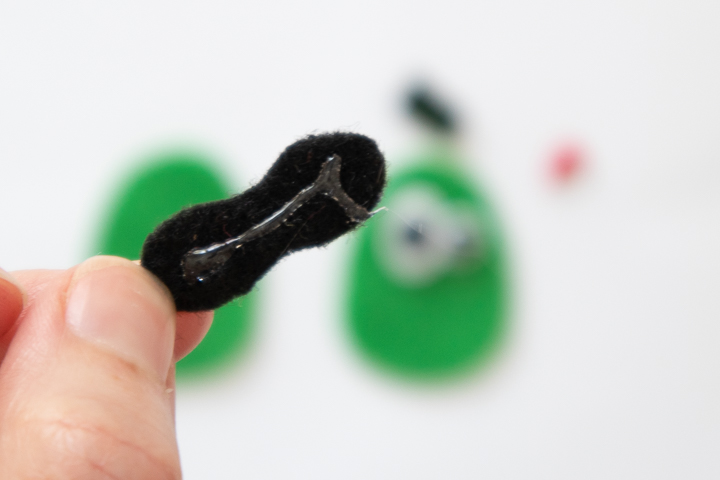
- Apply a bead of glue along the outer edges of the smaller body piece leaving the bottom without glue.
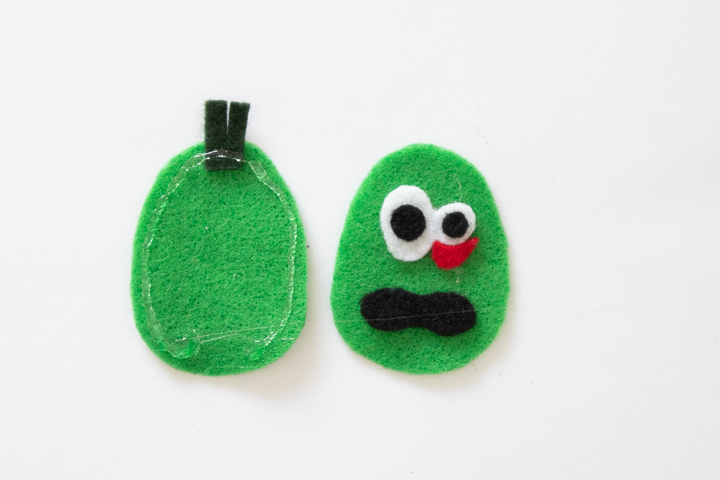
- Press the prepared monster 1 front piece to the back piece and press in place until the glue sets.
Assembling the Purple Monster Pencil Topper Felt Pieces
- Carefully glue the smaller felt pieces (the eyes and mouth) to the largest felt monster piece pressing in place.
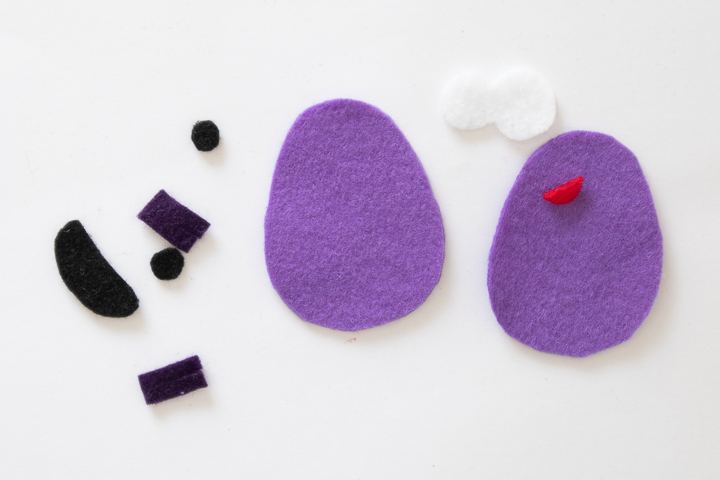
- Glue the fringe pieces to the wrong side of the other body piece.
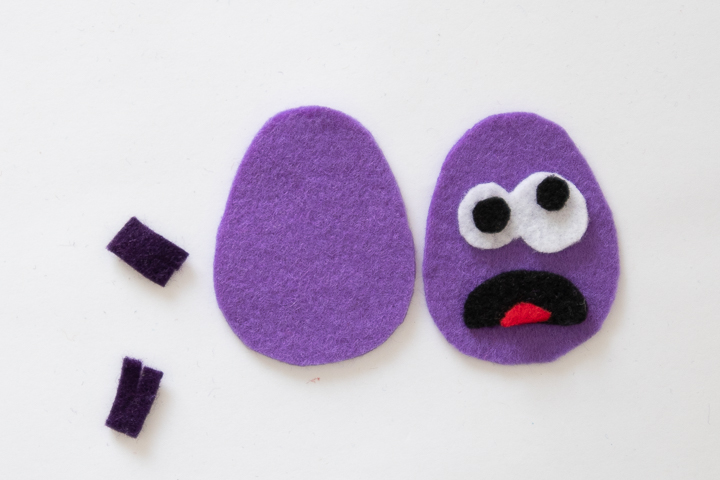
- Apply a bead of glue along the outer edges of the smaller body piece leaving the bottom without glue.
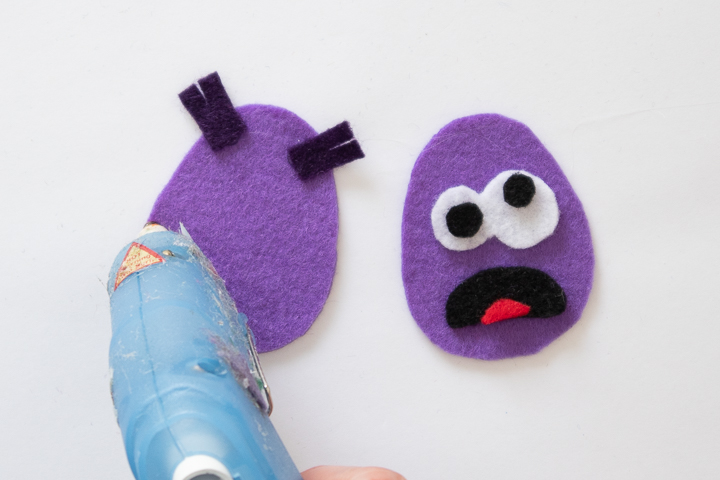
- Press the prepared monster 2 front piece to the back piece and press in place until the glue sets.
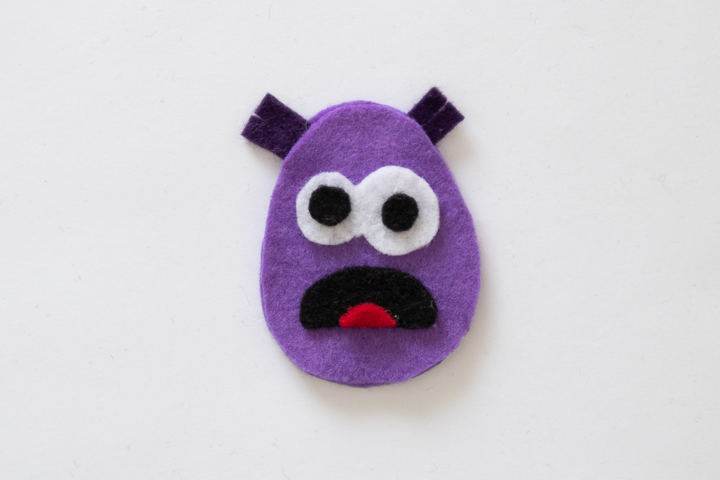
Assembling the Blue Monster Pencil Topper Felt Pieces
- Carefully glue the smaller felt pieces (the eyes and mouth) to the largest felt monster piece pressing in place.
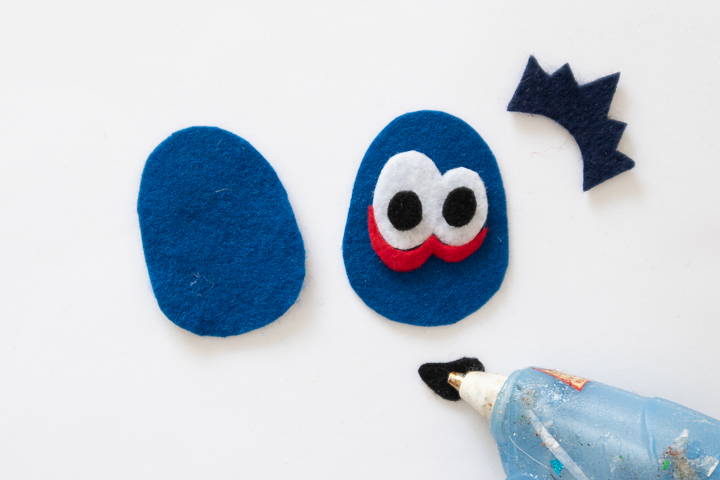
- Glue the crown piece to the wrong side of the other body piece.
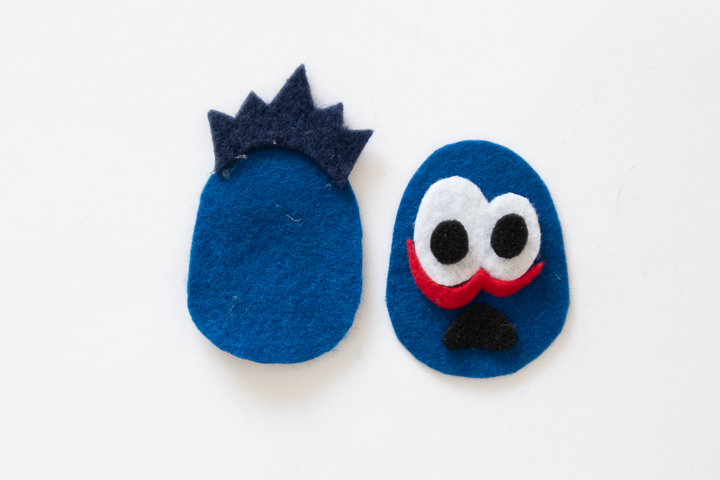
- Apply a bead of glue along the outer edges of the smaller body piece leaving the bottom without glue.
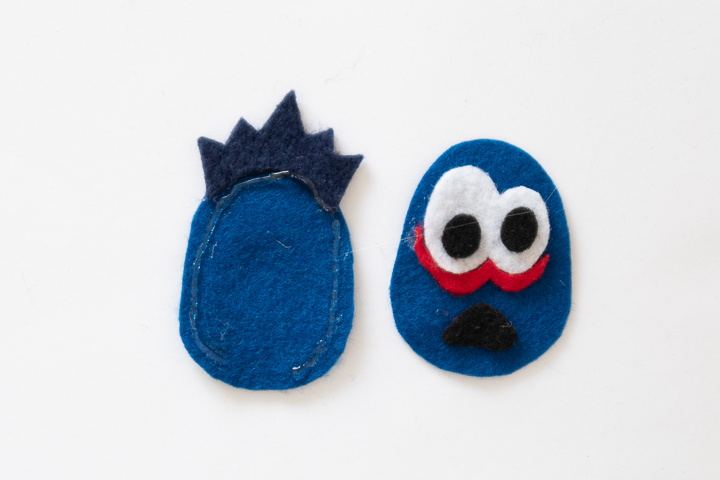
- Press the prepared monster 3 front piece to the back piece and press in place until the glue sets.
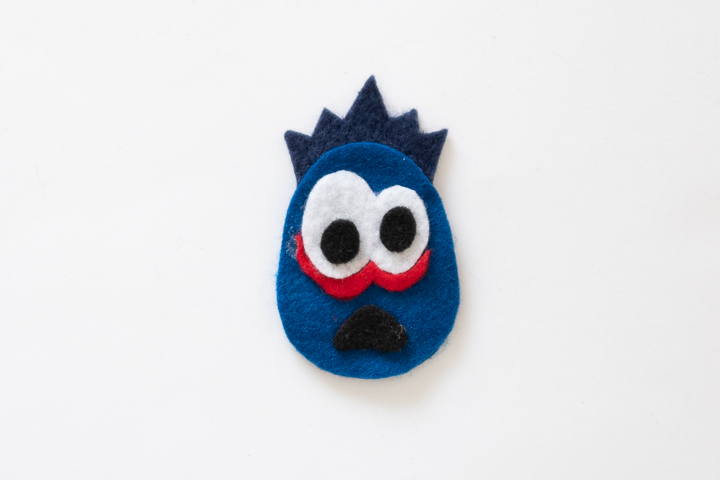
- Insert pencil into the felt monster toppers and enjoy!
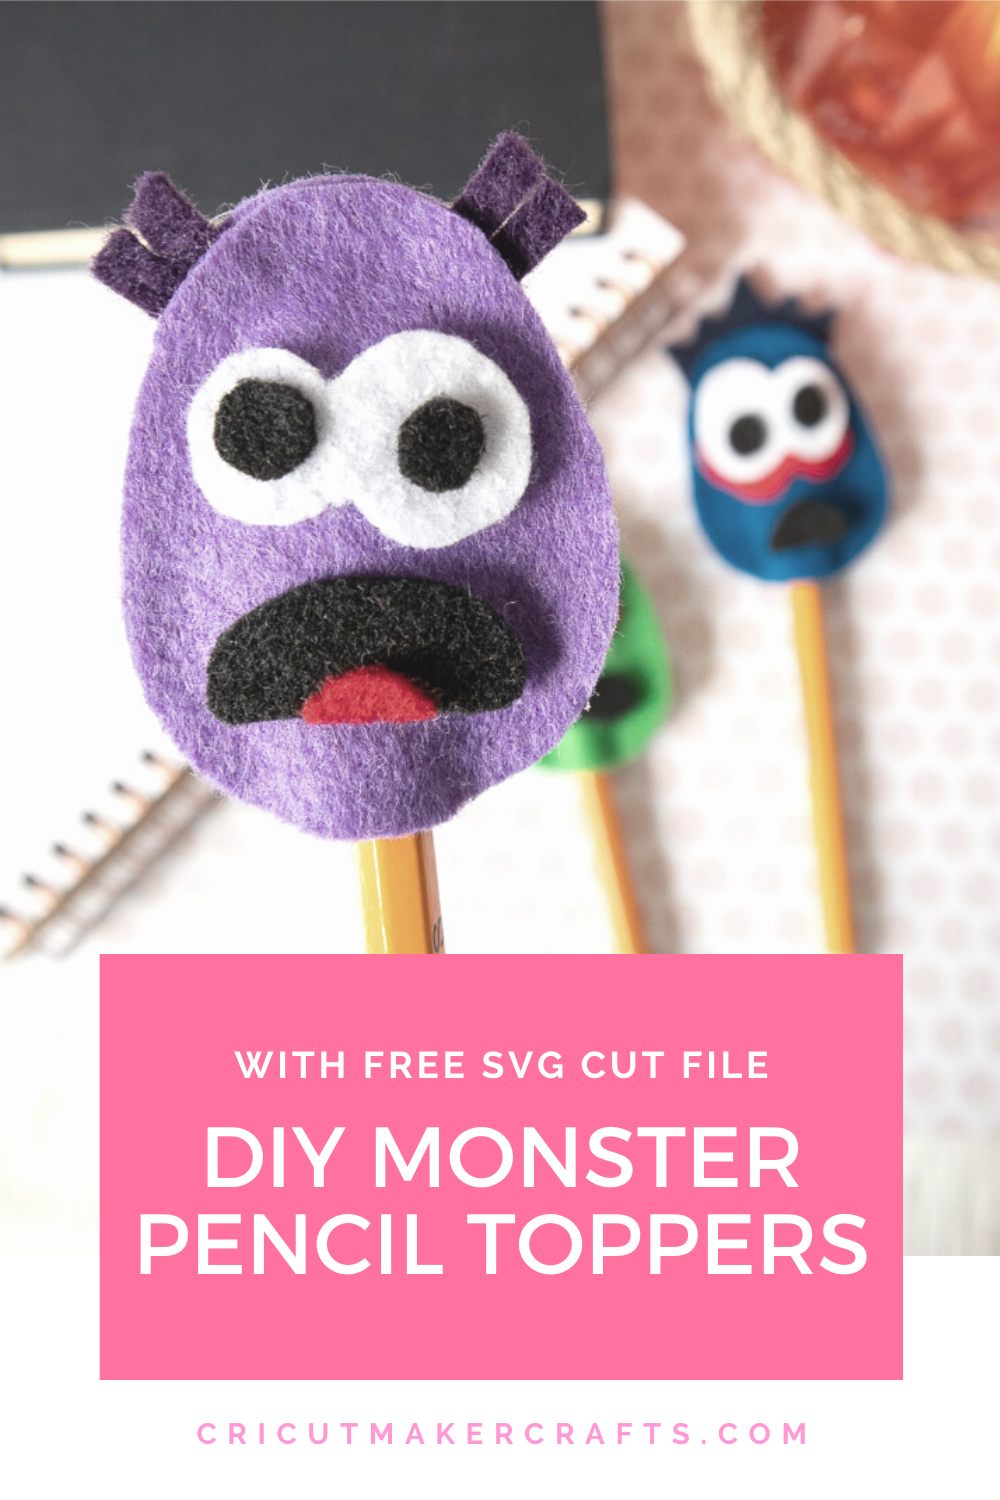
Enjoyed this Cricut felt project tutorial? Save it for later by clicking the SAVE button on the image below!
More Cricut Felt Projects to Try
Want more Cricut project inspiration? Check out these posts!

![Cute DIY Felt Pencil Toppers [FREE SVG] Cute DIY Felt Pencil Toppers [FREE SVG]](https://cutnmakecrafts.com/wp-content/uploads/2020/06/DIY-PENCIL-TOPPERS-WITH-FREE-SVG-AND-TEMPLATE-1-100x150.jpg)
