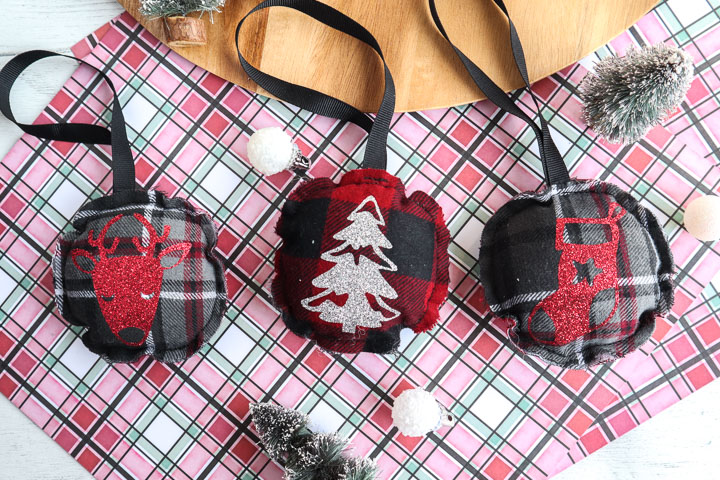
How to make DIY buffalo plaid ornaments
Learn to make these super easy and quick buffalo plaid ornaments with your Cricut and sewing machine.
Instructions
Preparing the Images for Buffalo Plaid Ornaments
- Open Cricut Design Space
- Click on the “+” sign to start a new project, opening up a blank canvas.
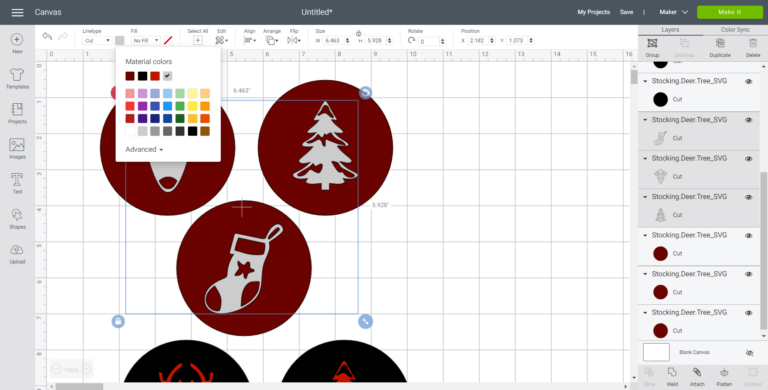
- Click on the “Upload” button from the toolbar and browse your downloaded files to insert the buffalo plaid SVG file.
- The images will appear on the canvas.

- Change the image colors if desired to match your material color.
Cutting the Iron-On Vinyl
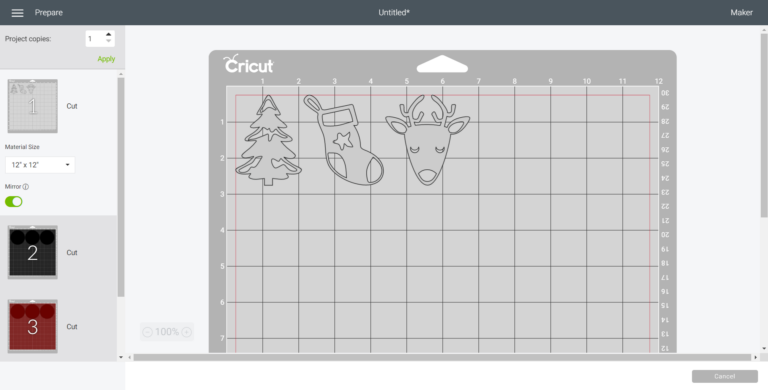
- Select “Make It” in the upper right corner to proceed with cutting.
- Click the “Mirror” toggle button to on for all mats with images to be cut in Glitter Iron-On material.
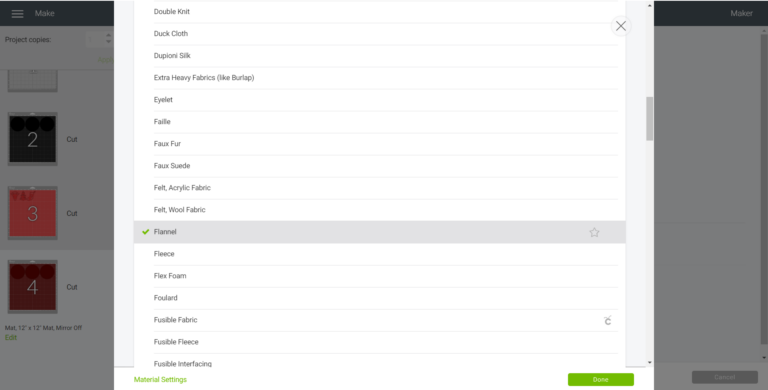
- For cutting the circle shapes, choose flannel fabric from the list of options in the drop down menu.
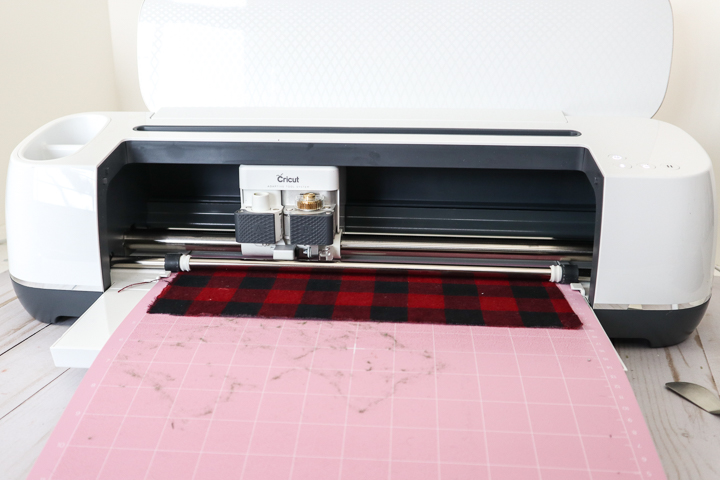
- Place a piece of flannel fabric on a fabric grip mat and proceed with cutting.
- Remove the circle shapes from the mat and repeat for more circle shapes in coordinating flannel fabric.
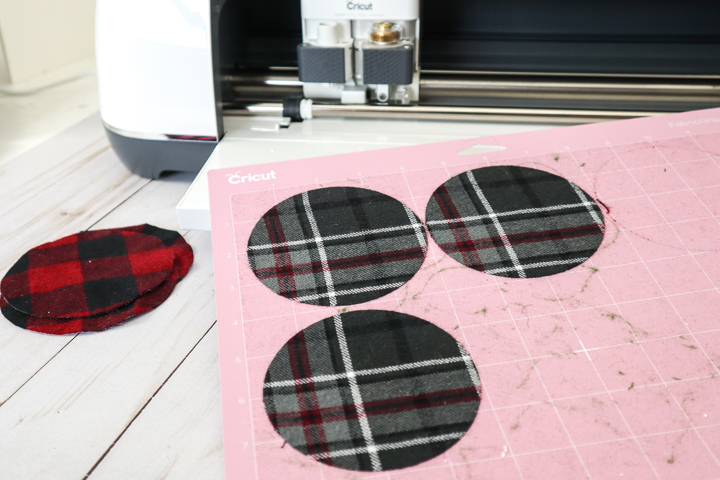
- Following the instructions prompted on the screen, cut out the flannel.
- For cutting the stocking, deer, and tree shapes, choose Glitter Iron-On Vinyl from the list of options in the drop-down menu.
- Place the Iron-On vinyl directly onto the strong grip Cricut mat with the SHINY SIDE DOWN. (To learn more about working with iron-on vinyl, check out my Ultimate Life-Saver Vinyl Guide for Beginners.)
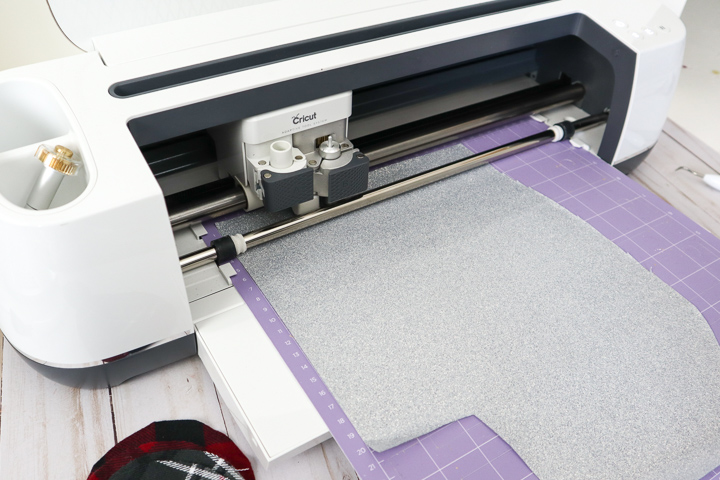
- Following the instructions prompted on the screen, cut out the vinyl.
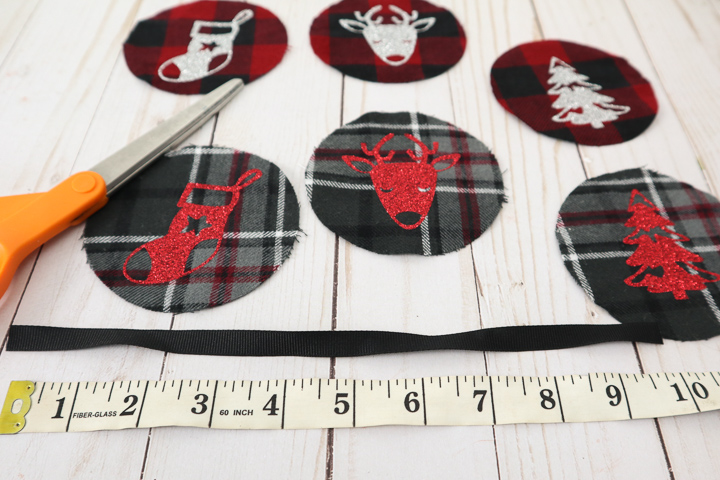
- Remove the Glitter Iron-On Vinyl from the mat and using a weeding tool, peel away the excess vinyl leaving only the deer, stocking, and tree images.
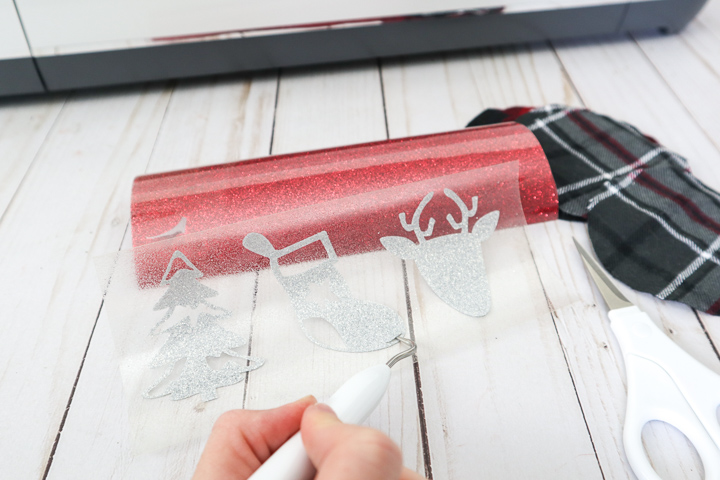
- Cut around each of the images.
Applying the Image with the Cricut EasyPress Mini:
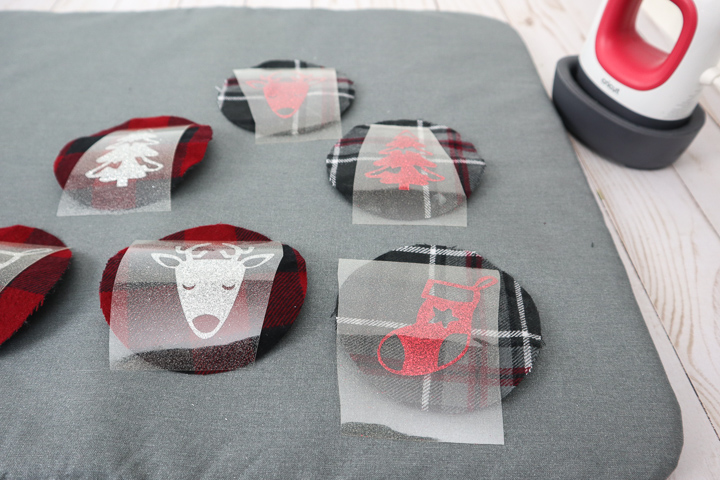
- Position the mat or a towel on a flat surface.
- Set the temperature and time on the machine following the chart for the type of vinyl and material being used or use this EasyPress Interactive Quick Reference Guide (https://home.cricut.com/easypress-heat-settings-guide).
- For a 100% Cotton flannel and Glitter Iron-On Vinyl, set the EasyPress Mini to medium heat.
- Preheat each of the ornaments for 5 seconds.
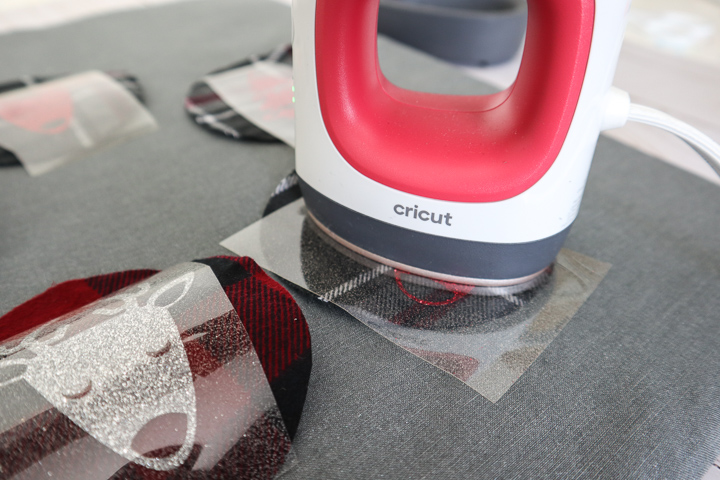
- Place one image in the center of each circle with the shiny side up.
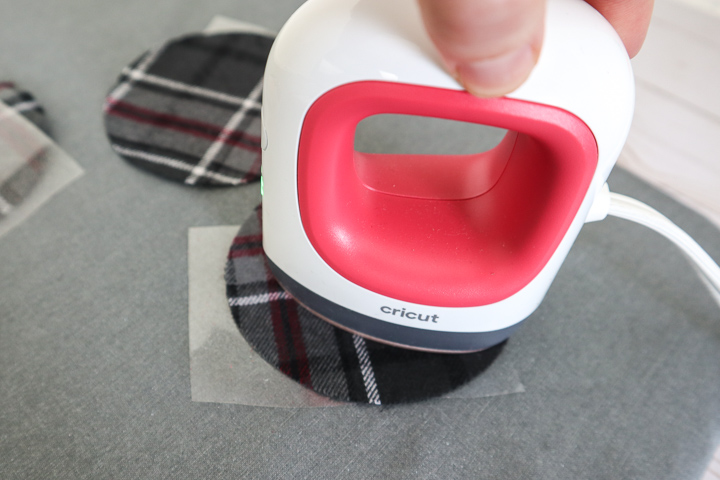
- Press the image on to the ornament for 25 seconds, constantly moving EasyPress Mini as you press.
- Turn the ornament upside down and apply heat for another 15 seconds.
- While vinyl is still warm, peel the plastic part of the vinyl off carefully and discard.
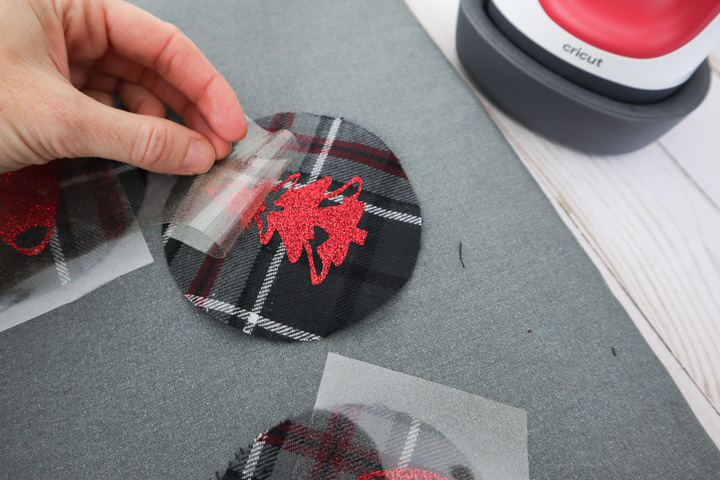
- Make sure you do not place an iron or the EasyPress Mini directly over the vinyl without the protective plastic cover.
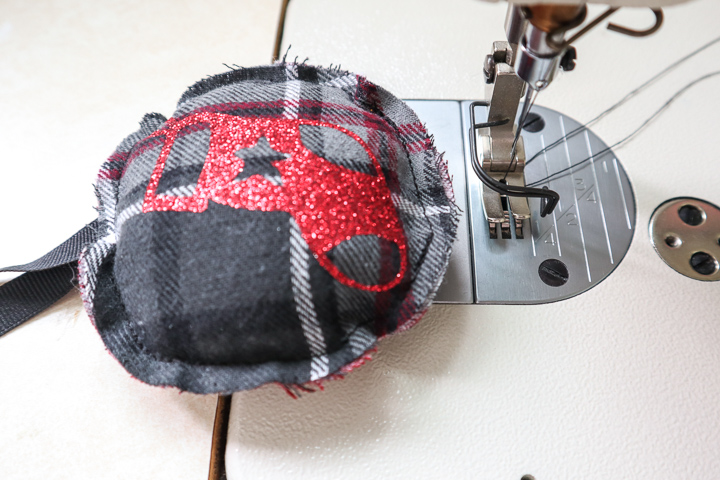
Sewing the Ornaments:
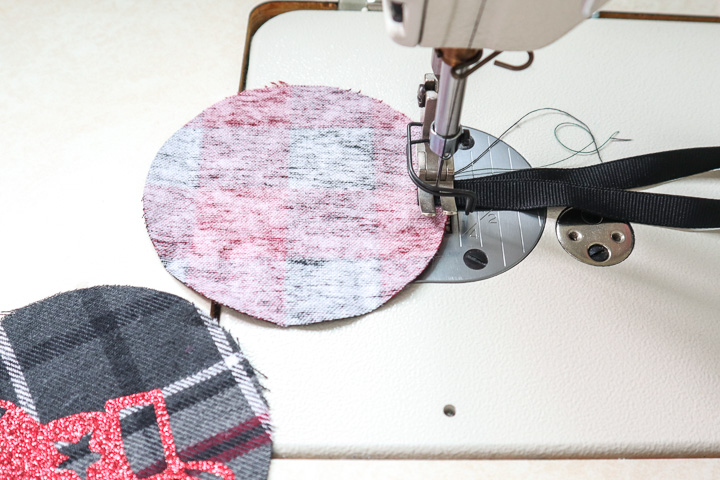
- Cut a piece of grosgrain ribbon 10” long for each ornament.
- Fold the ribbon in half and place the cut ends at the top of the ornament and stitch it in place.
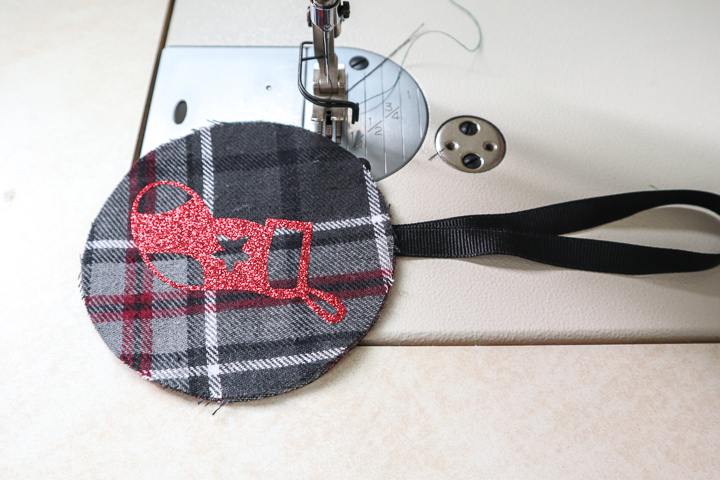
- Place two circle shapes with the wrong sides together. Stitch around the outer edge with a ¼” seam allowance leaving a 1” gap opening. Make sure the tops for each ornament are aligned on the front and back.
- Insert batting into the opening and then sew the opening closed.
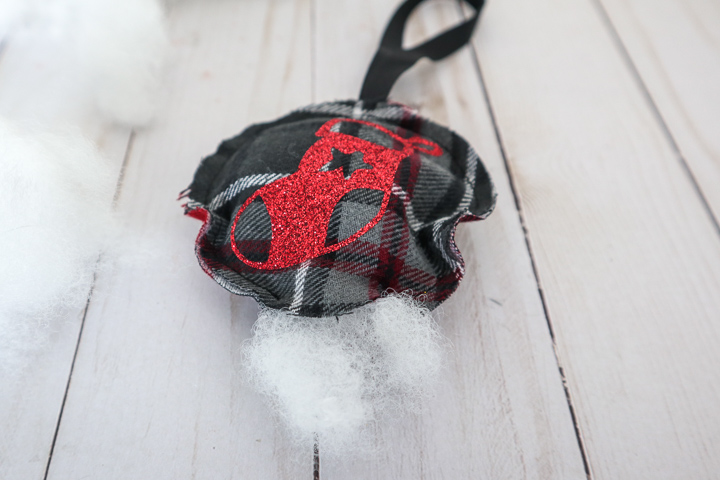
- Yay! You're done, your buffalo plaid ornaments are ready!