How to make a border in Cricut Design Space
Hey Cricut lovers! I'm Sumayyah from @CraftYourMemoriess on Instagram and welcome to Cut N Make Crafts. Today I will be showing you how to make a border around an image and text on Cricut Design Space.
Equipment
- Design Space
Instructions
How to Make a Border around an Image in Cricut Design Space
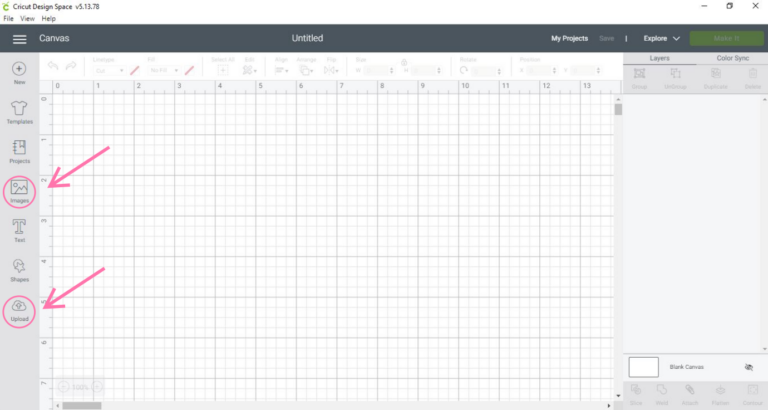
- 1. There are a few ways to create borders around an image or text in Cricut design space. First, start a new project and go to your canvas. Upload an image onto Cricut design space by pressing ‘upload’ or add an image from the Cricut library by pressing ‘images’.
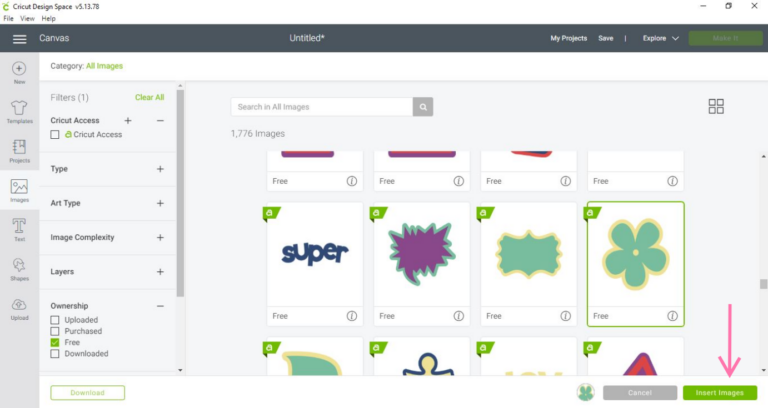
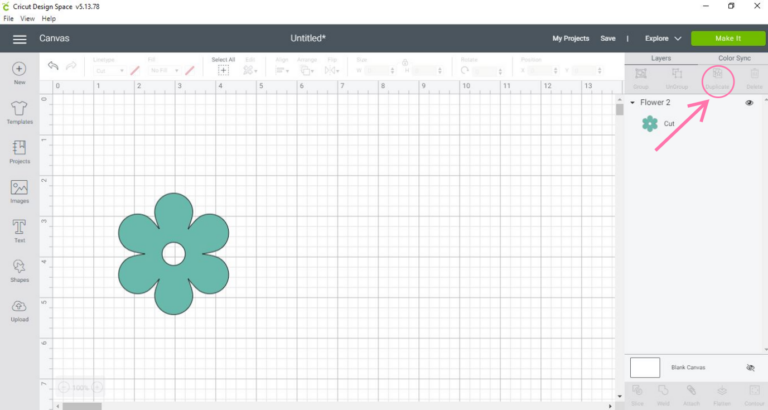
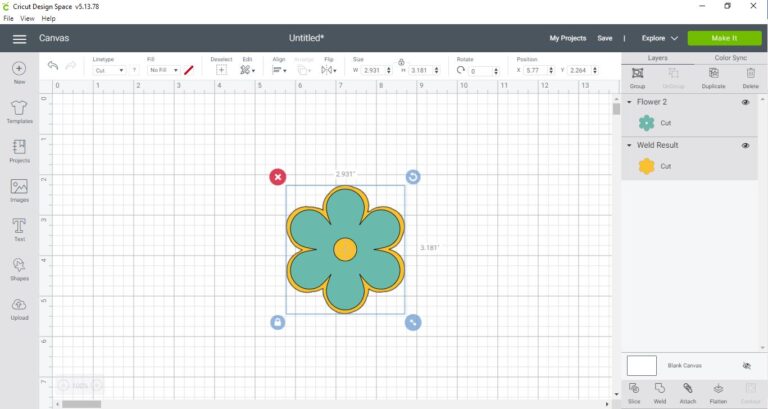
- Insert an image of your choice to the canvas by pressing ‘insert’. I will be using the image of a flower.
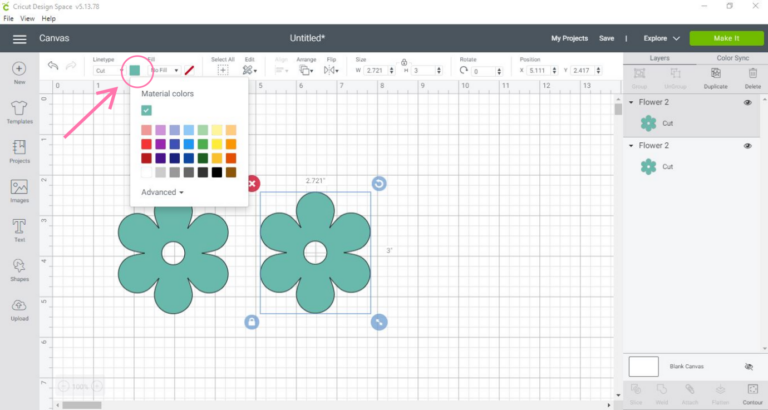
- Duplicatethe image by pressing ‘duplicate’.
- Then change the colour of the duplicated image by using the colour tab on thetoolbar.
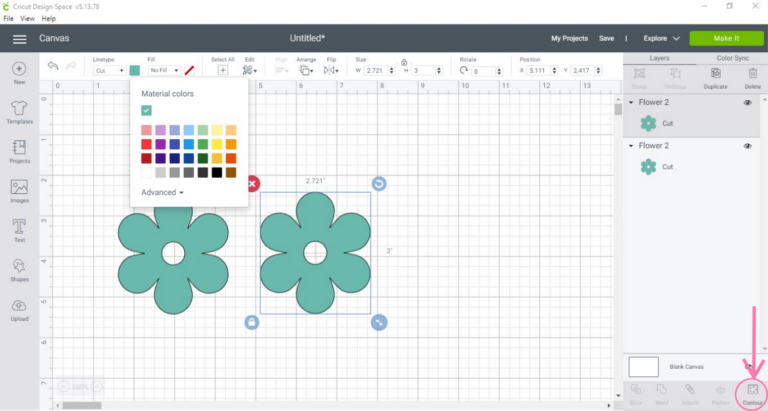
- Contourthis image to remove the gap by pressing ‘contour’.
- Select the pieces that need to be removed in order to create a silhouette.
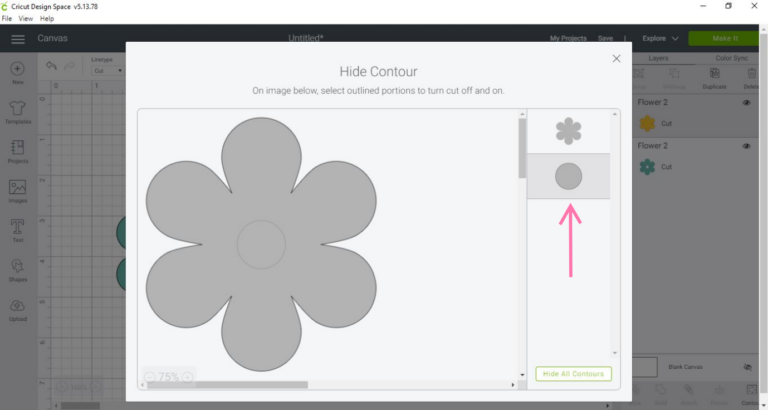
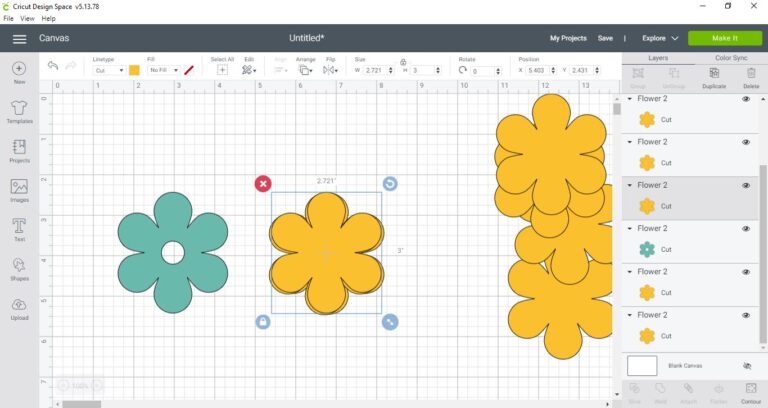
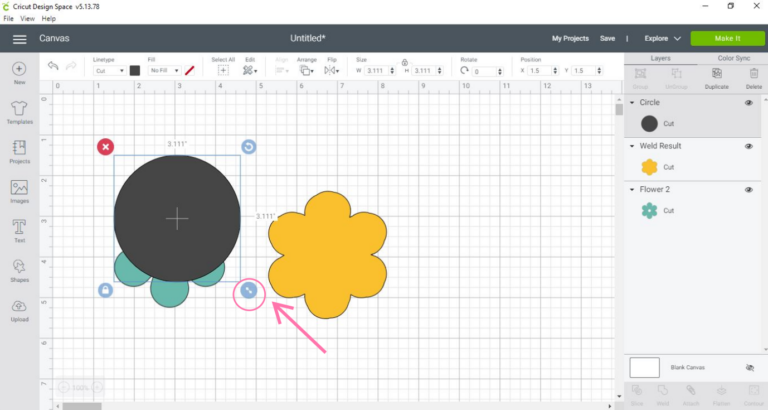
- When you click out of the box to access the canvas, you will be left with a silhouette of the image. Duplicate this silhouette at least 5 – 6 times. This number may vary according to the image.
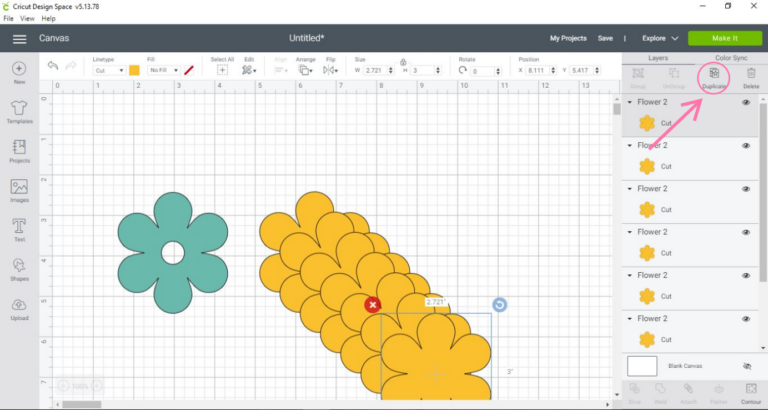
- Move all the duplicated silhouettes to one side of the canvas, except for one.
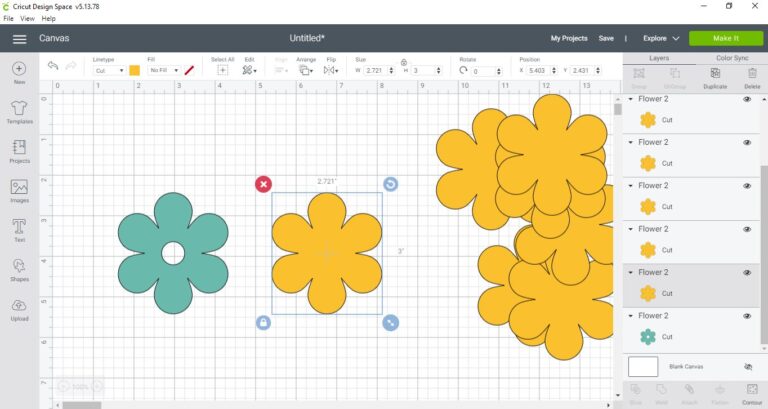
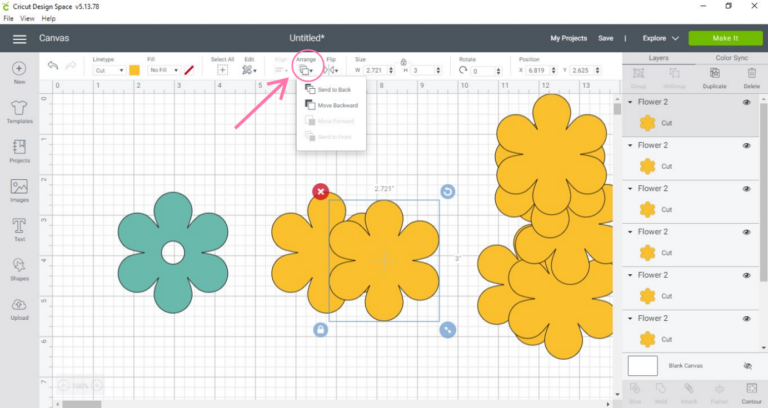
- Now one by one, each silhouette should be moved back to the silhouette you kept inthe center. However, the placement of each silhouette should be different each time. Arrange the image by sending it to the back in order to see where it is exactlygoing to be placed.
- To move the silhouettes at a differentplacement each time, move one silhouette back to the middle image but offset it slightly to the left.
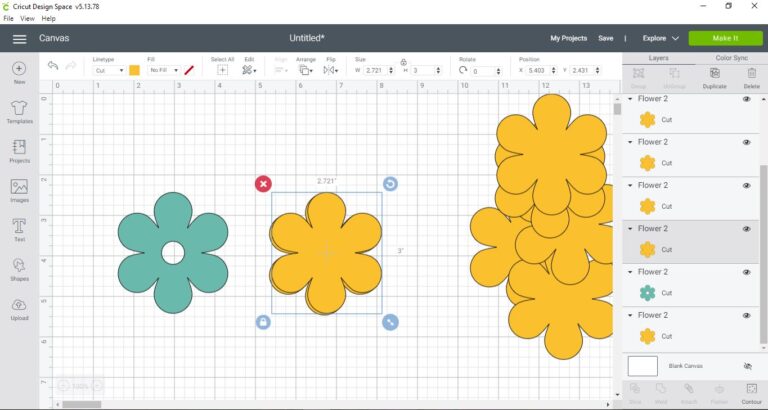
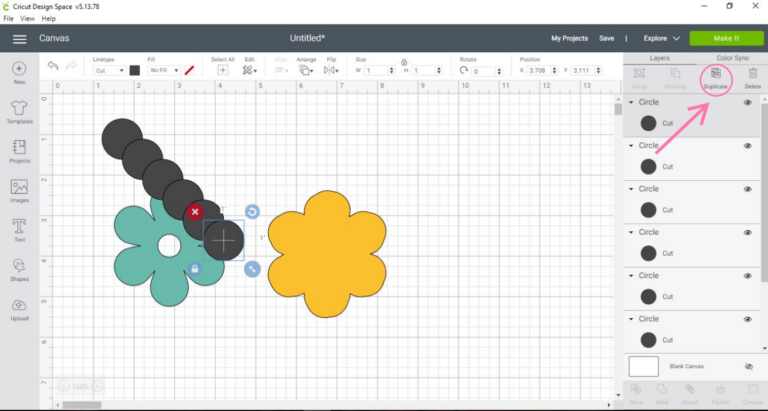
- Then I will drag another silhouette and place it slightly to the right.
- Continue doing this for all the silhouettes by placing each one slightly to the bottom left, bottom right, top left and top right.
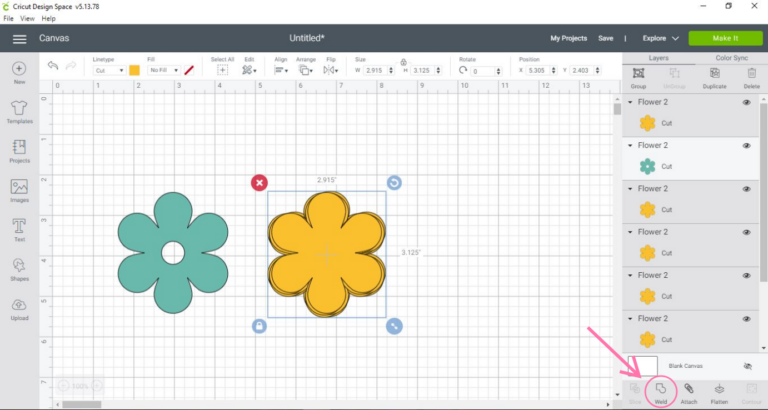
- Then select all the silhouettes by highlighting over them or by clicking them all in the layers panel. Press ‘weld’.
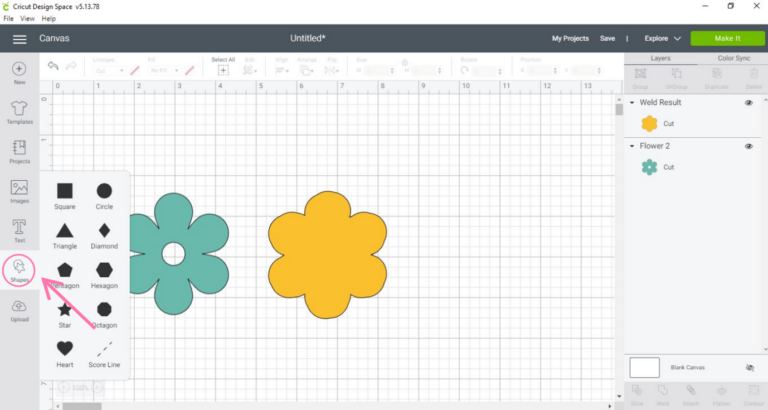
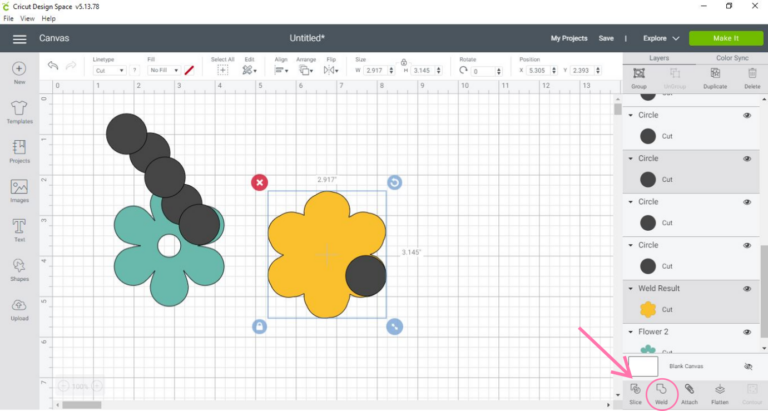
- The image may look a little bit odd, but this can be fixed by using the ‘shapes’ tool. Select a circle and it will be automatically added to the canvas.
- Resizethe circle by using the dual arrows and dragging it to be smaller.
- Duplicatethis circle a few times by pressing ‘duplicate’.
- The circle can then be moved around the image to fix the curves of the flower by selecting the circle and the flower, and then pressing ‘weld’. Continue doing this with the other duplicated circles.
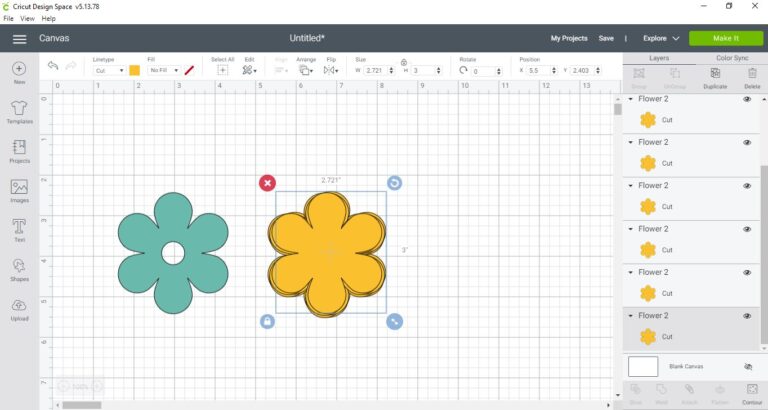
- Oncethe image has been fixed, you can layer the original flower on top of the silhouetteand see how a border has been made. Press ‘align’ and then center the images.
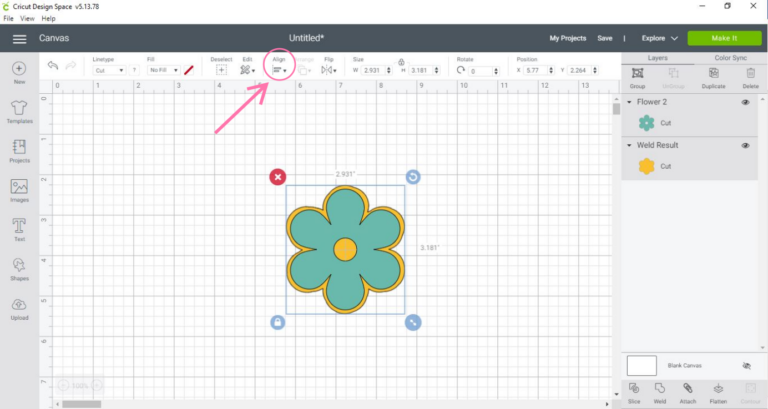
- Thiscan now be cut out.
How to Add a Border Around Text in Cricut Design Space
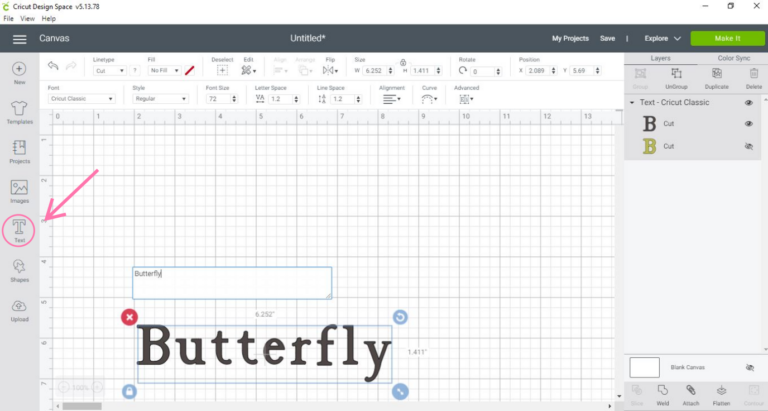
- This same procedure can be used for making a border around text. Add text into the canvas by pressing ‘text’.
- Select your font, style and size by pressing the icons. You can also change the letter spacing to decrease the gaps.
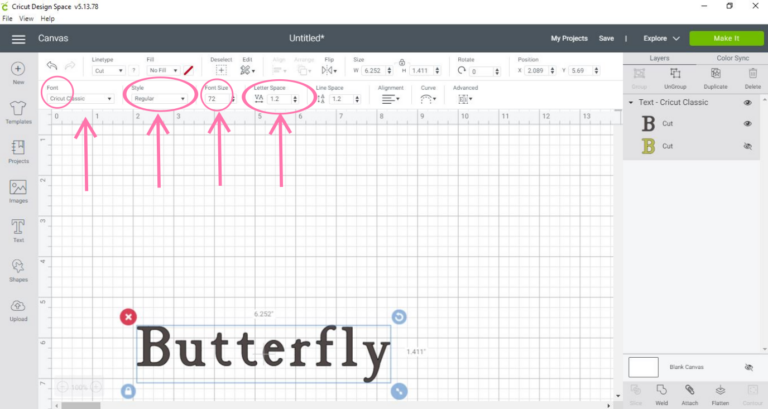
- Even after decreasing the letter spacing, there is still a gap in between the ‘b’ and the ‘u’. However, by using the letter spacing tool, the rest of the letterswill become squished. To resolve this, ungroup the word by pressing ‘ungroup’.
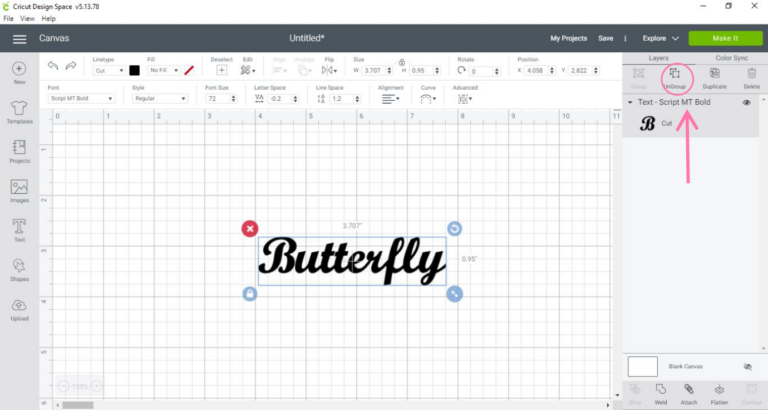
- The ‘b ’can now be moved over by dragging or using the arrow keys on your keyboard. Irecommend using the position tool by changing the numbers on the ‘X’ axis sincethe gap is very small. Once the spacing is done, select all the letters and press‘ weld’.
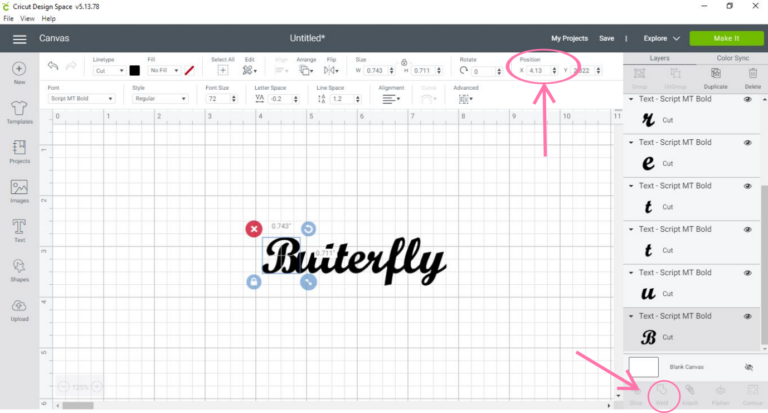
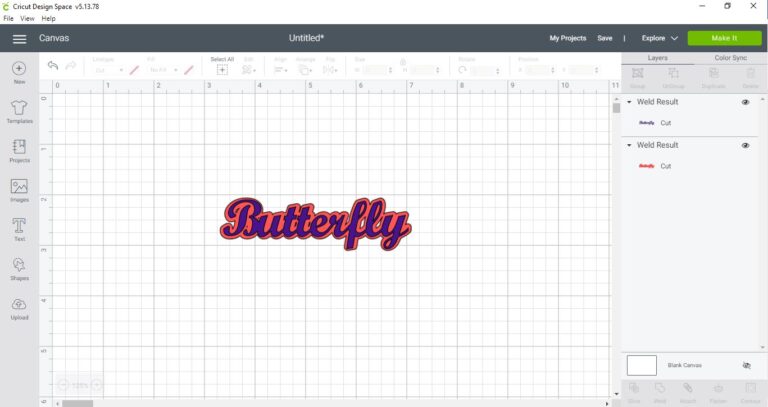
- Now we can follow the same procedure as shown in from step 7 to step 19. The result is shown in the picture.
How to Create Borders Using Shapes in Design Space
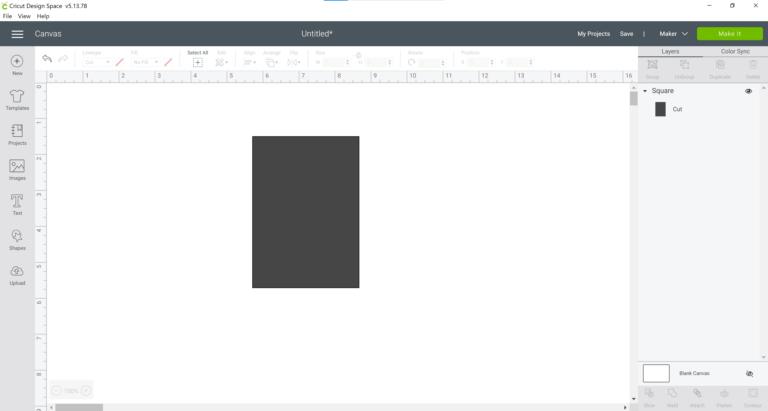
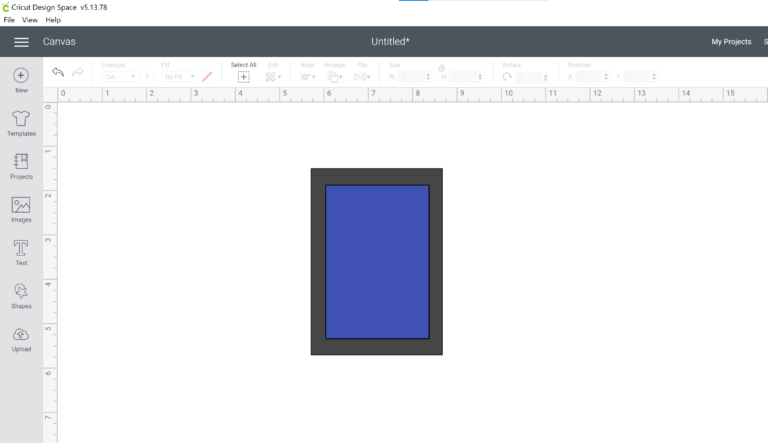
- First, add a square from the shapes section in the left-hand menu. Unlock the square and sretch it vertically to turn it into a rectangle.
- Duplicate the rectangle.
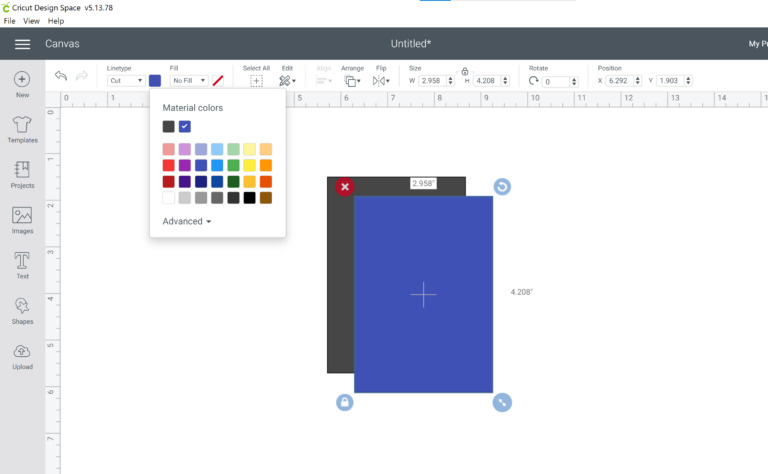
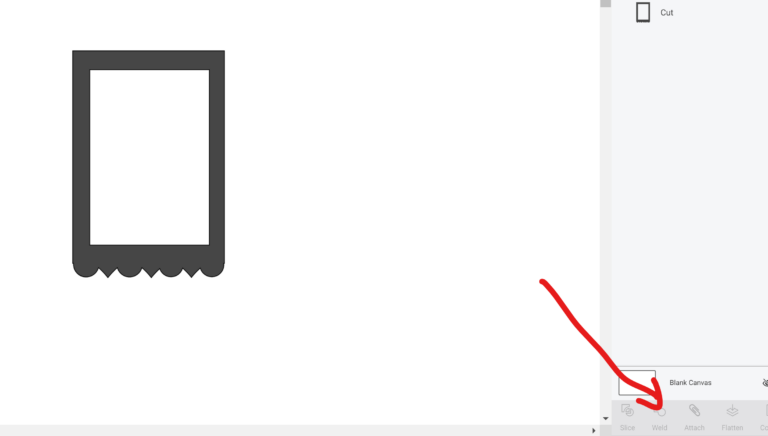
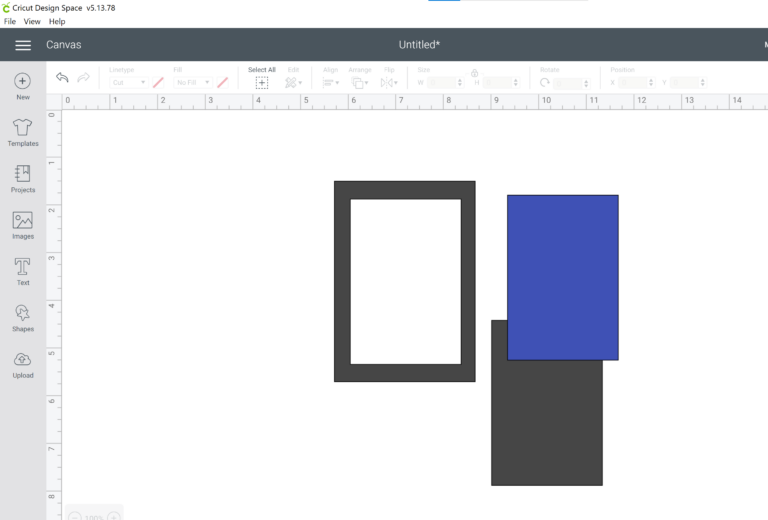
- Reduce the size of the new rectangle, change its color and place it on top of the larger rectangle as shown in the image. Select both the rectangles and click slice at the bottom right corner of the screen.
- You should now have a lovely rectangular border as shown in the image with two extra rectangles that you can delete.
How to Create Borders with Designs in Design Space
- Now, if you want to take this one step further and add some designs to your border, you can do so by first going to images and then typing patterns in the search box.
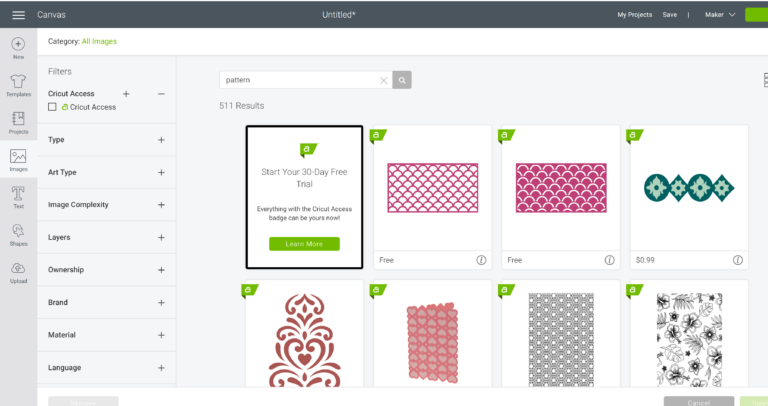
- Select an image that sort of looks like a border and click on insert image to add the image to your canvas.
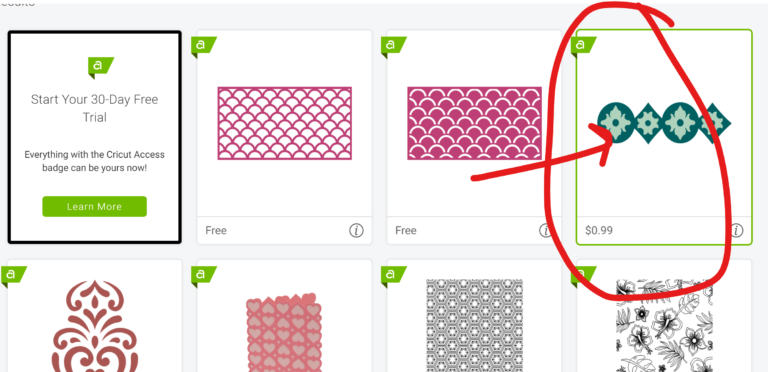
- Once on the canvas, resize it to fit along the edge of the rectangle as shown below.
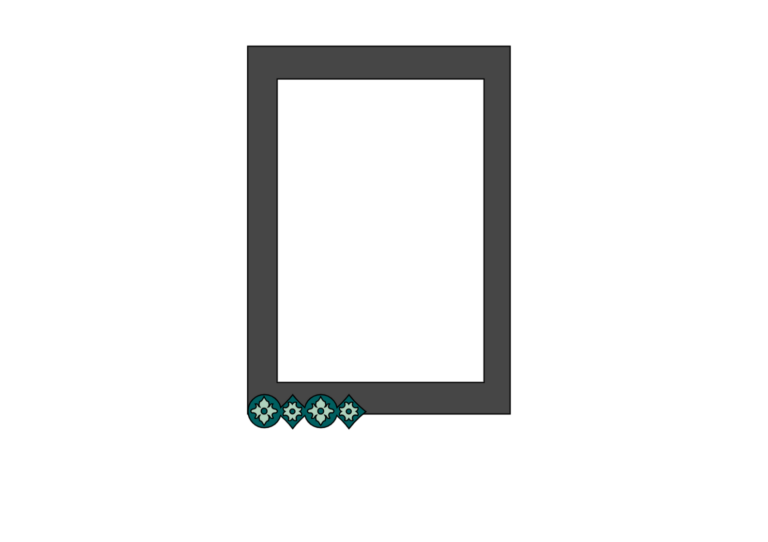
- Dulicate the image, flip it over and align it with the previous image.
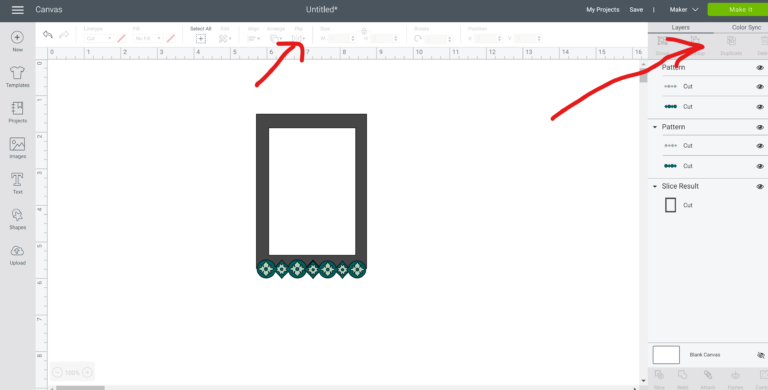
- Select all three images, and click on weld at the bottom right corner. That's it! Your border is ready!