How to Make Layered 3D Owl Mandala
Learn to make a super easy layered 3D owl mandala with this 3d layered SVG {free} cut file
Equipment
- Cricut Maker/Explore Air 2
Ingredients
- Medium - Heavyweight Cardstock
- Fine point blade
- Foam Squares
Instructions
Get the FREE 3D layered owl mandala from the VIP library
- Sign up for the VIP list by entering your name and email in the box given above.
- Once you’ve entered your name and email address, you will receive a welcome email from me – Jav at Cut N Make Crafts.
- Inside the email, you’ll find the link to go to the FREE VIP library.
- Download the FREE layered owl mandala SVG from the VIP library. The link for the VIP library is included in the thank you email that you should receive after signing up for the VIP list.
Cut Out the Owl Mandala SVG Using the 3D Layered SVG [FREE]
- Open Cricut Design Space.
- Click on the “+” sign to start a new project, opening up a blank canvas.
- Click on upload.
- Locate the file on your computer and upload it to Cricut Design Space.
- Insert the file on the canvas, resize the file to your needs. You can resize it to cut on a 12x12 cardstock or if you're using an A4 or letter sized paper, you can reduce the size to 7.5" in width. Once you're happy with the size, click on “Make it”.
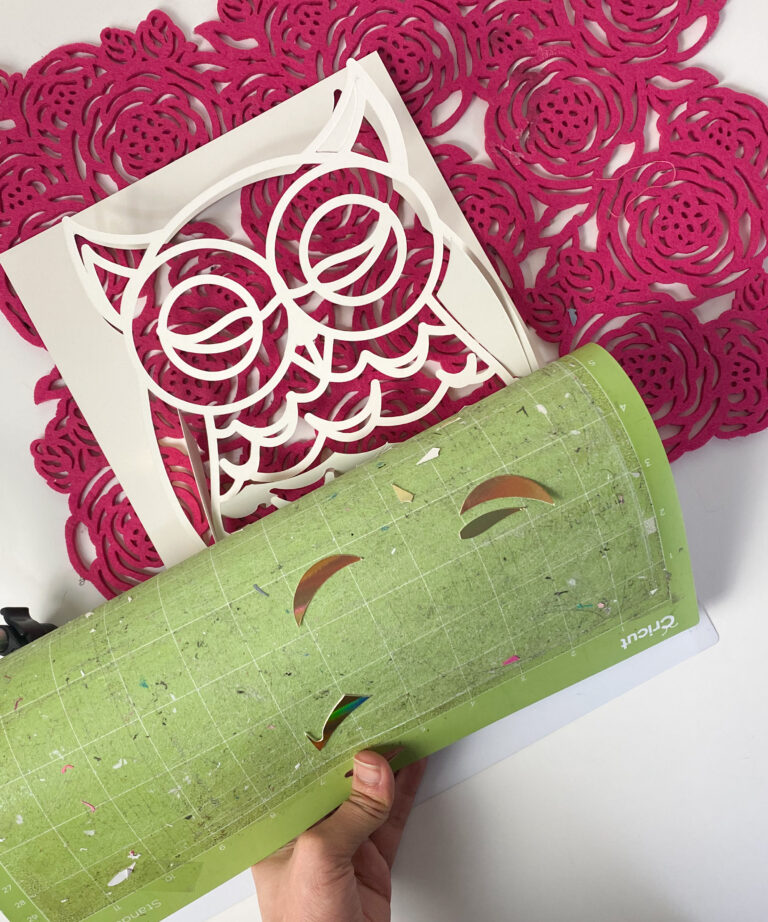
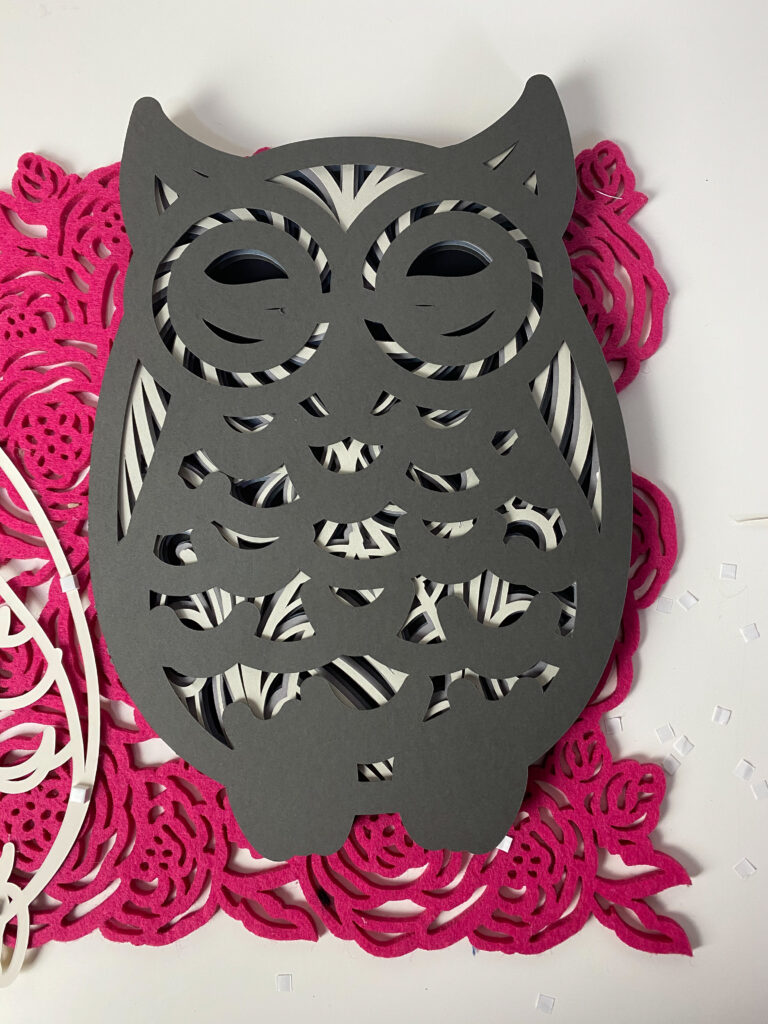
- Load the paper in the machine and cut everything out. Follow the tips given above to get the best cuts.
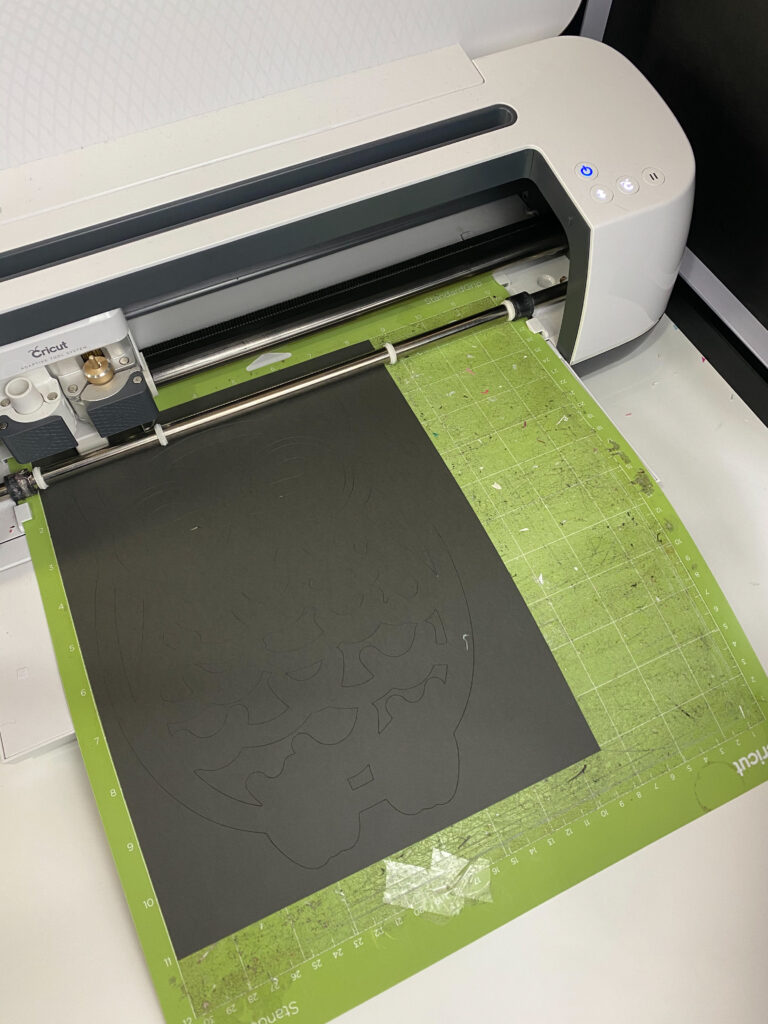
- To remove the cut out from the mat, roll the mat over as shown below and use your scraper tool to gently push the design away.
Assemble the 3D Layered Owl Mandala
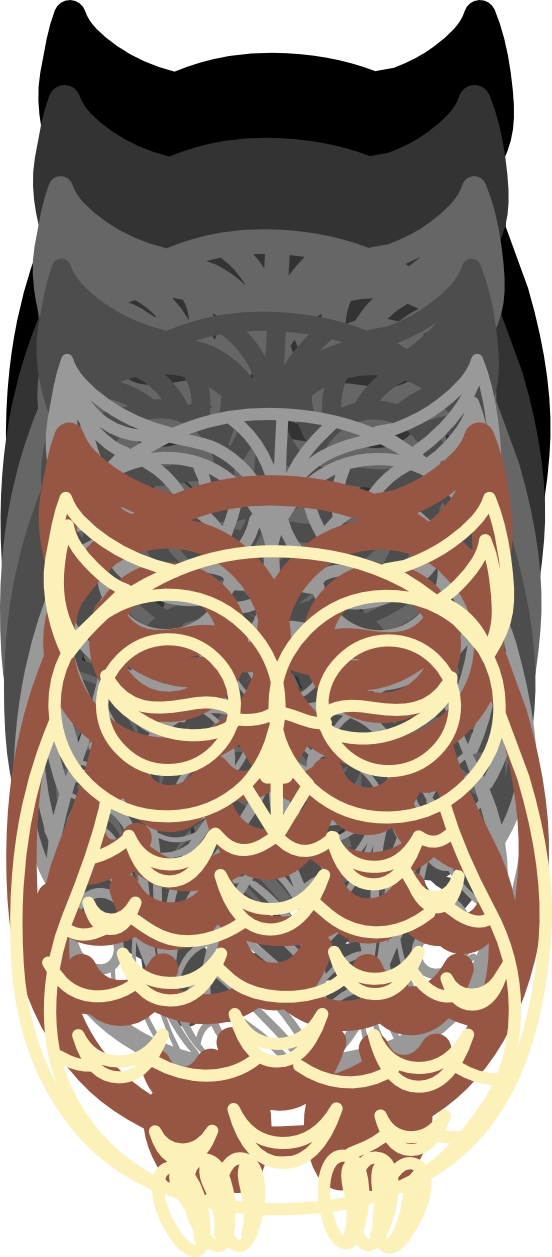
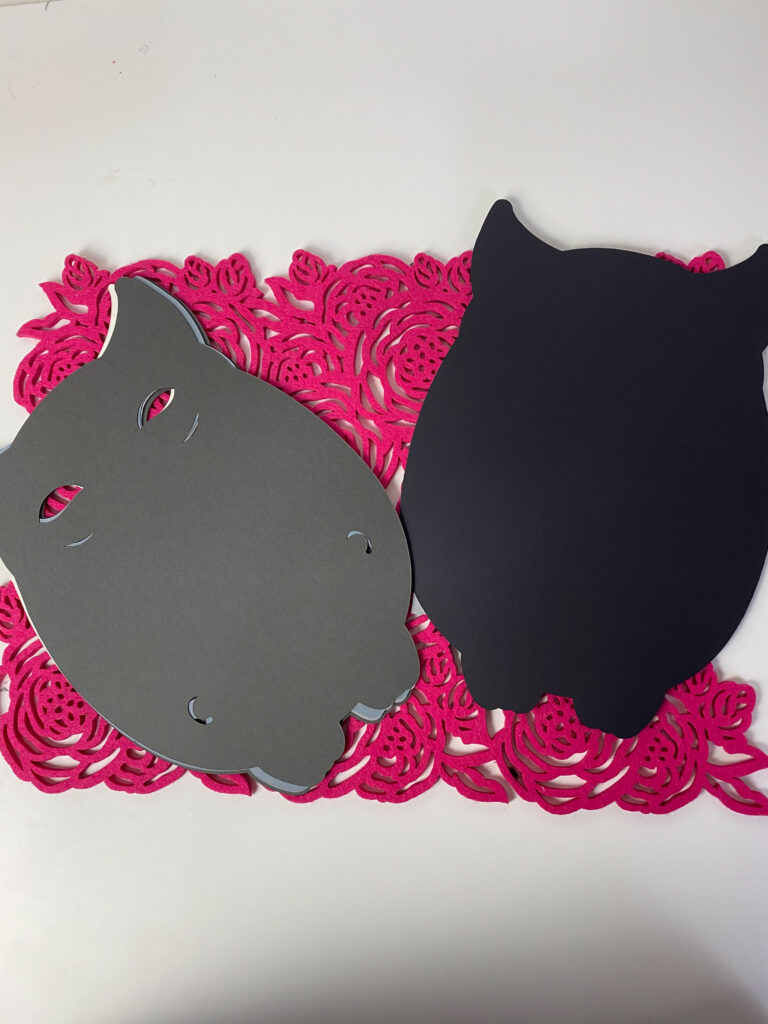
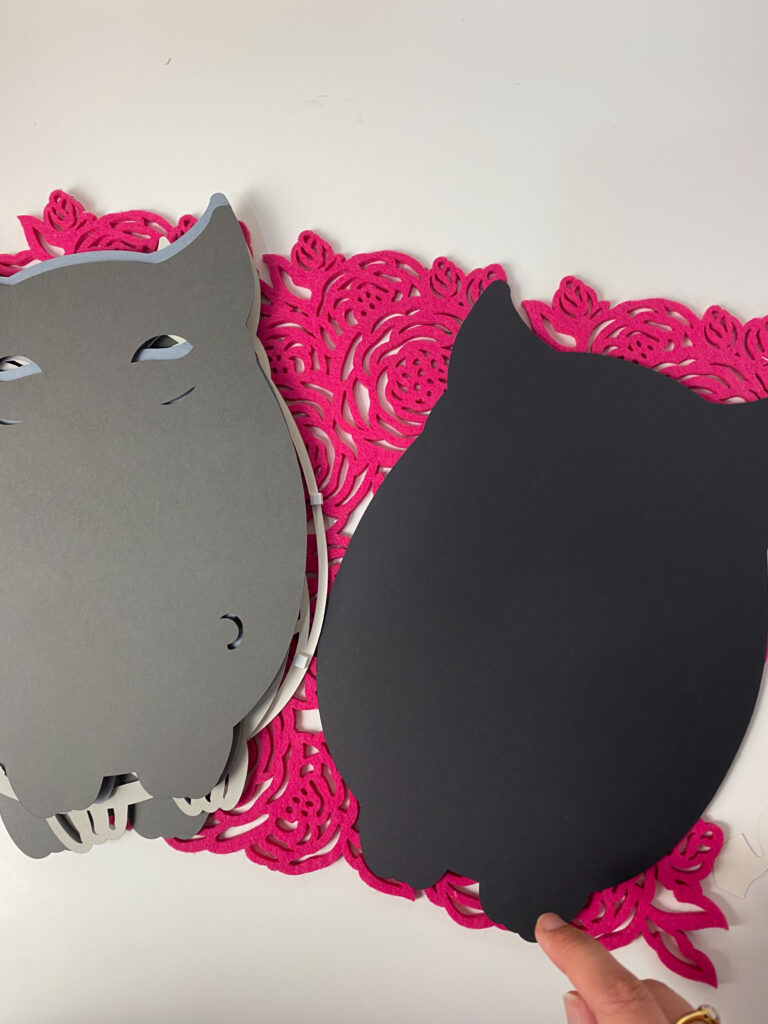
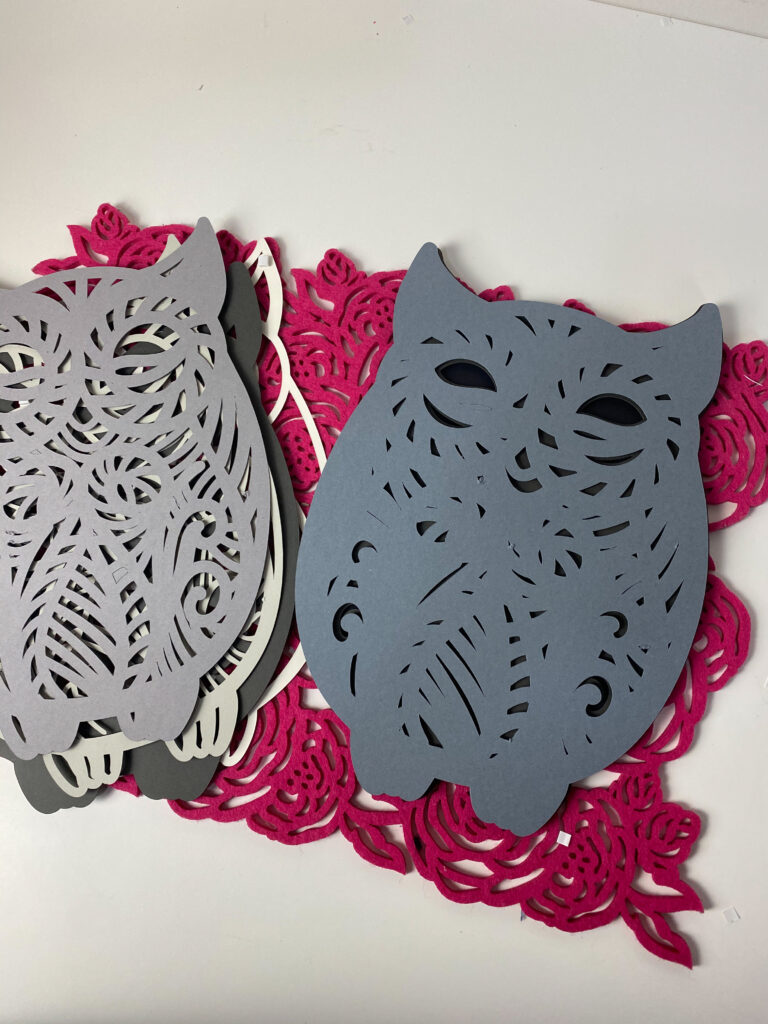
- After cutting out all the layered from the 3D layered SVG [free] place each design one on top of the other according to the arrangement shown below. This step is crucial as it will help you in figuring out the right placement of the layers.
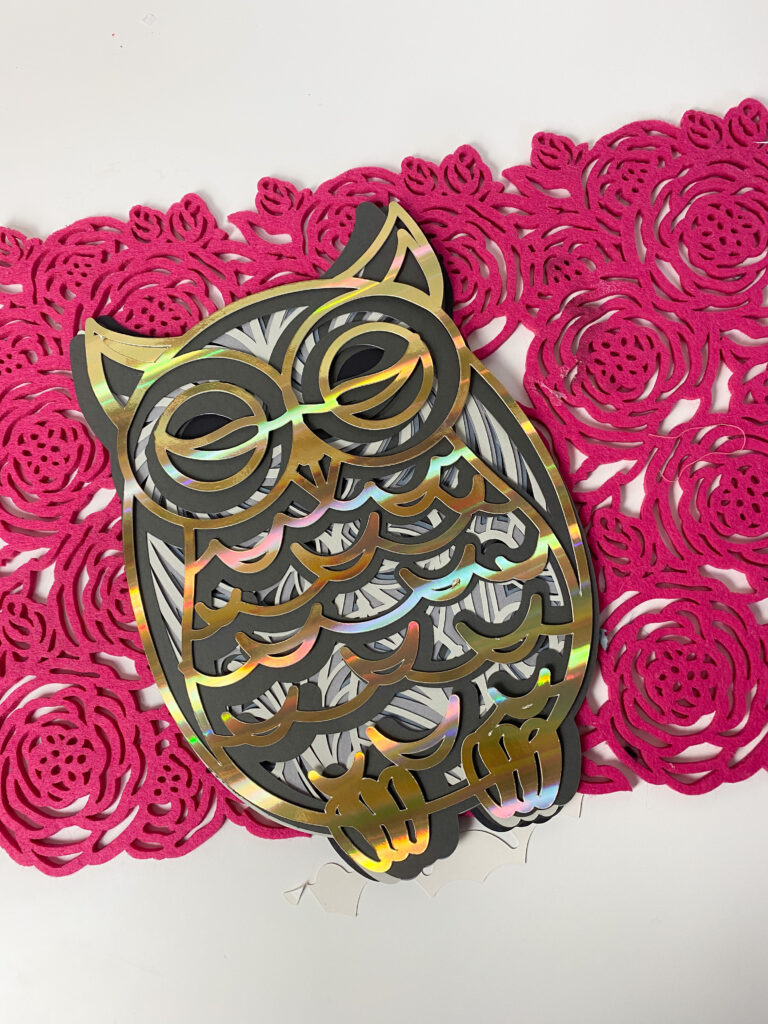
- This is the order in which you need to arrange the layers for the 3D layered owl SVG.
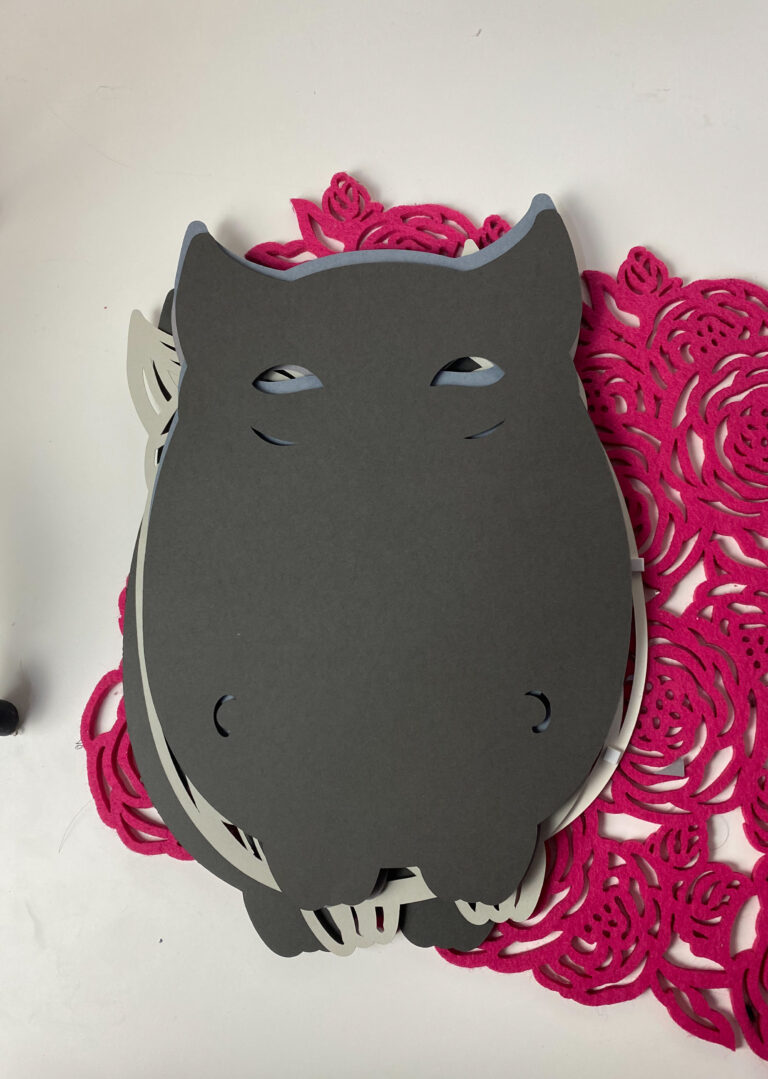
- Next, flip the entire set so that it's wrong side up.
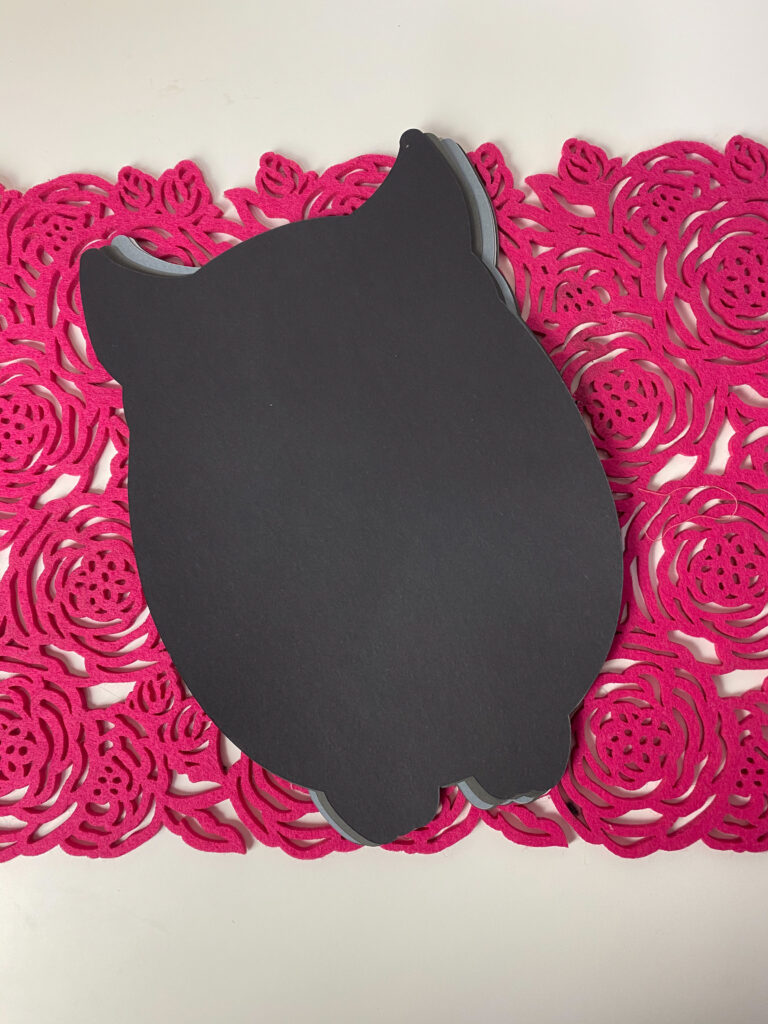
- Now, take the bottom most layer, flip it over and keep it aside with RIGHT-SIDE up.
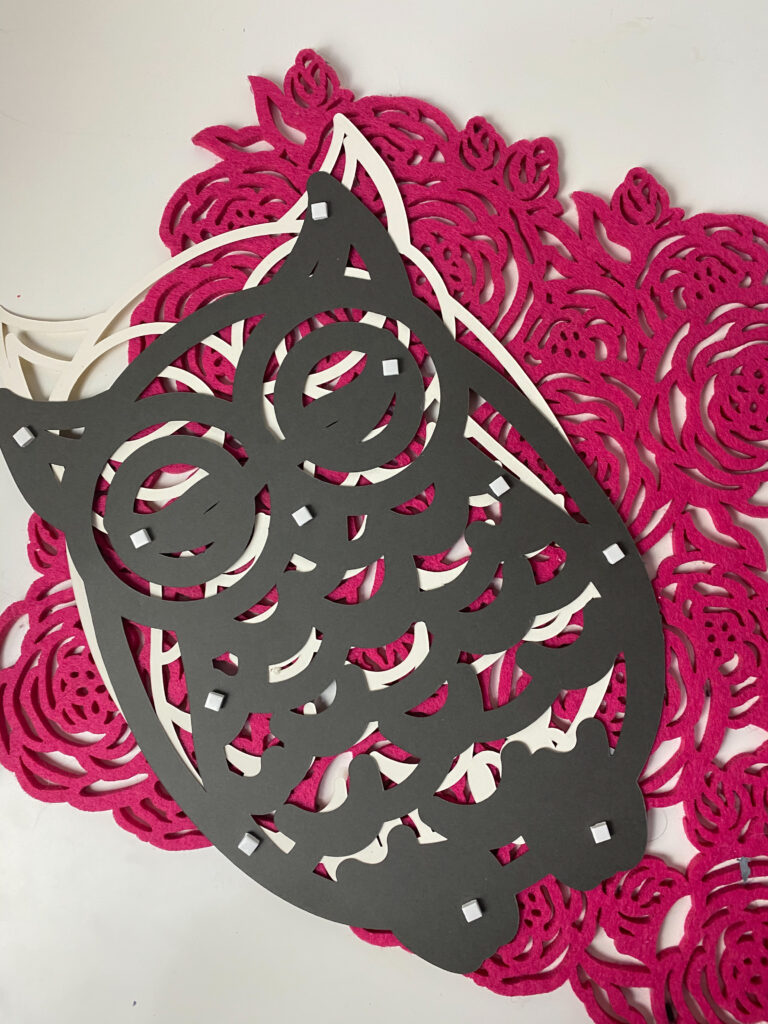
- Now, it's time to add the foam squares.
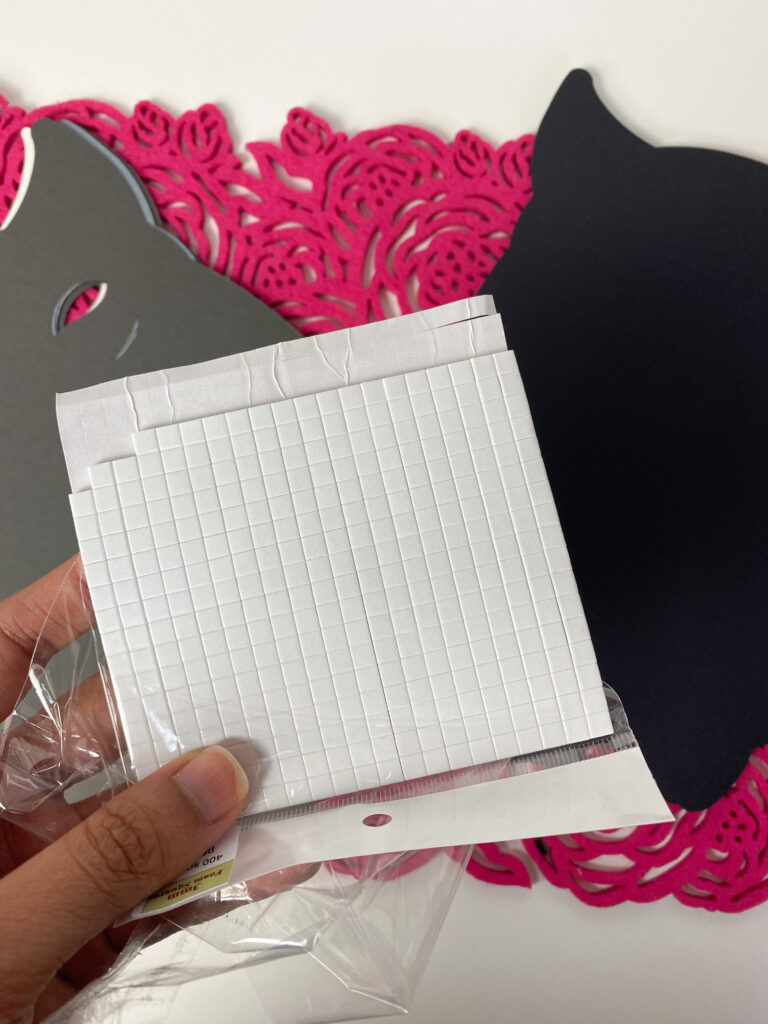
- Start adding foam squares on the WRONG-SIDES of all the layers.
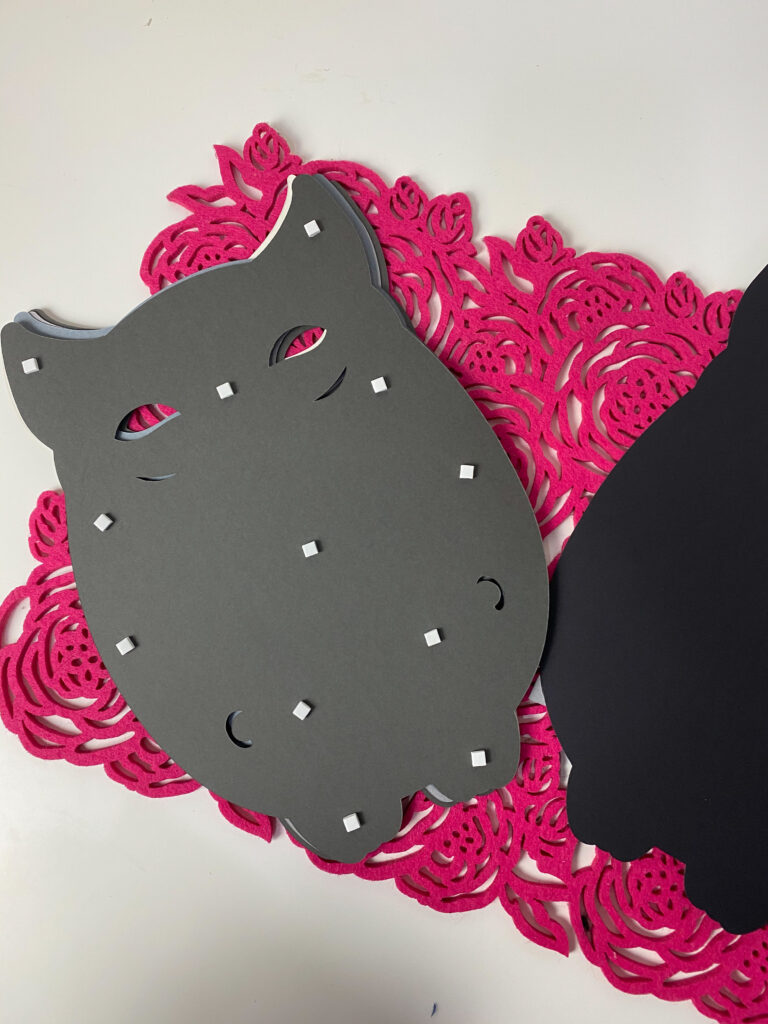
- Once you're done with one layer, keep it aside with the WRONG-SIDE up.
- Repeat this step until you have added the foam squares on the WRONG-SIDES of all the layeres EXCEPT the bottom most layer.
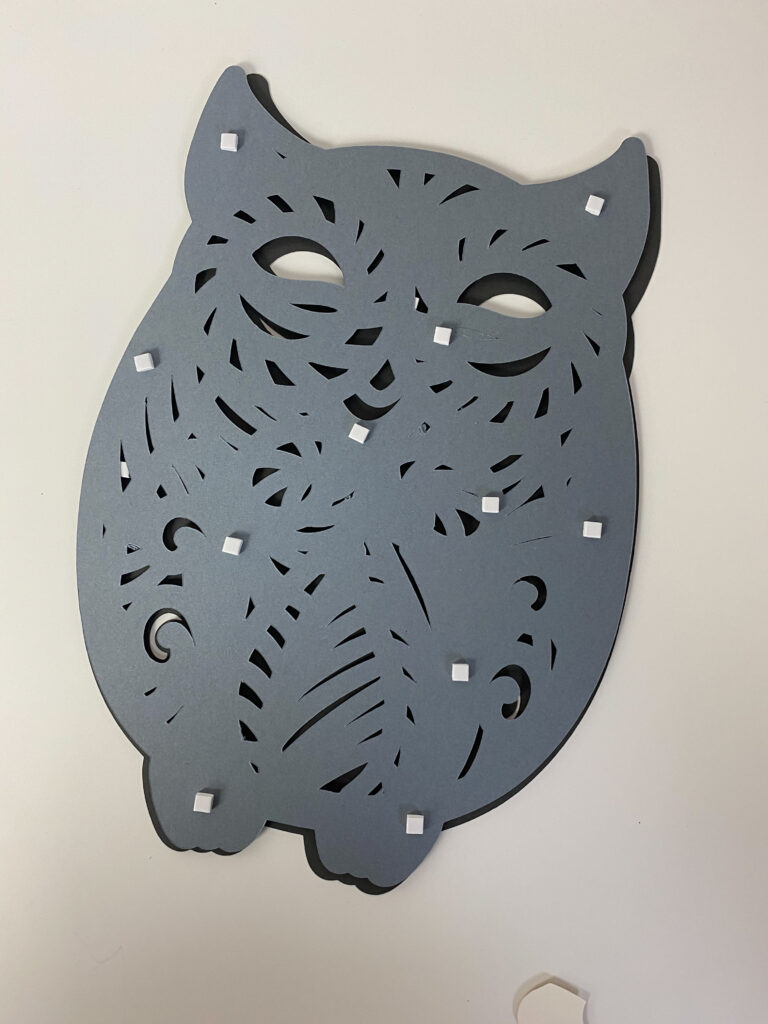
- Once you're done adding the foam squares to all the layers of the 3D layered SVG file [FREE], take the entire stack and flip it over, so that it's RIGHT-SIDE UP. We're going to work from the BOTTOM UP.
- Make sure your bottom layer is RIGHT-SIDE UP. Remove the backing of the foam squares from the second last layer and place it on the bottom-most layer.
- Repeat this step for each of layer after that.
- This is how it should look like at the 5th layer.

- Here's a shot after adding the sixth layer.
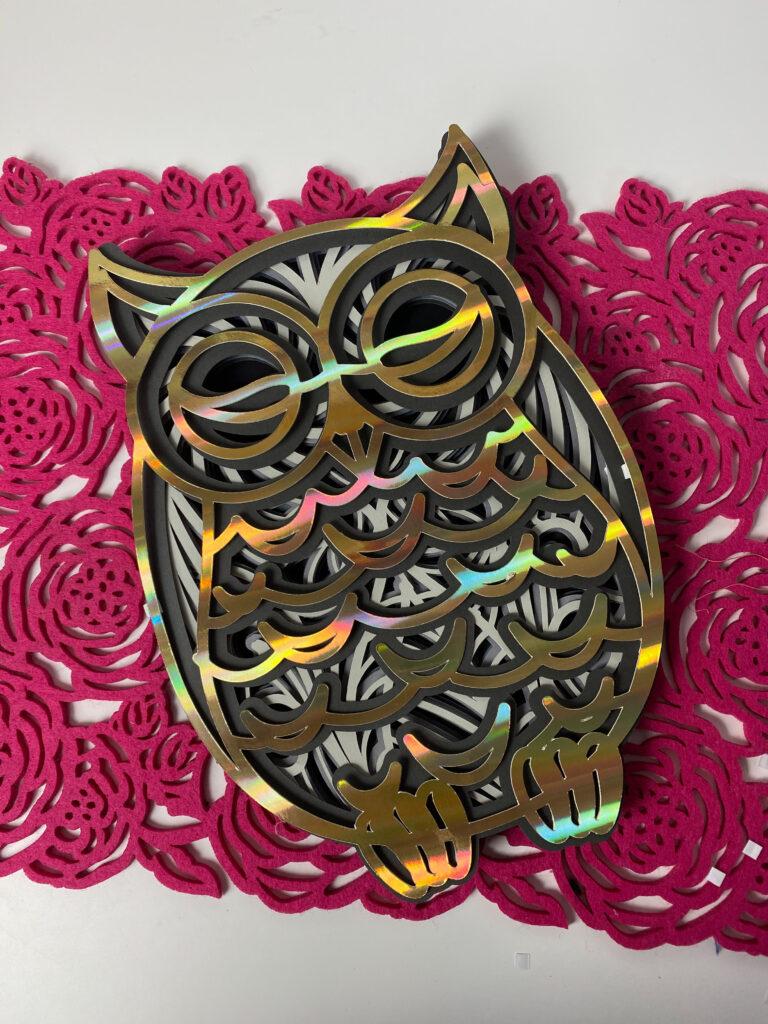
- And here's the final shot after adding the top-most layer.
Notes
Loved making this layered artwork?
Check out these amazing layered artwork SVG cut files in my shop!